Asp.net Core 2.1使用 EF Core 简单增删改查操作数据库 大概步骤如下5步:
1、创建项目(Asp.net Core 2.1项目)
2、项目使用EF Core
3、建立实体
4、生成迁移文件(生成数据库)
5、使用VS工具生成视图、控制器代码
示例代码下载 https://github.com/ZhMartincheng/NetCoreDemo.git
1、创建项目(Asp.net Core 2.1项目)

选择.net core 版本2.1

基础项目创建成功
2、项目使用EF Core
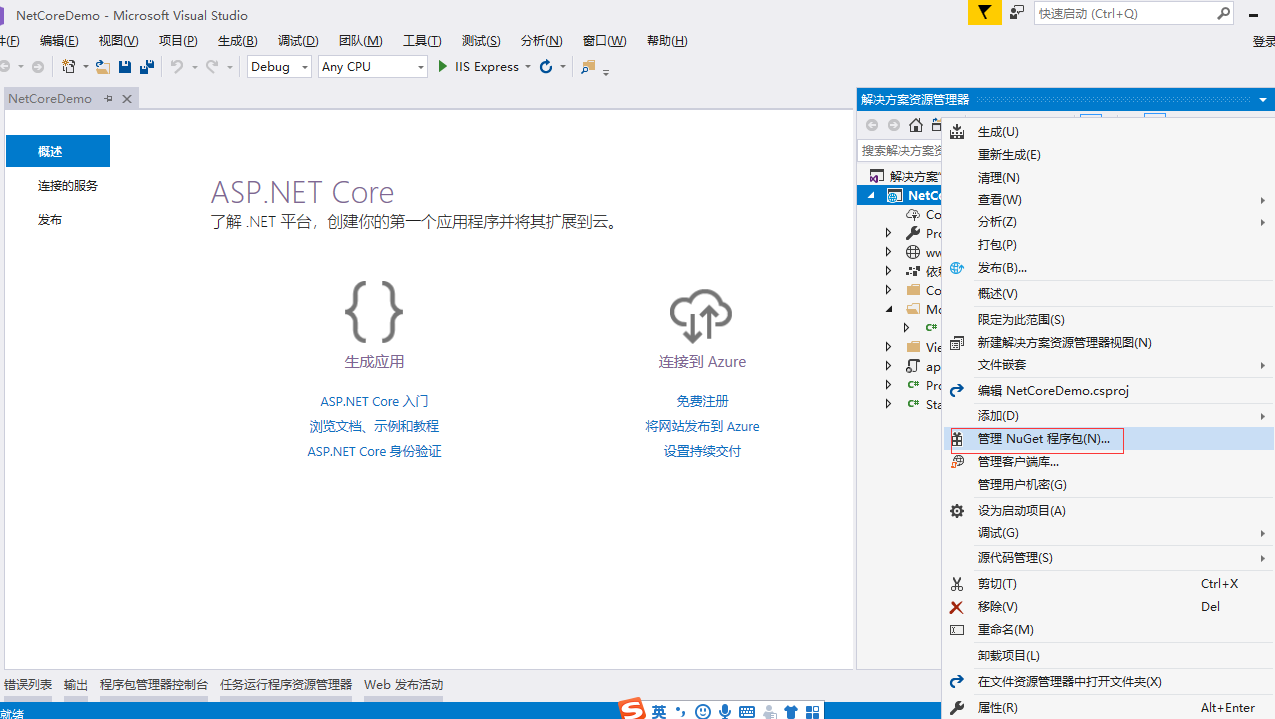
2.1、通过nuget 安装Microsoft.EntityFrameworkCore.SqlServer
项目右键管理nuget包
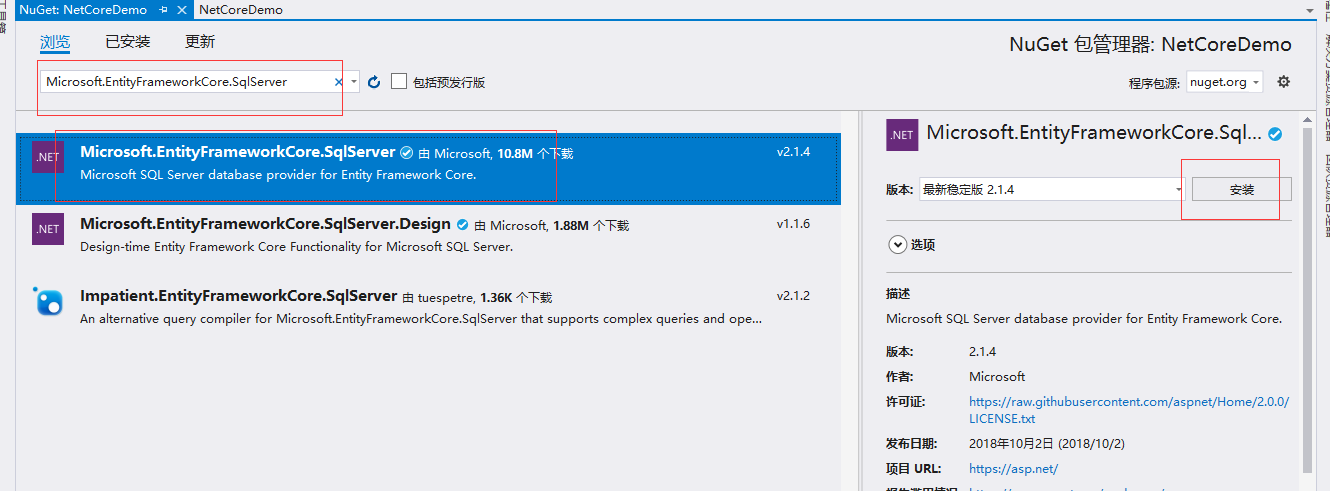
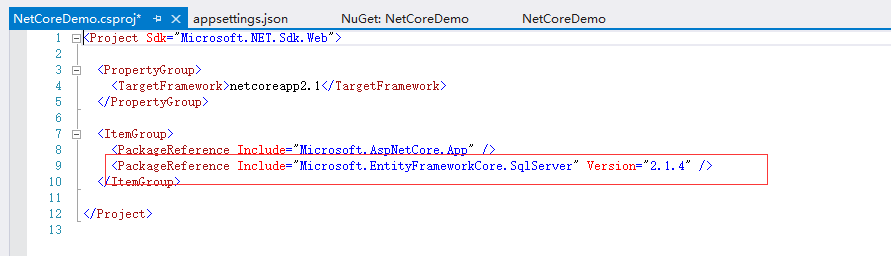
安装成功
3、建立实体
学生实体
public class Student
    {

      public int ID { get; set; }

        public string Name { get; set; }

        public int Age { get; set; }

      public int ClassEnityId { get; set; }

     public ClassEntiy classEnity { get; set; }

    }
班级实体(一个班级多个学生)
 public class ClassEntiy
    {

        public int ID { get; set; }

        public string ClassName { get; set; }


        public virtual ICollection<Student> Students { get; set; }

    }

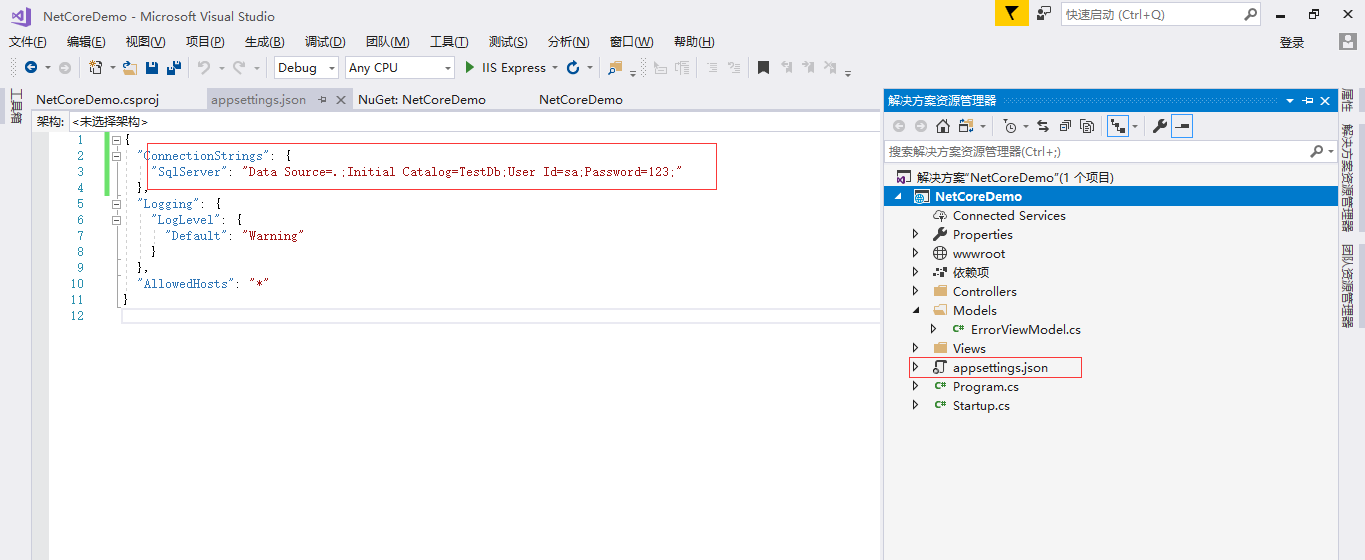
4、生成迁移文件(生成数据库)
配置链接字符串 "ConnectionStrings": {"SqlServer": "Data Source=.;Initial Catalog=TestDb;User Id=sa;Password=123;"}
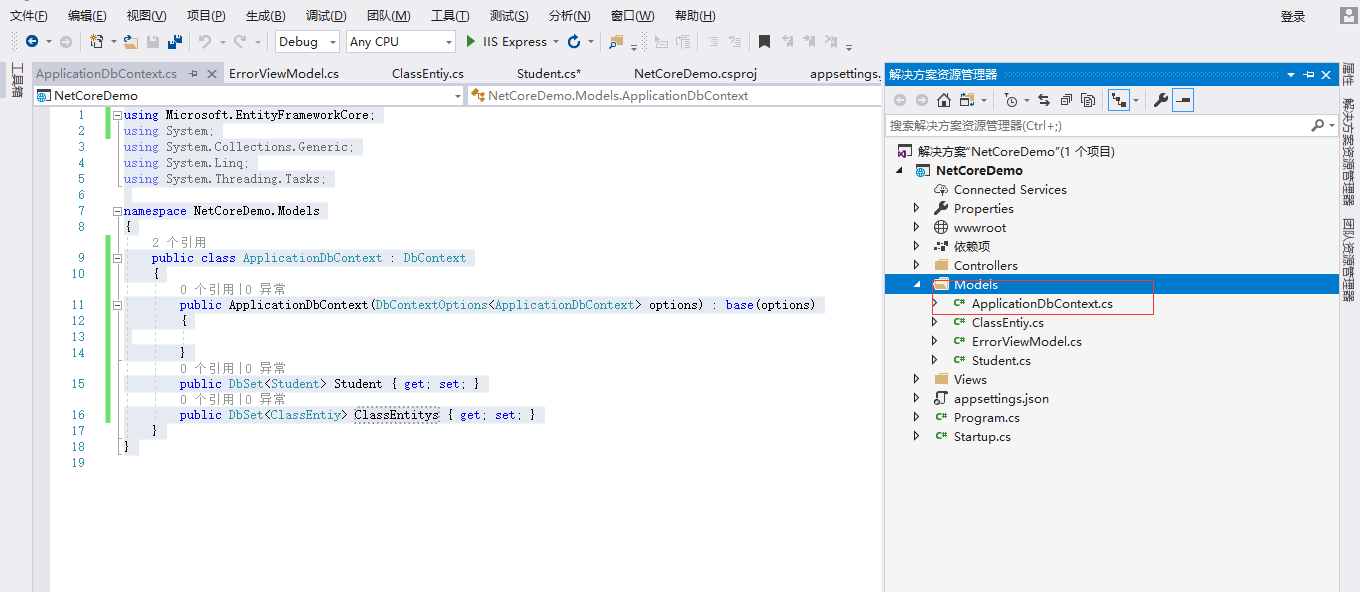
创建 上下文对象 DbContext
using Microsoft.EntityFrameworkCore;
using System;
using System.Collections.Generic;
using System.Linq;
using System.Threading.Tasks;

namespace NetCoreDemo.Models
{
    public class ApplicationDbContext : DbContext
    {
        public ApplicationDbContext(DbContextOptions<ApplicationDbContext> options) : base(options)
        {

        }
        public DbSet<Student> Student { get; set; }
        public DbSet<ClassEntiy> ClassEntitys { get; set; }
    }
}
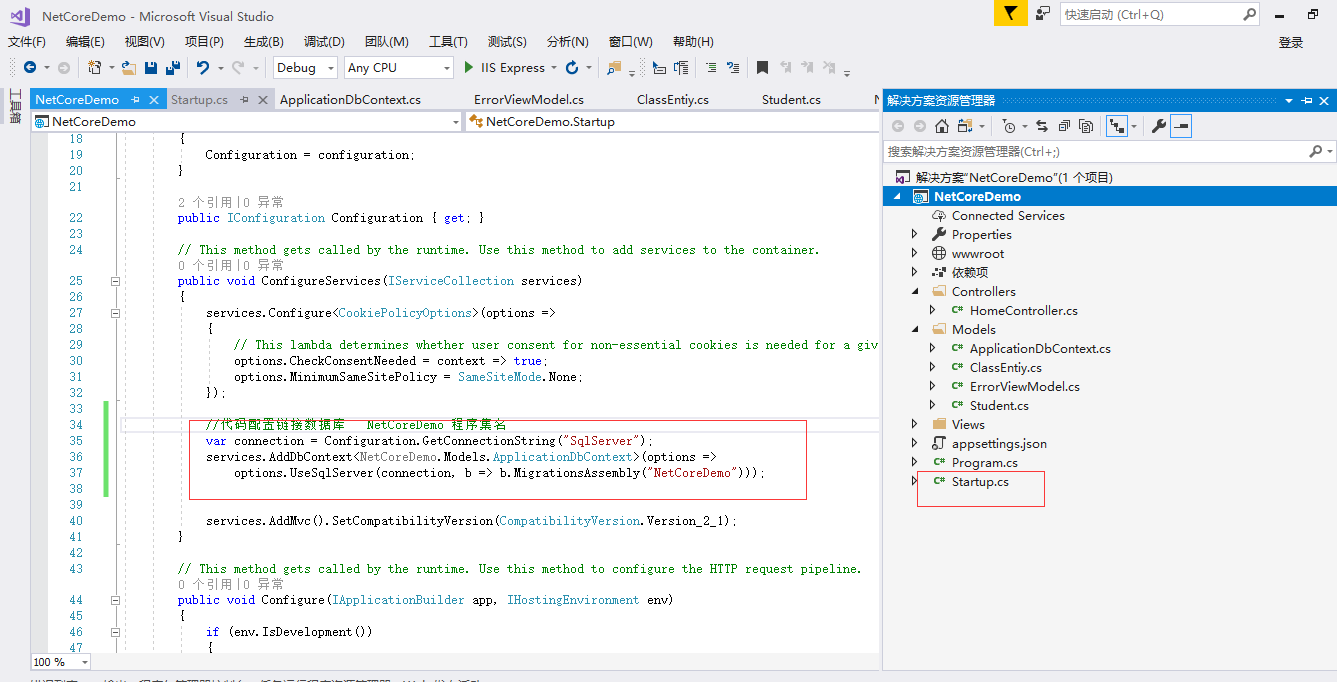
代码配置数据库链接串
var connection = Configuration.GetConnectionString("SqlServer");
services.AddDbContext<NetCoreDemo.Models.ApplicationDbContext>(options =>
options.UseSqlServer(connection, b => b.MigrationsAssembly("NetCoreDemo")));
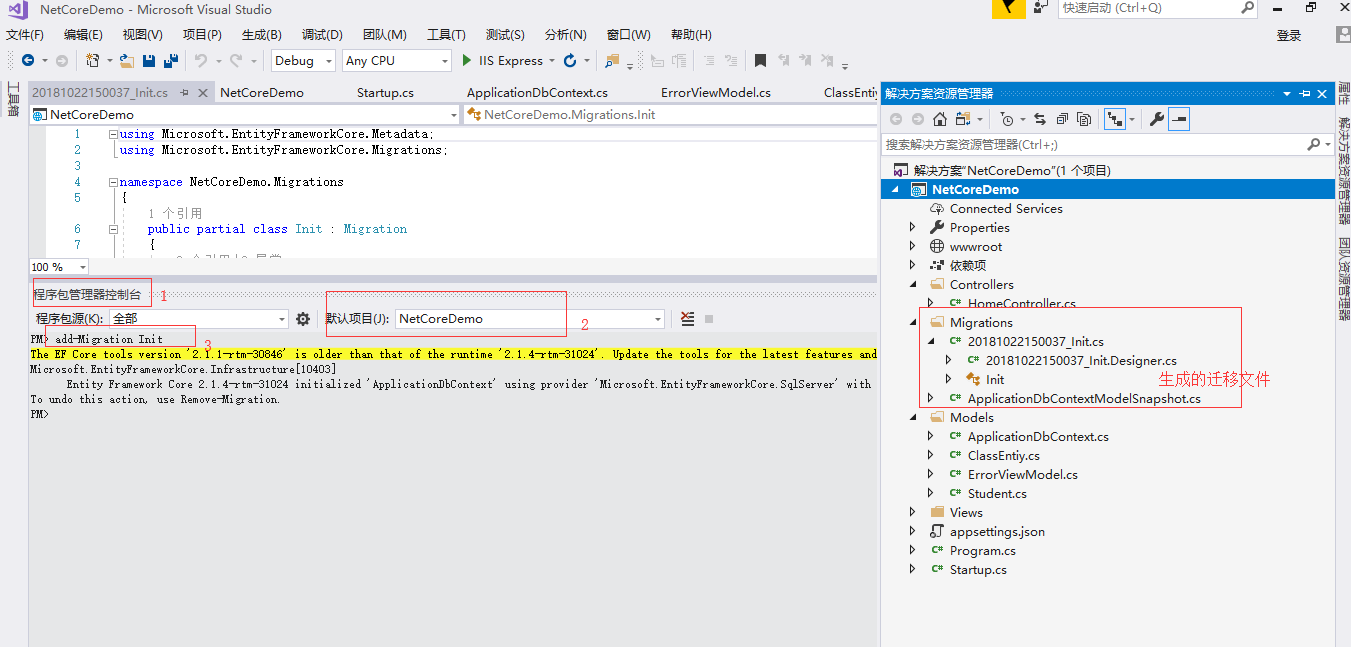
编译成功后执行生成迁移文件命令add-Migration Init
通过迁移文件生成数据库Update-Database
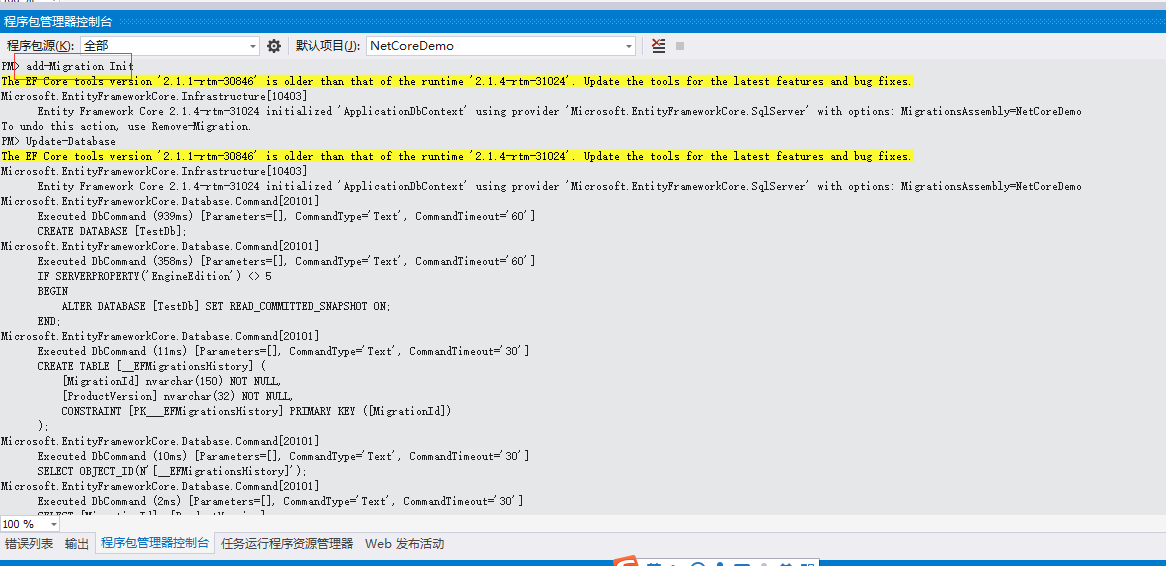
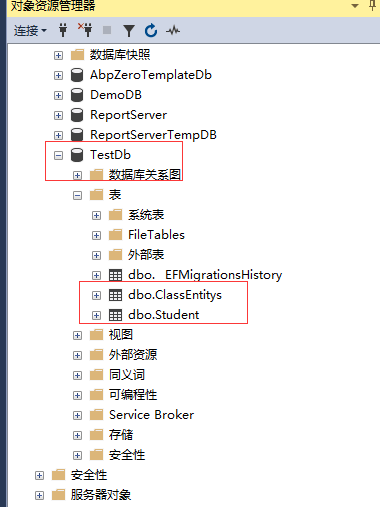
数据库生成成功。
5、使用VS工具生成视图、控制器代码
创建学生控制器

现在数据库上下文和实体
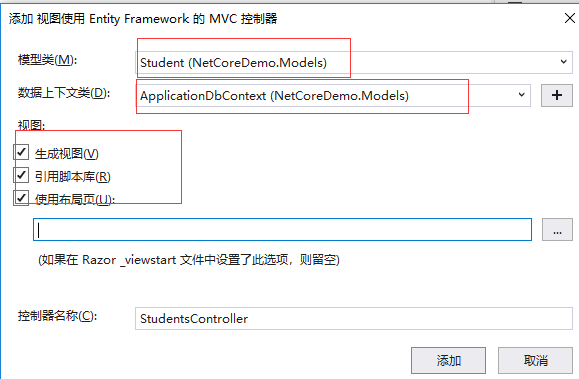
创建班级控制器

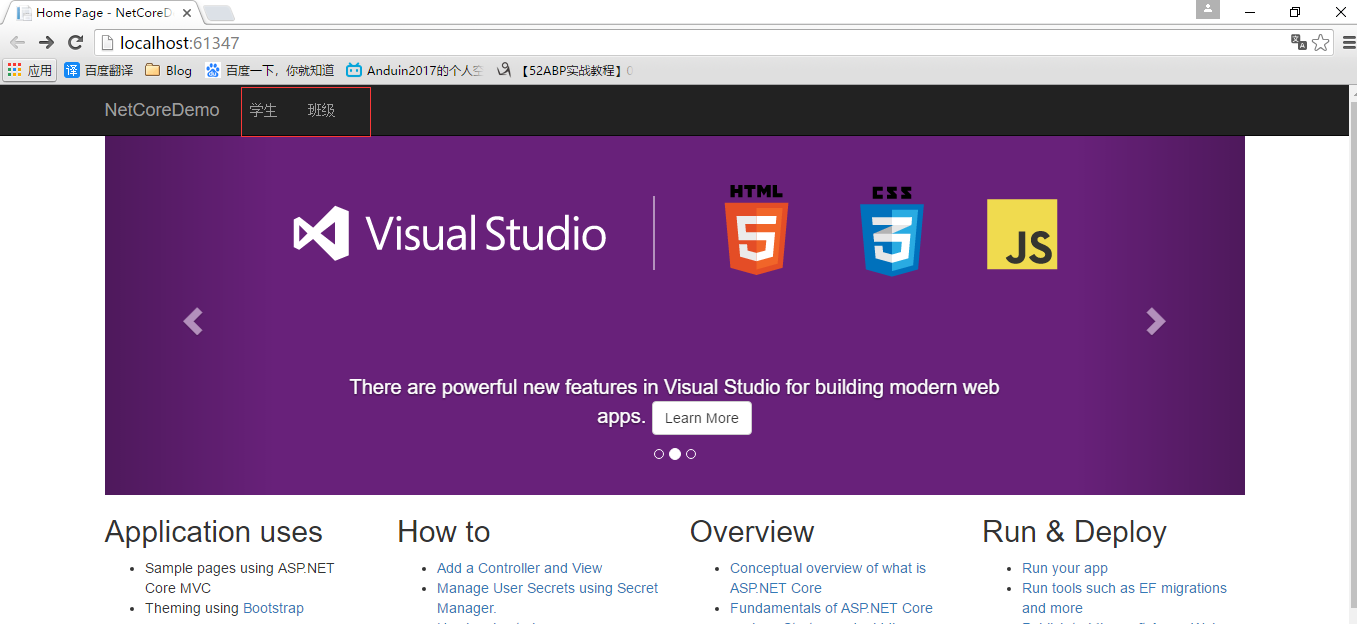
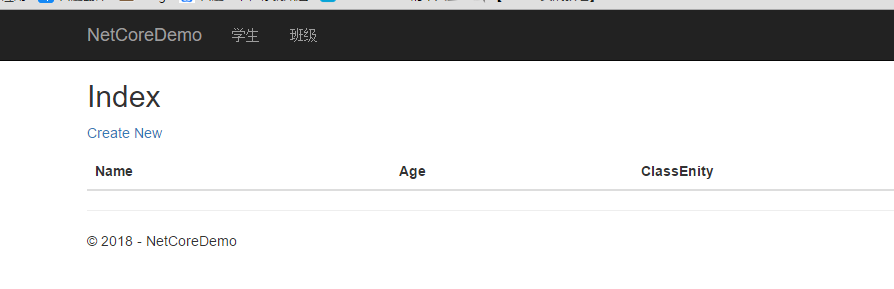
测试一下效果
首页链接修改一下

新增班级

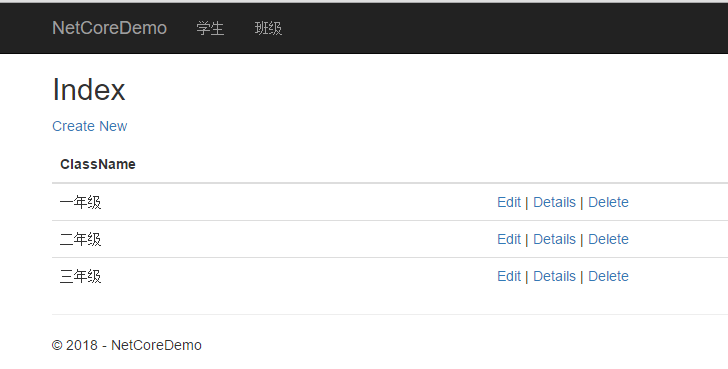
班级列表
增加学生信息

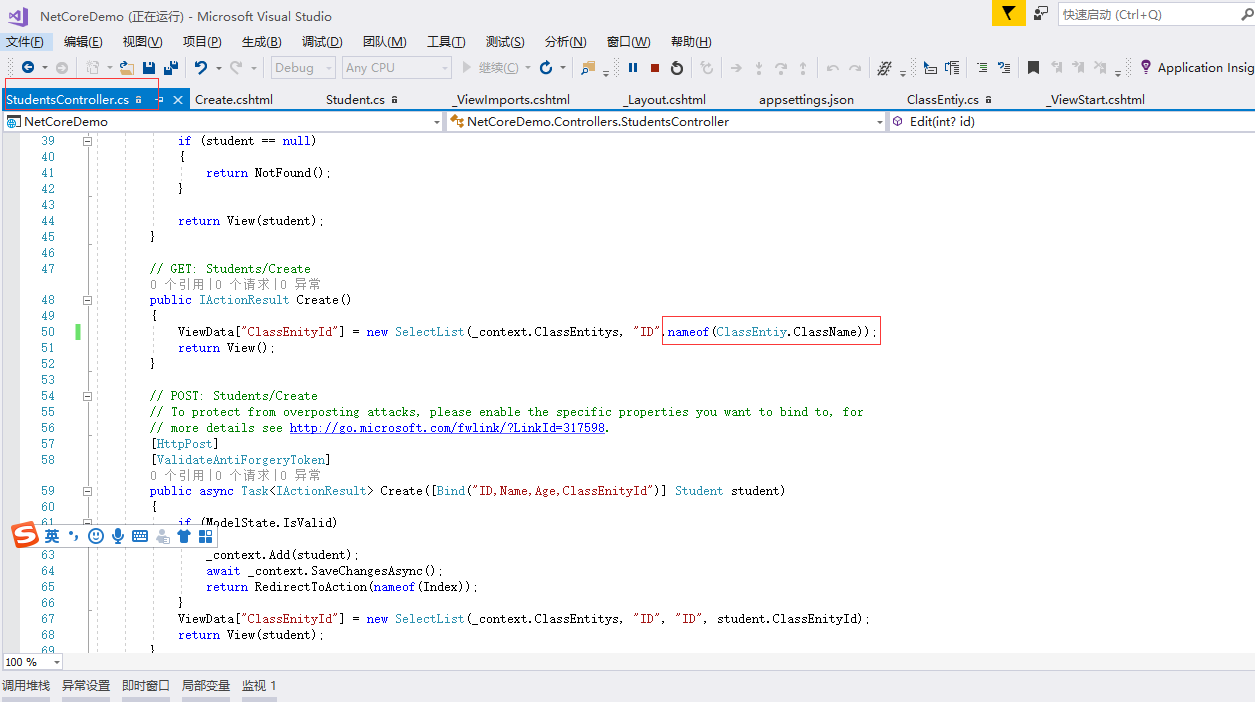
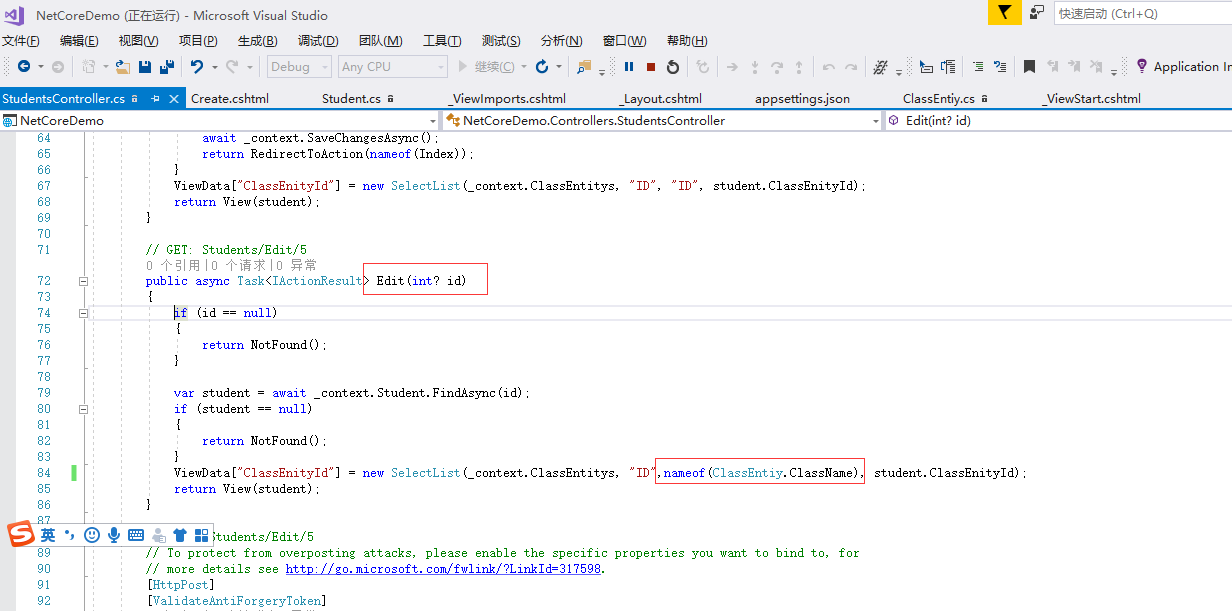
班级显示编码没显示名称,修改生成代码(create 和edit方法)
终于完成看效果

编辑效果
