环境:
jdk1.8;spring boot2.0.2;Maven3.3
摘要说明:
任何开发过程中单元测试是一个必需的环节,springboot结合junit也很好的提供了一套单元测试的方法。
首先认识下即将使用的注解和类:
- @RunWith:就是一个运行器
- @RunWith(JUnit4.class):就是指用JUnit4来运行
- @RunWith(SpringJUnit4ClassRunner.class):让测试用JUnit运行于Spring测试环境
- @RunWith(SpringRunner.class):继承@RunWith(SpringJUnit4ClassRunner.class),无任何变动可以理解为缩写
- @RunWith(Suite.class):就是一套测试集合
- @SpringBootTest:引入spring容器
- @SpringBootTest(webEnvironment = WebEnvironment.RANDOM_PORT):引入spring容器并随即指定端口
- @LocalServerPort:注入随即接口
- @Autowired:自动注入
- @Test:标注junit测试方法
- @Before:前置方法
- @After:后置方法
- TestRestTemplate:测试工具类,是用于 Restful 请求的模版,并支持异步调用,默认情况下 RestTemplate 依靠 JDK 工具来建立 HTTP 链接
步骤:
1.创建测试类
首先需在pom.xml里面引入依赖包spring-boot-starter-test:
		<!-- 测试模块,包括JUnit、Hamcrest、Mockito -->
		<dependency>
			<groupId>org.springframework.boot</groupId>
			<artifactId>spring-boot-starter-test</artifactId>
			<scope>test</scope>
		</dependency>
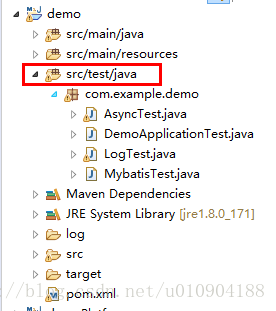
测试类创建在src\test\java目录下;
首先需在类的头部引入注解:
@RunWith(SpringRunner.class)和@SpringBootTest(webEnvironment = WebEnvironment.RANDOM_PORT);
@RunWith(SpringRunner.class)
// 引入SpringBootTest并生成随机接口
@SpringBootTest(webEnvironment = WebEnvironment.RANDOM_PORT)
public class DemoApplicationTest {
}
2.使用TestRestTemplate进行http请求测试
TestRestTemplate:测试工具类,是用于 Restful 请求的模版,并支持异步调用,默认情况下 RestTemplate 依靠 JDK 工具来建立 HTTP 链接;你也可以通过 setRequestFactory 方法来切换不同的 HTTP 库,如 Apache 的 HttpComponents 或 Netty 和 OkHttp;
它主要提供了了以下方法,对应不同的 HTTP 请求
| HTTP Method | RestTemplate Methods |
|---|---|
| DELETE | delete |
| GET | getForObject、getForEntity |
| HEAD | headForHeaders |
| OPTIONS | optionsForAllow |
| POST | postForLocation、postForObject |
| PUT | put |
| any | exchange、execute |
这里就结合前两节文章提供使用exchange方式做一个示范;更多可参考:官方API;
@RunWith(SpringRunner.class)
// 引入SpringBootTest并生成随机接口
@SpringBootTest(webEnvironment = WebEnvironment.RANDOM_PORT)
public class DemoApplicationTest {
	// 注入随机接口
	@LocalServerPort
	private int port;

	// 引入测试模版类
	@Autowired
	private TestRestTemplate restTemplate;

	@Test
	public void testHello() {
		System.out.println(port);
		// 构建参数
		MultiValueMap<String, Object> form = new LinkedMultiValueMap<>();
		// 使用restTemplate的exchange方法进行调用
		ResponseEntity<String> entity = this.restTemplate.exchange("/hello", HttpMethod.POST,
				new HttpEntity<>(form, null), String.class);
		System.out.println(entity.getStatusCode());
		System.out.println(entity.getBody());
	}

	@Test
	public void testSwagger2() {
		MultiValueMap<String, Object> form = new LinkedMultiValueMap<>();
		form.set("id", 1);
		form.set("name", "cc");
		form.set("age", 18);
		ResponseEntity<String> entity = this.restTemplate.exchange("/testSwagger/users/", HttpMethod.POST,
				new HttpEntity<>(form, null), String.class);
		System.out.println(entity.getStatusCode());
		System.out.println(entity.getBody());
		ResponseEntity<String> entity1 = this.restTemplate.exchange("/testSwagger/users/", HttpMethod.GET,
				new HttpEntity<>(form, null), String.class);
		System.out.println(entity1.getStatusCode());
		System.out.println(entity1.getBody());
		ResponseEntity<String> entity2 = this.restTemplate.exchange("/testSwagger/users/1?id=1&name=ccc&age=28",
				HttpMethod.PUT, new HttpEntity<>(null, null), String.class);
		System.out.println(entity2.getStatusCode());
		System.out.println(entity2.getBody());
		ResponseEntity<String> entity3 = this.restTemplate.exchange("/testSwagger/users/", HttpMethod.GET,
				new HttpEntity<>(form, null), String.class);
		System.out.println(entity3.getStatusCode());
		System.out.println(entity3.getBody());
	}
}
3.进行业务接口测试
使用@Autowired进行业务bean自动注入再进行业务接口测试:
package com.example.demo;

import org.junit.After;
import org.junit.Before;
import org.junit.Test;
import org.junit.runner.RunWith;
import org.springframework.beans.factory.annotation.Autowired;
import org.springframework.boot.test.context.SpringBootTest;
import org.springframework.boot.test.context.SpringBootTest.WebEnvironment;
import org.springframework.boot.test.web.client.TestRestTemplate;
import org.springframework.boot.web.server.LocalServerPort;
import org.springframework.http.HttpEntity;
import org.springframework.http.HttpMethod;
import org.springframework.http.ResponseEntity;
import org.springframework.test.context.junit4.SpringRunner;
import org.springframework.util.LinkedMultiValueMap;
import org.springframework.util.MultiValueMap;

import com.example.demo.test1.pojo.Param;
import com.example.demo.test1.pojo.Params;

@RunWith(SpringRunner.class)
// 引入SpringBootTest并生成随机接口
@SpringBootTest(webEnvironment = WebEnvironment.RANDOM_PORT)
public class DemoApplicationTest {
    // 注入随机接口
    @LocalServerPort
    private int port;

    // 引入测试模版类
    @Autowired
    private TestRestTemplate restTemplate;

    @Autowired
    private Param param;

    @Autowired
    private Params params;

    @Before
    public void init() {
        System.out.println("开始测试-----------------");
    }

    @After
    public void after() {
        System.out.println("测试结束-----------------");
    }

    @Test
    public void testHello() {
        System.out.println(port);
        // 构建参数
        MultiValueMap < String, Object > form = new LinkedMultiValueMap <>();
        // 使用restTemplate的exchange方法进行调用
        ResponseEntity < String > entity = this.restTemplate.exchange("/hello", HttpMethod.POST,
                new HttpEntity <>(form, null), String.class);
        System.out.println(entity.getStatusCode());
        System.out.println(entity.getBody());
    }

    @Test
    public void testSwagger2() {
        MultiValueMap < String, Object > form = new LinkedMultiValueMap <>();
        form.set("id", 1);
        form.set("name", "cc");
        form.set("age", 18);
        ResponseEntity < String > entity = this.restTemplate.exchange("/testSwagger/users/", HttpMethod.POST,
                new HttpEntity <>(form, null), String.class);
        System.out.println(entity.getStatusCode());
        System.out.println(entity.getBody());
        ResponseEntity < String > entity1 = this.restTemplate.exchange("/testSwagger/users/", HttpMethod.GET,
                new HttpEntity <>(form, null), String.class);
        System.out.println(entity1.getStatusCode());
        System.out.println(entity1.getBody());
        ResponseEntity < String > entity2 = this.restTemplate.exchange("/testSwagger/users/1?id=1&name=ccc&age=28",
                HttpMethod.PUT, new HttpEntity <>(null, null), String.class);
        System.out.println(entity2.getStatusCode());
        System.out.println(entity2.getBody());
        ResponseEntity < String > entity3 = this.restTemplate.exchange("/testSwagger/users/", HttpMethod.GET,
                new HttpEntity <>(form, null), String.class);
        System.out.println(entity3.getStatusCode());
        System.out.println(entity3.getBody());
    }

    @Test
    public void testPropertiesParams() {
        System.out.println(param.toString());
        System.out.println(params.toString());
    }
}
4.进行方法调用
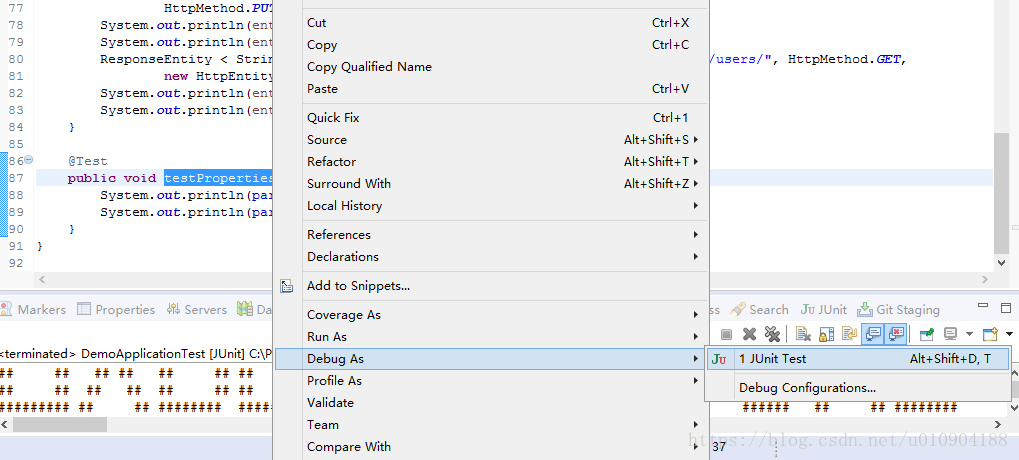
上述描述的两种测试方式写好之后,选中方法名;右击--》Run AS/Debug As-->Junit Test进行测试调试;