一、首先需要设置虚拟机
nm-connection-editor
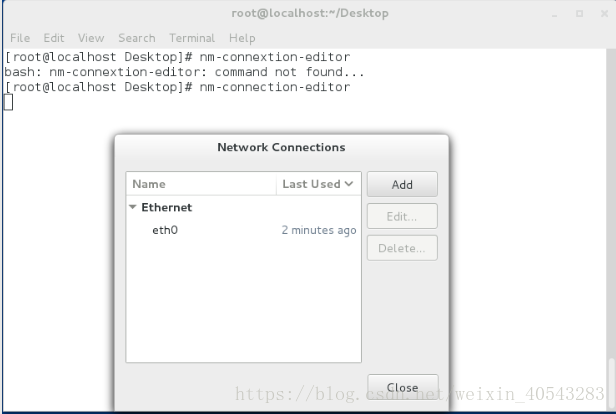
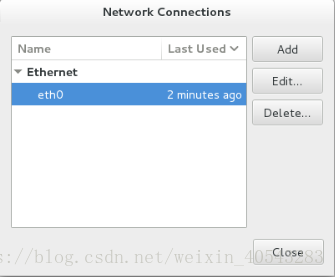
2.点击上图中的eth0,然后点击delete
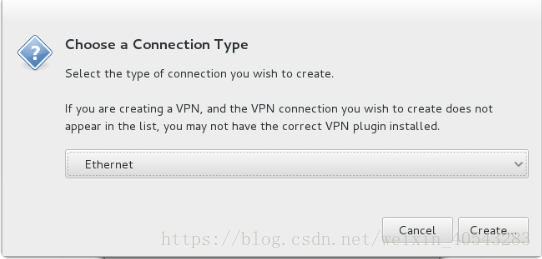
3.然后点击add新建网络
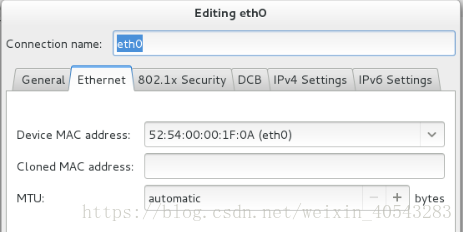
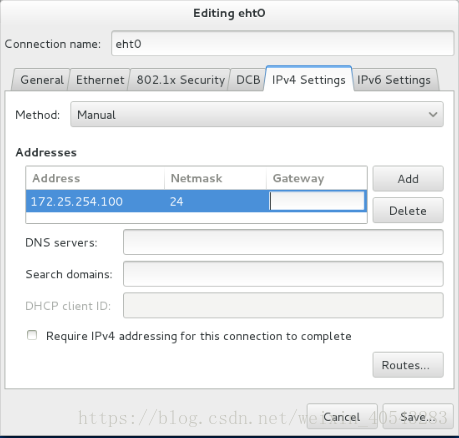
如上图,address改为172.25.254.100 ,netmask改成255.255.255.0,gataway为空
点击save,重新启动网络
ifconfig
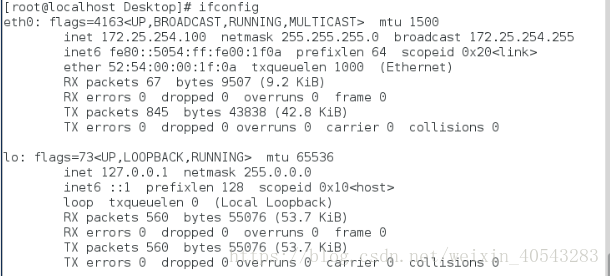
经过上述操作,虚拟机就可以和主机运行sshd服务了
二、sshd简介
sshd= secure shell
可以通过网络在主机中开机shell的服务
客户端软件<C-F9>
sshd
连接方式:
ssh    username@ip    ##文本模式的链接
ssh -X username@ip    ##可以在链接成功后开机图形

注意:
第一次链接陌生主机是要建立认证文件
所以会询问是否建立,需要树入yes
在次链接此台主机时,因为已经生成~/.ssh/know_hosts文件所以不需要再次输入yes
远程复制:
scp file root@ip:dir ##上传
scp root@ip:file dir ##下载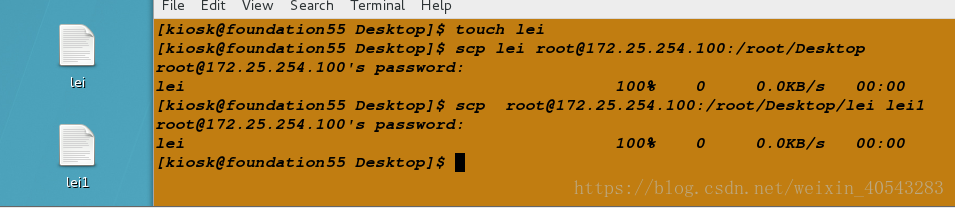
2.sshd 的key认证
1.生成认证KEY
ssh-keygen
Generating public/private rsa key pair.
Enter file in which to save the key (/home/kiosk/.ssh/id_rsa):
Enter passphrase (empty for no passphrase):
Enter same passphrase again:
Your identification has been saved in /home/kiosk/.ssh/id_rsa.
Your public key has been saved in /home/kiosk/.ssh/id_rsa.pub.
The key fingerprint is:
f8:d4:15:30:28:25:90:cd:d1:90:70:e9:13:70:47:fc [email protected]
The key's randomart image is:
+--[ RSA 2048]----+
|    +B*X+.o..    |
|    .oBo+  . .   |
|     . o .  .    |
|      o. .E.     |
|      ..S .      |
|       o         |
|        .        |
|                 |
|                 |
+-----------------+

2.加密服务
ssh-copy-id -i //home/kiosk/.ssh/id_rsa.pub [email protected]
/usr/bin/ssh-copy-id: INFO: attempting to log in with the new key(s), to filter out any that are already installed
/usr/bin/ssh-copy-id: INFO: 1 key(s) remain to be installed -- if you are prompted now it is to install the new keys
[email protected]'s password:

Number of key(s) added: 1

Now try logging into the machine, with:   "ssh '[email protected]'"
and check to make sure that only the key(s) you wanted were added.

ls                                                  ##打开加密配置的文件夹
authorized_keys  id_rsa  id_rsa.pub  known_hosts
    ^
 此文件出现表示加密完成

4.测试
ssh [email protected] ##连接时发现直接登陆不需要root登陆系统的密码认证,此处ip为你设置的虚拟机的ip
3.sshd的安全设定
在/etc/ssh/sshd_config文件修改设置
78 PasswordAuthentication yes|no   ##是否允许用户通过登陆系统的密码做sshd的认证
下图第78行,修改为no,然后重新启动sshd服务

更换用户登陆,提示无访问权限

48 PermitRootLogin yes|no          ##是否允许root用户通过sshd服务的认证
如下图第48行,修改为no,需要先将之前78行修改为yes,重启网络服务


52 Allowusers student westos       ##设定用户白名单,白名单出现默认不在名单中的用户不能使用sshd
在第52行添加以上内容,同样需要将前两个的操作还原,然后重启网络服务

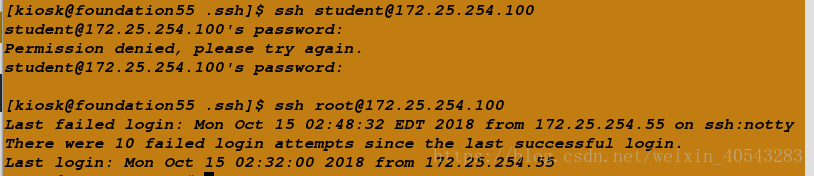
会发现除了student以外,用户就不可以登陆了

53 Denyusers westos ##设定用户黑名单,黑名单出现默认不再名单中的用户可以使用sshd
除了student以外,其他用户可以登陆
4.添加sshd登陆登陆信息
vim /etc/motd ##文件内容就是登陆后显示的信息

这样就会出现在用户的登陆信息

5.用户的登陆审计
1.查看正在使用当前系统的用户,可以使用w
w    -f    ##查看使用来源
w    -i    ##显示IP

该命令的配置文件在/var/run/utmp
2.查看使用过并退出的用户信息使用last
该命令的配置文件在/var/log/wtmp

注:> /var/log/wtmp 可以清空文件内容
3.查看试图登陆但没成功的用户使用lastb
该配置文件在/var/log/btmp

注:> /var/log/btmp 可以清空文件内容
三、登陆审计
有多个用户登陆我的电脑,我临时想不让其连接我的电脑怎么办
1.首先查看都是谁连接了你的电脑

如上图是172.25.254.55的ip正在连接我这台主机
2.用命令查看这个用户使用的进程
ps aux | grep pts/1
进程为2439
3.使用指令
kill -9 2439这样就可以中断连接