本文将从零开始一步步搭建基于 Eclipse+Struts2+Tomcat 的Web Application,并以 HelloWorld作为演示程序,主要从以下几个步聚来介绍:
- 下载必备软件
- 安装软件
- 创建工程
- 运行程序
1:下载软件
Eclipse:https://www.eclipse.org/downloads/
Struts2:https://struts.apache.org/
Tomcat:http://tomcat.apache.org/
以上软件根据当前计算机选择合适的版本,博主的计算机配置 Win10 64位 专业版操作系统,
因此下载的版本分别为:
Eclipse: eclipse-inst-win64
Struts2: struts-2.5.17-all.zip
Tomcat: apache-tomcat-9.0.12
2:安装软件
2.1安装Eclipse:
1:双击下载的程序安装包:eclipse-inst-win64
2:在eclipse-inst-win64安装选项 选择第二项: Eclipse IDE For Java EE Developers

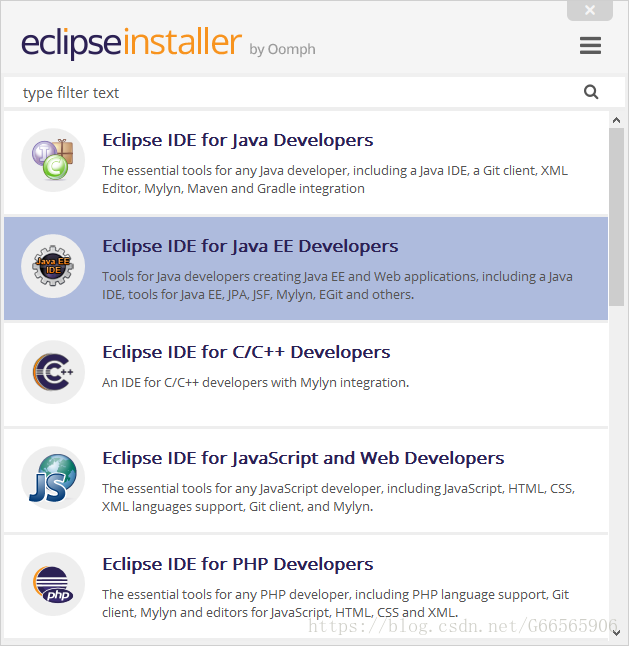
之后就一路Next即可
2.2安装 Struts2
Struts2是一个zip,解压至任意磁盘即可。
2.3安装Tomcat
Tomcat与Struts2一样,也是一个压缩包,解压至磁盘即可。
3创建工程
1:打开Eclipse程序
Eclipse安装后会在桌面生成一个名为Eclipse Jee 2018-09 快建方式,可双击该图标
2:输入工程目录

3:点击Lanuch
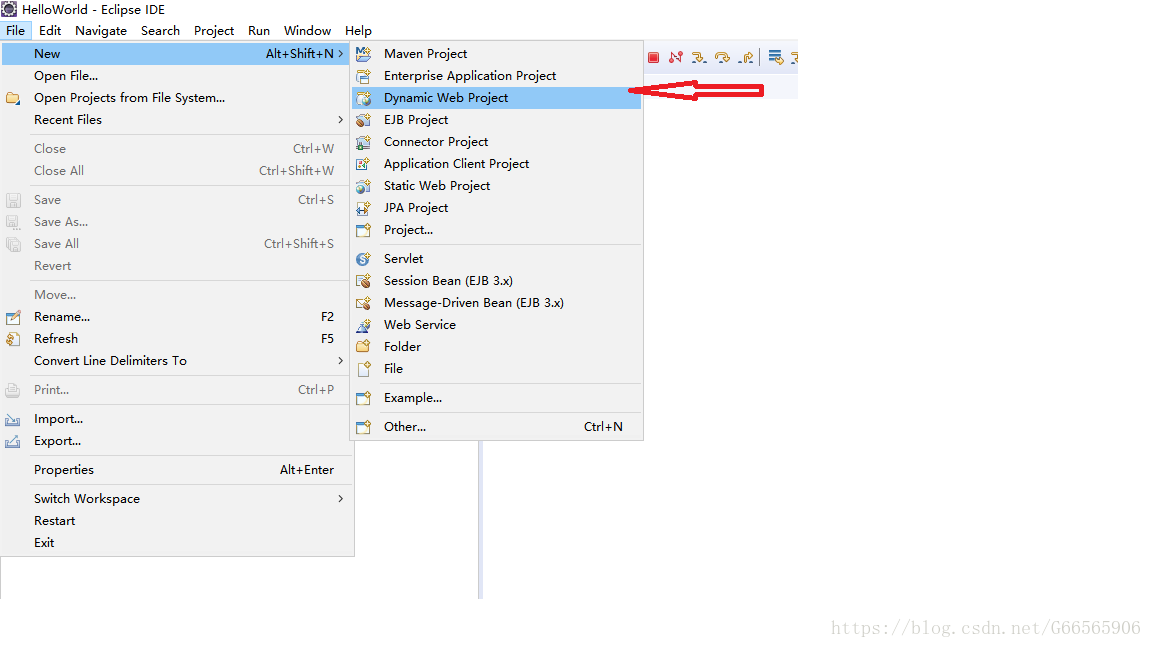
4:创建Dynamic Web Project
5:配置工程
1:
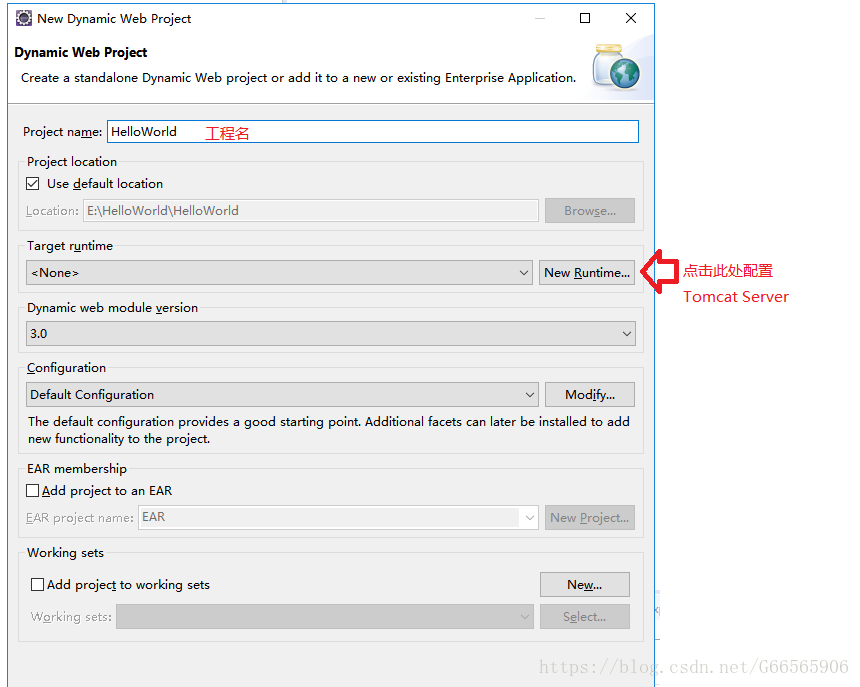
2:配置Tomcat Server

应该博主下载的是9.0版本,所以此处选择 Apache Tomcat v9.0
点击Next

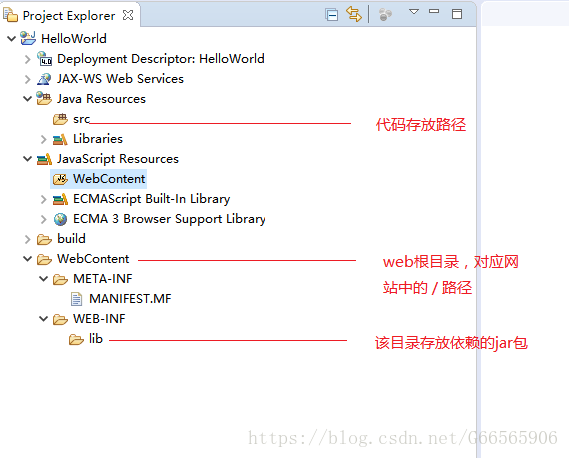
点击Finish后返回工程配置对话框,在工程配置对话框 中点击Finish
到此HelloWorld工程就已创建出来了,其工程目录所下图所示:
6:配置Struts2
为支持Struts2,有2个关键文件需要配置
- Web.xml
- 配置Struts过滤器
- struts.xml
- 配置Struts的Action映射
1:添加Web.xml
在WebContent/WEB-INF目录下添加web.xml
内容为:
<web-app id="WebApp_9" version="2.4"
	xmlns="http://java.sun.com/xml/ns/j2ee"
	xmlns:xsi="http://www.w3.org/2001/XMLSchema-instance"
	xsi:schemaLocation="http://java.sun.com/xml/ns/j2ee http://java.sun.com/xml/ns/j2ee/web-app_2_4.xsd">

    <display-name>HelloWorld</display-name>

     <filter>
        <filter-name>struts</filter-name>
        <filter-class>org.apache.struts2.dispatcher.filter.StrutsPrepareAndExecuteFilter</filter-class>
    </filter>
    <!-- END SNIPPET: filter -->

    <filter-mapping>
        <filter-name>struts</filter-name>
        <url-pattern>/*</url-pattern>
    </filter-mapping>


</web-app>
2:添加Action
在Src目录下添加Action

因为简单这里没有使用包
在Src目录下添加Struts.xml
<?xml version="1.0" encoding="UTF-8"?>

<!DOCTYPE struts PUBLIC
        "-//Apache Software Foundation//DTD Struts Configuration 2.5//EN"
        "http://struts.apache.org/dtds/struts-2.5.dtd">


<struts>


    <package name="hello" extends="struts-default">

    	 <action name="FirstShow" class="HelloWorldAction"  >
         	<result name="success" >/index.jsp</result>
        </action>
    </package>
</struts>
在WebContent目录下添加index.jsp
<%@ page language="java" contentType="text/html; charset=ISO-8859-1"
pageEncoding="ISO-8859-1"%>
<!DOCTYPE html>
<html>
<head>
<meta charset="ISO-8859-1">
<title>Insert title here</title>
</head>
<body>
<h1 style="color:red">
Hello World
</h1>
</body>
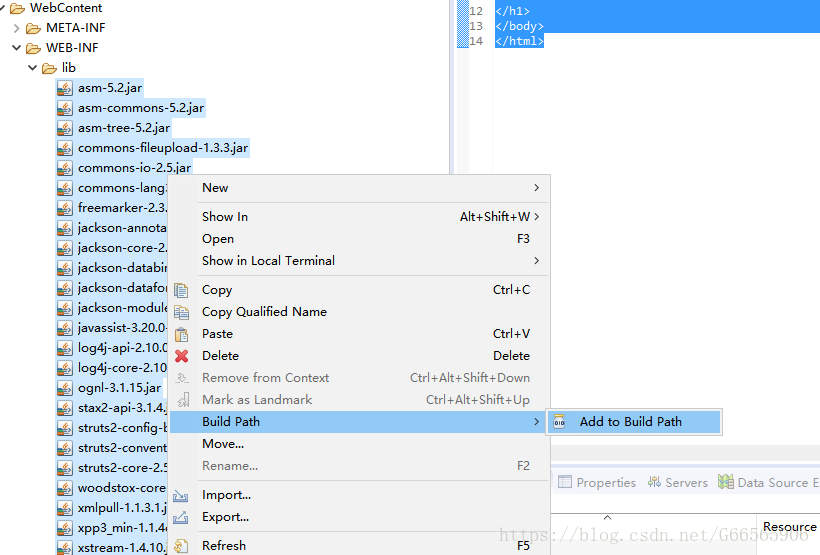
</html>添加struts2的jar依赖文件至WebContent\WEB-INF\lib目录下,
依赖的jar可以从 struts-2.5.17\apps\struts2-rest-showcase\WEB-INF\lib 目录拷贝至WebContent\WEB-INF\lib目录
其中struts2-rest-showcase.war 需要事先解压,同时拷贝时不要拷贝 struts2-rest-plugin-2.5.17.jar包
在Eclipse IDE 中刷新 WEB-INF\lib 然后将该目录下的jar添加到build path中
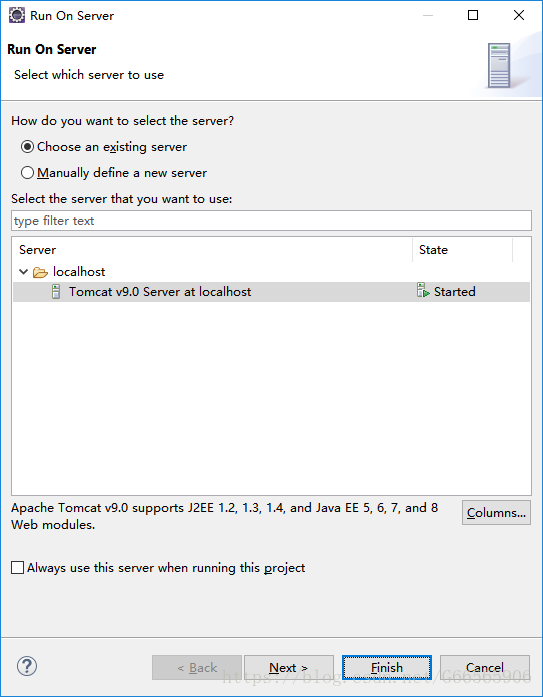
4运行程序

在弹出的 服务器选择界面中选择 Tomcat V9.0 点击Finish即可
在浏览器中输入URL, 注意URL中要包含项目名称。
