要开始一个新项目了,奈何测试部门人不够了,只能自己写测试了。。
Robolectric是封装了junit4的测试框架,我对测试不怎么了解,只有大学上的软件测试课的基础,只知道什么是白盒测试,黑盒测试,集成测试,Robolectric属于黑盒测试。
配置Robolectric
环境:mac+Android studio+sdk level23
(1)app下的build.gradle:
dependencies下
testCompile "org.robolectric:robolectric:3.0"android下:
useLibrary 'org.apache.http.legacy'这个是api23要加的
(2)选择Build Variants中Test Artifact的Unit Tests
(3)Gradle同步(点击Gradle面板中的同步按钮就行)
经过这三步就配置好了,可能不同环境会有不同的问题吧,确实挺D疼的。在首次运行测试的时候会自动下载一些pom文件和.jar包,死等!这些网站的太变态,vpn不行,普通网络也不行,速度很慢,只能等。。我也是等了2个多小时才下完,50多M的文件。
正题
先贴几个文件,后边的都围绕这些来展开
MainActivity.java:
package com.boomstack.testrobo_01;

import android.content.Intent;
import android.os.Bundle;
import android.support.v7.app.AppCompatActivity;
import android.view.View;
import android.widget.Button;
import android.widget.TextView;

public class MainActivity extends AppCompatActivity {
    TextView tv;
    Button btn;
    TextView myTv;

    @Override
    protected void onCreate(Bundle savedInstanceState) {
        super.onCreate(savedInstanceState);
        setContentView(R.layout.activity_main);
        tv = (TextView) findViewById(R.id.tv);
        tv.setOnClickListener(new View.OnClickListener() {
            @Override
            public void onClick(View v) {
                Intent i = new Intent();
                i.setClass(MainActivity.this, OtherActivity.class);
                startActivity(i);
            }
        });
        btn = (Button) findViewById(R.id.btn);
        btn.setOnClickListener(new View.OnClickListener() {
            @Override
            public void onClick(View v) {
                tv.setText("Hola");
            }
        });
        myTv = (TextView) findViewById(R.id.tv_my);
        myTv.setOnClickListener(new View.OnClickListener() {
            @Override
            public void onClick(View v) {
                Intent i = new Intent();
                i.setClass(MainActivity.this, ThirdActivity.class);
                startActivity(i);
            }
        });
    }
}
activity_main.xml:
<?xml version="1.0" encoding="utf-8"?>
<RelativeLayout xmlns:android="http://schemas.android.com/apk/res/android"
    xmlns:tools="http://schemas.android.com/tools"
    android:layout_width="match_parent"
    android:layout_height="match_parent"
    android:paddingBottom="@dimen/activity_vertical_margin"
    android:paddingLeft="@dimen/activity_horizontal_margin"
    android:paddingRight="@dimen/activity_horizontal_margin"
    android:paddingTop="@dimen/activity_vertical_margin"
    tools:context="com.boomstack.testrobo_01.MainActivity">

    <TextView
        android:id="@+id/tv"
        android:layout_width="wrap_content"
        android:layout_height="wrap_content"
        android:text="Hello World!" />

    <Button
        android:id="@+id/btn"
        android:layout_width="match_parent"
        android:layout_height="wrap_content"
        android:layout_below="@+id/tv"
        android:text="button" />

    <com.boomstack.testrobo_01.MyTextView
        android:id="@+id/tv_my"
        android:layout_width="match_parent"
        android:layout_height="match_parent"
        android:layout_below="@+id/btn"
        android:text="mytextview"
        android:textSize="50sp" />
</RelativeLayout>
MyTextView.java:
package com.boomstack.testrobo_01;

import android.content.Context;
import android.util.AttributeSet;
import android.widget.TextView;

/**
 * Created by bjhl on 16/3/31.
 */
public class MyTextView extends TextView {
    public MyTextView(Context context) {
        super(context);
    }

    public MyTextView(Context context, AttributeSet attrs) {
        super(context, attrs);
    }

    @Override
    protected void onMeasure(int widthMeasureSpec, int heightMeasureSpec) {
        super.onMeasure(30, 10);
    }
    public static int myMethod(){
        return 10;
    }
}
MainActivity的测试文件
MainAcivityTest.java
package com.boomstack.testrobo_01;

import android.app.Activity;
import android.content.Intent;
import android.os.Build;
import android.widget.Button;
import android.widget.TextView;

import org.junit.Assert;
import org.junit.Before;
import org.junit.Test;
import org.junit.runner.RunWith;
import org.robolectric.Robolectric;
import org.robolectric.RobolectricGradleTestRunner;
import org.robolectric.Shadows;
import org.robolectric.annotation.Config;
import org.robolectric.shadows.ShadowActivity;
import org.robolectric.shadows.ShadowTextView;
import org.robolectric.util.ActivityController;

/**
 * Created by wangkangfei on 16/3/31.
 */
@RunWith(RobolectricGradleTestRunner.class)
@Config(constants = BuildConfig.class, sdk = Build.VERSION_CODES.LOLLIPOP, shadows = {CustomShadowTextView.class})
public class MainActivityTest {
    private MainActivity mainActivity;
    private TextView tv;
    private Button btn;
    private MyTextView mtv;

    @Before
    public void setUp() {
        mainActivity = Robolectric.setupActivity(MainActivity.class);
        tv = (TextView) mainActivity.findViewById(R.id.tv);
        btn = (Button) mainActivity.findViewById(R.id.btn);
        mtv = (MyTextView) mainActivity.findViewById(R.id.tv_my);
    }

    @Test
    public void testInit() {
        Assert.assertNotNull(mainActivity);
        Assert.assertNotNull(tv);
        Assert.assertNotNull(btn);
        Assert.assertEquals("com.boomstack.testrobo_01", mainActivity.getPackageName());
        Assert.assertEquals("Hello World!", tv.getText().toString());
    }

    @Test
    public void testBtn() {
        btn.performClick();
        Assert.assertEquals("Hola", tv.getText().toString());
    }

    @Test
    public void testLifecycle() {
        ActivityController controller = Robolectric.buildActivity(MainActivity.class).create().start();
        Activity activity = (Activity) controller.get();
        Assert.assertNotNull(activity);
        controller.resume();
        Assert.assertEquals("Hello World!", tv.getText().toString());
        btn.performClick();
        Assert.assertEquals("Hola", tv.getText().toString());
    }

    @Test
    public void testIntent() {
        tv.performClick();
        Intent exceptedIntent = new Intent(mainActivity, OtherActivity.class);
        //real activity
        ShadowActivity shadowActivity = Shadows.shadowOf(mainActivity);
        Intent actualIntent = shadowActivity.getNextStartedActivity();
        Assert.assertEquals(exceptedIntent, actualIntent);
    }

    @Test
    public void testTextView() {
        ShadowTextView stv = Shadows.shadowOf(tv);
        String innerText = stv.innerText();
        Assert.assertEquals("Hello World!", innerText);
    }

    @Test
    public void testCustomTextView() {
        ShadowTextView sv = Shadows.shadowOf(mtv);
        CustomShadowTextView cstv = (CustomShadowTextView) sv;
        Assert.assertEquals("mytextview", cstv.innerText());
    }
}
自定义shadow类
CustomShadowTextView.java
package com.boomstack.testrobo_01;

import org.robolectric.annotation.Implementation;
import org.robolectric.annotation.Implements;
import org.robolectric.shadows.ShadowTextView;

/**
 * Created by wangkangfei on 16/3/31.
 */
@Implements(MyTextView.class)
public class CustomShadowTextView extends ShadowTextView {

    @Implementation
    public static int myMethod() {
        return 90;
    }
}
跟junit一样,注解@Before, @Test, @After是测试前中后会执行的方法。
普通变量的测试
Robolectric封装的junit,跟junit使用几乎一模一样,只是扩展的Android部分不同而已,这是后话。
在testInit方法中,去判定了activity等值否为空,以及一些变量的值是否相等
Android 声明周期的测试testLifecycle
就是Android几个生命周期执行过程中断言一些变量,官方说的比我好,还是看原文吧:
http://robolectric.org/activity-lifecycle/
Intent的测试testIntent
TextView执行点击后,先获取期待的intent,在获取实际的intent,再断言二者是否相同。
标准shadow的测试testTextView
Robolectric将Android自带的空间映射成自己额一套空间,用于跟进控件的行为。
Shadows类中:
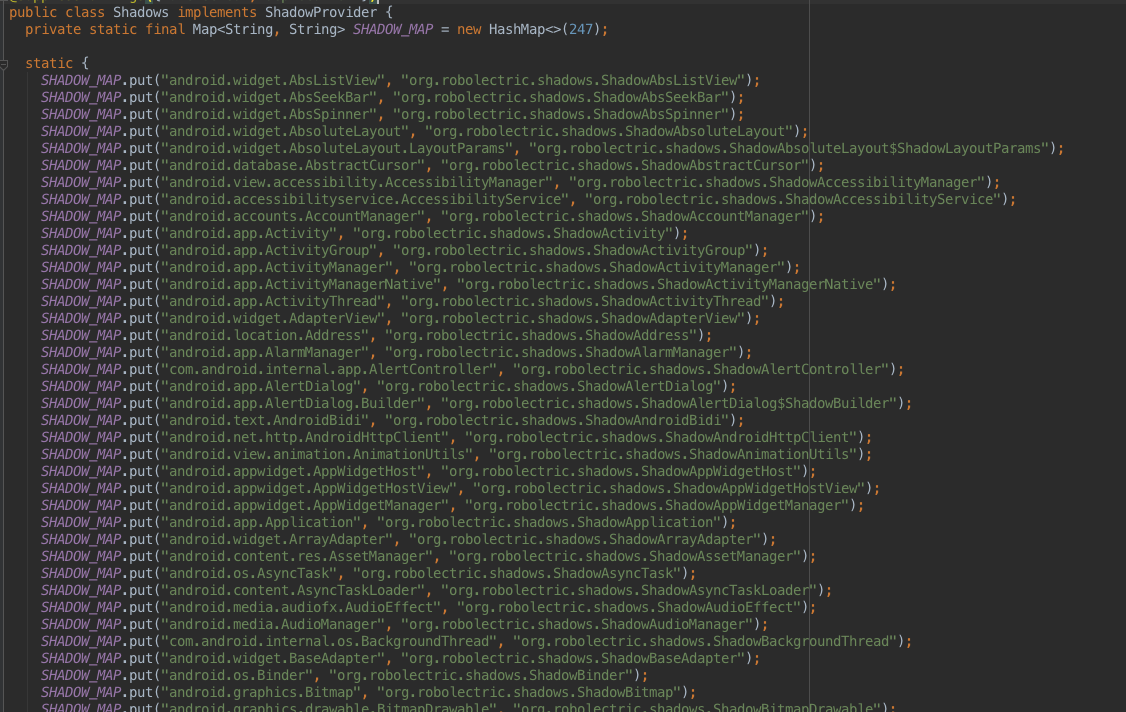
Shadows.shadowOf就是转化方法,Android控件–>Robolectric控件
然后就可以使用自己“控件”的方法追踪实际控件的行为了,当然也是用的junit断言。
自定义shadow
追踪自定义的view要自定义shadow,本例中,我自定义了MyTextView,同时对应一个CustomShadowTextView,其实就是扩展了Android自带控件和Robolectric控件的映射集合。
使用上是类似的,注意config的使用,这些官网上都有,就不费口舌了:http://robolectric.org/