unittest是Python标准库自带的单元测试框架,是Python版本的JUnit,关于unittest框架的使用,官方文档非常详细,网上也有不少好的教程,这里就不多说了。
本文主要分享在使用unittest的过程中,做的一些扩展尝试。先上一个例子。
import unittest

class TestLegion(unittest.TestCase): def test_create_legion(self): """创建军团 :return: """ def test_bless(self): """ 公会祈福 :return: """ def test_receive_bless_box(self): """ 领取祈福宝箱 :return: """ def test_quit_legion(self): """退出军团 :return: """
这是一个标准的使用unittest进行测试的例子,写完后心里美滋滋,嗯,就按照这个顺序测就可以了。结果一运行。

什么鬼。执行的顺序乱了。第一个执行的测试用例并不是创建军团,而是公会祈福,此时玩家还没创建军团,进行公会祈福的话会直接报错,导致用例失败。
到这里有些同学会想说,为什么要让测试用例之间有所依赖呢?
的确,如果完全没依赖,测试用例的执行顺序是不需要关注的。但是这样对于用例的设计和实现,要求就高了许多。而对游戏来说,一个系统内的操作,是有很大的关联性的。以军团为例,军团内的每个操作都有一个前提,你需要加入一个军团。所以要实现用例之间的完全解耦,需要每个用例开始之前,检测玩家的军团状态。
如果可以控制测试用例的执行顺序,按照功能玩法流程一遍走下来,节省的代码量是非常可观的,阅读测试用例也会清晰许多。
如何控制unittest用例执行的顺序呢?
我们先看看,unittest是怎么样对用例进行排序的。在loader.py的loadTestsFromTestCase方法里边,调用了getTestCaseNames方法来获取测试用例的名称
def getTestCaseNames(self, testCaseClass):
"""Return a sorted sequence of method names found within testCaseClass """ def isTestMethod(attrname, testCaseClass=testCaseClass, prefix=self.testMethodPrefix): return attrname.startswith(prefix) and \ callable(getattr(testCaseClass, attrname)) testFnNames = list(filter(isTestMethod, dir(testCaseClass))) if self.sortTestMethodsUsing: testFnNames.sort(key=functools.cmp_to_key(self.sortTestMethodsUsing)) return testFnNames 可以看到,getTestCaseNames方法对测试用例的名称进行了排序
testFnNames.sort(key=functools.cmp_to_key(self.sortTestMethodsUsing))
看看排序方法
def three_way_cmp(x, y):
    """Return -1 if x < y, 0 if x == y and 1 if x > y""" return (x > y) - (x < y)
根据排序规则,unittest执行测试用例,默认是根据ASCII码的顺序加载测试用例,数字与字母的顺序为:0-9,A-Z,a-z。
做个实验:
import functools

case_names = ["test_buy_goods", "test_Battle", "test_apply", "test_1_apply"] def three_way_cmp(x, y): """Return -1 if x < y, 0 if x == y and 1 if x > y""" return (x > y) - (x < y) case_names.sort(key=functools.cmp_to_key(three_way_cmp)) print(case_names) output:['test_1_apply', 'test_Battle', 'test_apply', 'test_buy_goods']
基于unittest的机制,如何控制用例执行顺序呢?查了一些网上的资料,主要介绍了两种方式:
方式1,通过TestSuite类的addTest方法,按顺序加载测试用例:
suite = unittest.TestSuite()
suite.addTest(TestLegion("test_create_legion"))
suite.addTest(TestLegion("test_bless"))
suite.addTest(TestLegion("test_receive_bless_box"))
suite.addTest(TestLegion("test_quit_legion"))
unittest.TextTestRunner(verbosity=3).run(suite) 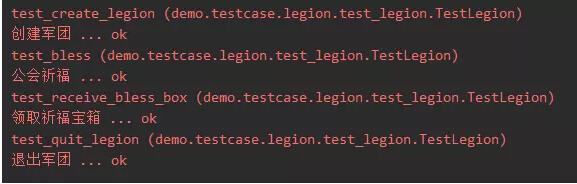
方式2,通过修改函数名的方式:
class TestLegion(unittest.TestCase):
def test_1_create_legion(self): """创建军团 :return: """ def test_2_bless(self): """ 公会祈福 :return: """ def test_3_receive_bless_box(self): """ 领取祈福宝箱 :return: """ def test_4_quit_legion(self): """退出军团 :return: """ 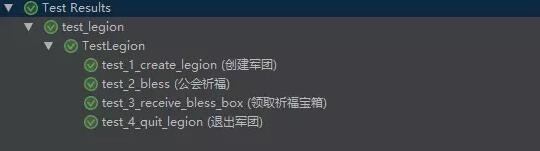
看起来都能满足需求,但是都不够好用,繁琐,代码不好维护。
那就造个轮子吧
于是开始了utx这个小项目,那么如何在不改动代码的情况下,让测试用例按照编写的顺序依次执行呢?
方案就是,在测试类初始化的时候,将测试方法按照编写的顺序,自动依次重命名为“test_1_create_legion”,“test_2_bless”,“test_3_receive_bless_box”等等,从而实现控制测试用例的执行。
这就需要控制类的创建行为,Python提供了一个非常强力的工具:元类,在元类的__new__方法中,我们可以获取类的全部成员函数,另外基于Python3.6的字典底层重构后,字典是有序的了,默认顺序和添加的顺序一致。所以我们拿到的测试用例,就和编写的顺序一致了。

接下来,就是按照顺序,依次改名了,定义一个全局的total_case_num变量,每次进行改名的时候,total_case_num递增+1,作为用例的id,加入到用例的名字当中。
    @staticmethod
def modify_raw_func_name_to_sort_case(raw_func_name, raw_func): case_id = Tool.general_case_id() setattr(raw_func, CASE_ID_FLAG, case_id) if setting.sort_case: func_name = raw_func_name.replace("test_", "test_{:05d}_".format(case_id)) else: func_name = raw_func_name return func_name 接下来是定义自己的TestCase类,继承unittest.TestCase,使用上边定义的元类
class _TestCase(unittest.TestCase, metaclass=Meta):
def shortDescription(self): """覆盖父类的方法,获取函数的注释 :return: """ doc = self._testMethodDoc doc = doc and doc.split()[0].strip() or None return doc 最后一步,对unittest打一个猴子补丁,将unittest.TestCase替换为自定义的_TestCase
unittest.TestCase = _TestCase
看下运行效果,代码和本文开始的例子一样,只是多了一句utx库的导入。
import unittest
from utx import *

class TestLegion(unittest.TestCase): def test_create_legion(self): """创建军团 :return: """ def test_bless(self): """ 公会祈福 :return: """ def test_receive_bless_box(self): """ 领取祈福宝箱 :return: """ def test_quit_legion(self): """退出军团 :return: """
运行效果:
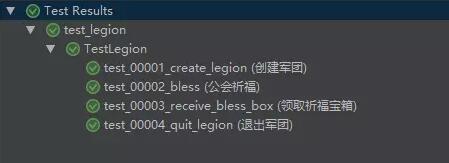
执行顺序就和我们的预期一致了~
基于这一套,开始加上其他的一些扩展功能,比如
- 用例自定义标签,可以运行指定标签的测试用例
@unique
class Tag(Enum): SMOKE = 1 # 冒烟测试标记,可以重命名,但是不要删除 FULL = 1000 # 完整测试标记,可以重命名,但是不要删除 # 以下开始为扩展标签,自行调整 SP = 2
class TestLegion(unittest.TestCase):
@tag(Tag.SMOKE) def test_create_legion(self): pass @tag(Tag.SP, Tag.FULL) def test_quit_legion(self): """退出军团 :return: """ print("吧啦啦啦啦啦啦") assert 1 == 2 from utx import *
if __name__ == '__main__':
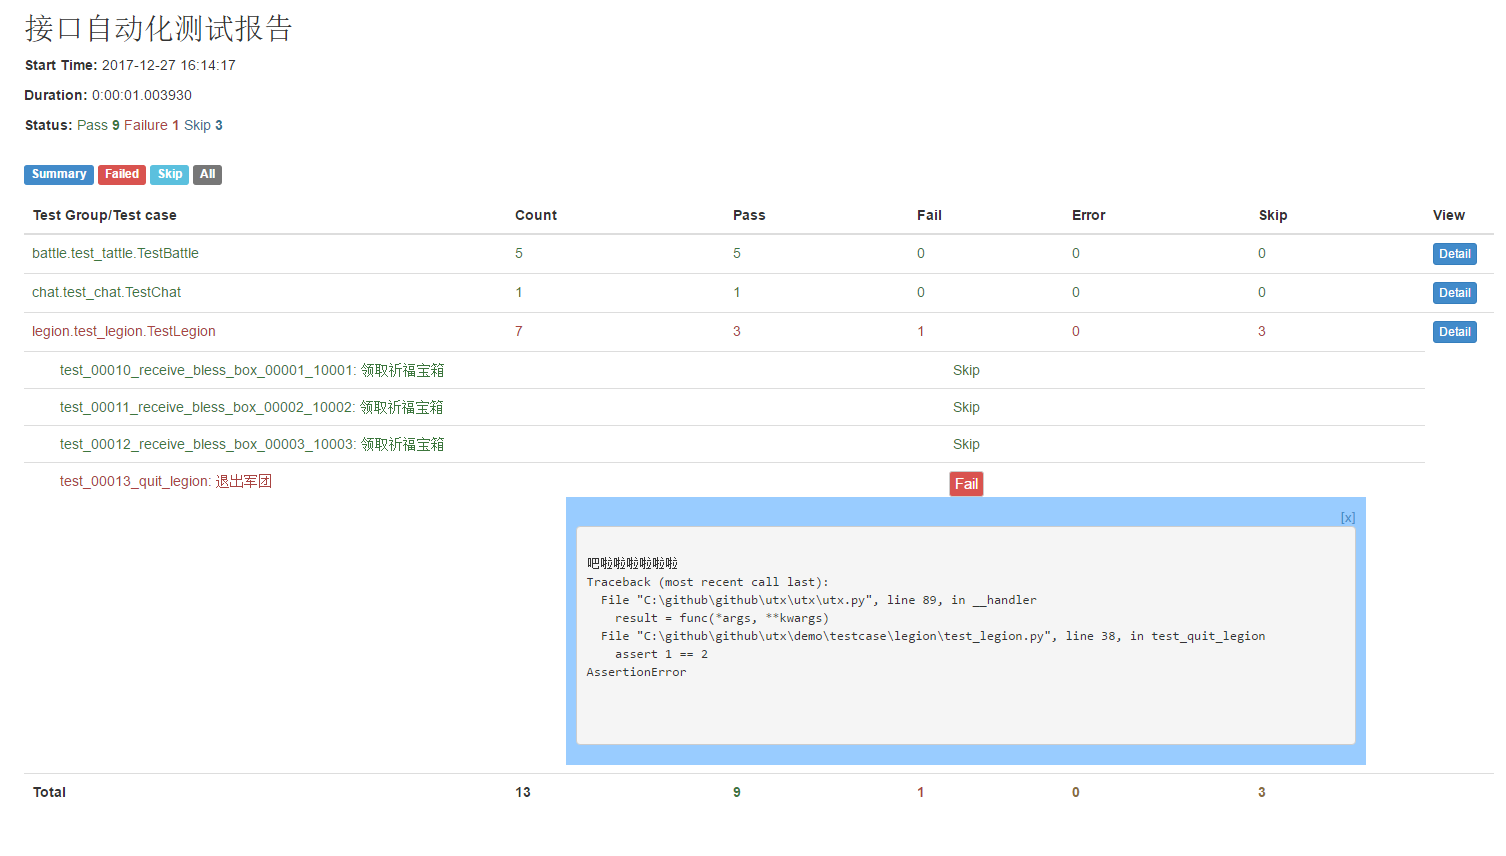
setting.run_case = {Tag.SMOKE} # 只运行SMOKE冒烟用例 # setting.run_case = {Tag.FULL} # 运行全部测试用例 # setting.run_case = {Tag.SMOKE, Tag.SP} # 只运行标记为SMOKE和SP的用例 runner = TestRunner() runner.add_case_dir(r"testcase") runner.run_test(report_title='接口自动化测试报告') - 数据驱动
class TestLegion(unittest.TestCase):

@data(["gold", 100], ["diamond", 500]) def test_bless(self, bless_type, award): print(bless_type) print(award) @data(10001, 10002, 10003) def test_receive_bless_box(self, box_id): """ 领取祈福宝箱 :return: """ print(box_id) # 默认会解包测试数据来一一对应函数参数,可以使用unpack=False,不进行解包 class TestBattle(unittest.TestCase): @data({"gold": 1000, "diamond": 100}, {"gold": 2000, "diamond": 200}, unpack=False) def test_get_battle_reward(self, reward): """ 领取战斗奖励 :return: """ print(reward) print("获得的钻石数量是:{}".format(reward['diamond'])) - 检测测试用例是否编写了说明描述
2017-11-03 12:00:19,334 WARNING legion.test_legion.test_bless没有用例描述 - 执行测试用例的时候,显示执行进度
2017-11-03 12:00:19,336 INFO 开始进行测试 2017-11-03 12:00:19,436 INFO Start to test legion.test_legion.test_create_legion (1/5) 2017-11-03 12:00:19,536 INFO Start to test legion.test_legion.test_receive_bless_box (2/5) 2017-11-03 12:00:19,637 INFO Start to test legion.test_legion.test_receive_bless_box (3/5) 2017-11-03 12:00:19,737 INFO Start to test legion.test_legion.test_receive_bless_box (4/5) 2017-11-03 12:00:19,837 INFO Start to test legion.test_legion.test_quit_legion (5/5) - setting类提供多个设置选项进行配置
class setting:

    # 只运行的用例类型
    run_case = {Tag.SMOKE}

# 开启用例排序 sort_case = True # 每个用例的执行间隔,单位是秒 execute_interval = 0.1 # 开启检测用例描述 check_case_doc = True # 显示完整用例名字(函数名字+参数信息) full_case_name = False # 测试报告显示的用例名字最大程度 max_case_name_len = 80 # 执行用例的时候,显示报错信息 show_error_traceback = True # 生成ztest风格的报告 create_ztest_style_report = True # 生成bstest风格的报告 create_bstest_style_report = True - 集成 ztest 和 BSTestRunner 生成测试报告,感谢两位作者的测试报告模版
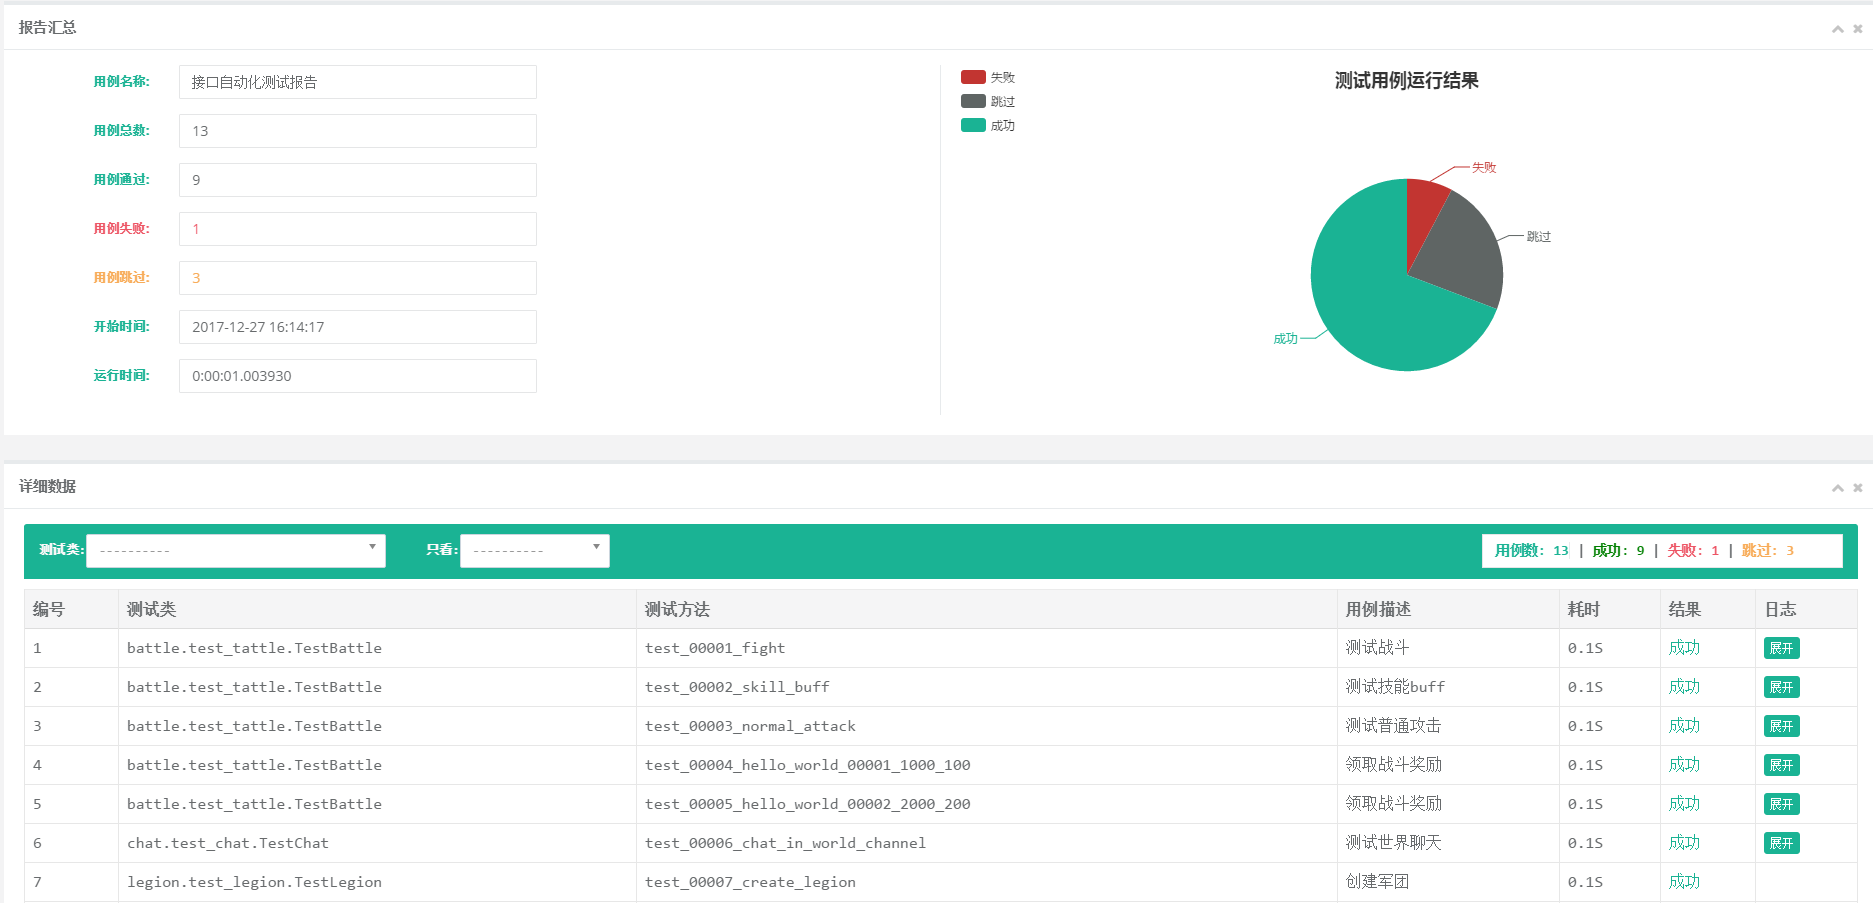
utx库核心源码不到200行,就不做过多讲解了,直接去Github看吧