版权声明:本文为博主原创文章,欢迎转载。 https://blog.csdn.net/u010828718/article/details/81215790
1 主要步骤
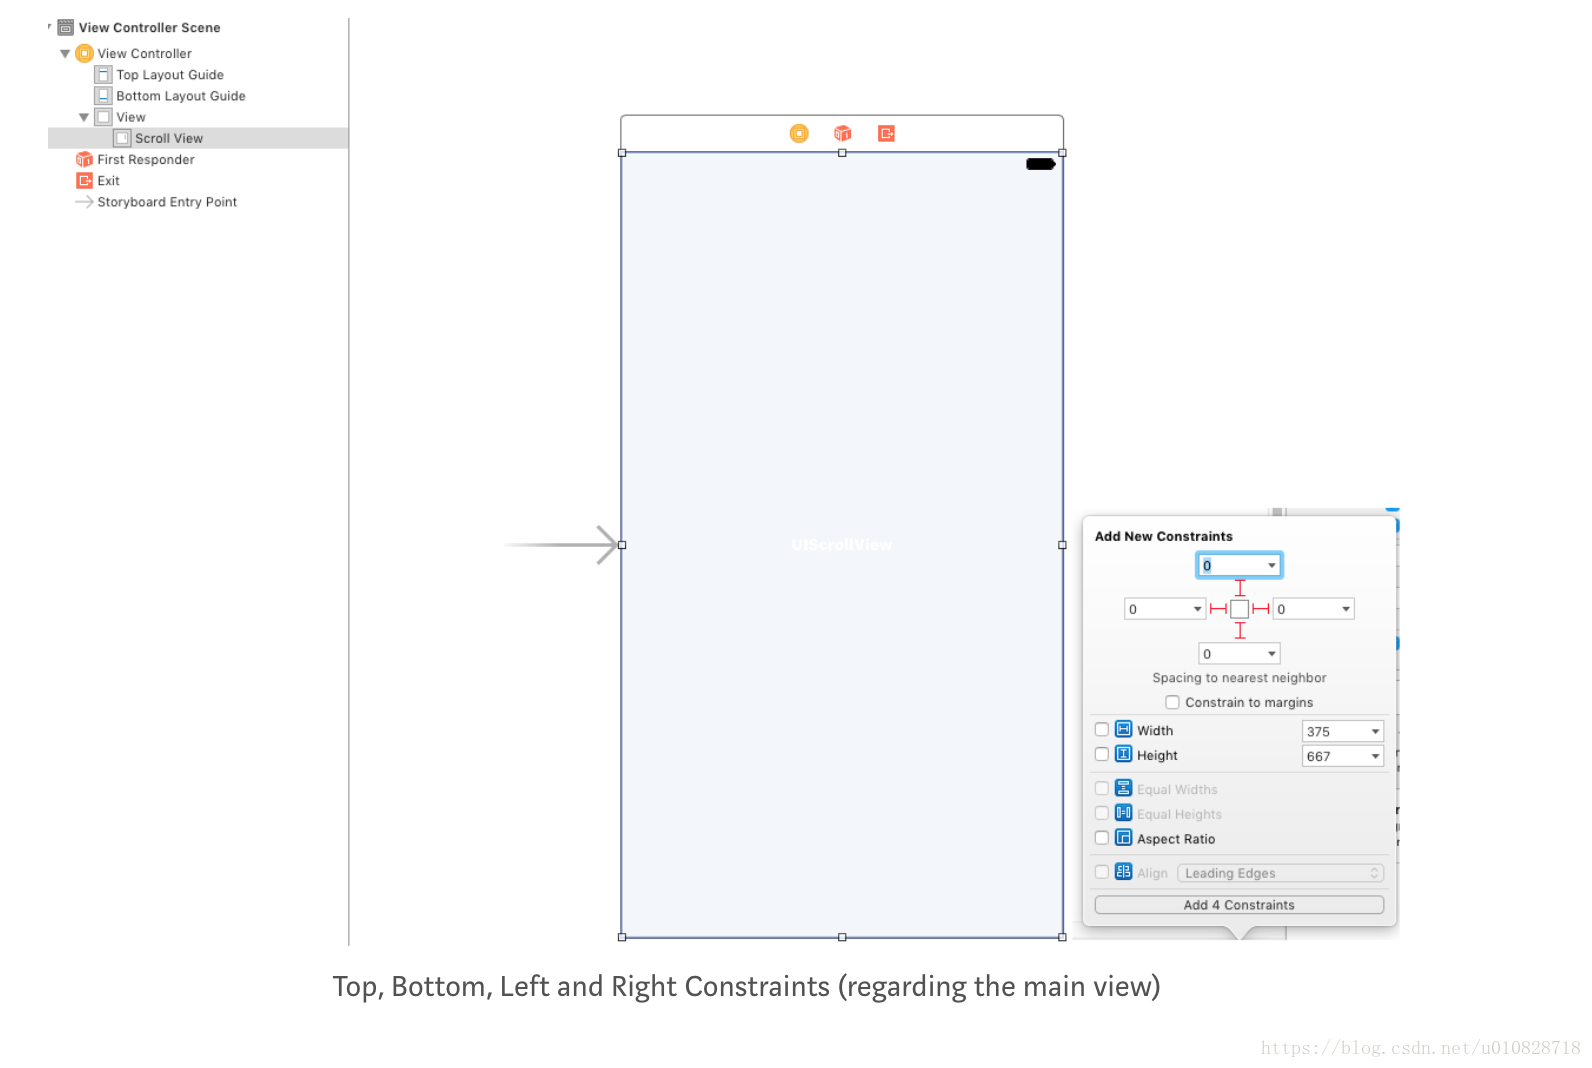
1 添加UIScrollView到ViewController(main view),添加 top, bottom, left and right 的constraints(相对于main view)
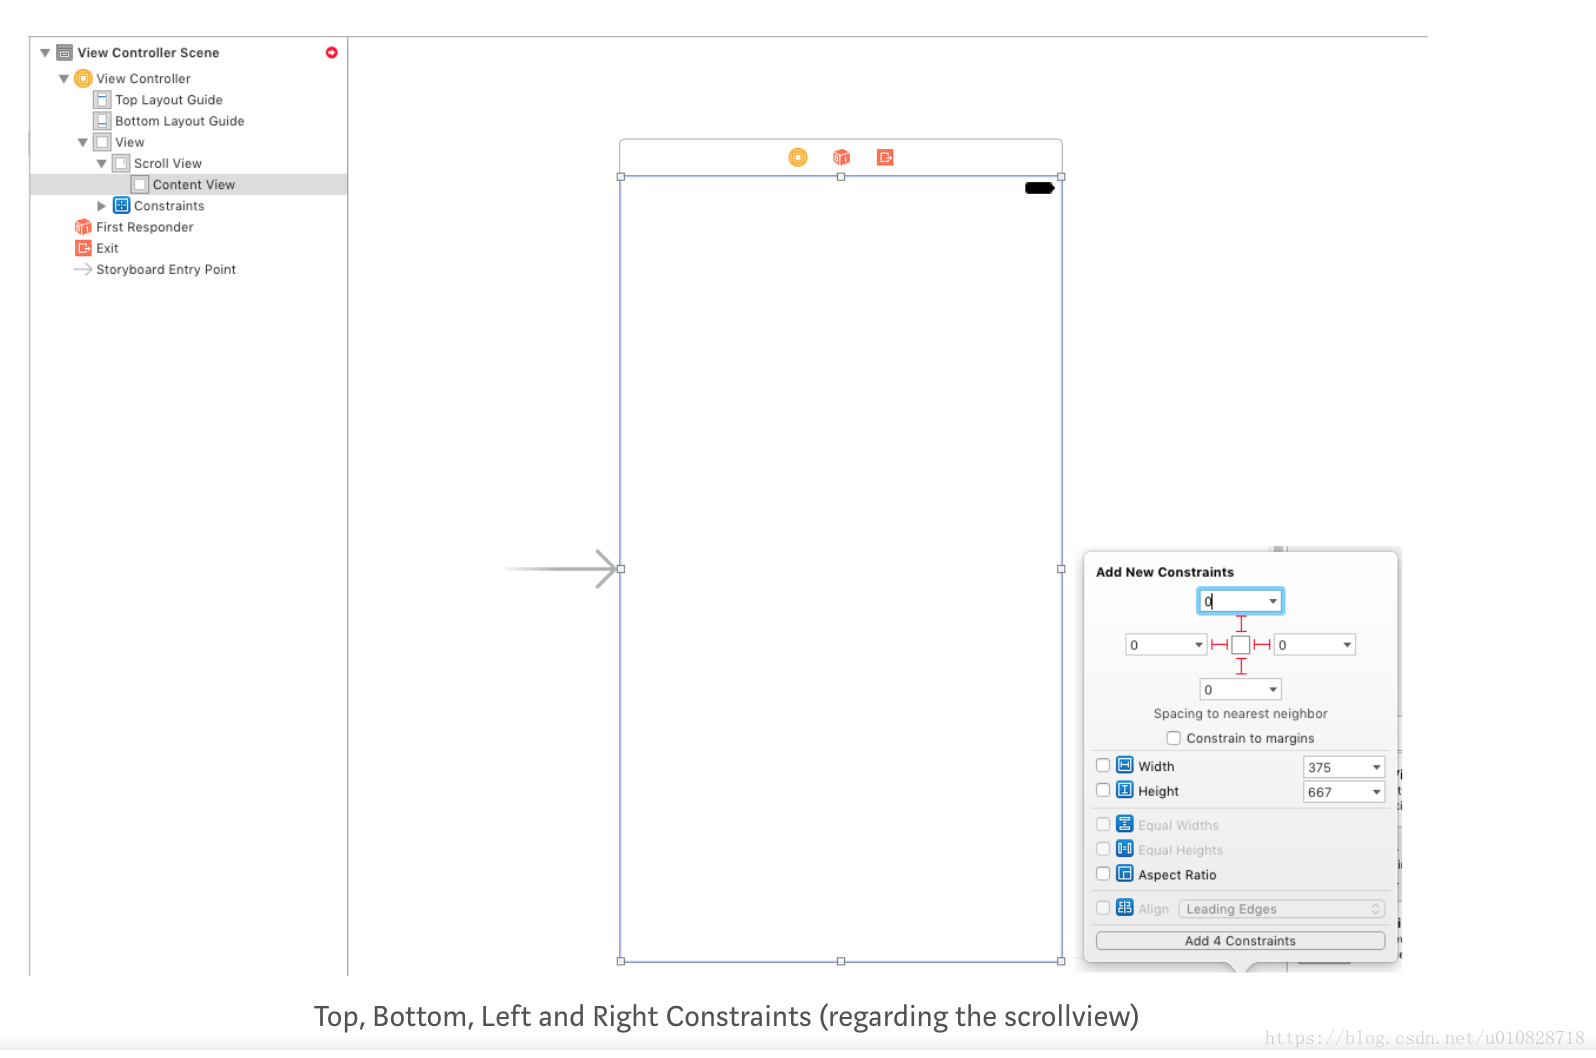
2 添加UIView作为UIScrollView的contentview(这一步是必须的),添加 top, bottom, left , right,Equal Widths 和 Widths 的constraints (相对于main view,或者相对于UIScrollView)
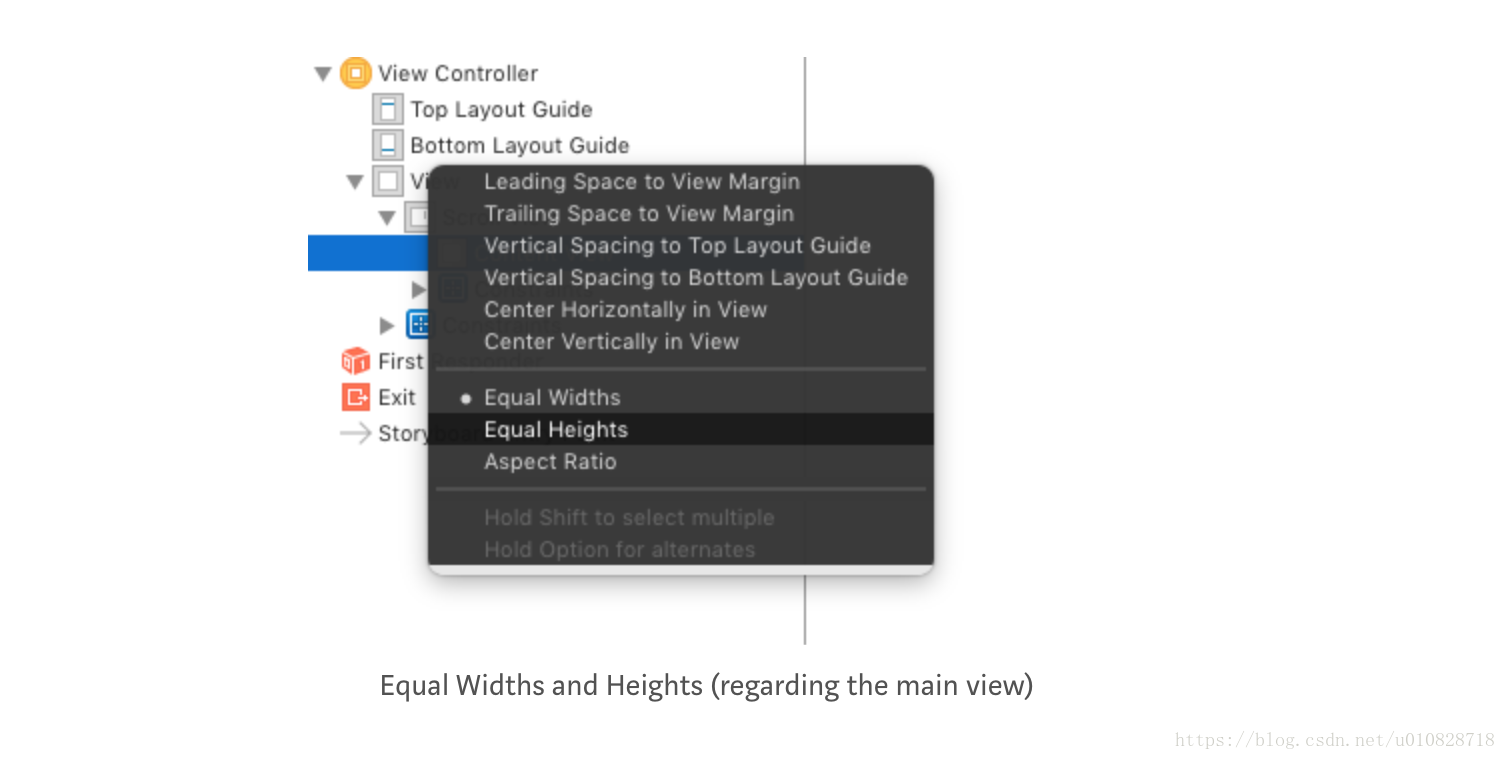
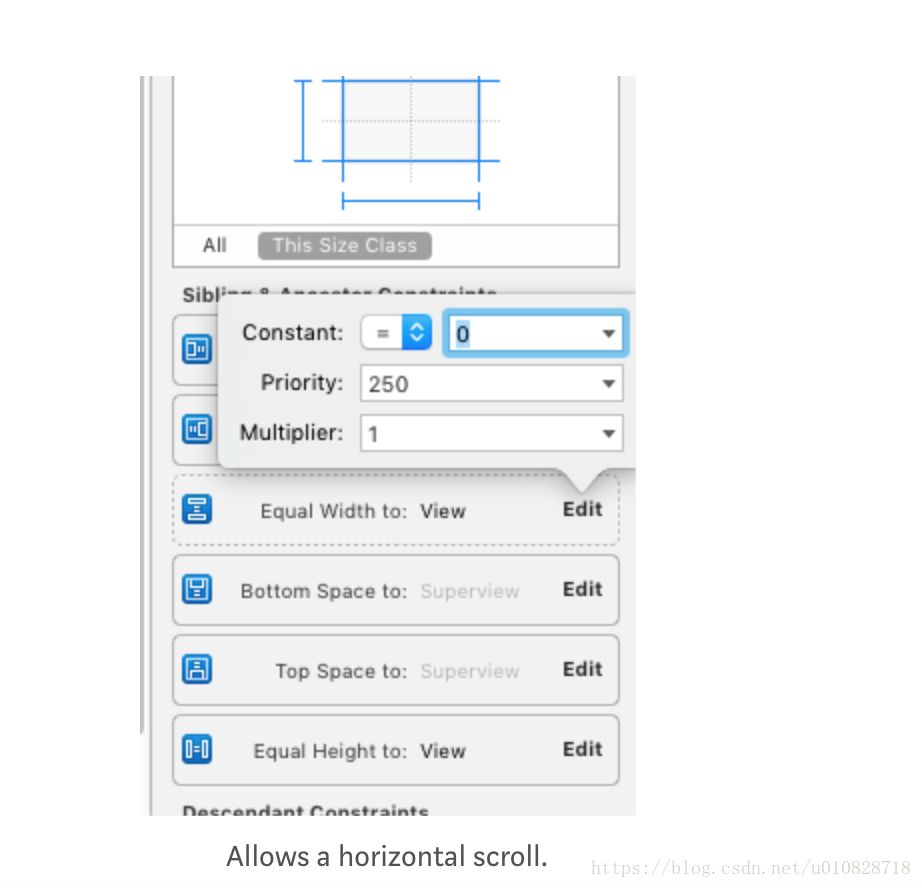
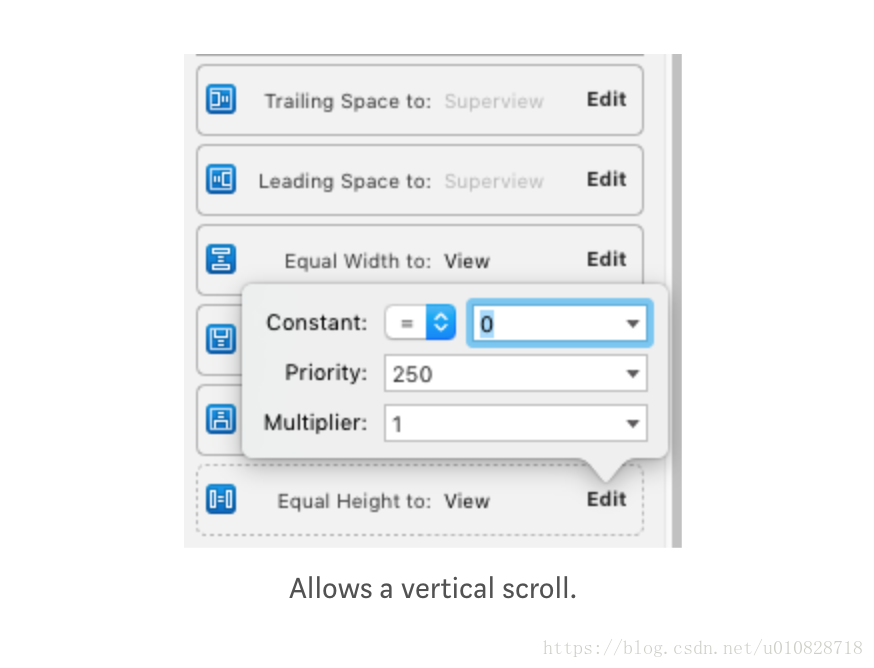
3 设置滚动方向,修改Equal Heights(Equal Widths)的priority 为low(250)
- 横向滚动
- 设置Equal Widths
- 纵向滚动
- 设置Equal Heights
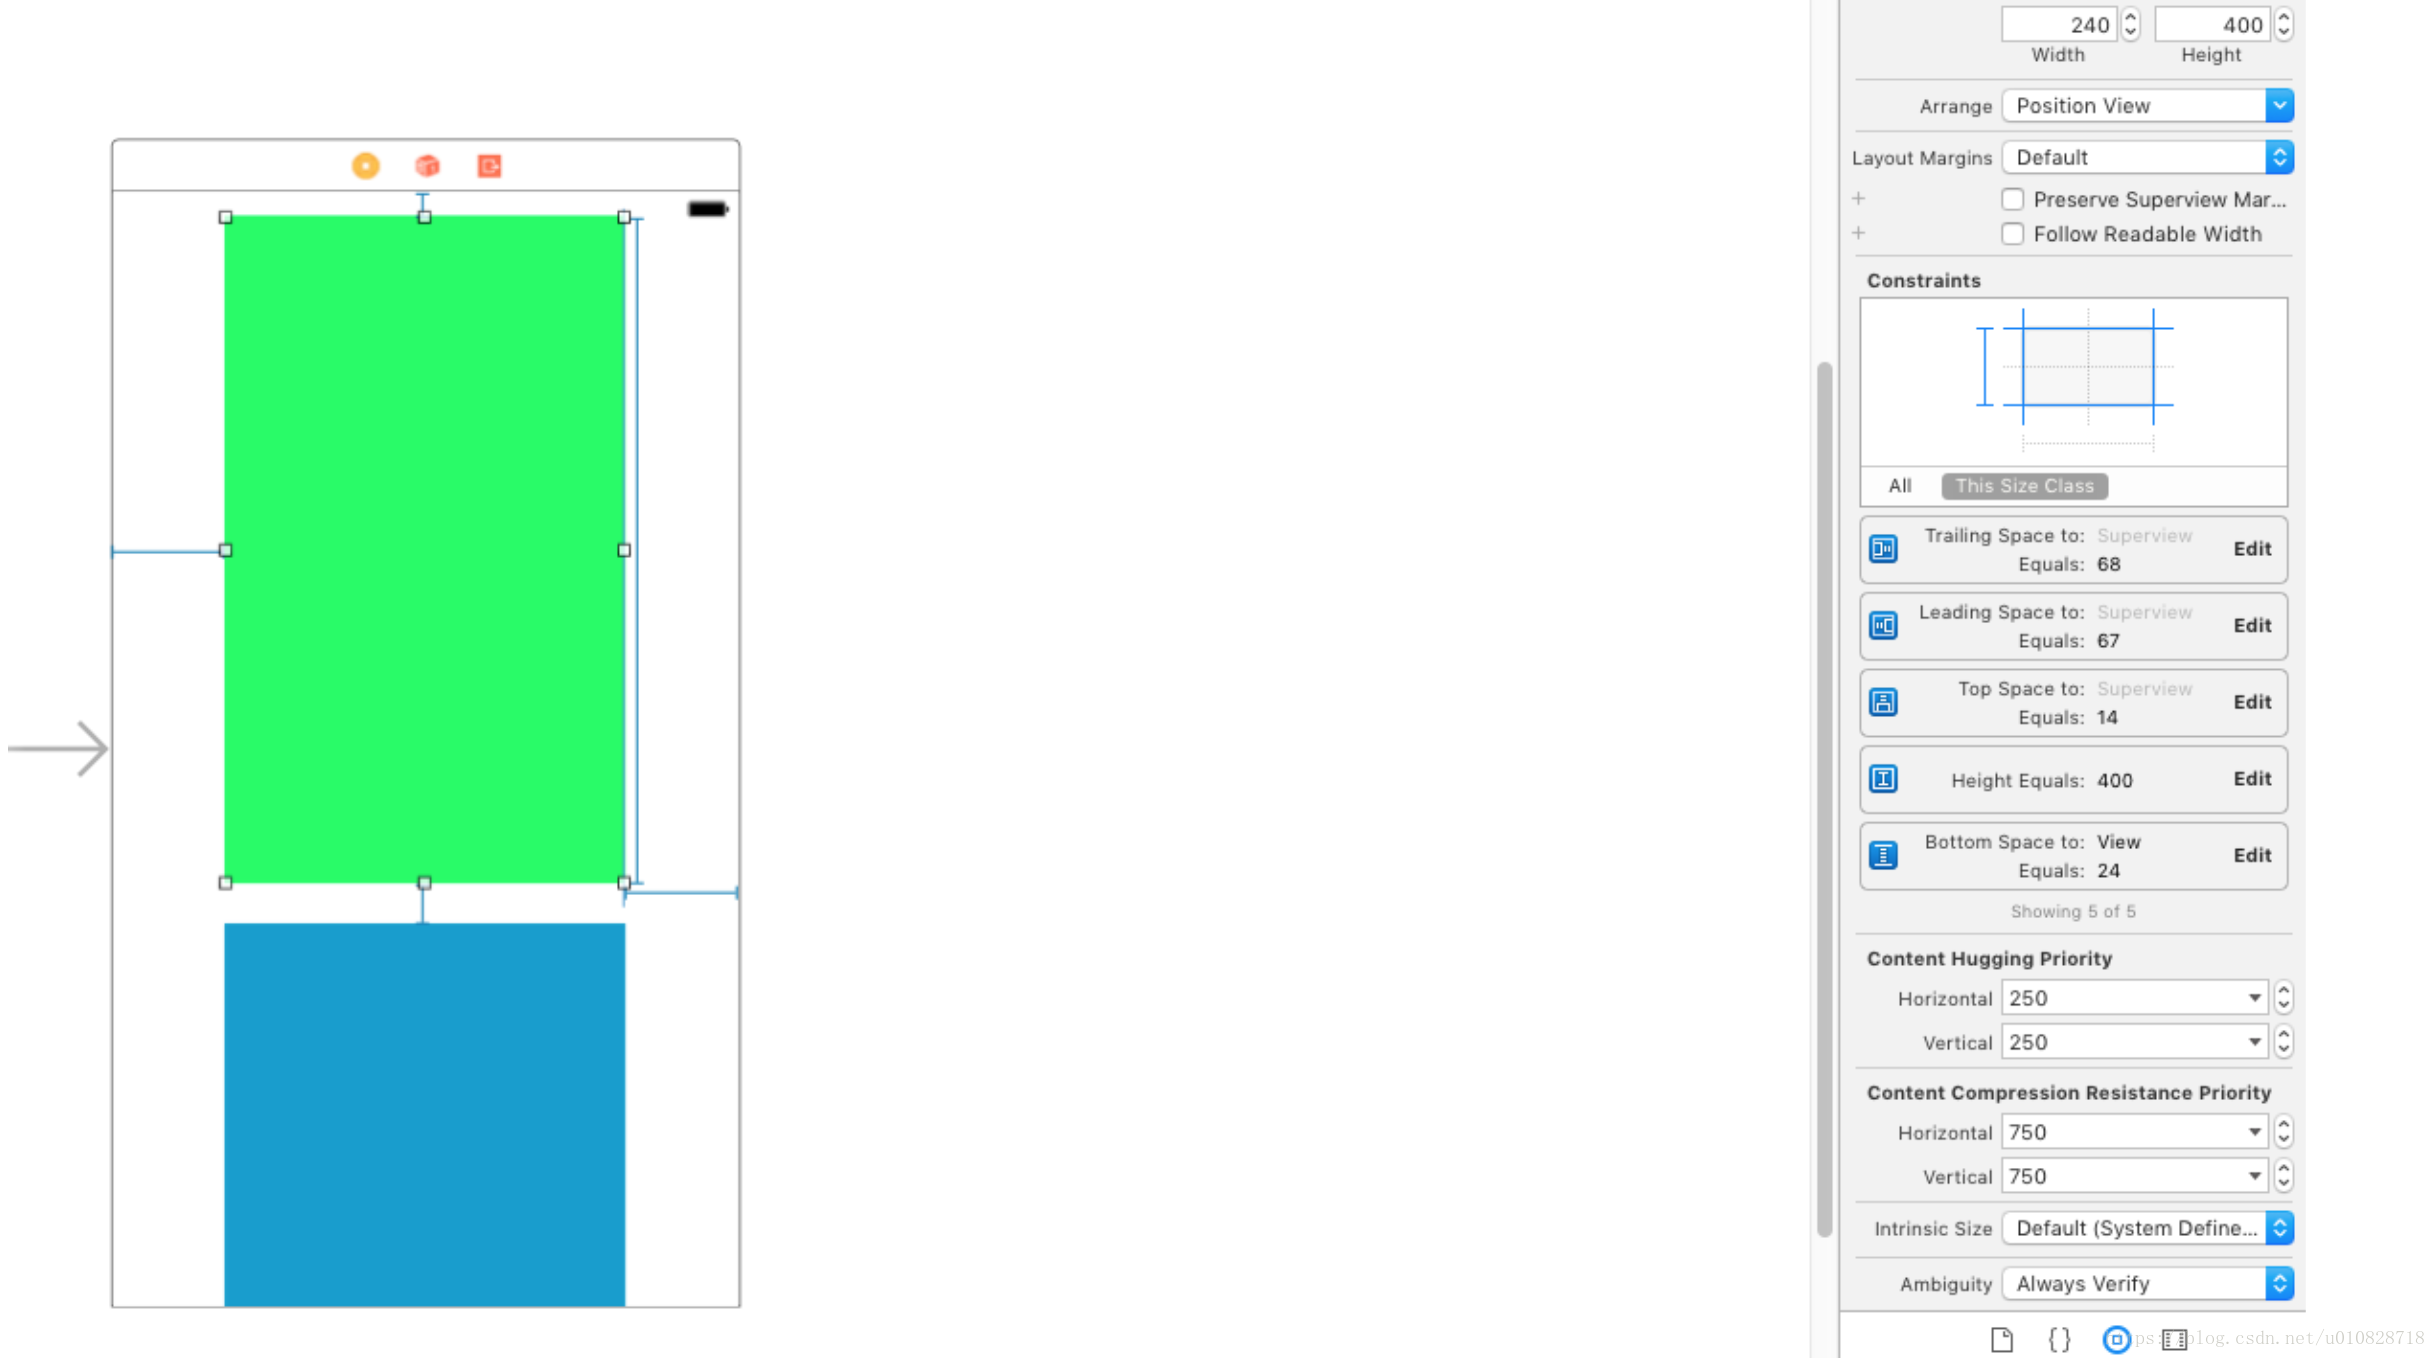
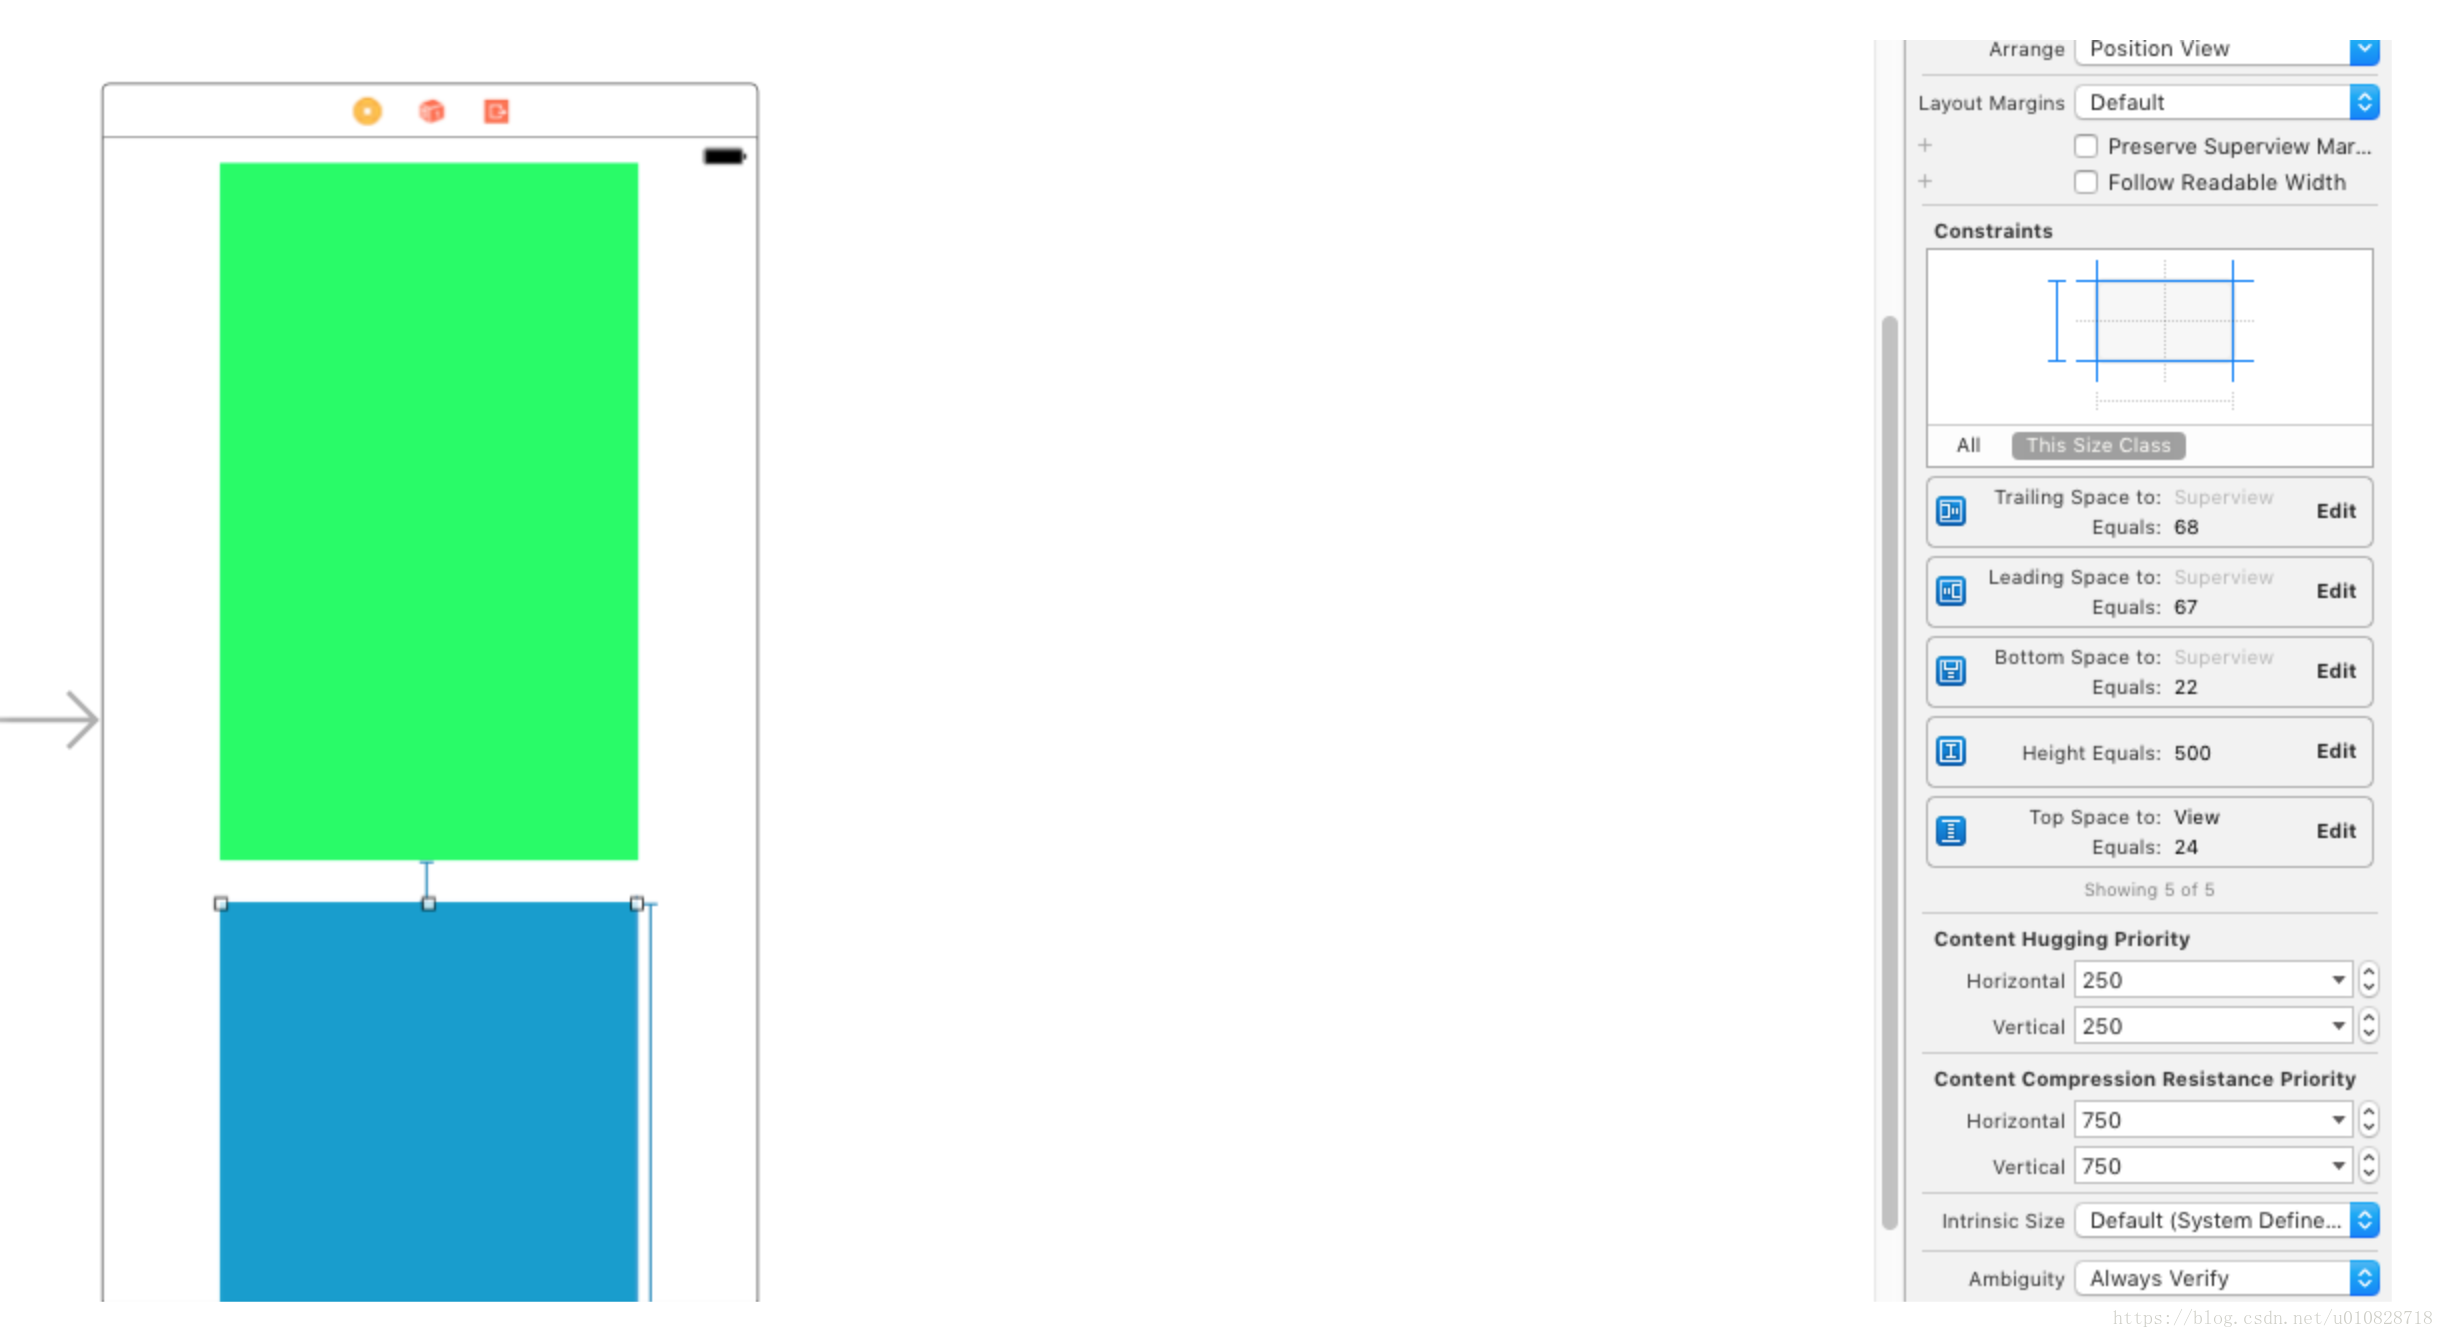
5 往UIScrollView中添加内容。比如两个view
- 垂直
- 首先要保证height constraint被定义(height equals to A or less or equal to A)
- 其次保证每个View的vertical spacing被定义
- 此外最上层的View和最下层的View 分别要有相对于我们添加的 ‘Content View’ 的 top spacing 和 bottom spacing的constraint
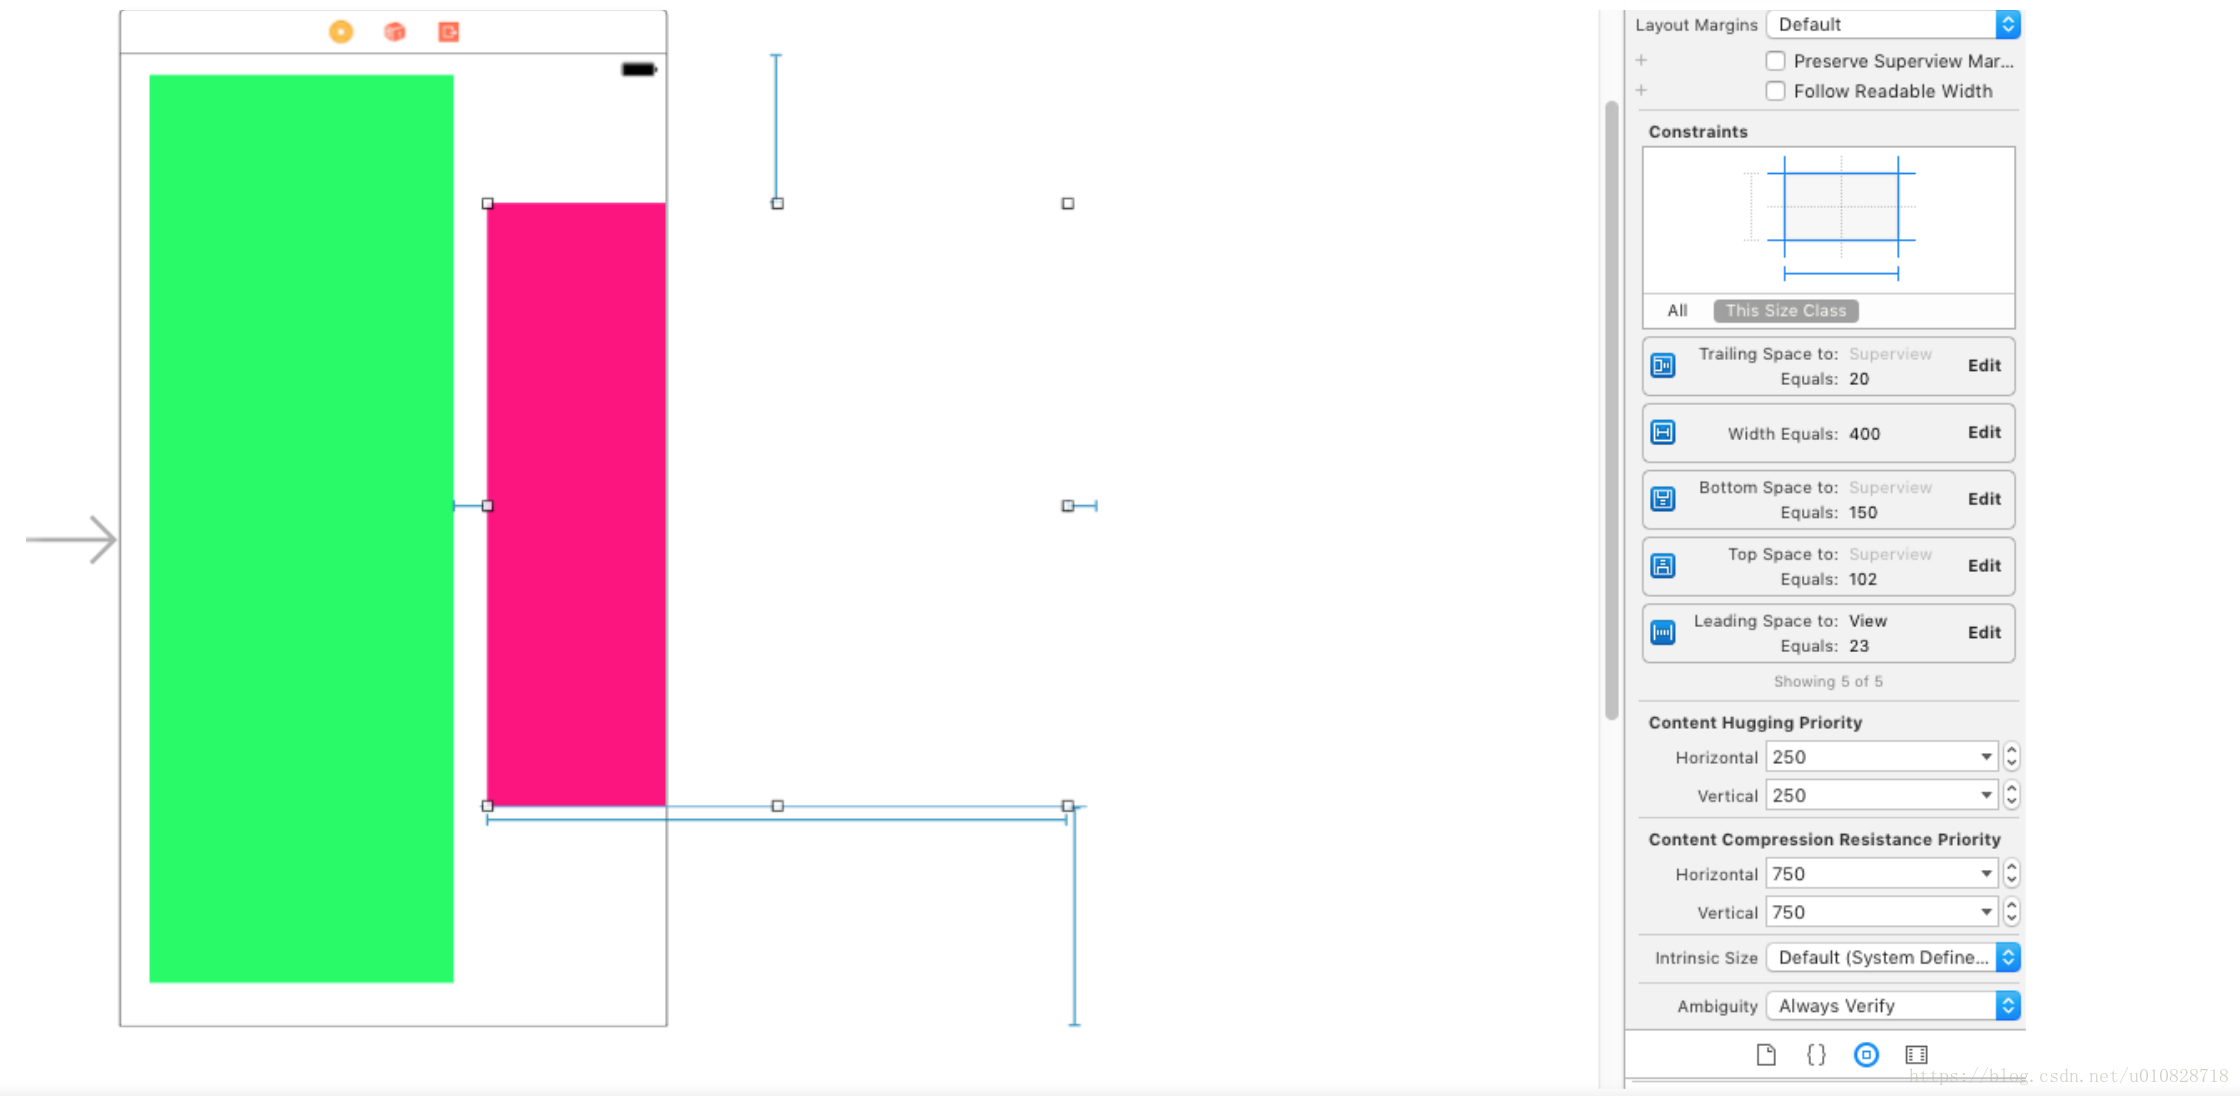
- 水平
- 首先要保证width constraint被定义(width equals to A or less or equal to A )(A表示某一个值)
- 其次保证每个View的horizontal spacing被定义
- 此外最左变的View和最右边的View 分别要有相对于我们添加的 ‘Content View’ 的 leading spacing 和 trailling spacing的constraint
2 例子
1) Vertical ScrollView
2) Horizontal ScrollView
扫描二维码关注公众号,回复:
3238559 查看本文章


3 参考
1 UIScrollView autolayout on a storyboard. A step-by-step guide (翻墙才能看,底端有视频)