更多相关链接:https://zhuanlan.zhihu.com/p/20643322
Springboot有逐渐取代springmvc的趋势,越来越多的项目开始使用springboot,对于初次使用的人来说,先搭建个helloworld出来,算是初始配置。
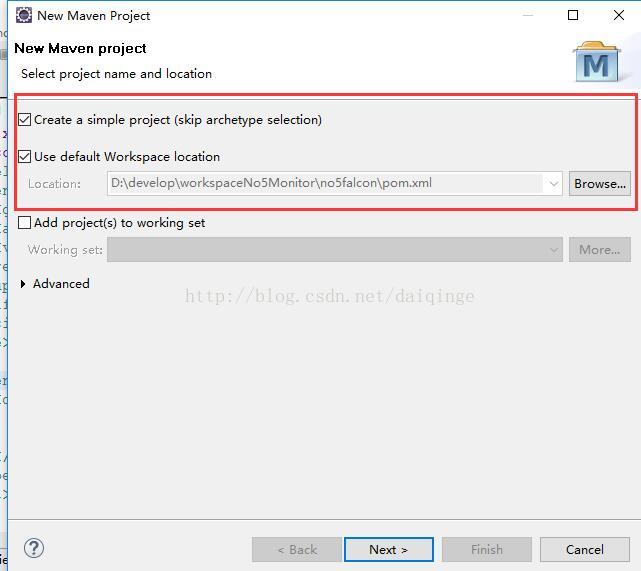
step1:
【File】->【New】->ma【maven project】,选中create a simple project 和use default workspace location,并且browse选择项目打算存储的路径
step2:
然后next,然后填写
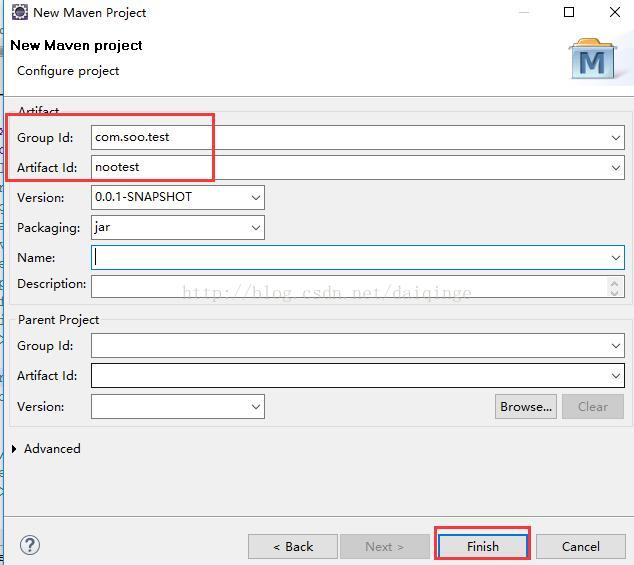
step3:
点击finish,项目就建立成功了。然后开始修改pom.xml文件内容,修改为:
<project xmlns="http://maven.apache.org/POM/4.0.0" xmlns:xsi="http://www.w3.org/2001/XMLSchema-instance"
    xsi:schemaLocation="http://maven.apache.org/POM/4.0.0 http://maven.apache.org/xsd/maven-4.0.0.xsd">
    <modelVersion>4.0.0</modelVersion>
    <parent>
        <groupId>org.springframework.boot</groupId>
        <artifactId>spring-boot-starter-parent</artifactId>
        <version>1.2.3.RELEASE</version>
    </parent>
    <groupId>com.tianmaying</groupId>
    <artifactId>website</artifactId>
    <version>0.0.1-SNAPSHOT</version>
    <name>tmy-website</name>

    <dependencies>
        <dependency>
            <groupId>org.springframework.boot</groupId>
            <artifactId>spring-boot-starter-web</artifactId>
        </dependency>
    </dependencies>
</project>
然后保存
step4:
src/main/java目录下新建一个文件:
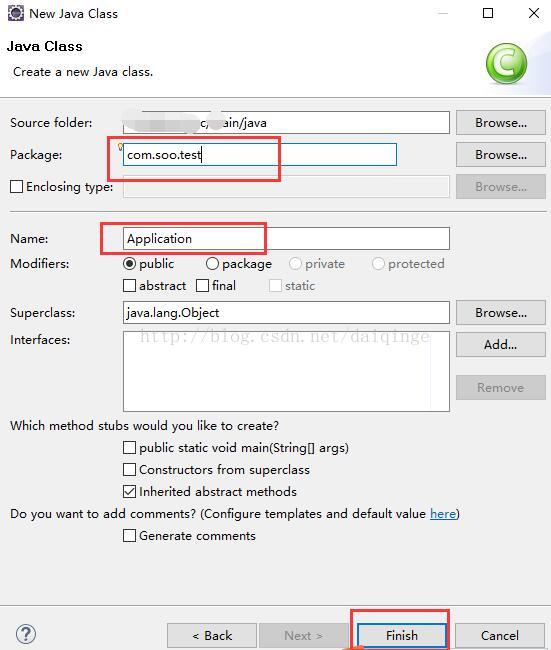
文件内容写为:
package com.soo.test;

import org.springframework.boot.SpringApplication;
import org.springframework.boot.autoconfigure.SpringBootApplication;
import org.springframework.stereotype.Controller;
import org.springframework.web.bind.annotation.RequestMapping;
import org.springframework.web.bind.annotation.ResponseBody;

@SpringBootApplication
@Controller
public class Application {

    @RequestMapping("/")
    @ResponseBody
    public String index() {
        return "Hello World!";
    }

    public static void main(String[] args) {
        SpringApplication.run(Application.class, args);
    }
}step5:
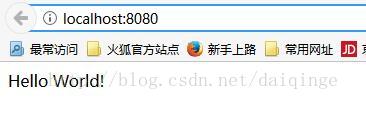
然后右键选择run as application,eclipse的console端口会出现启动信息,然后打开浏览器,输入:http://localhost:8080/
即可看到输出信息