SpringBoot学习–环境搭建
SpringBoot的优点:
- 快速构建项目
- 对主流开发框架无配置集成
- 项目可独立运行,无须外部以来Servlet容器
- 提供运行时的应用监控
- 极大地提高了开发和部署的效率
- 与云计算天然集成
SpringBoot的缺点:
- 对JSP的支持不友好,SpringBoot官方推荐使用thymeleaf
环境要求
- JDK1.8 [ JDK1.8下载地址 ]
- tomcat1.7 [ tomcat1.7下载地址 ]
- eclipse4.5 [eclipse4.5 ]
- spring-tool-suite-3.7.0(具体根据eclipse版本进行下载集成) [spring-tool-suite ]
- maven3.5 [ maven下载地址 ]
项目构建
1.在eclipse中,通过file->new->other->spring stater project
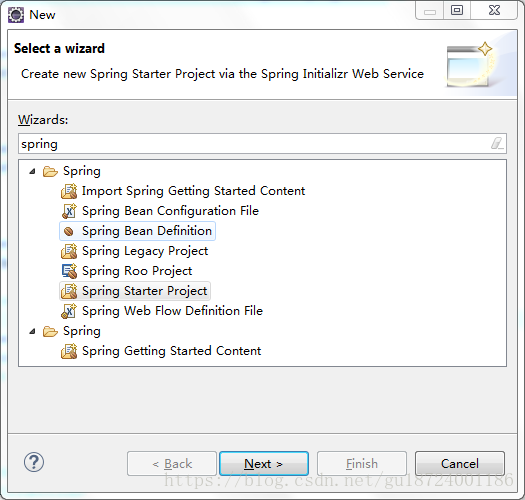
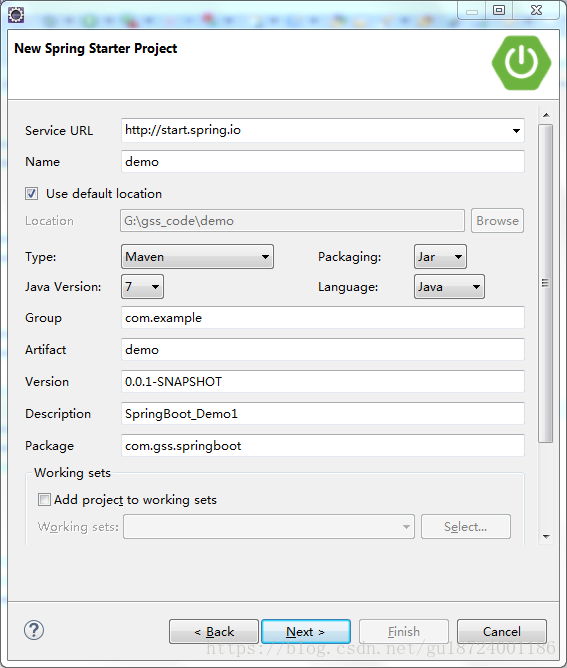
2.点击next
3.勾选web模块支持
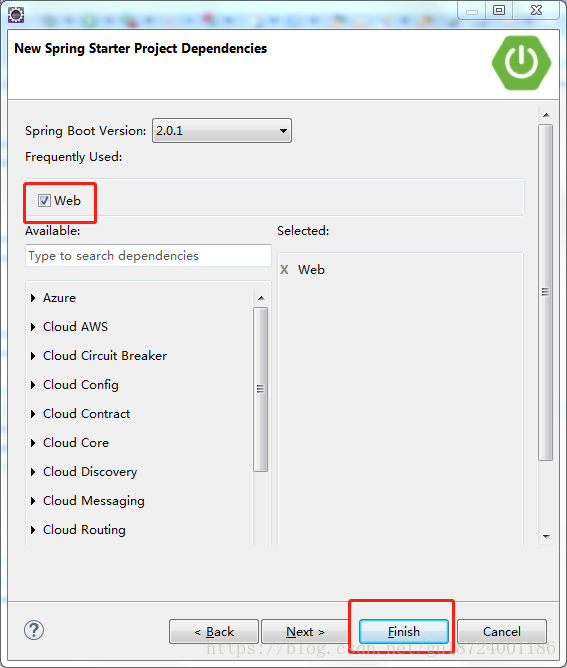
4.项目构建完成,其中DemoApplication.java是自动生成的SpringBoot启动类
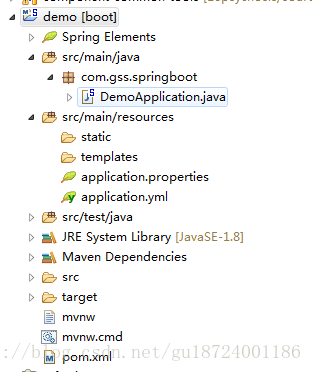
5.打开DemoApplication.java文件,添加hello方法。这里采用SpringBoot推荐的@RestController注解,其实就是@Cotroller和@ResponseBody的集合。注意:如果想要另建一个Controller文件,请将该Controller所在的包放于DemoApplication.java同包之下,否则该Controller中的方法无法被访问。
扫描二维码关注公众号,回复: 179085 查看本文章
package com.gss.springboot;

import org.springframework.boot.SpringApplication;
import org.springframework.boot.autoconfigure.SpringBootApplication;
import org.springframework.web.bind.annotation.RequestMapping;
import org.springframework.web.bind.annotation.ResponseBody;
import org.springframework.web.bind.annotation.RestController;

/*@SpringBootApplication注解是Spring Boot的核心注解,它其实是一个组合注解,具体的可以参考SpringBoot的源码*/
@SpringBootApplication
@RestController
public class DemoApplication {

    @RequestMapping("/hello")
    public String hello() {
        return "Hello SpringBoot";
    }

    public static void main(String[] args) {
        SpringApplication.run(DemoApplication.class, args);
    }
}
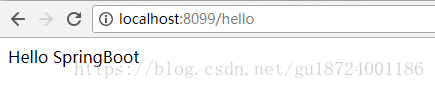
6.直接run Java Application启动SpringBoot应用
7.浏览器上访问地址,这里的8099端口号可以在application.properties文件中进行配置