Linux搭建LAMP环境有以下四种方法:
1 - 通过Docker技术搭建 #使用方便,安装速度快
2 - 通过LAMP一键安装包搭建(写shell脚本运行安装) #使用方便,安装慢
3 - 通过源代码编译安装 #使用不方便,安装慢(考验能力)
4 - 通过yum快速安装 #使用方便,安装快(自定义差)
今天我们就源代码编译安装进行一下详细步骤的介绍:
一、准备
1、初始化环境
将系统回滚到初始化状态,安装环境(网卡:1-打开网卡文件,2-修改,3-重启,4-查看ip,5-远程连接)(此处请自行安装putty串口连接软件)
2、添加3306和80防火墙例外
步骤1:vi /etc/sysconfig/iptables
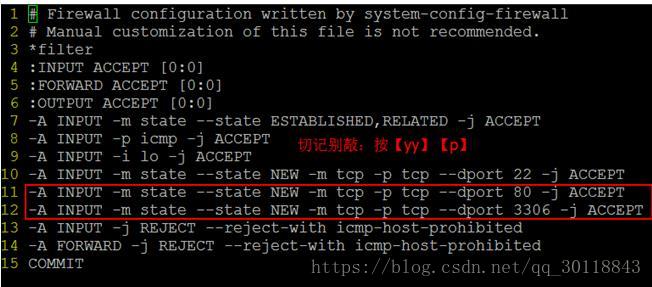
步骤2:service iptables restart #重启防火墙

3、卸载默认安装的MySQL和Apache
步骤1:分别通过【rpm -qa | grep mysql】和【rpm -qa | grep http】查看已经安装的软件包名称
步骤2:通过【rpm -e 查看的包名 –nodeps】卸载
步骤3:再通过【rpm -qa | grep mysql】和【rpm -qa | grep http】检查是否全部卸载
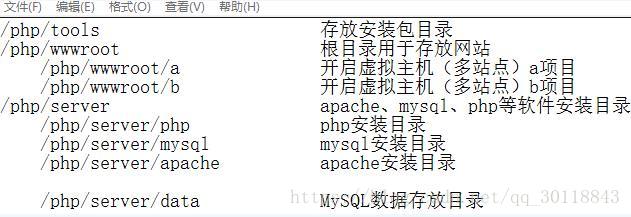
4、环境目录初始化
创建目录
mkdir -p /php/tools
mkdir -p /php/wwwroot
mkdir -p /php/server/php
mkdir -p /php/server/mysql
mkdir -p /php/server/apache
mkdir -p /php/server/data # MySQL数据存放目录
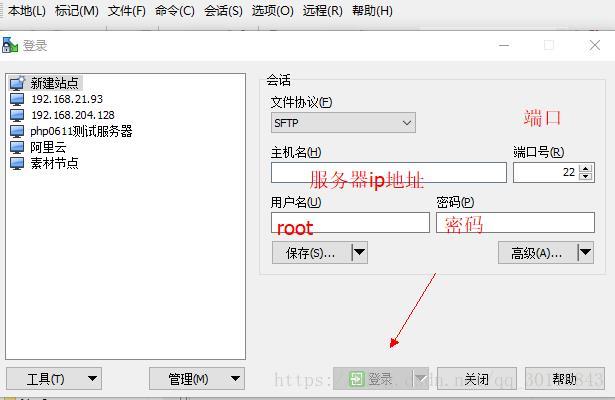
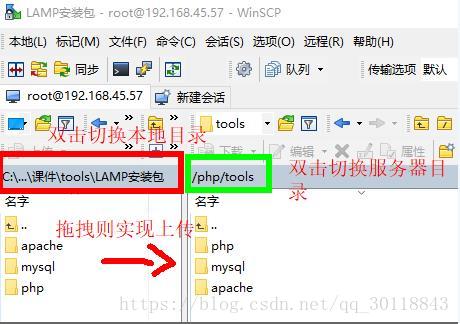
5、将本地安装包上传到服务器/php/tools目录中
a. 安装winscp软件

b. 登录
c.上传
二、Linux下源代码包一般安装步骤
步骤1:解压 (tar命令)
步骤2:进入到解压目录 (cd命令)
步骤3:配置(收集服务器信息、指定安装目录等)
./configure –prefix=指定安装目录
步骤4:编译 (make)
步骤5:安装 (make install)
三、安装MySQL
1、安装依赖cmake
shell> cd /php/tools/mysql #进入tools目录
shell> tar zxvf cmake-2.8.5.tar.gz #解压cmake安装包
shell> cd cmake-2.8.5 #进入解压目录
shell> ./bootstrap
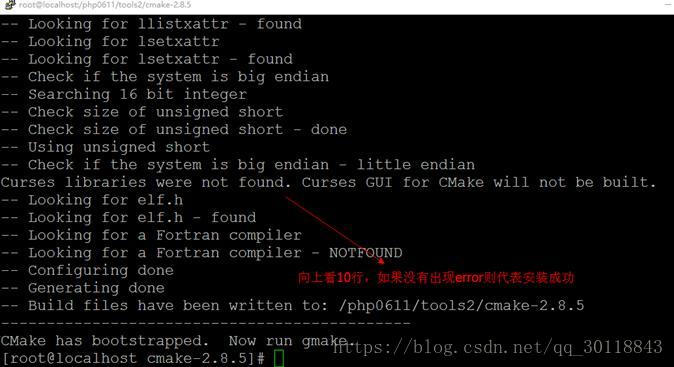
shell> make && make install
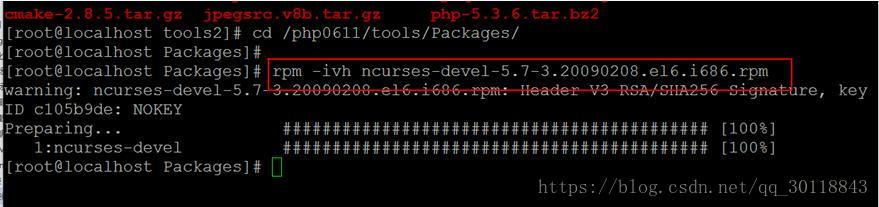
2、安装ncurses-devel(MySQL依赖)
shell> cd /php/tools/mysql #进入tools目录
shell> rpm -ivh ncurses-devel-5.7-3.20090208.el6.x86_64.rpm #通过rpm命令安装
3、安装MySQL
shell> cd /php/tools/mysql #进入tools目录
shell> tar -zxvf mysql-5.6.35.tar.gz #解压MySQL安装包
shell> cd mysql-5.6.35 #进入解压目录
shell> #配置
cmake \
-DCMAKE_INSTALL_PREFIX=/php/server/mysql \
-DMYSQL_DATADIR=/php/server/data \
-DDEFAULT_CHARSET=utf8 \
-DDEFAULT_COLLATION=utf8_general_ci
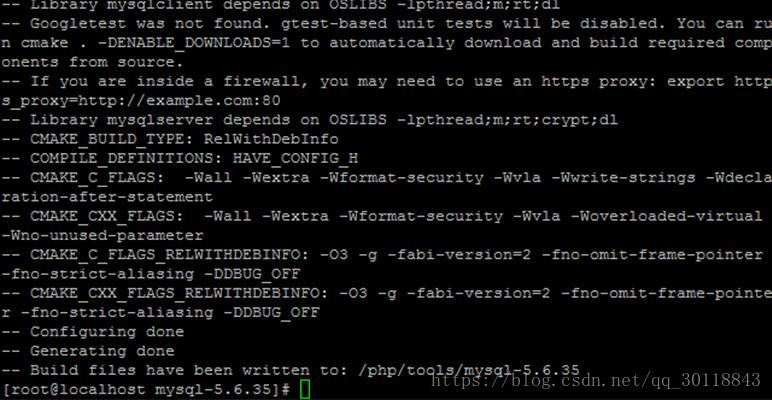
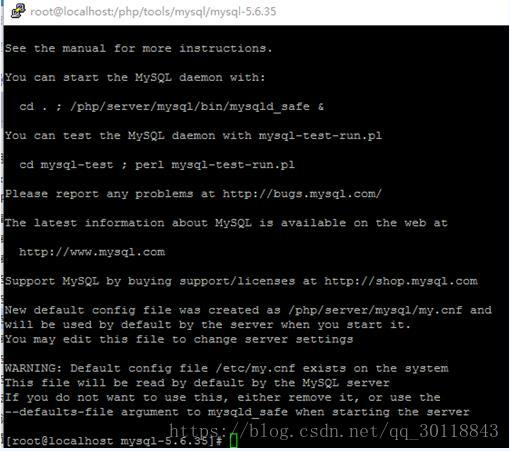
shell> make && make install
4、配置MySQL
复制安装目录中的MySQL配置文件,到/etc/my.cnf
shell> \cp -rf /php/tools/mysql/mysql-5.6.35/support-files/my-default.cnf /etc/my.cnf
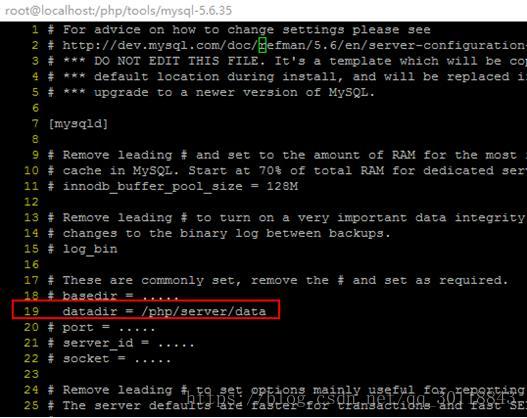
修改MySQL配置文件
shell> vi /etc/my.cnf
在[mysqld]下设置这一行:datadir = /php/server/data (修改配置文件声明MySQL数据存放目录)
创建MySQL用户组并创建用户加入用户组
shell> groupadd mysql
shell> useradd -g mysql -s /sbin/nologin mysql
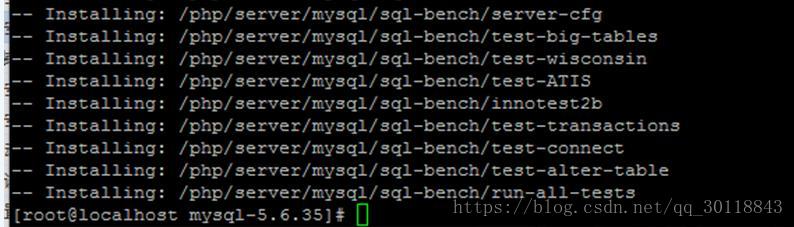
初始化数据库(执行下述命令会在data目录下生成mysql/test等默认数据库)
shell> /php/server/mysql/scripts/mysql_install_db \
–basedir=/php/server/mysql \
–datadir=/php/server/data \
–user=mysql
&后台运行mysql服务
shell> /php/server/mysql/bin/mysqld_safe –user=mysql &

验证:是否安装成功(查看mysql是否有启动)
shell> ps -A | grep mysql

初始化数据库,设置root帐户的密码(默认密码空)
shell> /php/server/mysql/bin/mysql -uroot -p #回车输入密码,然后执行下述SQL语句
删除测试数据库 && 删除本机匿名连接的空密码帐号
drop database test;
delete from mysql.user where user=”;
修改密码
update mysql.user set password=password(‘admin888’) where user=’root’;
flush privileges;
多学一招:忘记密码,强制修改密
1、打开mysql配置文件
vi /etc/my.cnf
2、在[mysqld]下一行添加 skip-grant-tables
3、重启mysql服务
4、重新登陆mysql(因为上面的操作,这时密码为空)
5、修改密码
6、删除mysql配置文件:my.cnf 中刚添加的: skip-grant-tables
7、再重启 msyql服务即可
四、安装Apache
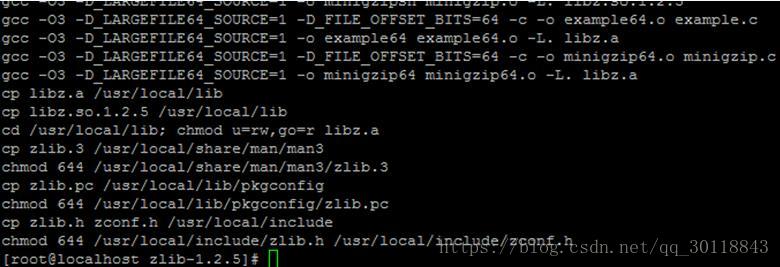
1、安装zlib
shell> cd /php/tools/apache #进入tools目录
shell> tar zxvf zlib-1.2.5.tar.gz #解压zlib安装包
shell> cd zlib-1.2.5 #进入解压目录
shell> ./configure #这个配置编译命令不要加目录参数
shell> make && make install
2、安装apache
shell> cd /php/tools/apache #进入tools目录
shell> tar -jxvf httpd-2.2.19.tar.bz2 #解压apache安装包
shell> cd httpd-2.2.19 #进入解压目录
shell> #配置
./configure –prefix=/php/server/apache \
–enable-modules=all \
–enable-mods-shared=all \
–enable-so
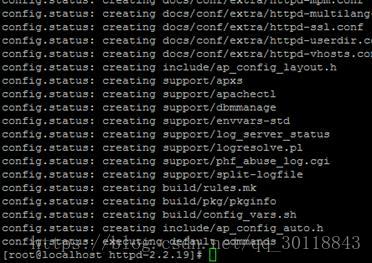
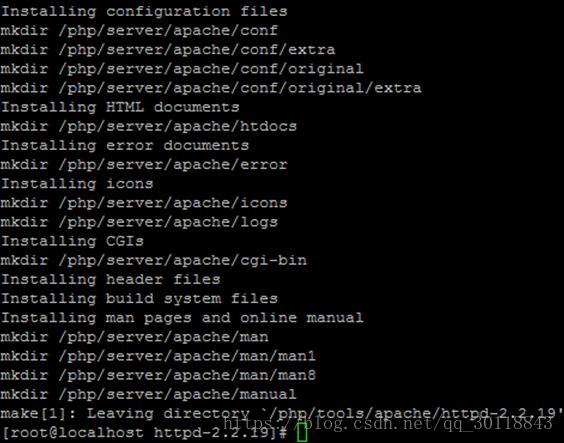
shell> make && make install
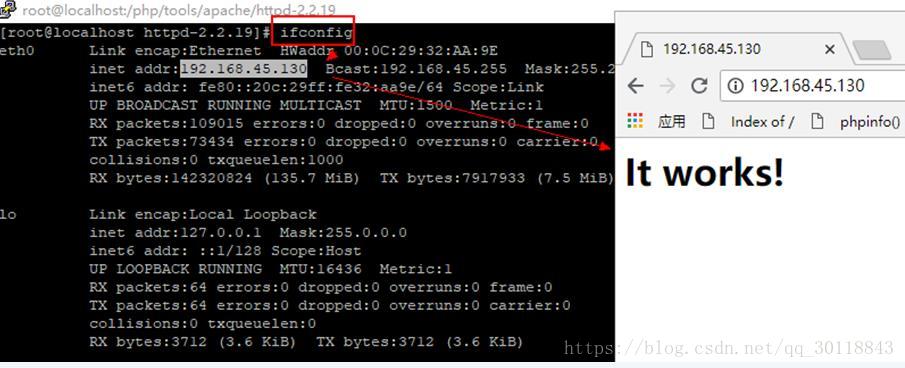
3、测试
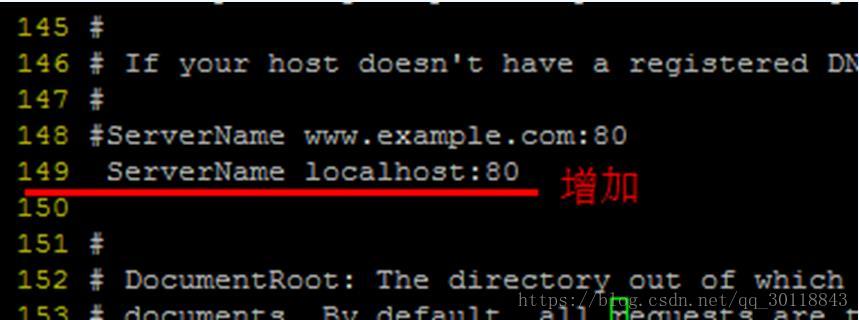
步骤1:修改配置文件
shell> vi /php/server/apache/conf/httpd.conf
步骤2:启动服务
shell> /php/server/apache/bin/apachectl start/stop/restart
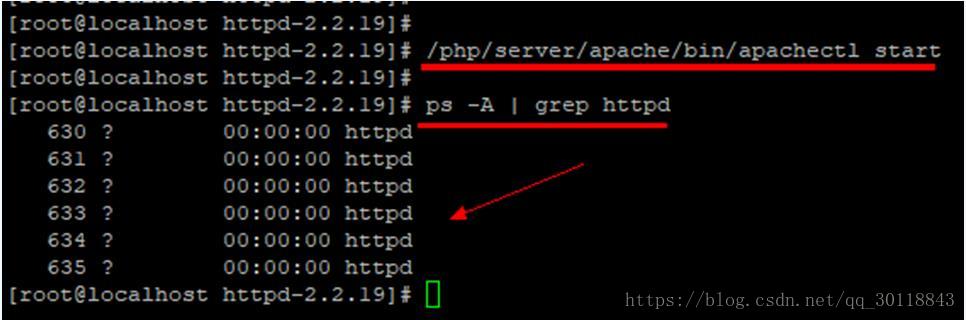
步骤3:浏览器访问(看到 “it works!”,即为成功)
4、配置虚拟主机(找到apache安装目录下面的conf/extra中的httpd-vhosts.conf,进行虚拟主机配置)
五、安装PHP
■说明:安装图形库为编译PHP做准备
libxml2-2.7.2.tar.gz
jpegsrc.v8b.tar.gz
libpng-1.4.3.tar.gz
freetype-2.4.1.tar.gz
gd-2.0.35.tar.gz
1、安装libxml2
shell> cd /php/tools/php
shell> tar -zxvf libxml2-2.7.2.tar.gz
shell> cd libxml2-2.7.2
shell> ./configure –prefix=/php/server/libxml2 –without-zlib
shell> make && make install
2、安装jpeg8
shell> cd /php/tools/php
shell> tar -zxvf jpegsrc.v8b.tar.gz
shell> cd jpeg-8b
shell> ./configure –prefix=/php/server/jpeg –enable-shared –enable-static
shell> make && make install
3、安装libpng
shell> cd /php/tools/php
shell> tar zxvf libpng-1.4.3.tar.gz
shell> cd libpng-1.4.3
shell> ./configure –prefix=/php/server/png
shell> make && make install
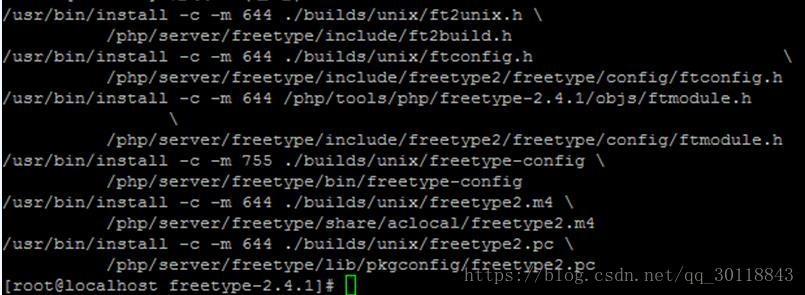
4、安装freetype(字体库)
shell> cd /php/tools/php
shell> tar -zxvf freetype-2.4.1.tar.gz
shell> cd freetype-2.4.1
shell> ./configure –prefix=/php/server/freetype
shell> make && make install
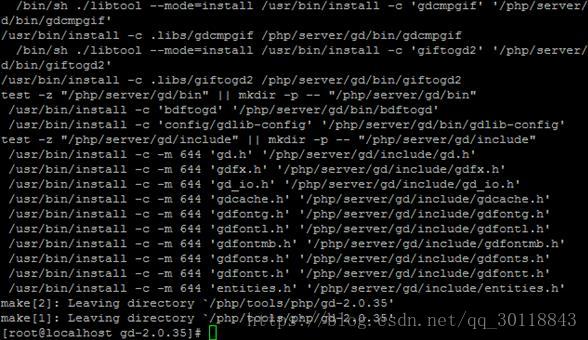
5、安装GD库
shell> cd /php/tools/php
shell> tar -zvxf gd-2.0.35.tar.gz
shell> mkdir -p /php/server/gd
shell> cd gd-2.0.35
shell> ./configure –prefix=/php/server/gd \
–with-jpeg=/php/server/jpeg \
–with-png –with-zlib \
–with-freetype=/php/server/freetype
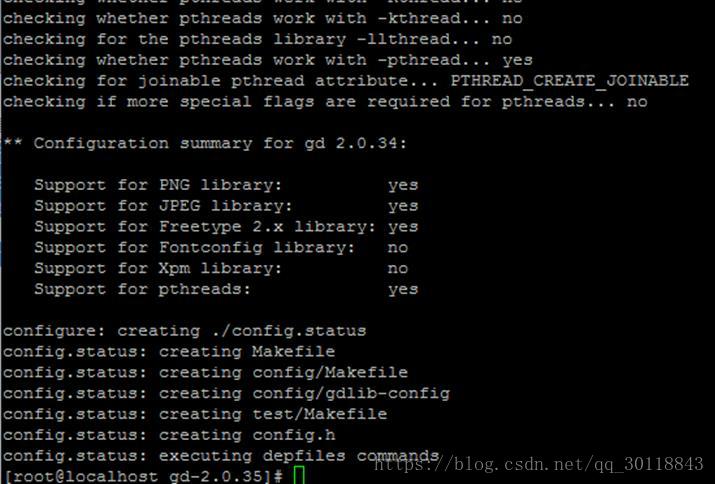
shell> make && make install
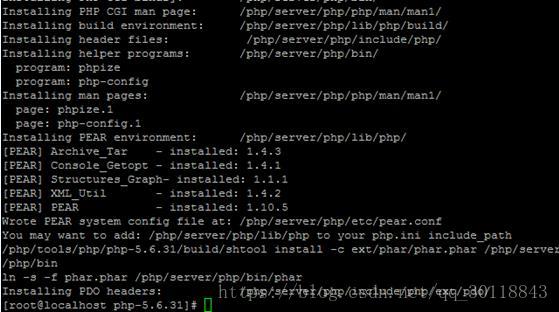
6、安装PHP
shell> cd /php/tools/php
shell> tar -zxvf php-5.6.31.tar.gz
shell> cd php-5.6.31
shell> 配置复制
*./configure –prefix=/php/server/php \
–with-apxs2=/php/server/apache/bin/apxs \
–with-mysql=mysqlnd \
–with-pdo-mysql=mysqlnd \
–with-mysqli=mysqlnd \
–with-freetype-dir=/php/server/freetype \
–with-gd \
–with-zlib –with-libxml-dir=/php/server/libxml2 \
–with-jpeg-dir=/php/server/jpeg \
–with-png-dir=/php/server/png \
–enable-mbstring=all \
–enable-mbregex \
–enable-shared*
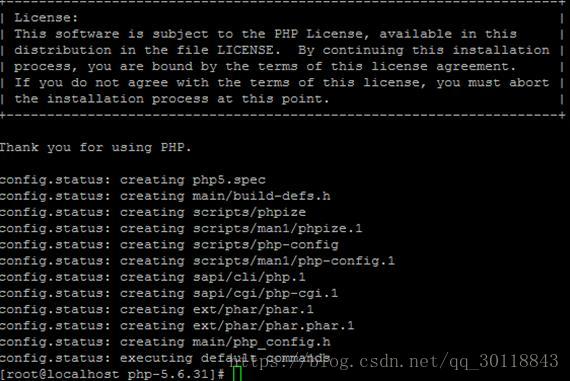
shell> make && make install
■ 配置Apache支持PHP
步骤1:复制php.ini配置文件到指定目录
shell> \cp -r /php/tools/php/php-5.6.31/php.ini-development /php/server/php/lib/php.ini
步骤2:修改Apache配置文件
shell> vi /php/server/apache/conf/httpd.conf
在httpd.conf(Apache主配置文件)中增加:AddType application/x-httpd-php .php

步骤3:重启apache
shell> /php/server/apache/bin/apachectl stop
shell> /php/server/apache/bin/apachectl start
步骤4:查看效果
shell> echo ‘
1.添加apache的服务脚本
\cp -r /php/server/apache/bin/apachectl /etc/rc.d/init.d/httpd
ln -s /etc/rc.d/init.d/httpd /etc/rc.d/rc3.d/S61httpd
2.编辑httpd脚本,在第二行添加如下注释信息

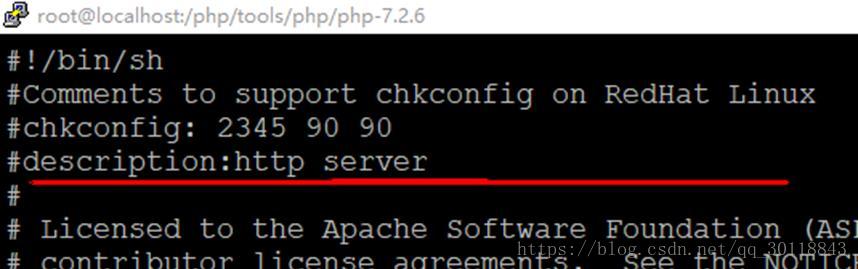
//Comments to support chkconfig on RedHat Linux
//chkconfig: 2345 90 90
//description:http server
3.修改脚本使其支持chkconfig
chkconfig –add httpd
chkconfig –level 2345 httpd on

4.重启服务
service httpd restart

步骤:百度CentOS下将MySQL添加到服务
1.将mysql.server这个文件copy到/etc/init.d/目录下,并更名为mysql

\cp -r /php/tools/mysql/mysql-5.6.35/support-files/mysql.server /etc/init.d/mysql
2. 给mysql这个文件赋予“执行”权限 && 加入到开机自动运行
chmod 755 /etc/init.d/mysql
chkconfig –add mysql

4.重启服务

service mysql restart