这里的共享模块的书写形式是看了大漠大神的nicefish后弄出来的,熟悉了angular2后再去看大神的项目感觉不一样了
现在来说明一下怎么运用
1. 先来看页面框架
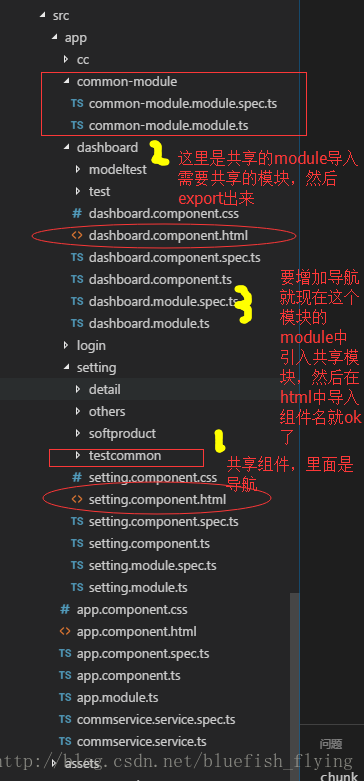
2.确定有两个懒加载路由,为两个父级目录加上导航条
app.module.ts 路由加载
const routes: Routes = [
{path: ”, redirectTo: ‘setting’, pathMatch: ‘full’},
{path: ‘setting’,loadChildren: ‘./setting/setting.module#SettingModule’},
{path: ‘dashboard’,loadChildren: ‘./dashboard/dashboard.module#DashboardModule’},
{path: ‘login’,component:LoginComponent}
];
3.确定需要分享的导航组件testcommon
ng g c testcommon(这里下了angular-cli按理说就能使用ng命令,但是如果angular-cli版本低了的话会有警告最后可能出错不能全局创建组件)
import { Component, OnInit } from ‘@angular/core’;
@Component({
selector: ‘app-testcommon’,
templateUrl: ‘./testcommon.component.html’,
styleUrls: [‘./testcommon.component.css’]
})
export class TestcommonComponent implements OnInit {
constructor() { }
ngOnInit() {
}
}
4.全局创建一个共享的module装这个需要共享的组件 这里创建的是common-module
common-module.module.ts的代码如下:
import { NgModule } from ‘@angular/core’;
import { CommonModule } from ‘@angular/common’;
import { TestcommonComponent } from “../setting/testcommon/testcommon.component”;
@NgModule({
imports: [
CommonModule
],
declarations: [TestcommonComponent],//这里引入共享的组件
exports:[CommonModule,TestcommonComponent] ////这里将共享的组件放入到导出的出口中
})
export class CommonModuleModule { }
5.在模块中引入module
dashboard.module.ts中引入module:
@NgModule({
imports: [
CommonModule,
CommonModuleModule,//共享模块
RouterModule.forChild(route)
],
declarations: [DashboardComponent, TestComponent, ModeltestComponent]
})
6.在模块中引入module后,在html中引入组件
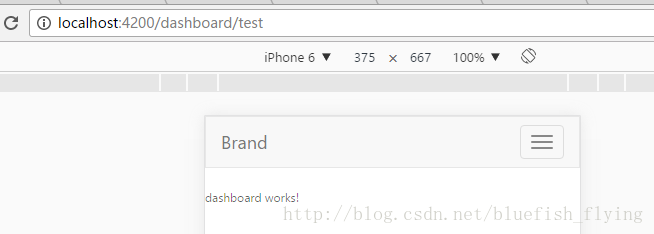
dashboard.component.html中引入
dashboard works!
7.setting如上写上即可,效果图
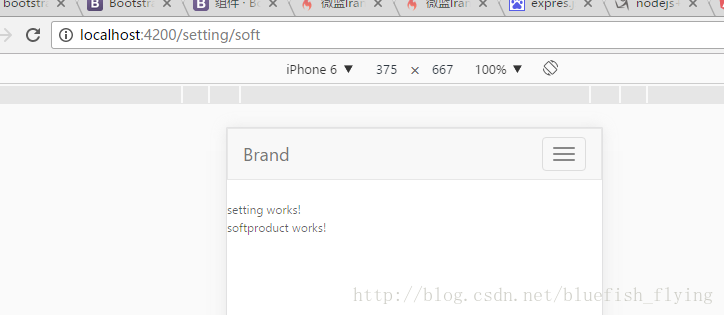
ps:补充