原文地址:Nginx Linux详细安装部署教程
一、Nginx简介
Nginx是一个web服务器也可以用来做负载均衡及反向代理使用,目前使用最多的就是负载均衡,具体简介我就不介绍了百度一下有很多,下面直接进入安装步骤
二、Nginx安装
1、下载Nginx及相关组件
下载相关组件
[root@localhost src]# wget http://nginx.org/download/nginx-1.10.2.tar.gz

省略安装内容...

[root@localhost src]# wget http://www.openssl.org/source/openssl-fips-2.0.10.tar.gz

省略安装内容...

[root@localhost src]# wget http://zlib.net/zlib-1.2.11.tar.gz

省略安装内容...

[root@localhost src]# wget ftp://ftp.csx.cam.ac.uk/pub/software/programming/pcre/pcre-8.40.tar.gz

省略安装内容...
安装c++编译环境,如已安装可略过
[root@localhost src]# yum install gcc-c++

省略安装内容...

期间会有确认提示输入y回车

Is this ok [y/N]:y

省略安装内容...
2、安装Nginx及相关组件**
openssl安装
[root@localhost src]# tar zxvf openssl-fips-2.0.10.tar.gz

省略安装内容...

[root@localhost src]# cd openssl-fips-2.0.10

[root@localhost openssl-fips-2.0.10]# ./config && make && make install

省略安装内容...
pcre安装
[root@localhost src]# tar zxvf pcre-8.40.tar.gz

省略安装内容...

[root@localhost src]# cd pcre-8.40

[root@localhost pcre-8.40]# ./configure && make && make install

省略安装内容...
zlib安装
[root@localhost src]# tar zxvf zlib-1.2.11.tar.gz

省略安装内容...

[root@localhost src]# cd zlib-1.2.11

[root@localhost zlib-1.2.11]# ./configure && make && make install

省略安装内容...
nginx安装
[root@localhost src]# tar zxvf nginx-1.10.2.tar.gz

省略安装内容...

[root@localhost src]# cd nginx-1.10.2

[root@localhost nginx-1.10.2]# ./configure && make && make install

省略安装内容...
3、启动Nginx**
先找一下nginx安装到什么位置上了
[root@localhost src]# whereis nginx

nginx: /usr/local/nginx
进入nginx目录并启动
[root@localhost src]#cd /usr/local/nginx

[root@localhost nginx]# /sbin/nginx
可能会报错
error while loading shared libraries: libpcre.so.1:cannot open shared object file: No such file or directory
按照下面方式解决
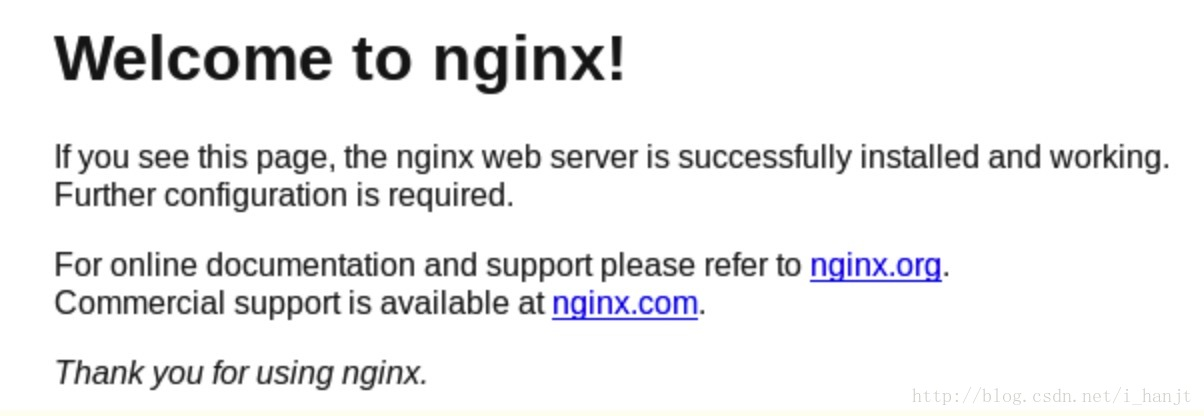
1.用whereis libpcre.so.1命令找到libpcre.so.1在哪里

2.用ln -s /usr/local/lib/libpcre.so.1 /lib64命令做个软连接就可以了

3.用sbin/nginx启动Nginx

4.用ps -aux | grep nginx查看状态

[root@localhost nginx]# whereis libpcre.so.1

[root@localhost nginx]# ln -s /usr/local/lib/libpcre.so.1 /lib64

[root@localhost nginx]# sbin/nginx

[root@localhost nginx]# ps -aux | grep nginx

进入Linux系统的图形界面,打开浏览器输入localhost会看到下图,说明nginx启动成功
nginx的基本操作
启动

[root@localhost ~]# /usr/local/nginx/sbin/nginx

停止/重启

[root@localhost ~]# /usr/local/nginx/sbin/nginx -s stop(quit、reload)

命令帮助

[root@localhost ~]# /usr/local/nginx/sbin/nginx -h

验证配置文件

[root@localhost ~]# /usr/local/nginx/sbin/nginx -t

配置文件

[root@localhost ~]# vim /usr/local/nginx/conf/nginx.conf
4、简单配置Nginx
打开nginx配置文件位于nginx目录下的conf文件夹下
[root@localhost nginx]# vim conf/nginx.conf
保存退出并且重启nginx
[root@localhost nginx]# sbin/nginx -s reload
5、开启外网访问
在Linux系统中默认有防火墙Iptables管理者所有的端口,只启用默认远程连接22端口其他都关闭,咱们上面设置的80等等也是关闭的,所以我们需要先把应用的端口开启
方法一:直接关闭防火墙,这样性能较好,但安全性较差,如果有前置防火墙可以采取这种方式
关闭防火墙

[root@localhost ~]# service iptables stop

关闭开机自启动防火墙

[root@localhost ~]# chkconfig iptables off

[root@localhost ~]# chkconfig --list|grep ipt
方法二将开启的端口加入防火墙白名单中,这种方式较安全但性能也相对较差
编辑防火墙白名单 [root@localhost ~]# vim /etc/sysconfig/iptables 增加下面一行代码 -A INPUT -p tcp -m state -- state NEW -m tcp --dport 80 -j ACCEPT 保存退出,重启防火墙 [root@localhost ~]# service iptables restart
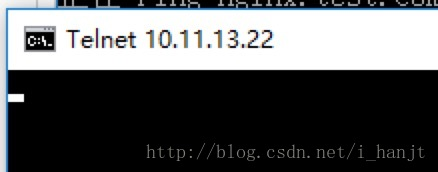
Linux配置完毕了,使用另一台电脑而非安装nginx的电脑,我是用的windows系统,配置一下host在“C:\Windows\System32\drivers\etc”下的hosts中配置一下域名重定向 10.11.13.22 nginx.test.com nginx.test1.com nginx.test2.com 然后cmd再ping一下这个域名是否正确指向了这个IP上 正确指向后在telnet一下80端口看一下是否可以与端口通信(如果telnet提示没有此命令是没有安装客户端,在启用或禁用windows功能处安装后再操作即可)
得到以下界面及代表通信成功
打开这台Windows系统内的浏览器,输入nginx.test.com会得到以下结果,就说明外网访问成功
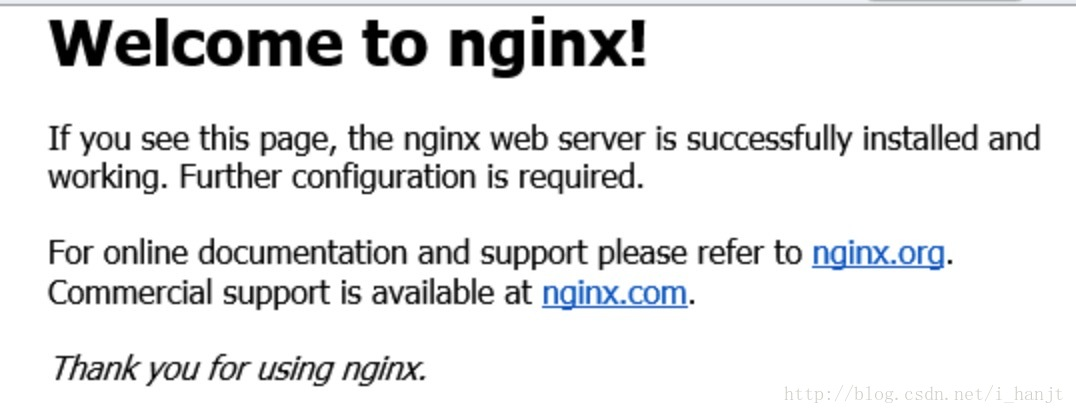
到此Nginx服务器雏形部署完成。
6、Nginx负载均衡配置
Nginx集反向代理和负载均衡于一身,在配置文件中修改配就可以实现
首先我们打开配置文件
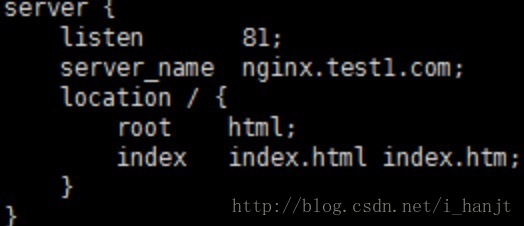
[root@localhost nginx]# vim conf/nginx.conf

 每一个server就是一个虚拟主机,我们有一个当作web服务器来使用

listen 80;代表监听80端口

server_name xxx.com;代表外网访问的域名

location / {};代表一个过滤器,/匹配所有请求,我们还可以根据自己的情况定义不同的过滤,比如对静态文件js、css、image制定专属过滤

root html;代表站点根目录

index index.html;代表默认主页
这样配置完毕我们输入域名就可以访问到该站点了。
负载均衡功能往往在接收到某个请求后分配到后端的多台服务器上,那我们就需要upstream{}块来配合使用
upstream xxx{};upstream模块是命名一个后端服务器组,组名必须为后端服务器站点域名,内部可以写多台服务器ip和port,还可以设置跳转规则及权重等等

ip_hash;代表使用ip地址方式分配跳转后端服务器,同一ip请求每次都会访问同一台后端服务器

server;代表后端服务器地址

server{};server模块依然是接收外部请求的部分

server_name;代表外网访问域名

location / {};同样代表过滤器,用于制定不同请求的不同操作

proxy_pass;代表后端服务器组名,此组名必须为后端服务器站点域名

server_name和upstream{}的组名可以不一致,server_name是外网访问接收请求的域名,upstream{}的组名是跳转后端服务器时站点访问的域名
配置一下Windows的host将我们要访问的域名aaa.test.com指向Linux
Nginx的负载功能就配置完成了。