版权声明:本文为博主原创文章,未经博主允许不得转载。 https://blog.csdn.net/u011374880/article/details/82143782
AppleDoc可以根据项目中的注释自动生成类似于Apple官方文档的文档文件,大致的效果类似于这样:
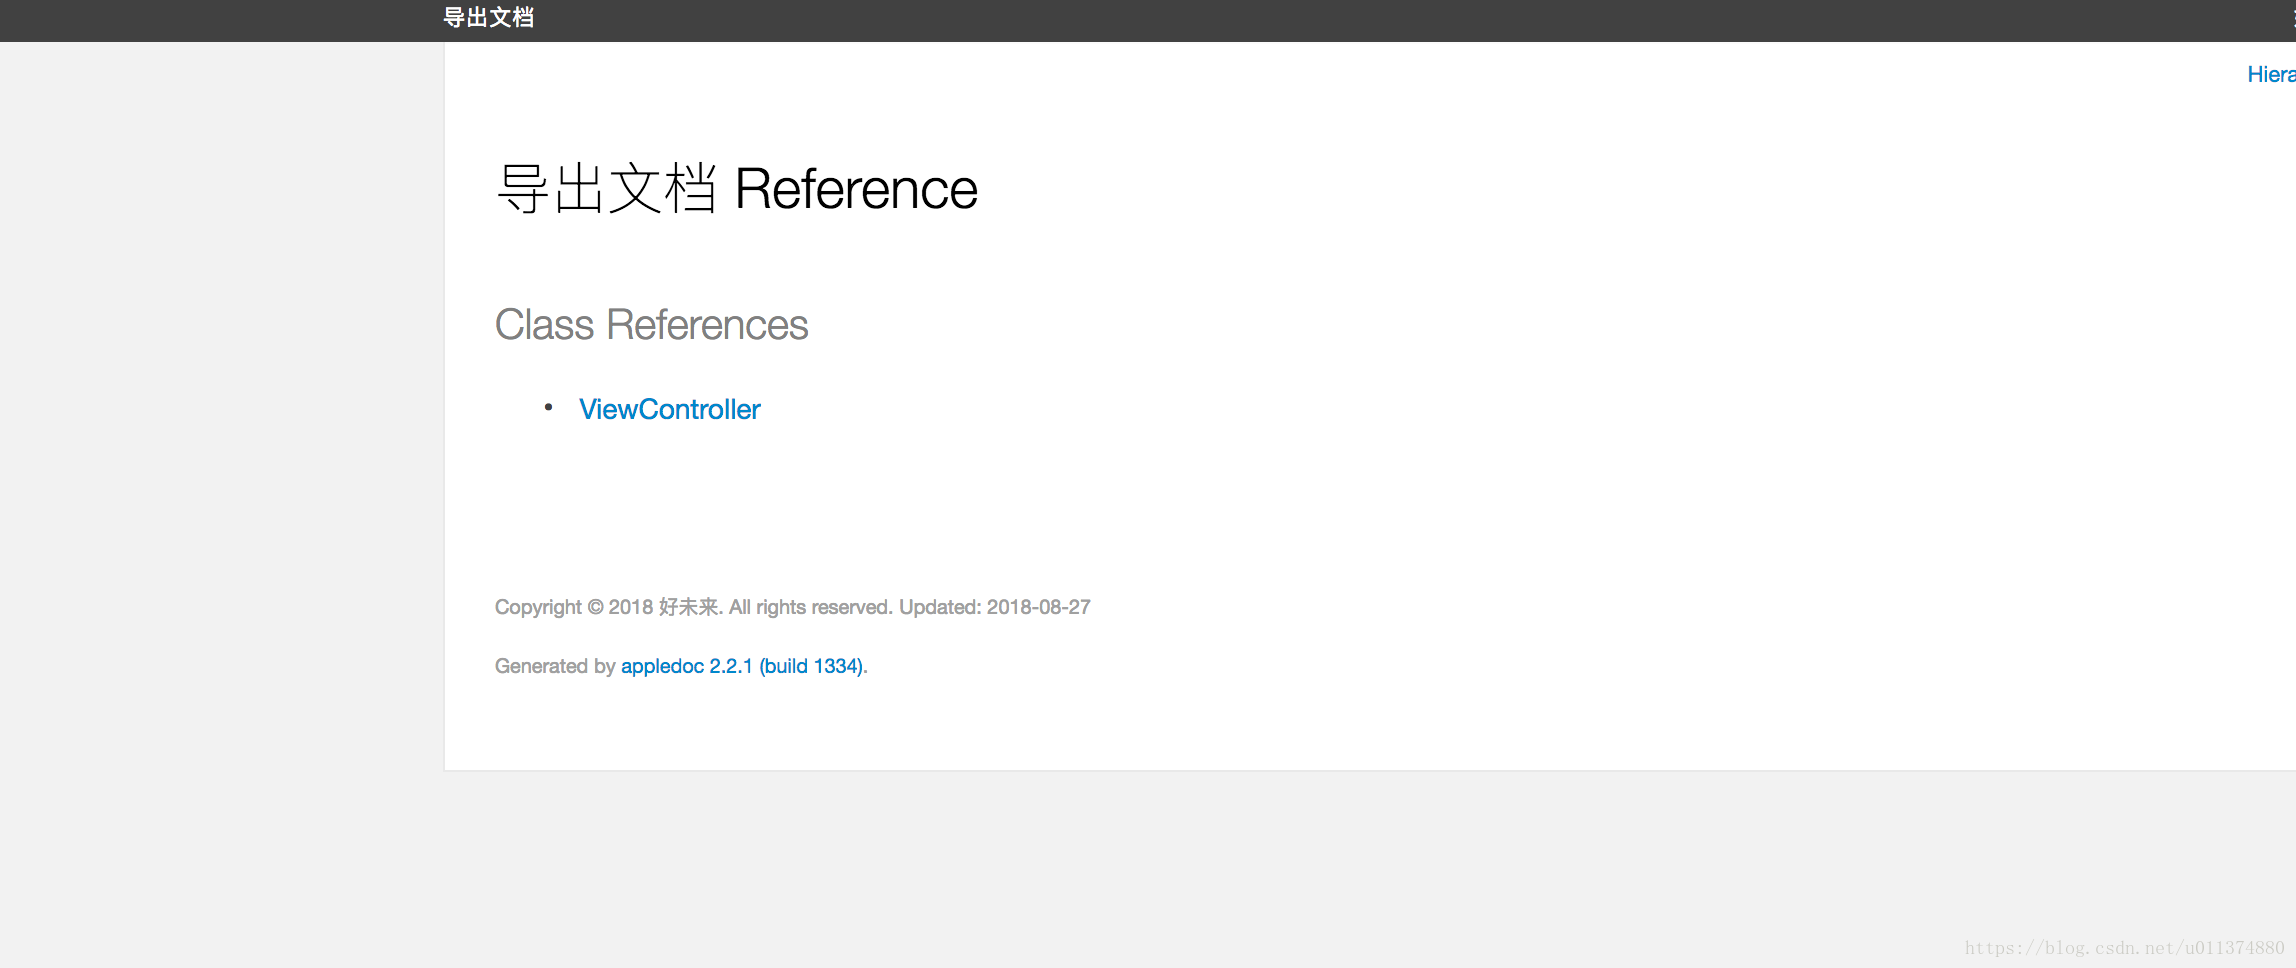
文档总目录
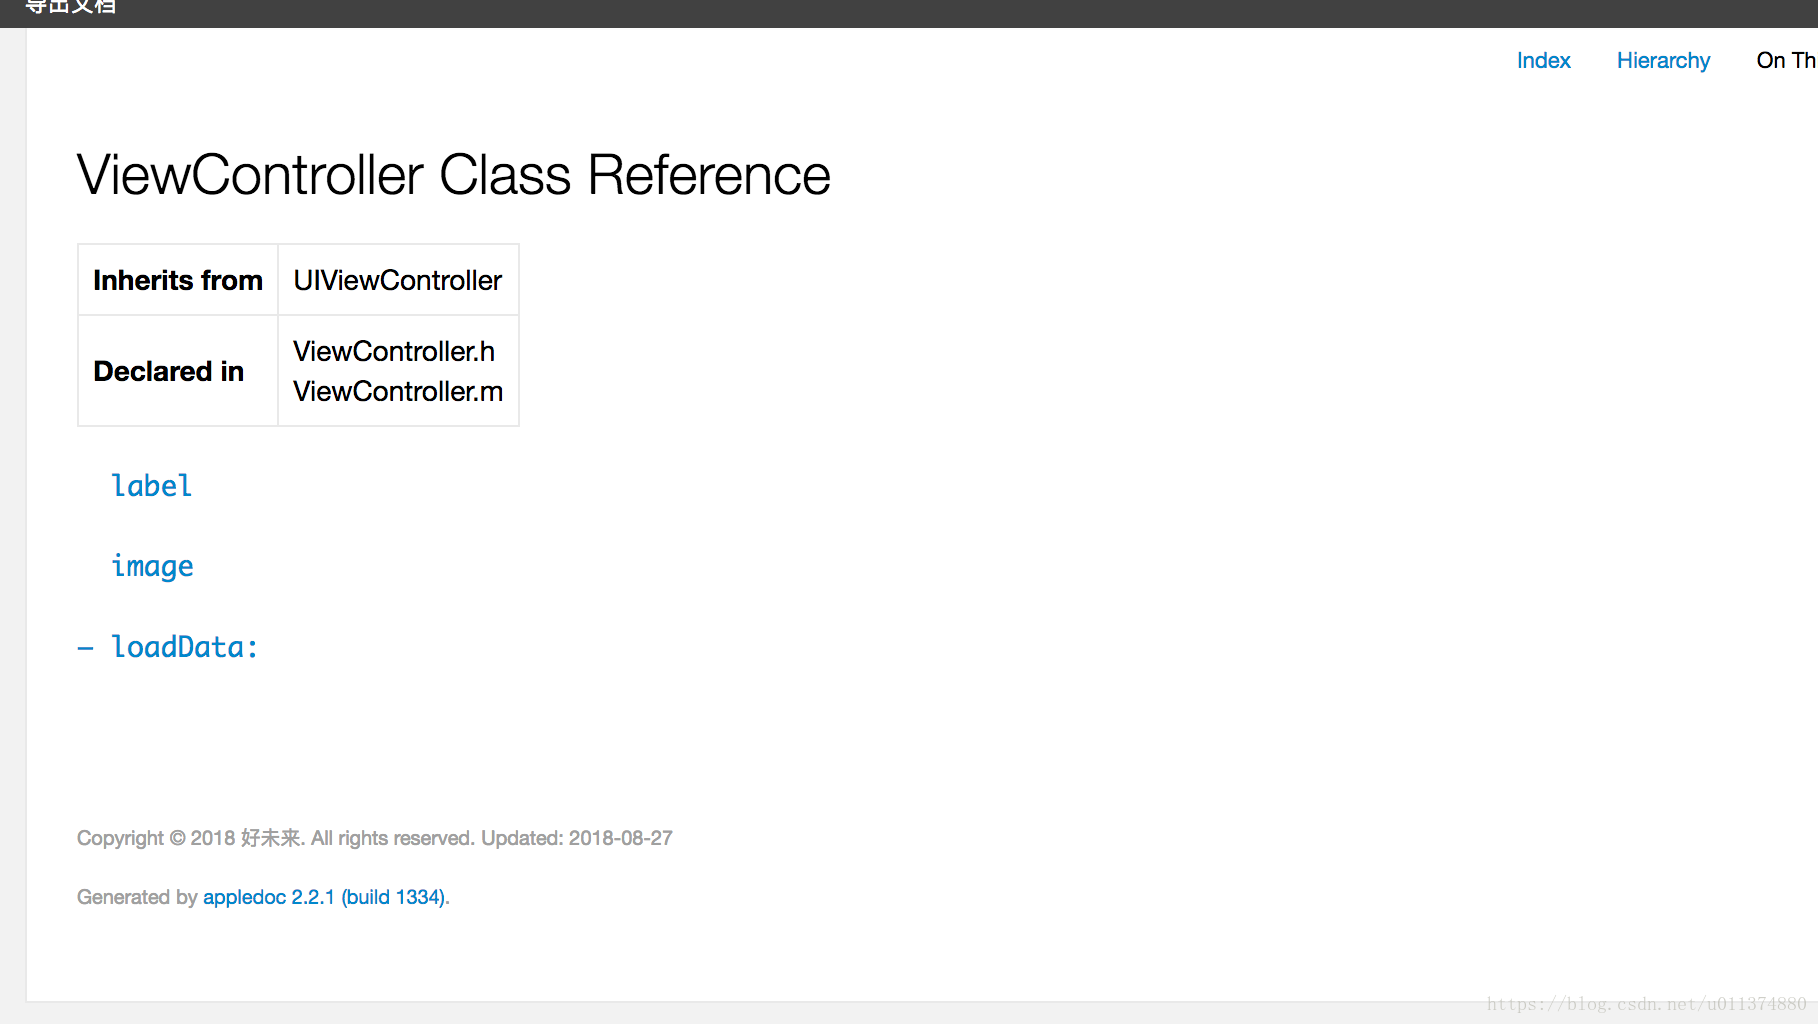
展开样式

效果看上去还算不错,但是AppleDoc还是有一些限制的,就是要在代码中加上注释,而且只支持/**/、///、//等格式,不支持#pragma mark - WKNavigationDelegate。
支持的注释格式
/// 这是单行注释。

/** 这也是单行注释 */

/*! 同样是单行注释 */

/** 这也是单行注释,

 *  第二行会接上第一行。

 */

/** 第一行是类的简介

 在简介的下面,就是类的详细介绍了。

 没有间隔换行会被消除,就像Html那样。

 下面是常用的markdown语法

 - - -

 无序列表: (每行以 '*'、'-'、'+' 开头):

 * this is the first line

 * this is the second line

 * this is the third line

 有序列表: (每行以 1.2.3、a.b.c 开头):

 a. this is the first line

 b. this is the secode line

 多级列表:

 * this is the first line

 a. this is line a

 b. this is line b

 * this is the second line

 1. this in line 1

 2. this is line 2

 标题:

 # This is an H1

 ## This is an H2

 ### This is an H3

 #### This is an h4

 ##### This is an h5

 ###### This is an H6

 链接:

 普通URL直接写上,appledoc会自动翻译成链接: http://    blog.ibireme.com

 [这个](http://example.net/) 链接会隐藏实际URL.

 表格:

 | header1 | header2 | header3 |

 |---------|:-------:|--------:|

 | normal  |  center |  right  |

 | cell    | cell    | cell    |

 引用:

 这里会引用到方法 `someMethod:`,这里会引用到类 `YYColor`

 这里会引用到一个代码块

 void CMYK2RGB(float c, float m, float y, float k,

 float *r, float *g, float *b) {

 *r = (1 - c) * (1 - k);

 *g = (1 - m) * (1 - k);

 *b = (1 - y) * (1 - k);

 }

 @since iOS5.0

 */

@interface AppledocExample : NSObject

///这里是属性的说明

@property (nonatomic, strong) NSString *name;

/**

 @brief 这里是方法的简介。该Tag不能放到类注释里。

 @exception UIColorException 这里是方法抛出异常的说明

 @see YYColor

 @see someMethod:

 @warning 这里是警告,会显示成蓝色的框框

 @bug 这里是bug,会显示成黄色的框框

 @param red   这里是参数说明1

 @param green 这里是参数说明2

 @param blue   这里是参数说明3

 @return  这里是返回值说明

 */

- (UIColor *)initWithRed:(int)red green:(int)green blue:(int)blue;

- (void)someMethod:(NSString *)str;

@end
安装
git clone git://github.com/tomaz/appledoc.git

cd ./appledoc

sudo sh install-appledoc.sh
完成后可以用appledoc --version验证下。

验证
使用
-
首先cd到你的项目文件夹下。
跑一下下面的命令,默认会编译出docset并安装进Xcode。
appledoc --project-name 你的项目名称 --project-company 你的公司名称 ./
然后你的项目文件夹中就会出现这样一个文件

文件
-
其次将appledoc集成到我们自己的工程中

集成

-
下一步将下方脚本黏贴到runScript

集成
#appledoc Xcode script

# Start constants

company="ACME";

companyID="com.ACME";

companyURL="http://ACME.com";

target="iphoneos";

#target="macosx";

outputPath="~/help";

# End constants

/usr/local/bin/appledoc \

--project-name "${PROJECT_NAME}" \

--project-company "${company}" \

--company-id "${companyID}" \

--docset-atom-filename "${company}.atom" \

--docset-feed-url "${companyURL}/${company}/%DOCSETATOMFILENAME" \

--docset-package-url "${companyURL}/${company}/%DOCSETPACKAGEFILENAME" \

--docset-fallback-url "${companyURL}/${company}" \

--output "${outputPath}" \

--publish-docset \

--docset-platform-family "${target}" \

--logformat xcode \

--keep-intermediate-files \

--no-repeat-first-par \

--no-warn-invalid-crossref \

--exit-threshold 2 \

"${PROJECT_DIR}"
最后选择这个target编译下就好了

编译
ps:如果这一步有出错,就退出xcode再编译一次就好了。
生成的目录包就在刚才的docset-installed.txt中

结果

结果

一直想试试iOS的注释,终于是弄明白了,看着还是很高端的