nginx是linux中非常重要的一部分,学会使用将不可少的。
关闭防火墙
[root@localhost ~]# systemctl stop firewalld
[root@localhost ~]# systemctl disable firewalld
[root@localhost ~]# sed -ri 's/(SELINUX=).*/\1disabled/g' /etc/selinux/config
[root@localhost ~]# setenforce 0
安装依赖包
//创建用户
[root@localhost ~]# useradd -r -M -s /sbin/nologin nginx

//安装编译环境
[root@localhost ~]# yum -y groups list
[root@localhost ~]# yum -y install pcre-devel openssl openssl-devel gd-devel
//创建日志存放目录
[root@localhost ~]# mkdir -p /var/log/nginx
[root@localhost ~]# chown -R nginx.nginx /var/log/nginx //下载nginx,编译安装
[root@localhost ~]# cd /usr/src/
[root@localhost src]#
[root@localhost src]# yum -y install wget
[root@localhost src]# wget http://64.123.28.133/files/21490000000827F6/nginx.org/download/nginx-1.14.0.tar.gz[root@localhost src]# tar xf nginx-1.14.0.tar.gz
[root@localhost src]# cd nginx-1.14.0
[root@localhost nginx-1.14.0]# yum -y install gcc gcc-c++[root@localhost nginx-1.14.0]# ./configure \
--prefix=/usr/local/nginx \
--user=nginx \
--group=nginx \
--with-debug \
--with-http_ssl_module \
--with-http_realip_module \
--with-http_image_filter_module \
--with-http_gunzip_module \
--with-http_gzip_static_module \
--with-http_stub_status_module \
--http-log-path=/var/log/nginx/access.log \
--error-log-path=/var/log/nginx/error.log[root@localhost nginx-1.14.0]# make -j 4 && make install
//设置环境变量
[root@localhost nginx-1.14.0]# echo 'export PATH=/usr/local/nginx/sbin:$PATH' > /etc/profile.d/nginx.sh
[root@localhost nginx-1.14.0]# . /etc/profile.d/nginx.sh

//启动
[root@localhost nginx-1.14.0]# nginx
nginx的配置文件
主配置文件 /usr/local/nginx/conf/nginx.conf
配置指令:
derective value1 [value2 ...]
指令—— 值(可以有多个)——;
列:worker_processes  1;
支持使用变量
内置变量:模块会提供内键变量定义,去掉#即可
列: log_format main '$remote_addr - $remote_user [$time_local] "$request" '
'$status $body_bytes_sent "$http_referer" '
'"$http_user_agent" "$http_x_forwarded_for"';
自定义变量:set var-name value
set 变量名 值
例: set xxx-name tom;daemon {on|off}; //是否以守护进程方式运行nginx,调试时应设置为off
例:没有则加(可有可无)
daemon on; 调试时: daemon off;
error_log 位置 级别; //配置错误日志,级别可有可无,启动一个即可
例:error_log logs/error.log;
带级别的:
例:error_log logs/error.log notice;
例:error_log logs/error.log info;error_logli里的位置和级别能有以下可选项
位置
file   //一般是这个,指定某个文件里去,相对路径
stderr
syslog:server=address[,parameter=value]
memory:size
级别
debug:若要使用debug级别,需要在编译nginx时使用--with-debug选项
info
notice
warn
error  //一般是这个级别
crit
alert
emerg
优化性能的配置参数
worker_processes n; //启动n个work进程,
查看核心数:grep 'processor' /proc/cpuinfo | wc -l
例:worker_processes 3; //工作过程,数量
worker_cpu_affinity cpumask ...;
例:worker_cpu_affinity 00000001 00000010 00000100..核心数以下以此类推
lock_file logs/nginx.lock;
worker_rlimit_nofile 35000; //设置所有worker进程最大可以打开的文件数列:
events {
worker_connections 35000; //最大俩连接数65000
accept_mutex on; //可以开启多个任务进程http{...}:配置http相关,由ngx_core_module模块引入。nginx的HTTP配置主要包括四个区块,结构如下:
http {//协议级别
include mime.types;
default_type application/octet-stream;
keepalive_timeout 65;
gzipon;
 upstream {//负载均衡配置 ...
 }
 server       {//服务器级别,每个server类似于httpd中的一个<Virtualhost>,可以理解一个server就是一个网站
 listen 80;   //一个网站监听那个端口,端口号或ip+端口号
 server_name localhost;               //域名
root "/xxx/xxx"   网站放置那个位置
 location / {//请求级别,类似于httpd中的<location>,用于定义URL于本地文件的映射关系
 root html; index index.html index.htm;
 }
 }
 }
安装路径: conf/nginx.cong //消除注释及更改
vim /usr/local/nginx/conf/nginx.conf
以下都是可以用到的参数,不可删除
user  nginx;    //最大数量65535
worker_processes  1;       //工作过程,数量
error_log  logs/error.log;
pid        logs/nginx.pid;

events {
    worker_connections  1024;
}

http {
    include       mime.types;
    default_type  application/octet-stream;

    log_format  main  '$remote_addr - $remote_user [$time_local] "$request" '
                      '$status $body_bytes_sent "$http_referer" '
                      '"$http_user_agent" "$http_x_forwarded_for"';
main可改,但要与下方对应
    access_log  logs/access.log  main;

    sendfile        on;

    keepalive_timeout  65;

    server {
        listen       80;
        server_name  localhost;
        access_log  logs/host.access.log  main;
        location / {
            root   html;
            index  index.html index.htm;
            deny   192.168.56.1;
            allow  all;
        }

        error_page   500 502 503 504  /50x.html;
        location = /50x.html {
            root   html;
        }

        location ~ \.php$ {
            root           html;             //root:网页放置哪
            fastcgi_pass   127.0.0.1:9000;  //以下php的反向代理(当接受到php的网页,就交给本机的9000端口处理)
            fastcgi_index  index.php;        //默认的处理文件叫什么名字
            fastcgi_param  SCRIPT_FILENAME  /scripts$fastcgi_script_name;        //脚本执行位置,绝对路径,也可以写成SCRIPT_FILENAME  $document_root$fastcgi_script_name;
            include        fastcgi_params;             //实例文件
        }
   }
}

[root@localhost ~]# nginx -t
[root@localhost ~]# nginx -s reload
查看日志
[root@localhost ~]# cd /usr/local/nginx/conf/
[root@localhost conf]# tail ../logs/error.log
2018/08/31 15:55:39 [error] 69125#0: *161 open() "/usr/local/nginx/html/bjhbb" failed (2: No such file or directory), client: 192.168.56.1, server: localhost, request: "GET /bjhbb HTTP/1.1", host: "192.168.56.138"
访问控制
用于location段
allow:设定允许哪台或那些主机访问,多个参数间用空格隔开
deny:设定禁止哪台或那些主机访问,多个参数间用空格隔开
实例:
//允许这个IP访问
location / {
allow  192.168.56.1;
deny   all;
}
192.168.56.1访问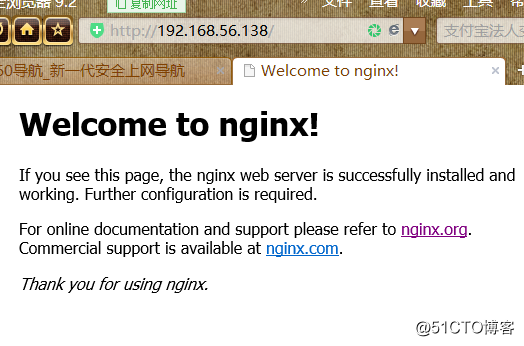
其他ip访问
//禁止这个IP访问
location / {
root   html;
index index.html index.htm;
deny  192.168.56.138;
allow  all;
}
基于用户认证
[root@localhost ~]# mkdir /usr/local/nginx/auth
//安装生成密码的命令
[root@localhost ~]# yum provides *bin/htpasswd
[root@localhost ~]# yum install -y httpd-tools
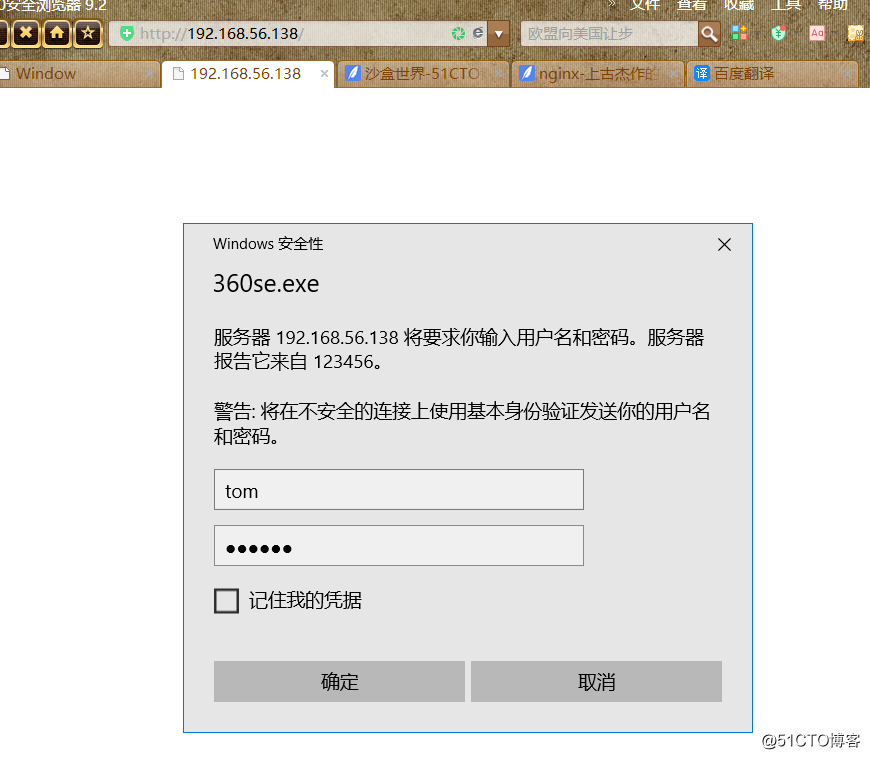
//创建登录nginx的用户和密码
[root@localhost ~]# htpasswd -c -m /usr/local/nginx/auth/.user_auth_file zsNew password: //设置密码
[root@localhost html]# htpasswd -c -m /usr/local/nginx/auth/.user_auth_file tom
New password:123456
Re-type new password:123456
Adding password for user tom
[root@localhost ~]# cat /usr/local/nginx/auth/.user_auth_file
tom:$apr1$UCLi1TyH$7.9FaCaT.FkDYcb3h2bSA0
vim /usr/local/nginx/conf/nginx.conf
location / {
root   html;
index index.html index.htm;
auth_basic "123456";
auth_basic_user_file ../auth/.user_auth_file;
}
httod配置
1.生成私钥
//CA的配置文件:/etc/pki/tls/openssl.cnf
见下方配置
http://blog.51cto.com/13859004/2169654
//编辑配置文件
[root@localhost ssl]# vim /usr/local/nginx/conf/nginx.conf
server {
listen 443 ssl;
server_name www.guohui.com; //修改此处,下方根据上方的配置可不改
ssl_certificate /usr/local/nginx/ssl/nginx.crt;
ssl_certificate_key /usr/local/nginx/ssl/nginx.key;
ssl_session_cache shared:SSL:1m;
ssl_session_timeout 5m;
ssl_ciphers HIGH:!aNULL:!MD5;
ssl_prefer_server_ciphers on;
[root@localhost ssl]# nginx -t
nginx: the configuration file /usr/local/nginx/conf/nginx.conf syntax is ok
nginx: configuration file /usr/local/nginx/conf/nginx.conf test is successful
[root@localhost ssl]# nginx -s reload
在本机加入ip与网站的映射关系
1.修改/etc/hosts文件,添加域名与IP的映射
路径
windows C:\Windows\System32\drivers\etc
linux etc/host
添加 ip 域名 即可
2.在浏览器上使用域名访问,如图所示,实验成功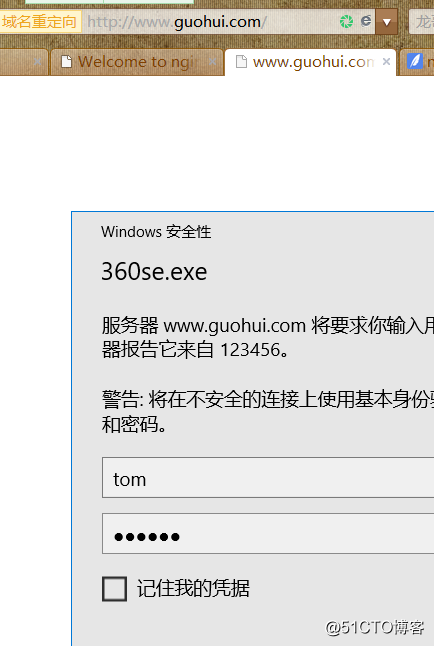
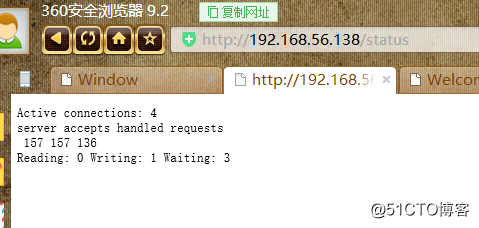
开启状态界面
//编辑配置文件
/修改成如下内容:
location /status {
stub_status on;
allow 192.168.56.1;
deny all;
}
[root@localhost nginx]# cd /usr/local/nginx/html
[root@localhost html]# mkdir bqb
[root@localhost html]# cd bqb
图+1
[root@localhost bqb]# ls
QQ图片20180710160246.jpg
配置添加
 location /bqb {
            root   html;
            index  index.html;
        }
[root@localhost bqb]# nginx -t
[root@localhost bqb]# nginx -s reload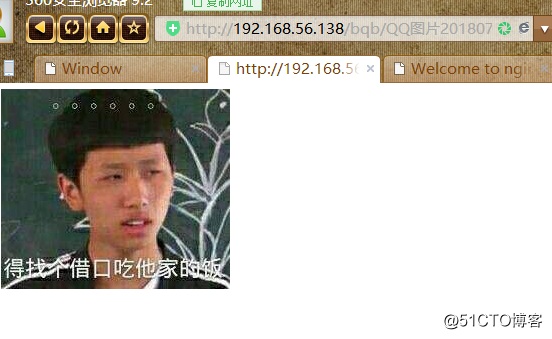
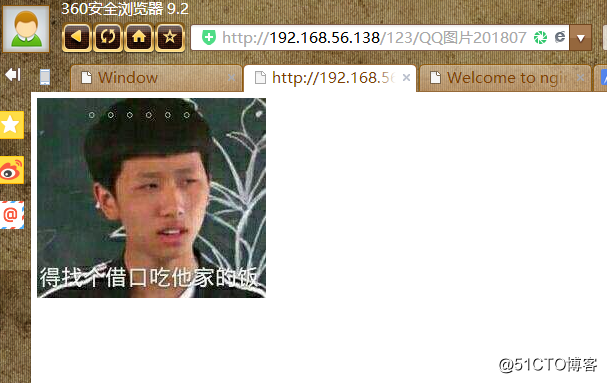
反向代理,可以将访问bqb的直接指向123
[root@localhost bqb]# cd ..
[root@localhost html]# mv bqb 123
编辑
        location /bqb {
            root   html;
            index  index.html;
            rewrite ^/bqb/(.*\.jpg)$ /123/$1 break;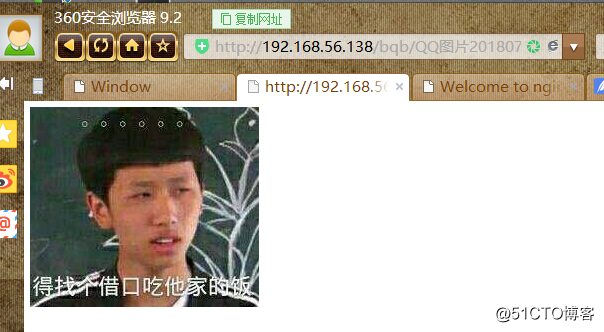
也可以映射到百度
bqb虽然已经不存在,但是可以用来直接指向需要的地方。
        location /bqb {
            root   html;
            index  index.html;
            rewrite ^/bqb/(.*\.jpg)$ https://www.baidu.com/;
{
nginx-upstream
先配置出2个httpd用来做实验
防火墙
[root@localhost ~]# systemctl stop firewalld
[root@localhost ~]# systemctl disable firewalld
[root@localhost ~]# sed -ri 's/(SELINUX=).*/\1disabled/g' /etc/selinux/config
[root@localhost ~]# setenforce 0
2,3http设置,先配置一个仓库
[root@localhost ~]# mount /dev/cdrom /mnt
mount: /dev/sr0 写保护,将以只读方式挂载
[root@localhost ~]# vim /etc/yum.repos.d/123.repo
配置出两个网页
1,2配置一样
[root@localhost yum.repos.d]# yum -y install httpd
[root@localhost yum.repos.d]# cd /var/www/html/
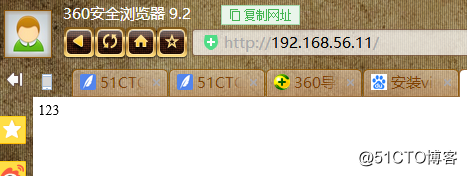
[root@localhost html]# echo "123" > index.html //192.168.56.138
[root@localhost html]# systemctl start httpd
[root@localhost yum.repos.d]# yum -y install httpd
[root@localhost yum.repos.d]# cd /var/www/html/
[root@localhost html]# echo "456" > index.html //192.168.56.123
[root@localhost html]# systemctl start httpd配置nginx ,配置upstream web,实现负载均衡
[root@localhost nginx-1.14.0]# cd /usr/local/nginx/
[root@localhost nginx]# vim conf/nginx.conf
  keepalive_timeout  65;
    upstream web {
    server 192.168.56.138;              //设置web设置集群,实行负载均衡,server网站192.168.56.138和serwer192.168.56.123
    server 192.168.56.123;
}
    server {
        listen       80;
        server_name  localhost;
        access_log  logs/host.access.log  main;

        location / {
        proxy_pass http://web;          //proxy_pass的web对应的是web
        }

//测试
[root@localhost nginx]# nginx -t
nginx: the configuration file /usr/local/nginx/conf/nginx.conf syntax is ok
nginx: configuration file /usr/local/nginx/conf/nginx.conf test is successful
[root@localhost nginx]# nginx -s reload
刷新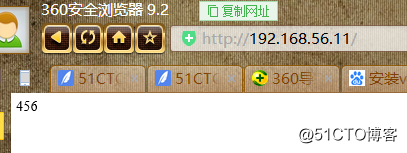
2.设置 ip_hash,可以让一个访问者的请求由同一个后端来处理
添加 ip_hash;
[root@localhost nginx]# vim conf/nginx.conf
 upstream web {
    ip_hash;               //在原来的添加ip_hash就可以了,其他不改
    server 192.168.56.138;              //设置web设置集群,实行负载均衡,server网站192.168.56.138和serwer192.168.56.123
    server 192.168.56.123;
}
已经固定为内容123
浏览器实现分离
如果访问bqb的浏览器是Firefox则访问(.*)$指向的/firefox/$1
location /bqb {
if ($http_user_agent ~ Firefox) {
 rewrite ^(.*)$ /firefox/$1 break;
 }
}

如果访问bqb的浏览器是MSIE则访问(.*)$指向的/msie/$1
location /bqb {
 if ($http_user_agent ~ MSIE) {
 rewrite ^(.*)$ /msie/$1 break;
 }
}

如果访问bqb的浏览器是Chrome则访问(.*)$指向的/chrome/$1
location /bqb {
 if ($http_user_agent ~ Chrome) {
 rewrite ^/(.*)$ /chrome/$1 break;
}
}
例:谷歌浏览器转到百度
location /123 {
        if ($http_user_agent ~ Chrome) {
            rewrite ^/(.*)$ https://www.baidu.com/ break;
        }
        }
1.360访问不到
2.谷歌可以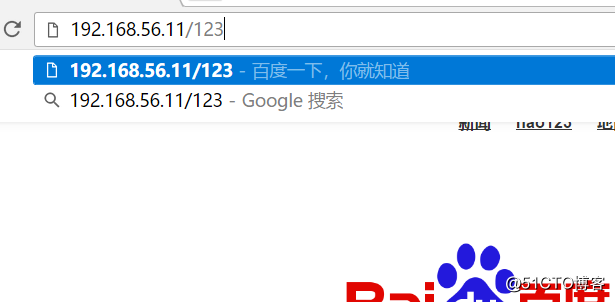
其他站点无法超链接本站图片等
防盗链案例
,如果由人通过其他路径访问本站的图片,则交给403
*location ~ .(jpg|gif|jpeg|png)$ { //不分大小写匹配
valid_referer none clocked www.idfsoft.com; //所有锁定到域名下
if ($invalid_referer) { //如果是无效的连接
rewrite ^/ http://www.idfsoft.com/403.html; 则转到403
}**