本文主要介绍AlertDialog的基本知识,以及使用自定义AlertDialog实现用户登录UI的程序。本文内容主要份分为以下几个部分:
- AlertDialog介绍
- 自定义AlertDialog实现用户登录UI
AlertDialog介绍
Android对话框是提示用户作出决定或输入额外信息的小窗口。 对话框不会填充屏幕,通常用于需要用户采取行动才能继续执行的模式事件。
Dialog是对话框的基类,但是Android官方手册并不建议直接使用Dialog对象来操作,而是使用Dialog的继承类AlertDialog、DataPickerDialog、TimePickerDialog,这里我们主要介绍AlertDialog这个类。
Android提供了多种AlertDialog,有最简单的AlertDialog,带列表的,带两个(3个)Button等,有时候这些都不能满足我们,这里就需要使用自定义的AlertDialog来实现一些功能;接下来,我们将用一个自定义的AlertDialog来实现弹出式用户登录U。I
自定义AlertDialog实现
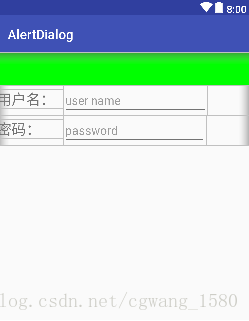
首先,建立一个Layout作为弹出的自定义AlertDialog界面,在这个Layout中放置一个ImageView,和两个LinearLayout,在两个LinearLayout中均放置一个TextView和一个EditText,其中EditText作为编辑框用于输入用户名和用户密码。
<?xml version="1.0" encoding="utf-8"?>
<LinearLayout xmlns:android="http://schemas.android.com/apk/res/android"
    android:layout_width="match_parent"
    android:layout_height="match_parent"
    android:orientation="vertical">
    <ImageView
        android:layout_width="match_parent"
        android:layout_height="50dp"
        android:background="#00ff00"/>
    <LinearLayout
        android:layout_width="match_parent"
        android:layout_height="wrap_content">
        <TextView
            android:layout_width="100dp"
            android:layout_height="wrap_content"
            android:text="用户名:"
            android:textSize="22dp"/>
        <EditText
            android:id="@+id/city_text"
            android:layout_width="219dp"
            android:layout_height="wrap_content"
            android:hint="user name"/>
    </LinearLayout>

    <LinearLayout
        android:id="@+id/linearLayout"
        android:layout_width="match_parent"
        android:layout_height="wrap_content" >
        <TextView
            android:layout_width="100dp"
            android:layout_height="wrap_content"
            android:text="密码:"
            android:textSize="22dp"/>
        <EditText
            android:id="@+id/nian_text"
            android:layout_width="217dp"
            android:layout_height="wrap_content"
            android:hint="password"/>
    </LinearLayout>
</LinearLayout>
这里ImageView的背景只是设置为一个颜色,效果如下
然后在activity_main的布局中放置一个Button控件,当该Button被点击之后弹出AlertDialog对话框:
<?xml version="1.0" encoding="utf-8"?>
<LinearLayout xmlns:android="http://schemas.android.com/apk/res/android"
    xmlns:app="http://schemas.android.com/apk/res-auto"
    xmlns:tools="http://schemas.android.com/tools"
    android:layout_width="match_parent"
    android:layout_height="match_parent"
    android:orientation="vertical"
    tools:context=".MainActivity" >
    <Button
        android:layout_width="wrap_content"
        android:layout_height="wrap_content"
        android:id="@+id/button_sign"
        android:text="Log in"
        android:layout_gravity="center_horizontal"/>
</LinearLayout>
逻辑非常明确,接下来就在MainActivity中做两个工作:1、设置Button控件的点击事件;2、点击事件中弹出AlertDialog并记录对话框中的内容;
先给出MainActivity的代码,如下:
public class MainActivity extends AppCompatActivity {

    private final static String TAG1 = "AlertDialog";
    private Button loginButton;
    private String userName;
    private String userPassword;
    private EditText userNameEdit;
    private EditText userPasswordEdit;
    private View alertDialogView;

    @Override
    protected void onCreate(Bundle savedInstanceState) {
        super.onCreate (savedInstanceState);
        setContentView (R.layout.activity_main);

        alertDialogView = getLayoutInflater ().inflate (R.layout.alertdialog_layout, null, false);

        loginButton = findViewById (R.id.button_sign);
        loginButton.setOnClickListener (new View.OnClickListener () {
            @Override
            public void onClick(View view) {
                AlertDialog.Builder loginAlertDialog = new AlertDialog.Builder (MainActivity.this);
                loginAlertDialog.setView (alertDialogView);
                loginAlertDialog.setPositiveButton ("OK", new DialogInterface.OnClickListener () {
                    @Override
                    public void onClick(DialogInterface dialogInterface, int i) {
                        userNameEdit = alertDialogView.findViewById (R.id.city_text);
                        userPasswordEdit = alertDialogView.findViewById (R.id.nian_text);
                        userName = userNameEdit.getText ().toString ();
                        userPassword = userPasswordEdit.getText ().toString ();
                    }
                });

                loginAlertDialog.show ();
            }
        });
        Log.i (TAG1, "onCreate: user name is " + userName +" userPassword is " + userPassword);
    }
}
首先,使用findViewById获取login Button控件,并设置Listener接口;
然后,使用getLayoutInflater获得LayoutInflater实例,然后调用该实例的inflate方法来获得我们自定义的View,inflate方法传入三个参数,第一个是我们自己定义布局的id,第二个是ViewGroup实例作为父布局,这里传入null,第三个是否使用父布局,传入false表示不使用。
接着就是最重要的地方,使用AlertDialog.Builder建立一个AlertDialog的实例,并用setView方法设置将要弹出的对话框的UI,这里就传入我们刚刚获得alertDialogView 这个对象;setPositiveButton 方法可以再对话框底部设置一个小按钮,这里我们将该按钮命名为“OK”;另外,这个按钮同样可以实现监听功能,我们在监听方法onClick中做了这样的操作:获取user name中填入的内容赋值给userName 变量,获取password中填入的内容赋值给userPassword 变量,之后便可以利用这两个变量来判断用户名以及用户密码是否正确,从而实现用户登录功能。(这里实际登录未实现)
此处有两点需要注意:

- 因为用户名和密码的EditText是在我们自定义的View上,因此在调用findViewById方法时必须是alertDialogView.findViewById,否则返回的将是null;
- 使用getText方法并不能直接获得String变量,需要调用toString方法来转换为String类型;
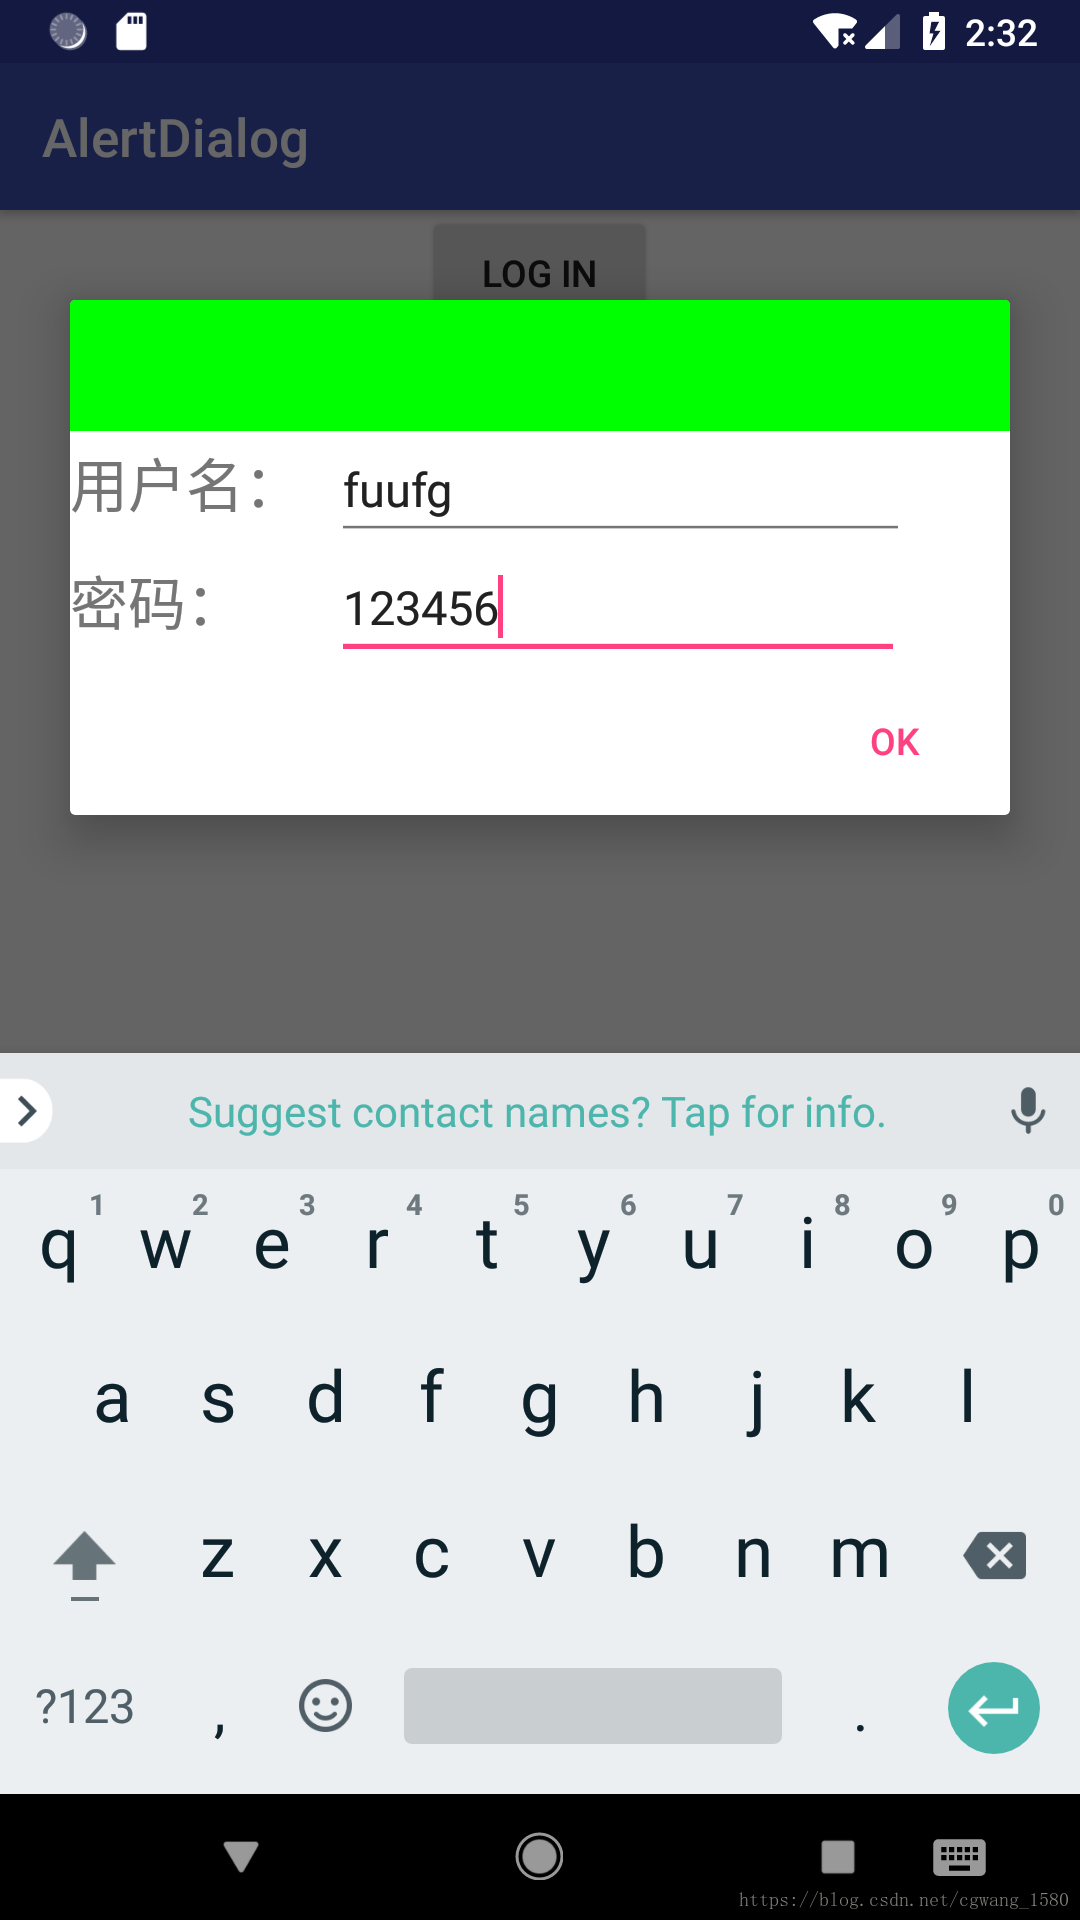
做完这些工作以后就可以实现自定义AlertDialog实现用户登录的UI界面了,实际程序运行的效果如下: