这一周在研究cas统一登录认证系统,参考网上大量文章,基本调试可用了,做个笔记。
安装环境:ubuntu16.04 + mysql5.7.23 + java1.8.0_181 + maven3.5.4 + tomcat8.5.32 + cas5.3.2
1.下载软件:
jdk-8u181-linux-x64.tar.gz
apache-tomcat-8.5.32.tar.gz
apache-maven-3.5.4-bin.tar.gz
cas-overlay-template-5.3.zip
地址:
jdk: http://www.oracle.com/technetwork/java/javase/downloads/jdk8-downloads-2133151.html
tomcat: https://tomcat.apache.org/download-80.cgi
maven: http://maven.apache.org/download.cgi
cas:https://github.com/apereo/cas-overlay-template 我的是maven 不是gradle版本
2.解压文件
复制四个文件到 /usr/local 目录
tar -zxvf jdk-8u181-linux-x64.tar.gz
tar -zxvf apache-tomcat-8.5.32.tar.gz
tar -zxvf apache-maven-3.5.4-bin.tar.gz
unzip cas-overlay-template-5.3.zip
解压后这四个文件可以删除或复制/移动到其他地方备用
3.编辑环境变量 nano /etc/profile,加入以下语句:
export JAVA_HOME=/usr/local/jdk1.8.0_181
export PATH=$JAVA_HOME/bin:$JAVA_HOME/jre/bin:$PATH
export CLASSPATH=.:$JAVA_HOME/lib:$JAVA_HOME/jre/lib
export MAVEN_HOME=/usr/local/apache-maven-3.5.4
export PATH=$MAVEN_HOME/bin:$PATH
执行命令
# source /etc/profile
4.启动tomcat测试
cd /usr/local/apache-tomcat-8.5.32/bin
./startup.sh (启动tomcat)
http://192.168.0.107:8080 测试(我的ip是192.168.0.107)
./shutdown.sh(停止tomcat)
5.生成自签名证书(如果申请认证机构的收费/免费SSL证书,无需制作自签名证书,另外简单配置)
cd /usr/local/apache-tomcat-8.5.32
(1) 生成证书申请文件server.keystore
keytool -genkey -alias gdfikey -keyalg RSA -keypass tomcatgdfi -storepass tomcatgdfi -keystore server.keystore -validity 3600
以下是生成证书对话:
What is your first and last name?
[Unknown]: author.linbsoft.com //这个替换为你的域名
What is the name of your organizational unit?
[Unknown]: linbsoft
What is the name of your organization?
[Unknown]: linbsoft
What is the name of your City or Locality?
[Unknown]: guangzhou
What is the name of your State or Province?
[Unknown]: guangdong
What is the two-letter country code for this unit?
[Unknown]: cn
Is CN=autor.linbsoft.com, OU=linbsoft, O=linbsoft, L=guangzhou, ST=guangdong, C=cn correct?
[no]: y
顺利的话,会生成证书文件server.keystore在当前目录
(2)生成证书server.cer
keytool -export -trustcacerts -alias linkey -file server.cer -keystore server.keystore -storepass tomcat
根据证书server.keystore 生成自签发证书server.cer -alias是别名,-storepass是设置的密码
(3)导入证书到tomcat
keytool -import -trustcacerts -alias gdfikey -keystore "/usr/local/jdk1.8.0_181/jre/lib/security/cacerts" -file "/usr/local/apache-tomcat-8.5.32/server.cer" -storepass changeit
注意:证书默认密码为changeit,不能填前面自定义的密码
(4)tomcat配置使用证书
nano /usr/local/apache-tomcat-8.5.32/conf/server.xml
加入如下一段:
<Connector port="8443" protocol="org.apache.coyote.http11.Http11Protocol"
maxThreads="150" SSLEnabled="true" scheme="https" secure="true"
clientAuth="false" sslProtocol="TLS" keystoreFile="server.keystore" keystorePass="tomcat" />
重启tomcat,测试是否成功
浏览器输入:https://192.168.0.107:8443
浏览器会显示该连接不安全,你在浏览器手动将此连接设置为可信任的,在ie测试可以,chrome58以上版本不认可自签名证书,但均可https访问网站了。
6. 安装配置cas5.3
进入cas-overlay-template-5.3 目录编译cas.war包
cd /usr/local/cas-overlay-template-5.3
mvn install
(mvn clean是清除编译目标文件,mvn install是生成编译目标文件)
编译的过程要下载相关组件,过程可能比较漫长,我的要二个多小时才完成,完成编译后,当前目录下多了个target目录,里面有cas.war文件和cas目录,是一样的内容
复制 cp /usr/local/cas-overlay-template-5.3/target/cas.war /usr/local/apache-tomcat-8.5.32/webapps
重启tomcat
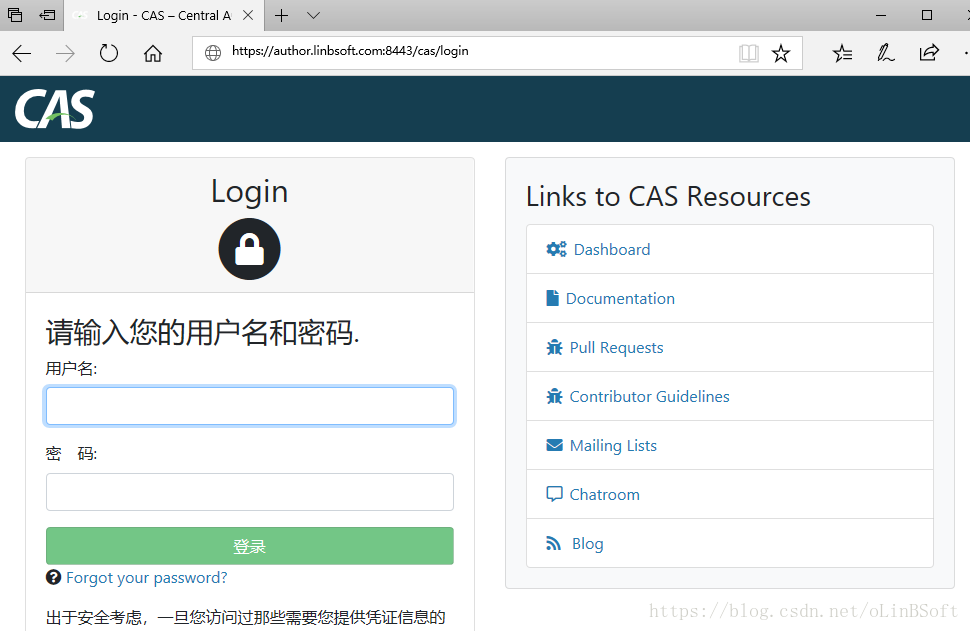
即可测试cas: https://author.linbsoft.com:8443/cas/login
我的域名是在服务器和浏览器所在客户端的hosts中自己定义的
192.168.0.107 author.linbsoft.com
其中linux是 /etc/hosts文件 windows是 c:/windows/system32/drivers/etc/hosts