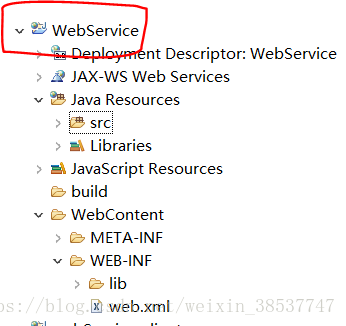
第一步创建动态web工程WebService
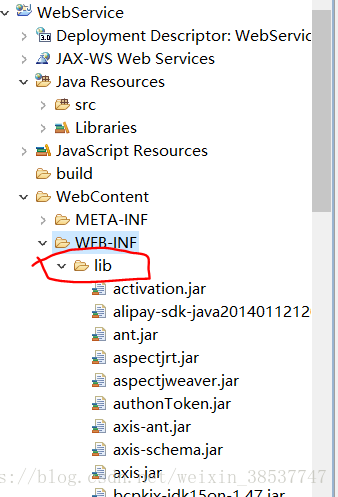
第二部导入jar包,设置BuildPath
第三步在src下新建resource包,新建db.properties文件,存放数据库链接信息
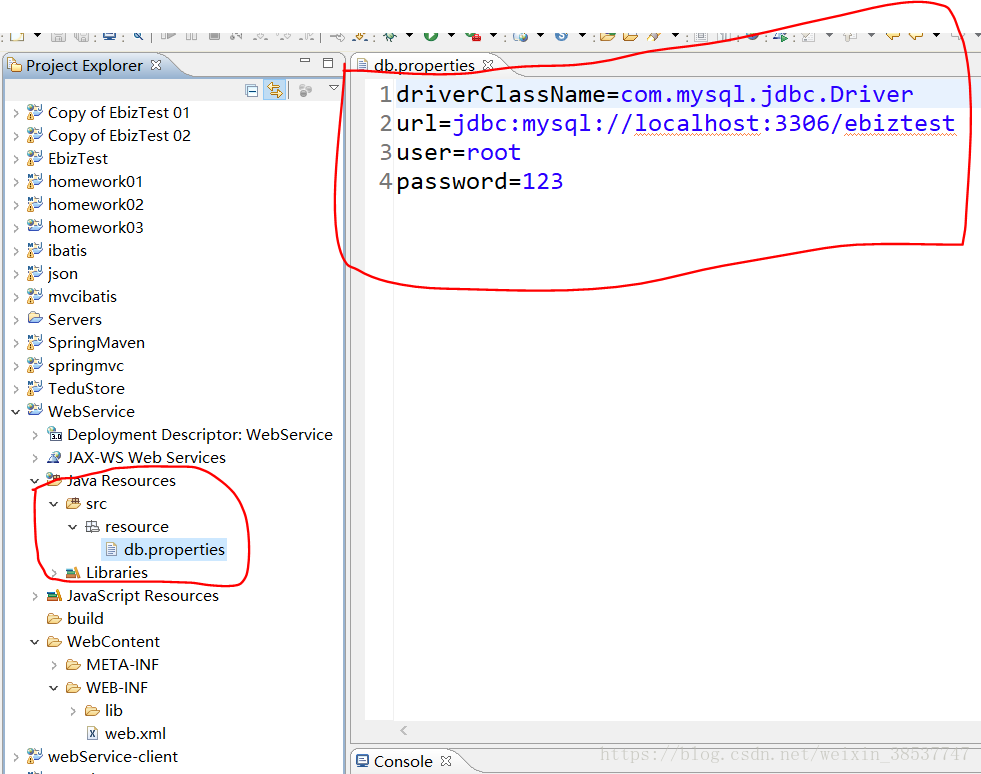
driverClassName=com.mysql.jdbc.Driver
 url=jdbc:mysql://localhost:3306/ebiztest
 user=root
 password=123
第四步新建数据传输对象包dto,和UserDTO实体类
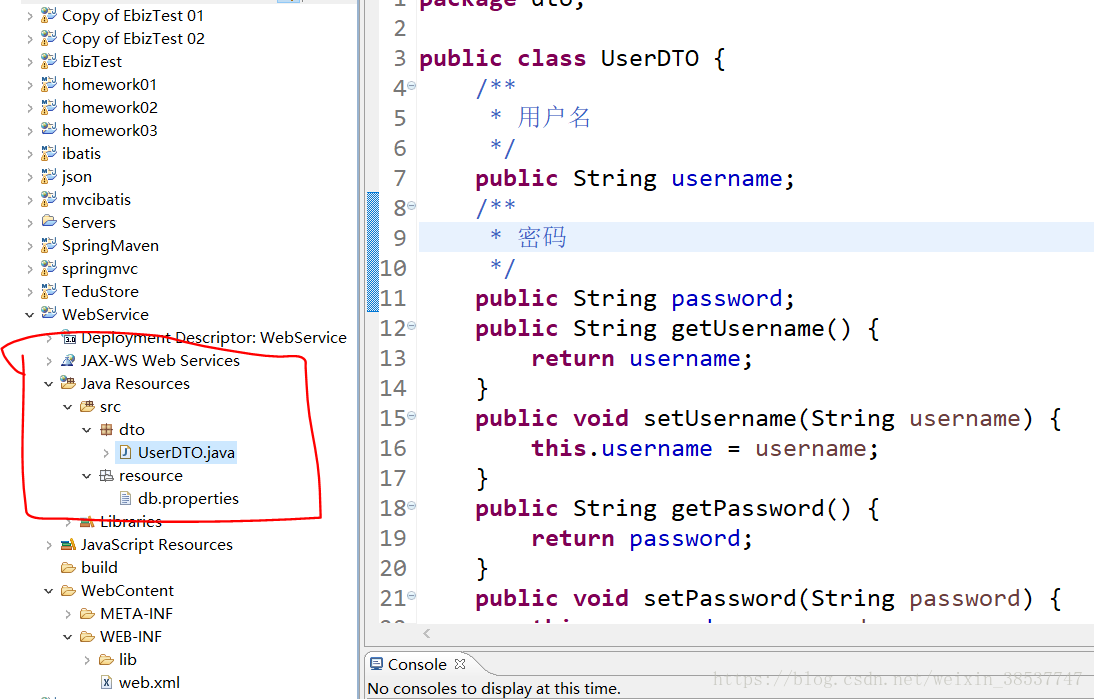
package dto;
public class UserDTO {
    /**
     * 用户名
     */
    public String username;
    /**
     * 密码
     */
    public String password;
    public String getUsername() {
        return username;
    }
    public void setUsername(String username) {
        this.username = username;
    }
    public String getPassword() {
        return password;
    }
    public void setPassword(String password) {
        this.password = password;
    }
}
第五步resource包新建UserMapper.xml存放sql查询语句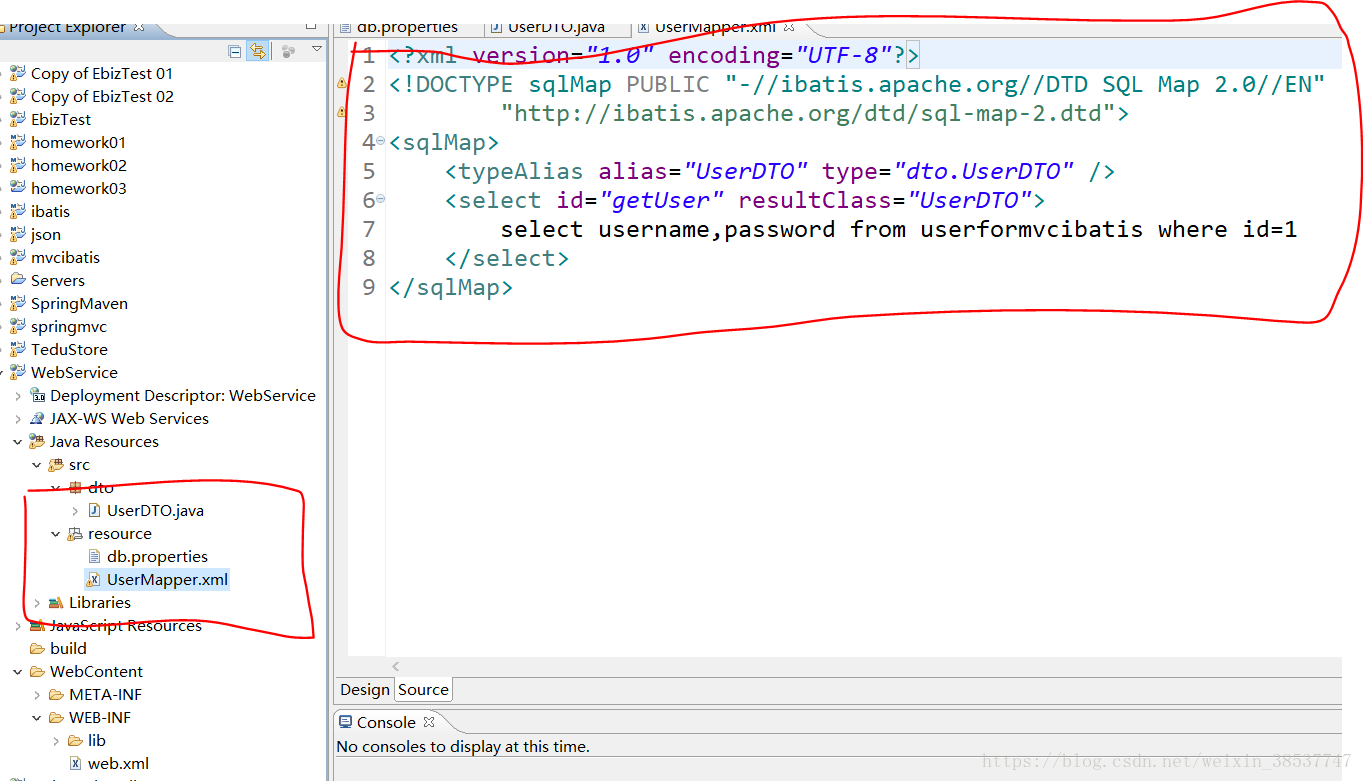
<?xml version="1.0" encoding="UTF-8"?>
<!DOCTYPE sqlMap PUBLIC "-//ibatis.apache.org//DTD SQL Map 2.0//EN"
        "http://ibatis.apache.org/dtd/sql-map-2.dtd">
<sqlMap>
    <typeAlias alias="UserDTO" type="dto.UserDTO" />
    <select id="getUser" resultClass="UserDTO">
        select username,password from userformvcibatis where id=1
    </select>
</sqlMap>
第六步resource包下新建SqlMapConfig.xml文件,考虑到与spring的整合,将链接数据库的部分转移到spring容器的配置文件中,所以这里仅仅链接存放sql语句的映射文件UserMapper.xml。

<?xml version="1.0" encoding="UTF-8" ?>
<!DOCTYPE sqlMapConfig
    PUBLIC "-//ibatis.apache.org//DTD SQL Map Config 2.0//EN"
    "http://ibatis.apache.org/dtd/sql-map-config-2.dtd">
<sqlMapConfig>
    <sqlMap resource="resource/UserMapper.xml" />
</sqlMapConfig>
第七步resource包下新建root-context.xml文件,spring容器的配置文件,扫描业务层,配置链接数据库的相关信息和用到的bean,注意spring对ibatis的sqlmapclient bean 做了进一步的封装,封装为sqlMapClientTemplate模板类
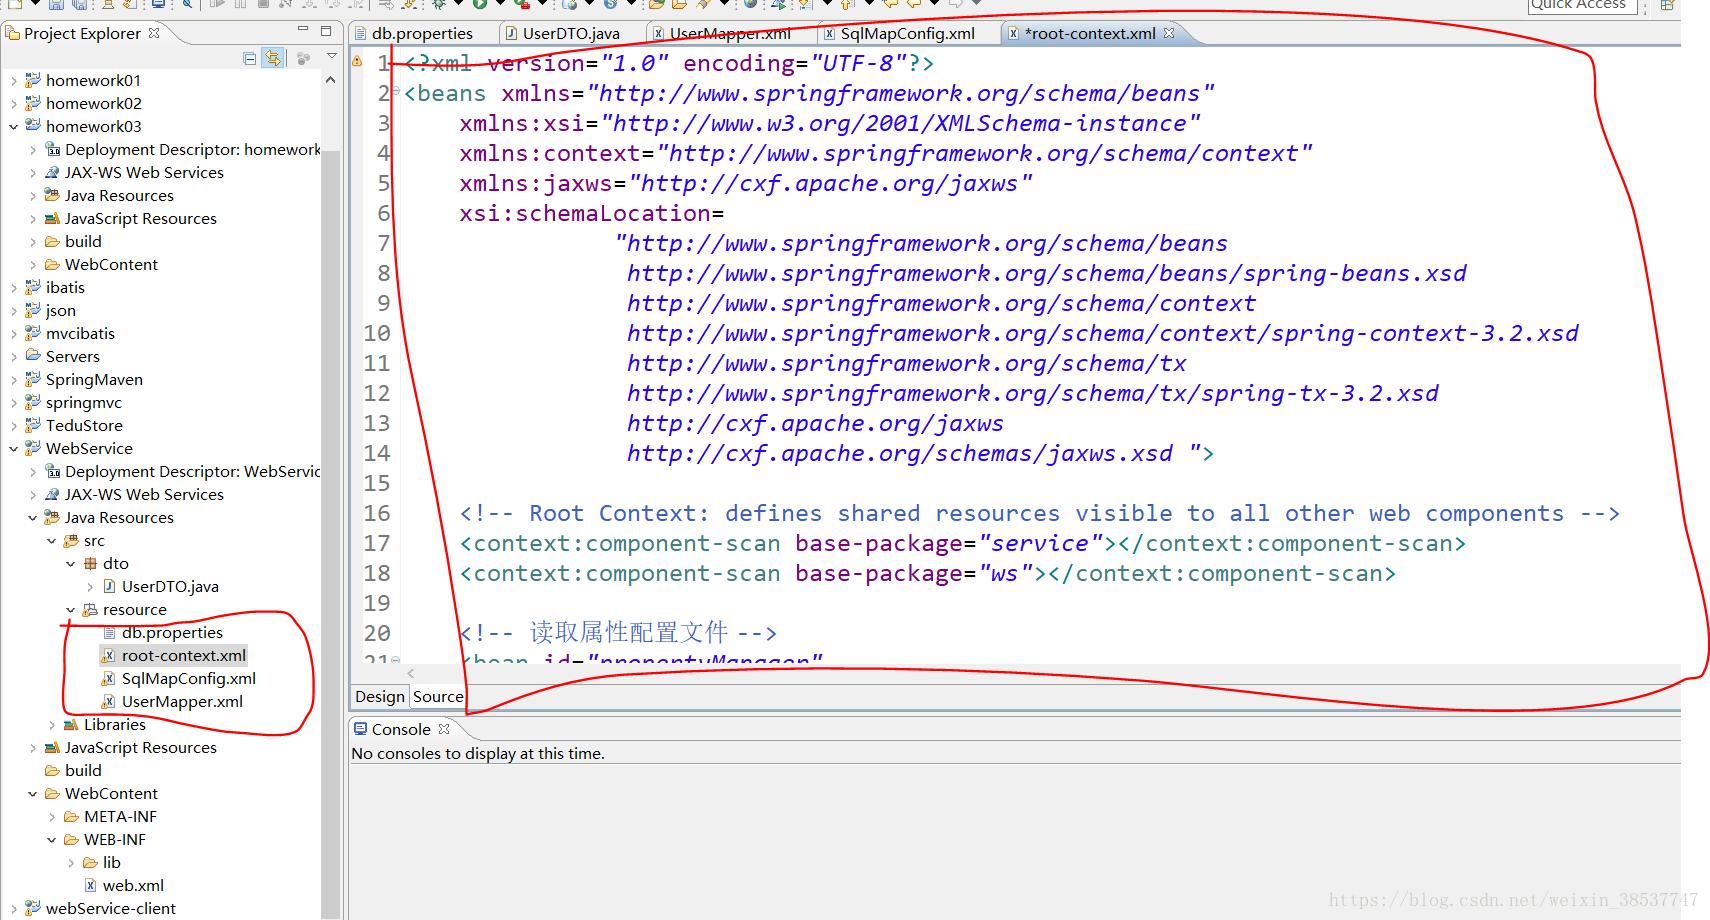
<?xml version="1.0" encoding="UTF-8"?>
<beans xmlns="http://www.springframework.org/schema/beans"
    xmlns:xsi="http://www.w3.org/2001/XMLSchema-instance"
    xmlns:context="http://www.springframework.org/schema/context"
    xmlns:jaxws="http://cxf.apache.org/jaxws"
    xsi:schemaLocation=
               "http://www.springframework.org/schema/beans
                http://www.springframework.org/schema/beans/spring-beans.xsd
                http://www.springframework.org/schema/context
                http://www.springframework.org/schema/context/spring-context-3.2.xsd
                http://www.springframework.org/schema/tx
                http://www.springframework.org/schema/tx/spring-tx-3.2.xsd
                http://cxf.apache.org/jaxws
                http://cxf.apache.org/schemas/jaxws.xsd ">

    <!-- Root Context: defines shared resources visible to all other web components -->
    <context:component-scan base-package="service"></context:component-scan>
    <context:component-scan base-package="ws"></context:component-scan>

    <!-- 读取属性配置文件 -->
    <bean id="propertyManager"
        class="org.springframework.beans.factory.config.PropertyPlaceholderConfigurer">
        <property name="locations">
            <list>
                <value>classpath:resource/db.properties</value>
            </list>
        </property>
    </bean>
    <!-- 配置数据源,并使用属性配置文件中的数据 -->
    <bean id="dataSource"
        class="org.springframework.jdbc.datasource.DriverManagerDataSource">
        <property name="driverClassName" value="${driverClassName}" />
        <property name="url" value="${url}" />
        <property name="username" value="${user}" />
        <property name="password" value="${password}" />
    </bean>
    <bean id="sqlMapClient" class="org.springframework.orm.ibatis.SqlMapClientFactoryBean">
        <property name="configLocation" value="classpath:resource/SqlMapConfig.xml" />
        <property name="dataSource">
            <ref bean="dataSource" />
        </property>
    </bean>
    <bean id="sqlMapClientTemplate" class="org.springframework.orm.ibatis.SqlMapClientTemplate">
        <property name="sqlMapClient" ref="sqlMapClient" />
    </bean>
</beans>
第八步resource包下新建mvc.xml文件 两件事:扫描控制层,配置视图渲染器
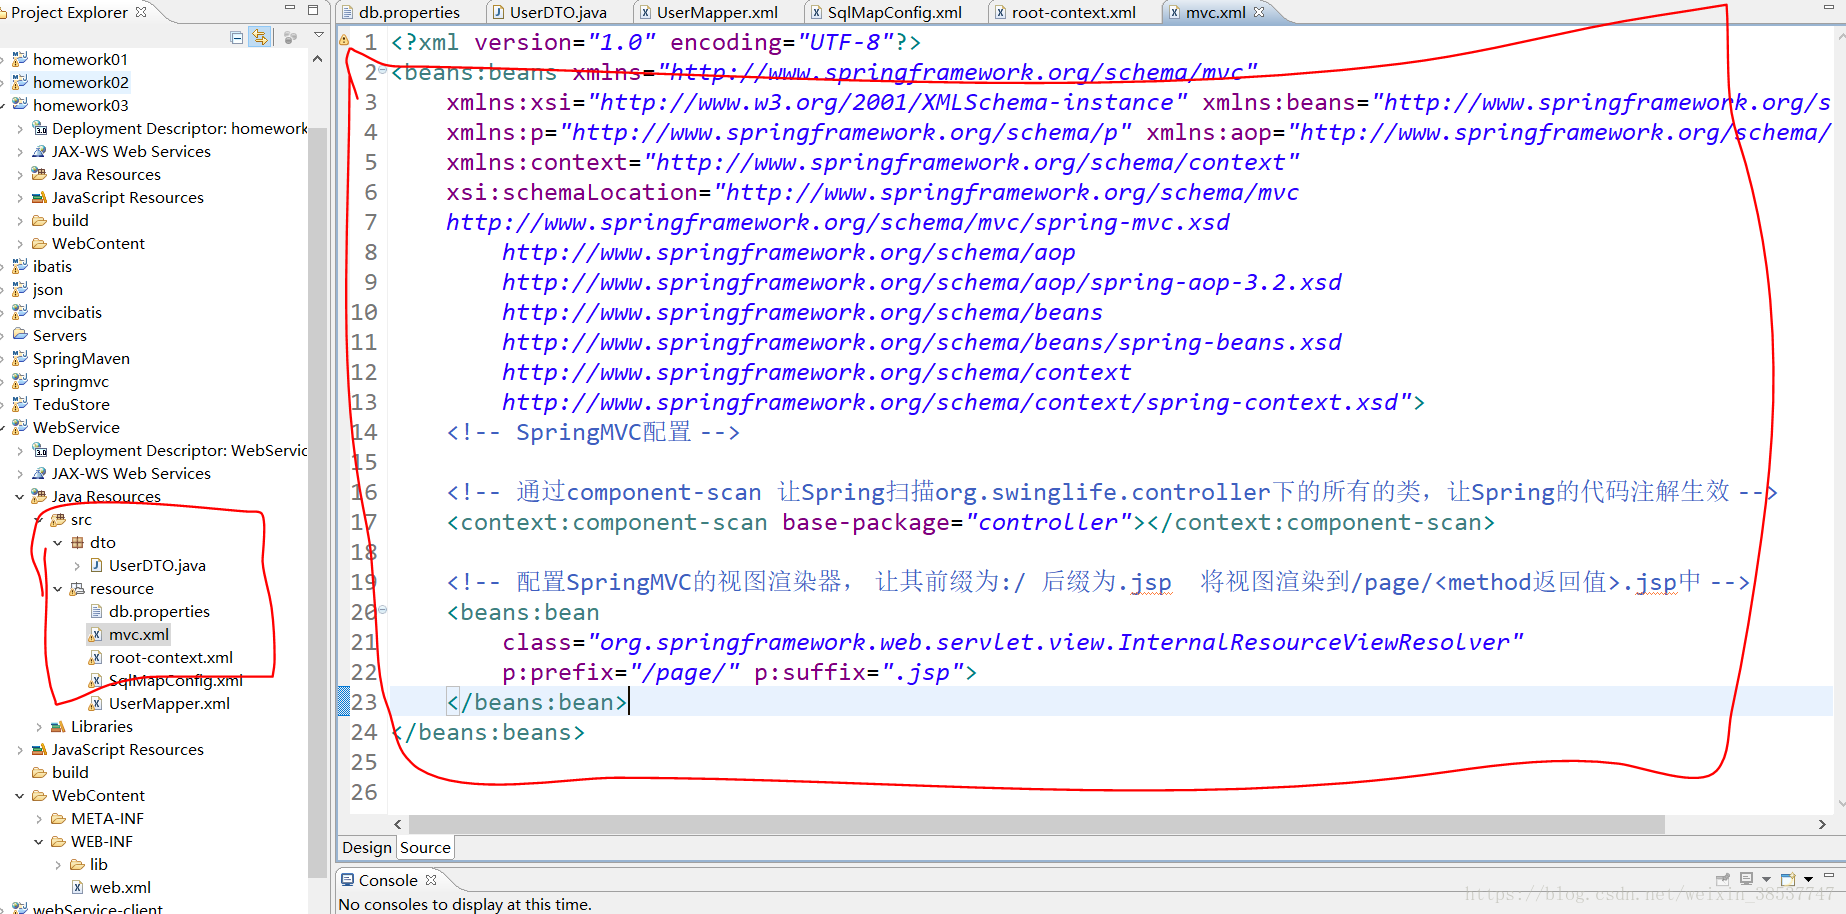
<?xml version="1.0" encoding="UTF-8"?>
<beans:beans xmlns="http://www.springframework.org/schema/mvc"
xmlns:xsi="http://www.w3.org/2001/XMLSchema-instance" xmlns:beans="http://www.springframework.org/schema/beans"
xmlns:p="http://www.springframework.org/schema/p" xmlns:aop="http://www.springframework.org/schema/aop"
xmlns:context="http://www.springframework.org/schema/context"
xsi:schemaLocation="http://www.springframework.org/schema/mvc
http://www.springframework.org/schema/mvc/spring-mvc.xsd
http://www.springframework.org/schema/aop
http://www.springframework.org/schema/aop/spring-aop-3.2.xsd
http://www.springframework.org/schema/beans
http://www.springframework.org/schema/beans/spring-beans.xsd
http://www.springframework.org/schema/context
http://www.springframework.org/schema/context/spring-context.xsd">
<!-- SpringMVC配置 -->
<!-- 通过component-scan 让Spring扫描org.swinglife.controller下的所有的类,让Spring的代码注解生效 -->
<context:component-scan base-package="controller"></context:component-scan>
<!-- 配置SpringMVC的视图渲染器, 让其前缀为:/ 后缀为.jsp 将视图渲染到/page/<method返回值>.jsp中 -->
<beans:bean class="org.springframework.web.servlet.view.InternalResourceViewResolver"
p:prefix="/page/" p:suffix=".jsp">
</beans:bean>
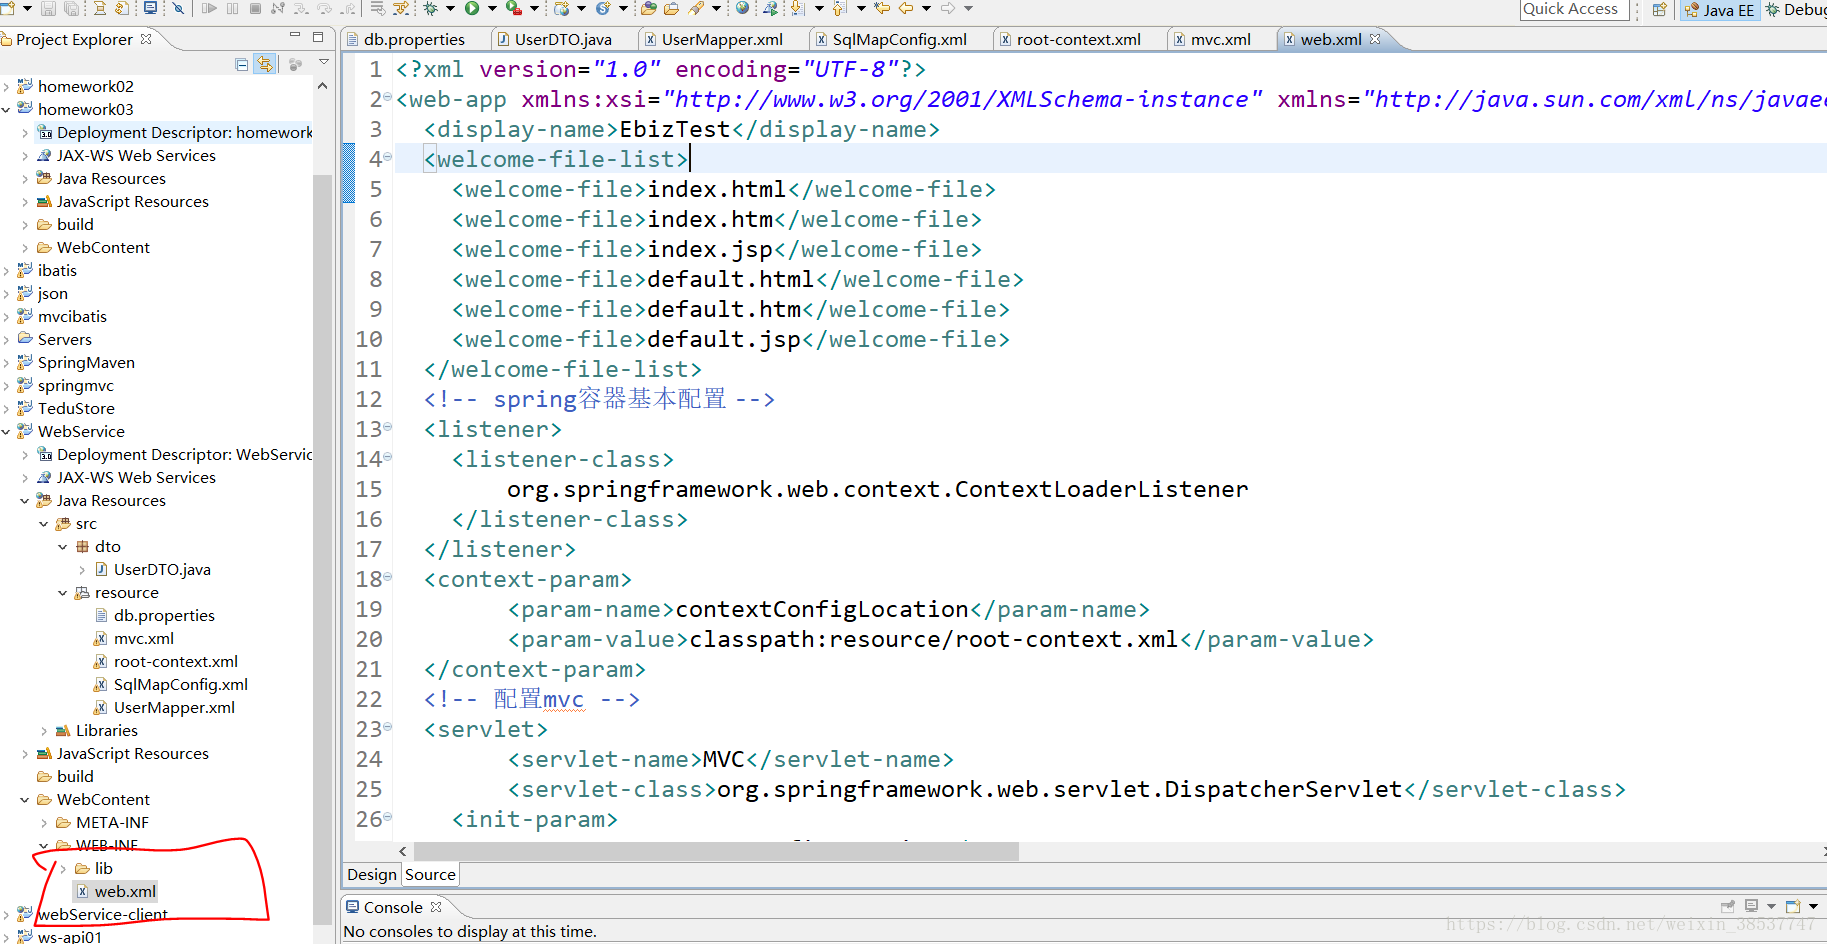
</beans:beans>第九步配置web.xml
<?xml version="1.0" encoding="UTF-8"?>
<web-app xmlns:xsi="http://www.w3.org/2001/XMLSchema-instance" xmlns="http://java.sun.com/xml/ns/javaee" xsi:schemaLocation="http://java.sun.com/xml/ns/javaee http://java.sun.com/xml/ns/javaee/web-app_3_0.xsd" id="WebApp_ID" version="3.0">
  <display-name>EbizTest</display-name>
  <welcome-file-list>
    <welcome-file>index.html</welcome-file>
    <welcome-file>index.htm</welcome-file>
    <welcome-file>index.jsp</welcome-file>
    <welcome-file>default.html</welcome-file>
    <welcome-file>default.htm</welcome-file>
    <welcome-file>default.jsp</welcome-file>
  </welcome-file-list>
  <!-- spring容器基本配置 -->
  <listener>
    <listener-class>
        org.springframework.web.context.ContextLoaderListener
    </listener-class>
  </listener>
  <context-param>
        <param-name>contextConfigLocation</param-name>
        <param-value>classpath:resource/root-context.xml</param-value>
  </context-param>
  <!-- 配置mvc -->
  <servlet>
        <servlet-name>MVC</servlet-name>
        <servlet-class>org.springframework.web.servlet.DispatcherServlet</servlet-class>
    <init-param>
      <param-name>contextConfigLocation</param-name>
      <param-value>
                classpath:resource/mvc.xml
      </param-value>
    </init-param>
    <load-on-startup>1</load-on-startup>
  </servlet>
  <servlet-mapping>
    <servlet-name>MVC</servlet-name>
    <url-pattern>*.do</url-pattern>
  </servlet-mapping>
</web-app>
第十步新建service包写一个接口和实现类,接口不加注解,实现类加@Service
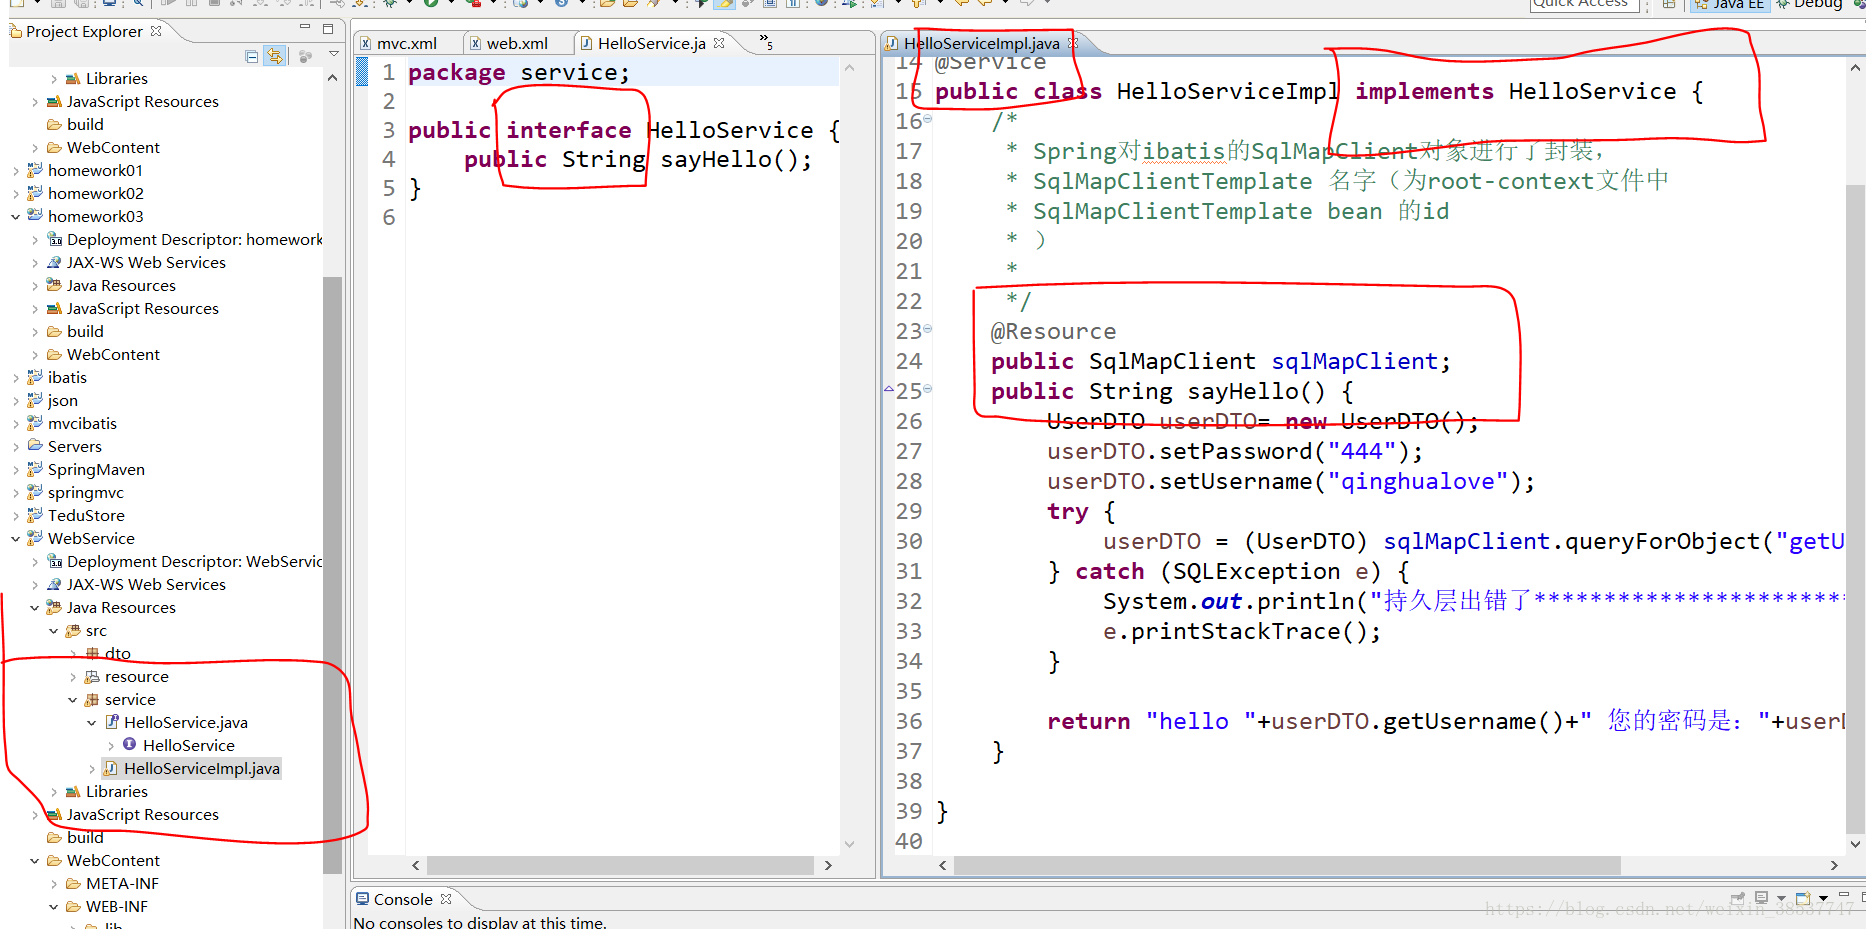
接口
package service;

public interface HelloService {
    public String sayHello();
}
实现类
package service;
import java.sql.SQLException;
import javax.annotation.Resource;
import org.springframework.orm.ibatis.SqlMapClientTemplate;
import org.springframework.stereotype.Service;
import com.ibatis.sqlmap.client.SqlMapClient;
import dto.UserDTO;
@Service
public class HelloServiceImpl implements HelloService {
    /*
     * Spring对ibatis的SqlMapClient对象进行了封装,
     * SqlMapClientTemplate 名字(为root-context文件中
     * SqlMapClientTemplate bean 的id
     * )
     */
    @Resource
    public SqlMapClient sqlMapClient;
    public String sayHello() {
        UserDTO userDTO= new UserDTO();
        userDTO.setPassword("444");
        userDTO.setUsername("qinghualove");
        try {
            userDTO = (UserDTO) sqlMapClient.queryForObject("getUser");
        } catch (SQLException e) {
            System.out.println("持久层出错了***************************************");
            e.printStackTrace();
        }
        return "hello "+userDTO.getUsername()+" 您的密码是:"+userDTO.getPassword();
    }
}
第十一步新建controller类,添加注解,设置访问路径。注入实现类,调用方法。

package controller;
import javax.annotation.Resource;
import org.springframework.stereotype.Controller;
import org.springframework.web.bind.annotation.RequestMapping;
import org.springframework.web.servlet.ModelAndView;
import service.HelloService;
import service.HelloServiceImpl;
@Controller
@RequestMapping("/hello.do")
public class HelloController {
    @Resource
    public HelloServiceImpl helloServiceImpl;
    /**
     * http://localhost:8080/EbizTest/hello.do?action=showIndex
     * @return
     */
    @RequestMapping(params = "action=showIndex")
    public ModelAndView showIndex(){
        String msg = helloServiceImpl.sayHello();
        System.out.println(msg);
        ModelAndView mav = new ModelAndView("index");
        return mav;
    }
}
至此:spring mvc+ibatis结束
第十二步WebService 新建ws包,接口与实现类,接口加注解@WebService,实现类加@Service
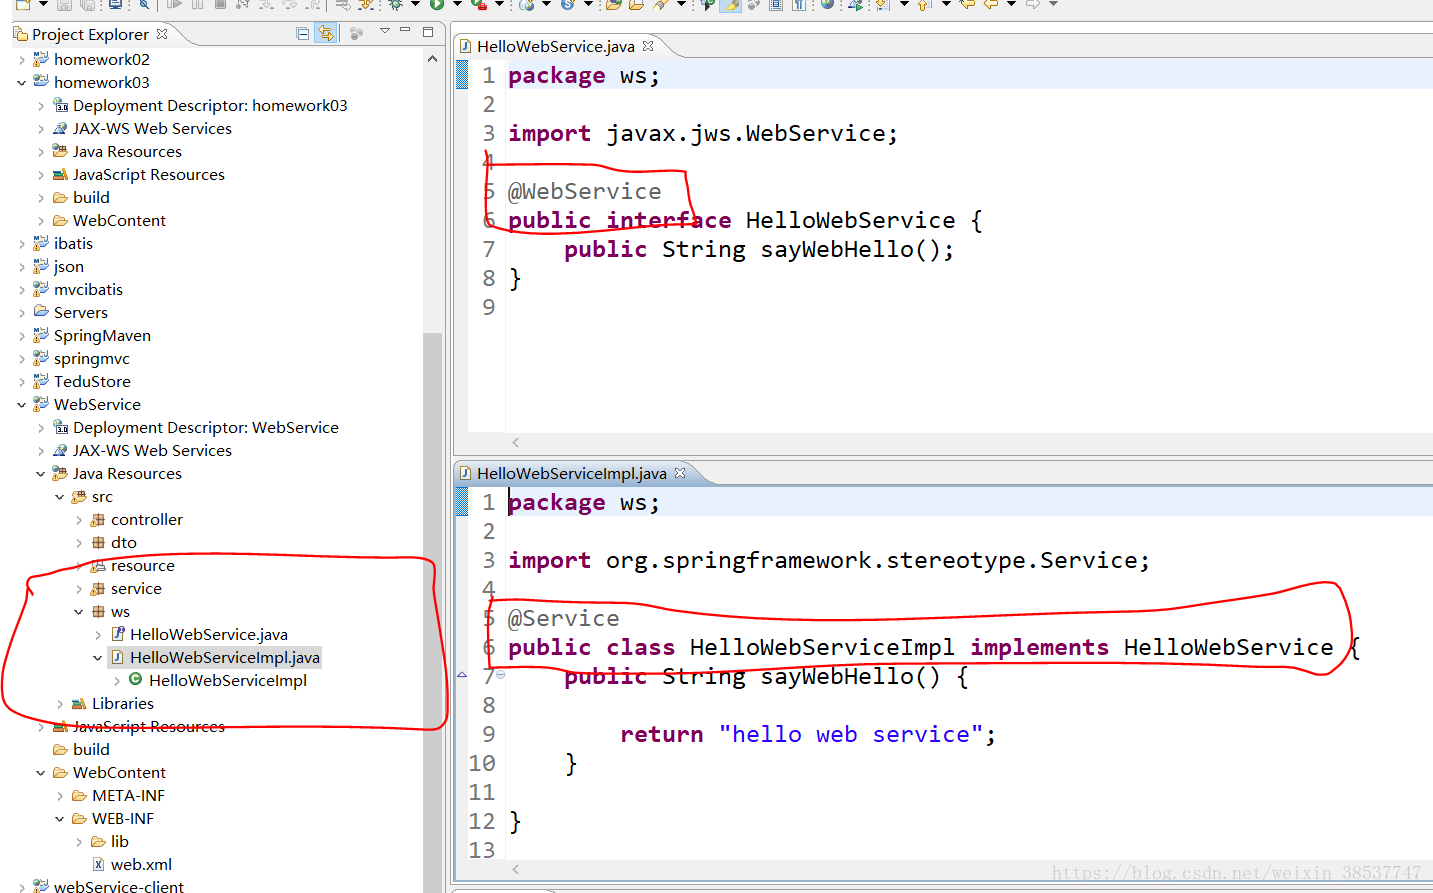
接口
package ws;
import javax.jws.WebService;
@WebService
public interface HelloWebService {
    public String sayWebHello();
}
实现类
package ws;
import org.springframework.stereotype.Service;
@Service
public class HelloWebServiceImpl implements HelloWebService {
    public String sayWebHello() {
        return "hello web service";
    }
}
第十三步服务器算是写完了。但是还没有被发不出去,我们怎么样在spring中发布服务呢。
第一:在root-context.xml中引入cxf框架需要的bean
第二:在root-context.xml中将刚刚写的webservice接口使用jaxws标签通过配置的方式发布
<!-- 导入cxf的bean定义文件 -->
    <import resource="classpath:META-INF/cxf/cxf.xml" />
    <import resource="classpath:META-INF/cxf/cxf-extension-soap.xml"/>
    <import resource="classpath:META-INF/cxf/cxf-servlet.xml" />

    <jaxws:endpoint
        id="testWS"
        implementor="#helloWebServiceImpl"
        implementorClass="ws.HelloWebService"
        address="/hello">
    </jaxws:endpoint>
第十四步什么样的请求会被认为是一个web的请求呢?我们要去web.xml中配置一下cxf的servlet,让访问地址包含Webservice的请求都去cxf中运行。
<!-- 配置webservice -->
    <servlet>
        <servlet-name>cxf</servlet-name>
        <servlet-class>org.apache.cxf.transport.servlet.CXFServlet</servlet-class>
        <load-on-startup>1</load-on-startup>
    </servlet>
    <servlet-mapping>
        <servlet-name>cxf</servlet-name>
        <url-pattern>/WebService/*</url-pattern>
    </servlet-mapping>