1.什么是linux自动安装脚本
虚拟机自动安装脚本简称 kickStart是一种无人值守安装方式,kickStart的工作原理是通过记录典型的安装过程中所需人工于填写的各种参数,并生成一个名为ks。cfg的文件,在随后的安装过程中(不只局限于生成kickStart安装文件的机器)当出现要求填写参数的情况时,安装程序会首先去查找kickStart生成的文件,当找到合适的参数,就使用找到的参数,否则。需要就行手动安装,这样,如果kickStart文件涵盖了安装过程中出现的所有填写的参数时,安装者完全可以之告诉安装程序从那获取ks.cfg文件,然后不用去管理,只需要等到安装完毕后安装程序会按照kx。cfg中设置的重启选项重启系统,结束安装。
2.关于自动安装脚本(ks.cfg)的编写
1.输入命令 yum install system-config-kickstart -y,进行安装kickstart(已经安装过的之间使用即可)
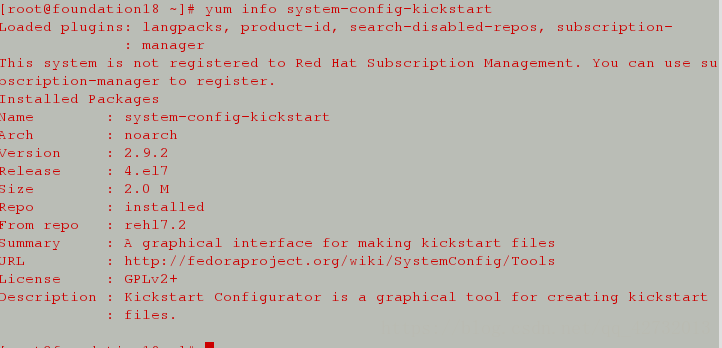
可以用命令yum info system-config-kickstart 来查看软件信息
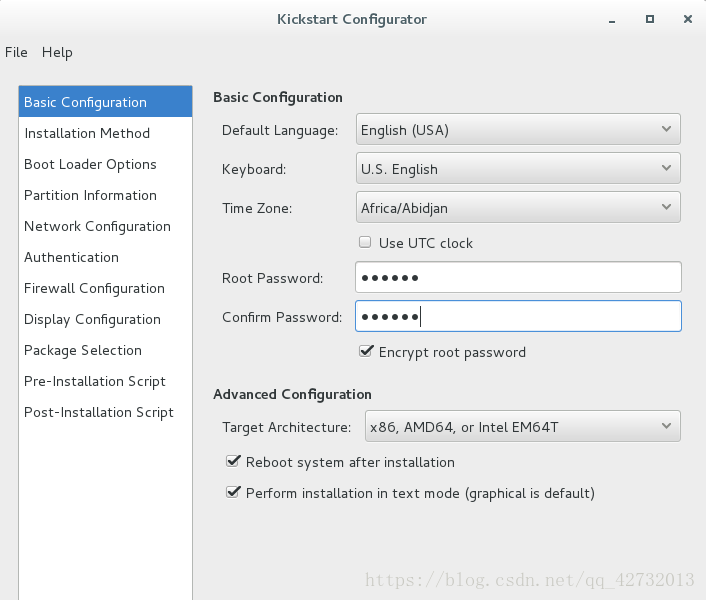
2.输入system-config-kickstart来启用 kickstart configuator服务进行对于kickstart的配置
第一步进行基本配置按照图示填写内容即可
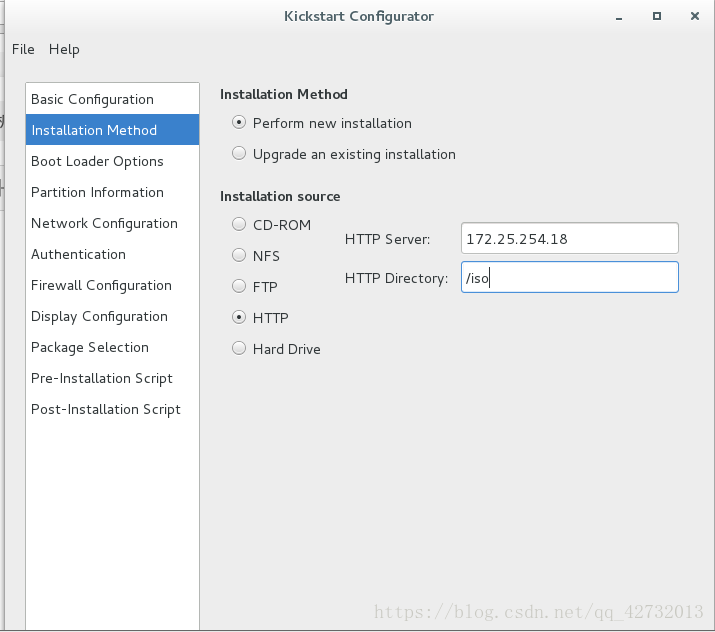
第二步选择安装方法 选择安装源时根据自己的安装源存放地点自行选择
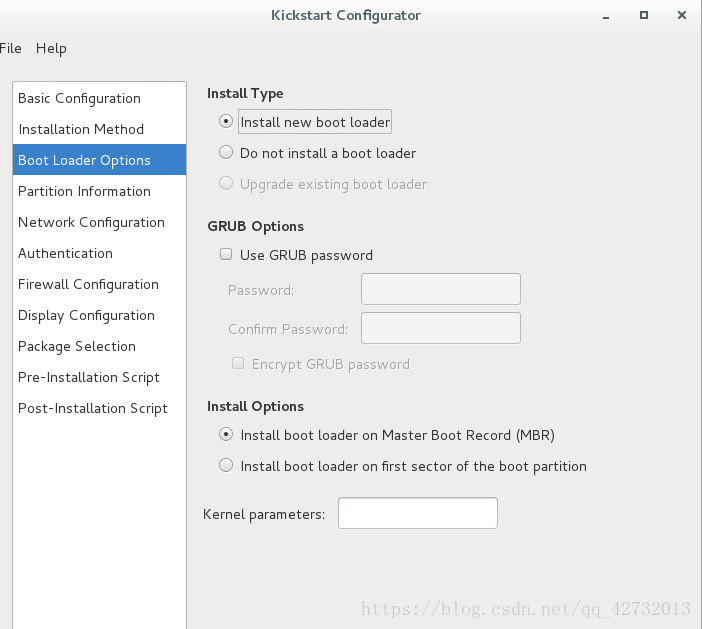
第三步引导加载程序选项
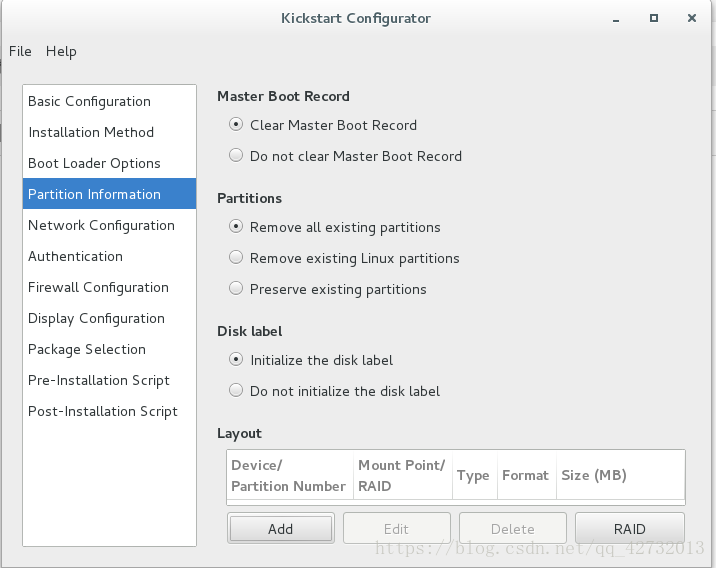
第四步配置分区信息按图示选择完成后点击左下角的ADD进行分区信息添加
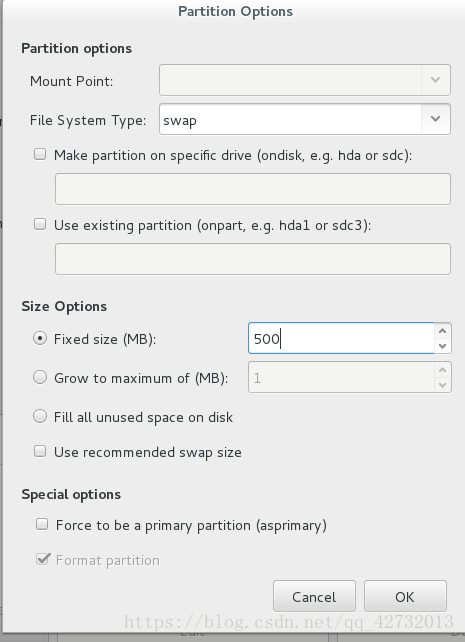
配置swap缓存大小为500M(虚拟机不需要多大)根据需求选择
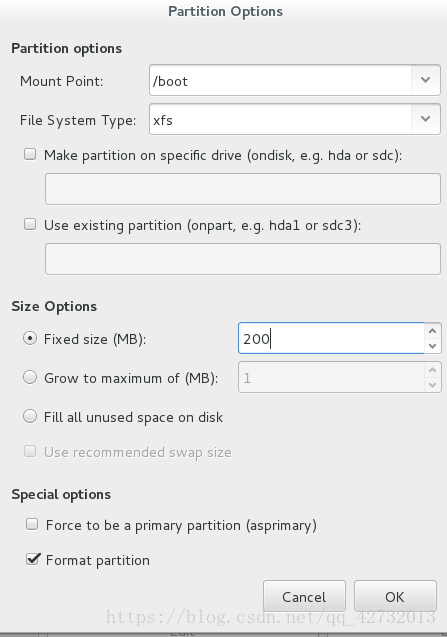
配置/boot大小
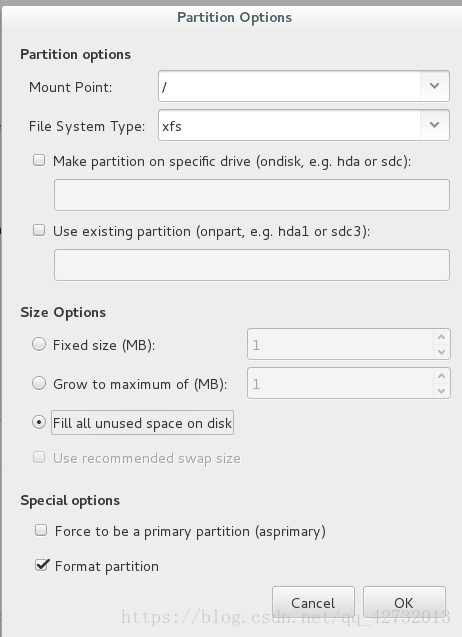
配置根目录大小 剩余空间都给于根目录
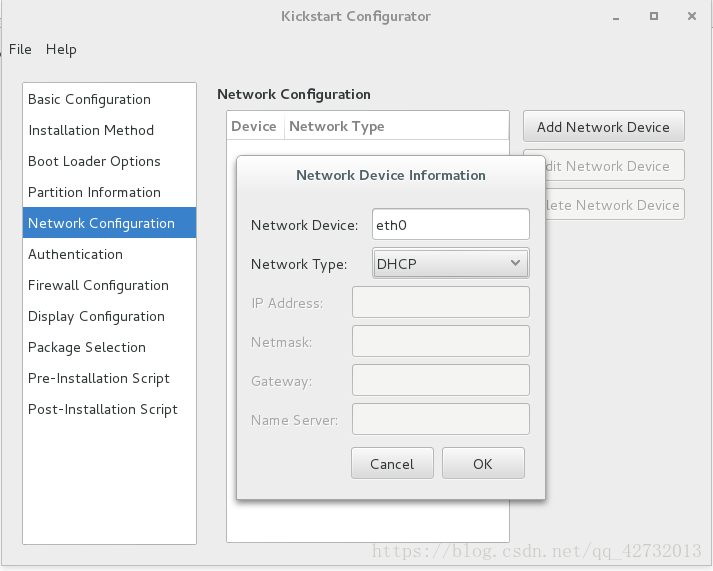
第五步 网络配置选择 选择network type 为DHTP network DEVICE为eth0即可,下面的authentication默认即可不用添加
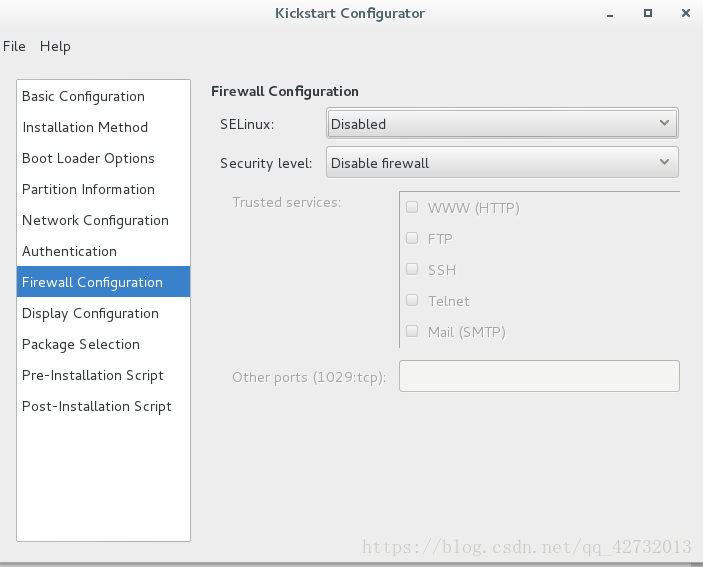
第六步 防火墙配置 选择为关闭 及关机默认关闭 便于虚拟机做实验
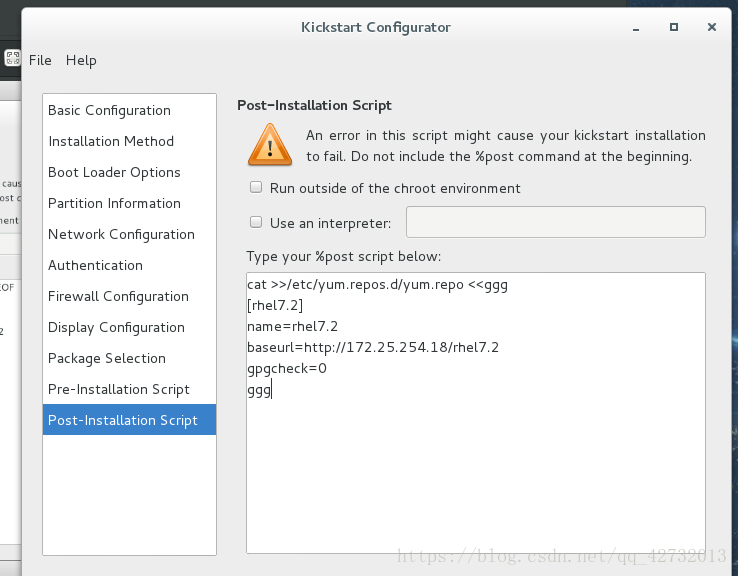
第七步 火墙后面的3步不用进行选择默认即可,最后一个定向安装脚本
可选可不选 ,为了做实验效果我编写了。
这样配置及完成点击左上角的file进行ks.cfg文件的保存到file system中的目录下/var/www/html/

到了这基本的应答脚本就算是配置完成了,但是通过这种应答设置还不完善,我们需要为自动安装脚本手动指定需要在安装过程中安装的软件源
脚本书写如图所示只需修改%end后面的文件,前面文件配置好的不用修改
文本信息可以输入cat /var/www/html/ks1.cfg(我保存的为ks1.cfg,按照自己保存文件名进行输入)
#platform=x86, AMD64, or Intel EM64T
#version=DEVEL
# Install OS instead of upgrade
install
# Keyboard layouts
keyboard 'us'
# Root password
rootpw --iscrypted $1$W8NAnMM9$qj1YXsL0jXR/XL8yKXjyU0
# System timezone
timezone Africa/Abidjan
# Use network installation
url --url="http://172.25.254.18/iso"
# System language
lang en_US
# Firewall configuration
firewall --disabled
# System authorization information
auth --useshadow --passalgo=sha512
# Use text mode install
text
firstboot --disable
# SELinux configuration
selinux --disabled
# Network information
network --bootproto=dhcp --device=eth0
# Reboot after installation
reboot
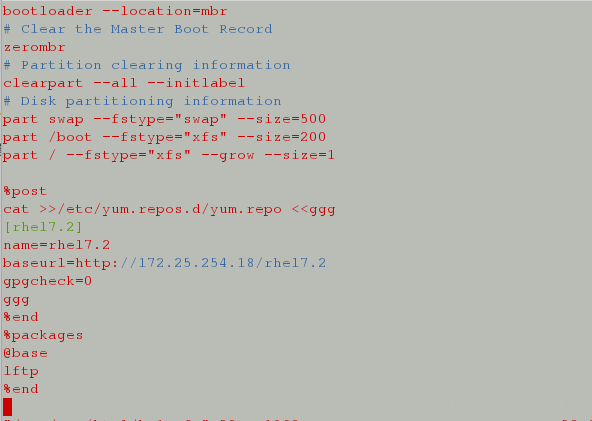
# System bootloader configuration
bootloader --location=mbr
# Clear the Master Boot Record
zerombr
# Partition clearing information
clearpart --all --initlabel
# Disk partitioning information
part swap --fstype="swap" --size=500
part /boot --fstype="xfs" --size=200
part / --fstype="xfs" --grow --size=1
%post
cat >>/etc/yum.repos.d/yum.repo <<ggg
[rhel7.2]
name=rhel7.2
baseurl=http://172.25.254.18/rhel7.2
gpgcheck=0
ggg
%end
%packages
@base
lftp
%end
自动安装脚本也书写完毕,此时只需要把此脚本和虚拟机安装脚本联系起来即可
此文本如下
#!/bin/bash
virt-install \
--ram 1024 \
--cpus 1 \
--disk /var/lib/libvirt/images/$1.qcow2,bus=virtio,size=9 \
--name $1 \
--network bridge=br0,model=virtio \
--location http://172.25.254.18/rhel7.2 \
--extra-args ks=http://172.25.254.18/ks1.cfg &
输入sh /脚本的绝对路径 /zdanxnj.sh 虚拟机名字
即可进入安装页面此时等待安装完毕即可
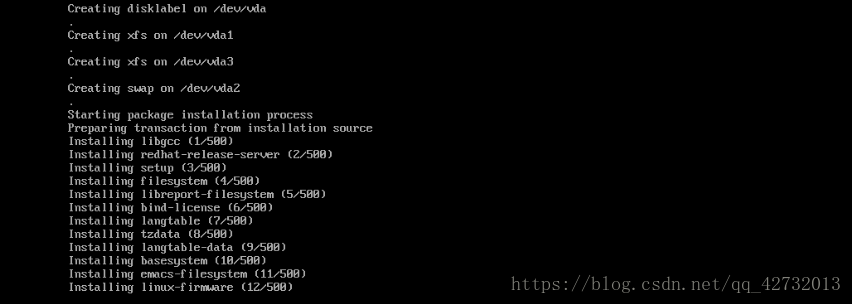
为了安装速度,我安装的是文本模式,没有文本出现,只有代码显示
也可安装图形模式方法是一样的
此时可以看到正在按照脚本内信息划分分区,以及安装软件安装完毕即可使用
我在安装中遇到的一个问题,关于dhcp分发网址是产成了错误,报错显示
安装界面显示
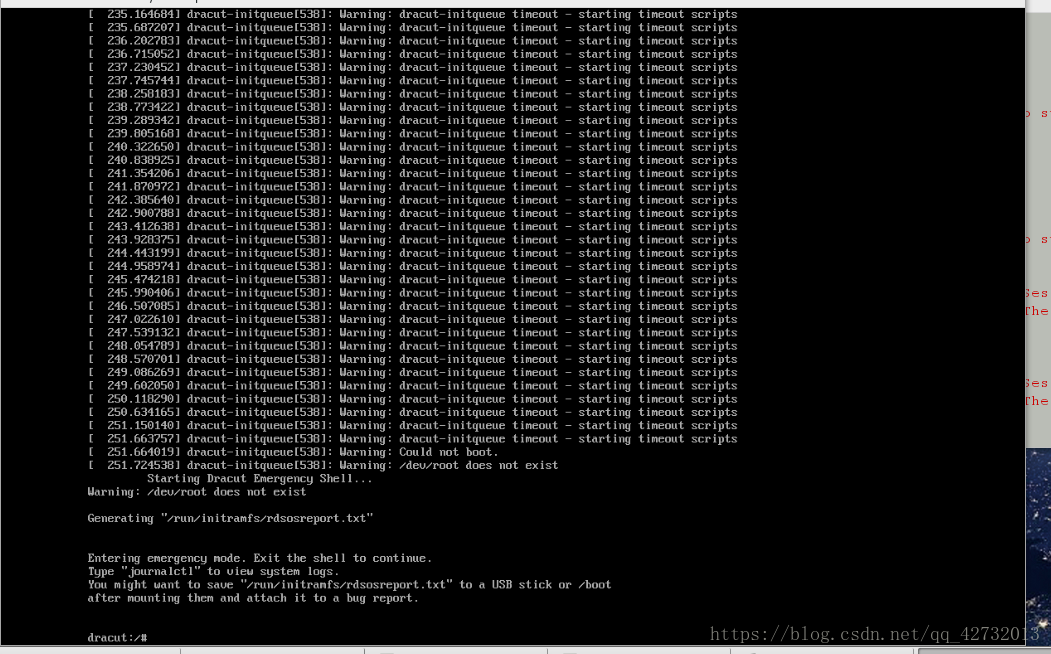
命令行报错为(virt-viewer:10040): GSpice-WARNING **: Error calling 'org.gnome.SessionManager.Inhibit': GDBus.Error:org.freedesktop.DBus.Error.ServiceUnknown: The name org.gnome.SessionManager was not provided by any .service files
表示dhcp服务没有生效,系统不能获取安装信息,此时择需要进行dhcp的安装,
yum clean all 重置安装环境 然后 输入 yum install dhcp -y下载dhcp
下载完成后进行 查看ducp服务状态是dead ,输入启动命令可能产生报错
Failed to start dhcp.service: Unit dhcp.service failed to load: No such file or directory.
这个报错是应为/etc/dhcp/dhcpd.conf文件内容错误,需要重新配置该文件
解决方法 输入命令
cp /usr/share/doc/dhcp*/dhcpd.conf.example /etc/dhcp/dhcpd.conf
进行更改文件 删除文件的 27.28 行
subnet 10.152.187.0 netmask 255.255.255.0 {
}
以及文件的35行之后
修改后文件为
# dhcpd.conf
#
# Sample configuration file for ISC dhcpd
#
# option definitions common to all supported networks...
option domain-name "example.org";
option domain-name-servers ns1.example.org, ns2.example.org;
default-lease-time 600;
max-lease-time 7200;
# Use this to enble / disable dynamic dns updates globally.
#ddns-update-style none;
# If this DHCP server is the official DHCP server for the local
# network, the authoritative directive should be uncommented.
#authoritative;
# Use this to send dhcp log messages to a different log file (you also
# have to hack syslog.conf to complete the redirection).
log-facility local7;
# No service will be given on this subnet, but declaring it helps the
# DHCP server to understand the network topology.
# This is a very basic subnet declaration.
subnet 172.25.254.0 netmask 255.255.255.0 {
range 172.25.254.60 172.25.254.70;
option routers 172.25.254.18:
}
此时重新启动dhcp服务即可