1、下载安装Eclipse 返回
下载地址:http://www.eclipse.org/downloads/
选择:Eclipse IDE for Java Developer进行下载
Eclipse安装和通常的应用程序安装类型,就不多说了。
2、下载安装EMF插件 返回
下载地址:http://www.eclipse.org/modeling/emf/downloads/?project=emf
下载后保存到本地任意目录下。
安装:
(1)打开Eclipse,选择主菜单的[Help]->[Install New Software]选项,弹出[Install]对话框。

(2)在[Install]对话框中单击[Add]按钮,弹出[Add Repository]对话框
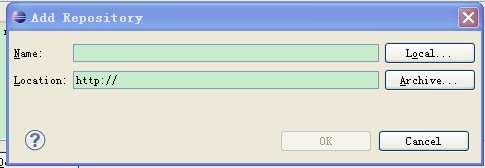
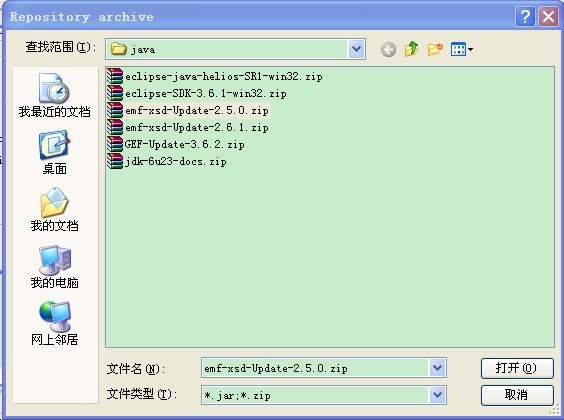
(3)在[Add Repository]对话框中,在[Name]中输入EMF,然后单击按钮[Archive],弹出[Repository archive]文件打开对话框,选择EMF安装包在本地的存放路径,单击[打开],返回到[Archive]对话框。在[Archive]对话框中,单击[ok],返回到[Install]对话框。
(4)此时,[Install]对话框如下,勾选[EMF Core and MDT XSD],然后下方的[Next]按钮会被激活,单击[Next]按钮。
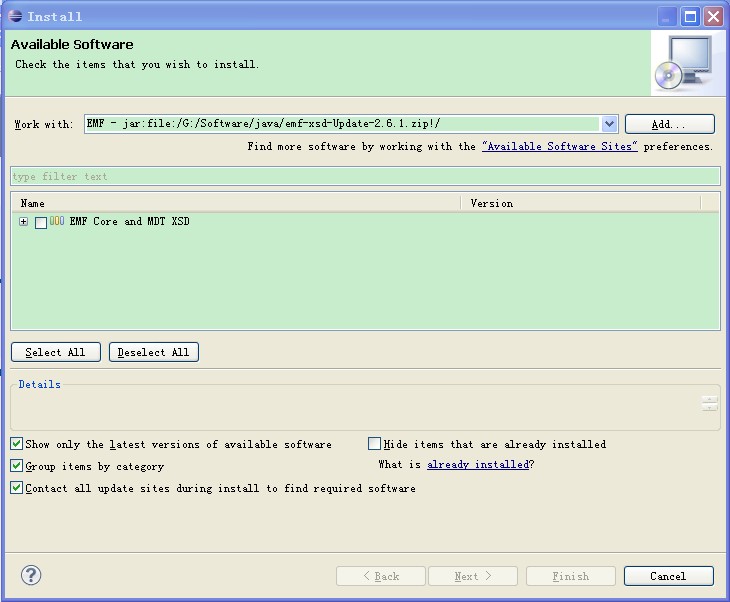
注:如果在单击[Next]后,提示如下错误,请重新下载一个旧或新版本的EMF。由于对每一个插件的功能不熟悉,不建议去勾选某些插件继续安装。
The following software cannot be installed because it is intended for use only in Plug-in Development Environment (PDE) target platforms. Please deselect these items and retry the operation.
Source for EMF RAP Runtime 2.6.1.v20100914-1218 (org.eclipse.emf.rap.source.feature.group 2.6.1.v20100914-1218)
If provisioning a target platform then try disabling the option 'Include required software'
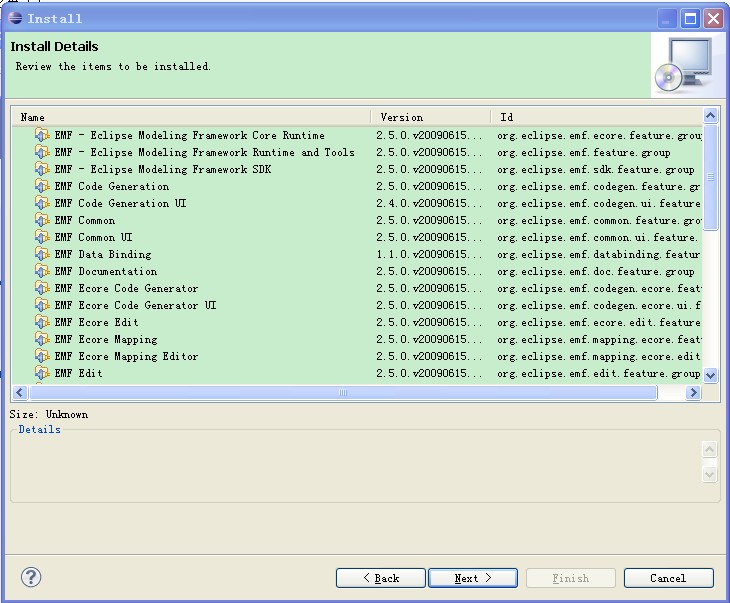
(5)第(4)步中单击[Next]后,界面切换到[Install Detials],继续单击[Next]
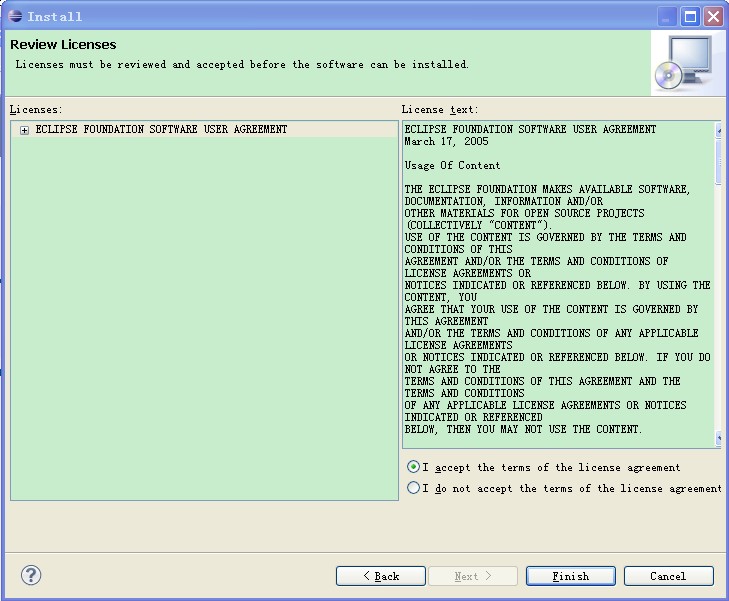
(6)界面切换到[Review Licenses],选则左侧LIcenses列表下的任意节点,然后勾选右下方的[I accept the terms of the license agreement],单击[Finish]完成安装。安装完成后按提示重新打开Eclipse。
3、下载安装GEF插件 返回
下载地址:http://www.eclipse.org/gef/downloads/
安装方式和EMF相同。
4、下载安装VE插件 返回
下载地址:http://www.eclipse.org/vep/downloads/ 或 http://wiki.eclipse.org/VE/Update
安装方式和EMF相同,也可以在在线安装,具体方法可以参考http://wiki.eclipse.org/VE/Update中Online install部分的介绍。
5、使用 返回
安装完成后,按如下步骤使用可视化界面:
注:请先自行创建一个Java project工程,如何创建就不多说了,大家应该都会。
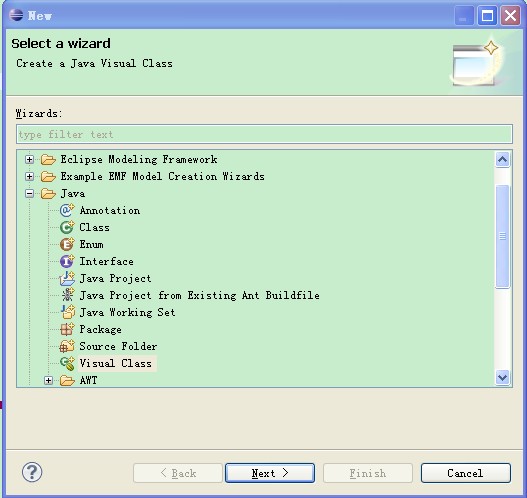
在Eclipse中,选择[File]->[New]->[Other],弹出[New]对话框,在导航树中选择[Java]-[Visual Class],单击[Next]
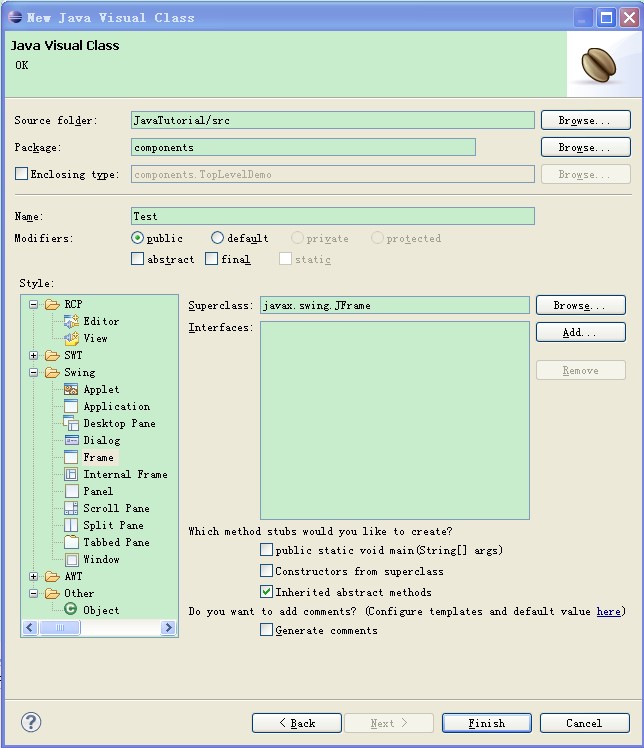
弹出[New Java Visual Class]对话框,选择[Source folder]和[Package],然后在[Name]中输入名称,在[Style]下选择[Swing]->[Frame],然后单击[Finish]完成创建。
创建完成后,界面显示新创建的类:
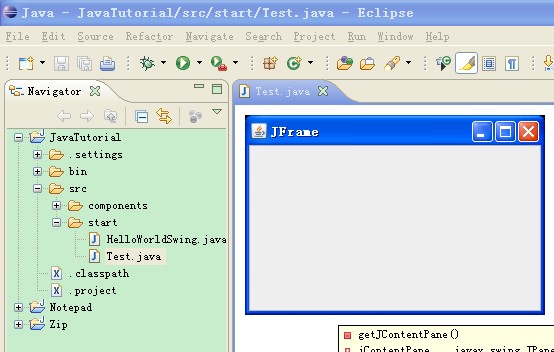
需要添加组件到Frame中时,单击Eclipse界面左下角的按钮,在弹出的快捷菜单中选择[Other],在弹出的[Show view]中,在导航树中找到Palette,然后单击[OK]。

此时,可以看到[Palette]显示在界面的左侧,直接拖组件到Frame中即可。
