企业6版本虚拟机的封装:
配置6.5yum源:
[root@foundation38 kiosk]# df   查看当前挂载
Filesystem                         1K-blocks     Used Available Use% Mounted on
/dev/mapper/rhel_foundation38-root 307430744 14553232 292877512   5% /
devtmpfs                             1952032        0   1952032   0% /dev
tmpfs                                1965404      476   1964928   1% /dev/shm
tmpfs                                1965404     8940   1956464   1% /run
tmpfs                                1965404        0   1965404   0% /sys/fs/cgroup
/dev/sda1                            1038336   143460    894876  14% /boot
/dev/loop0                           3704296  3704296         0 100% /var/www/html/source7.3
/dev/loop1                           3762278  3762278         0 100% /var/www/html/source6.5
tmpfs                                 393084       24    393060   1% /run/user/1000
tmpfs                                 393084        0    393084   0% /run/user/0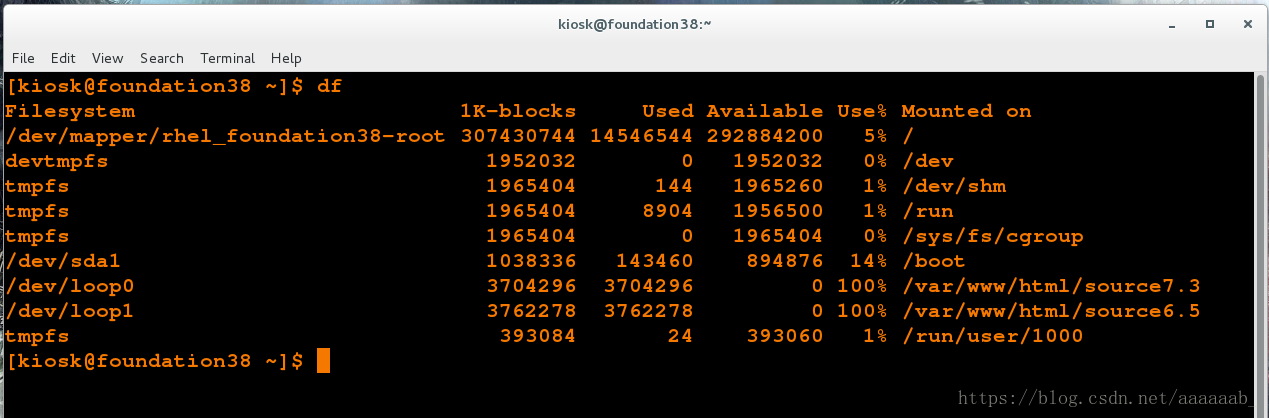
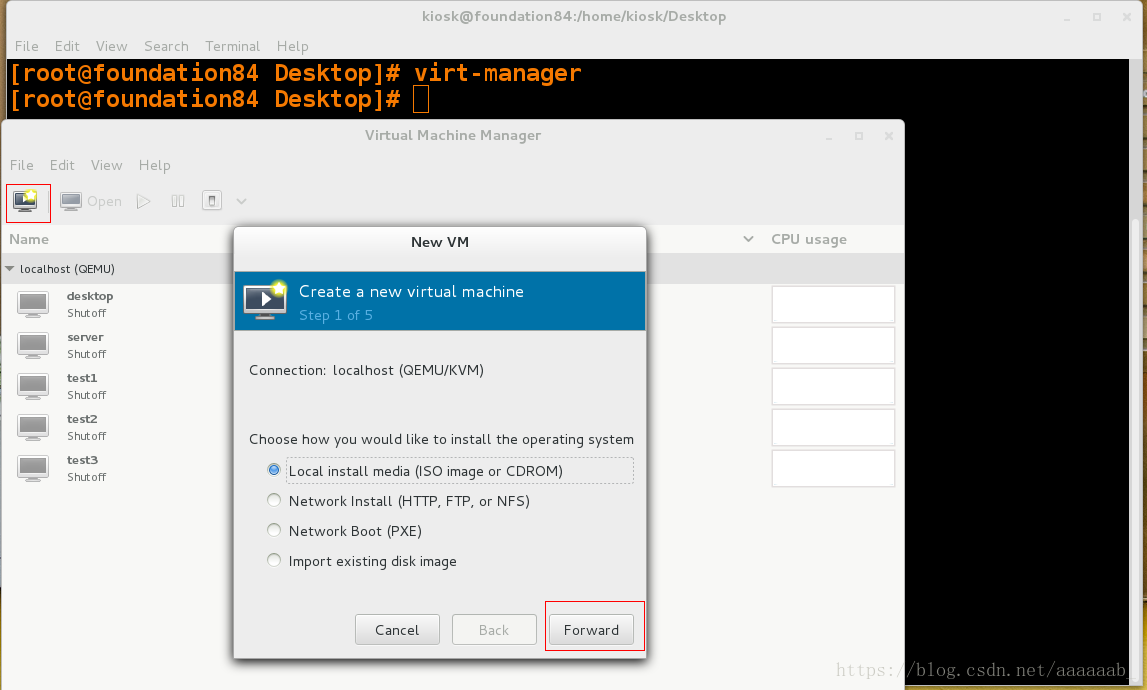
打开虚拟机管理进行母盘虚拟机的封装:
[root@foundation38 kiosk]# virt-manager 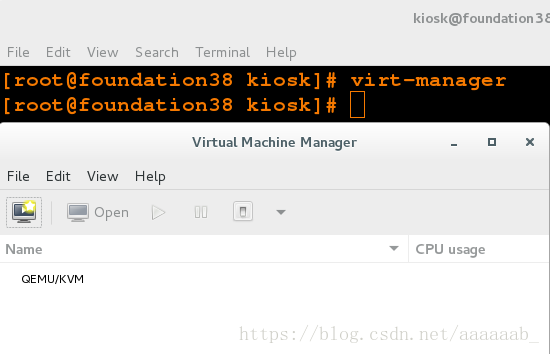
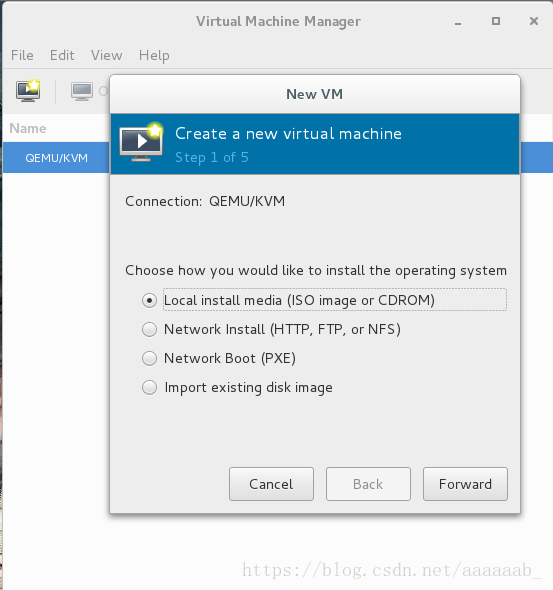
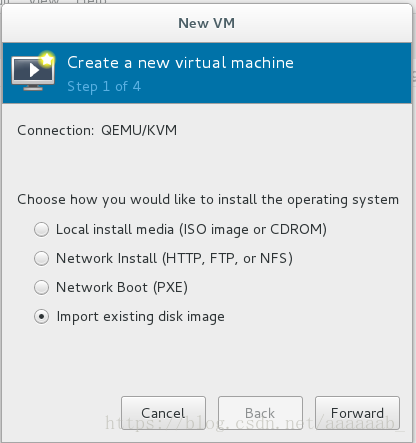
开始虚拟机的封装:
1.选取本地镜像启动安装:
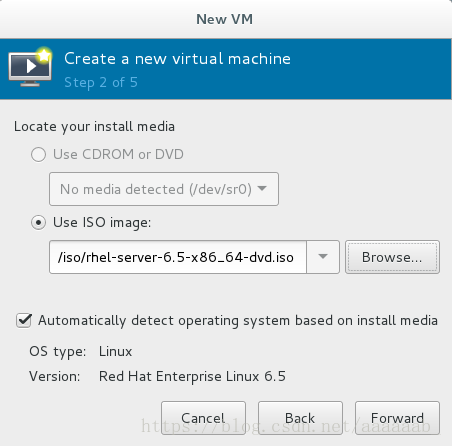
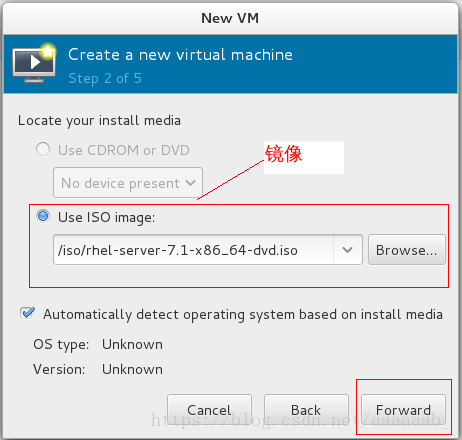
2.选取6.5的镜像:
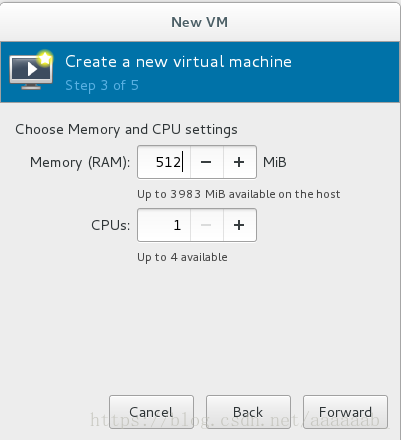
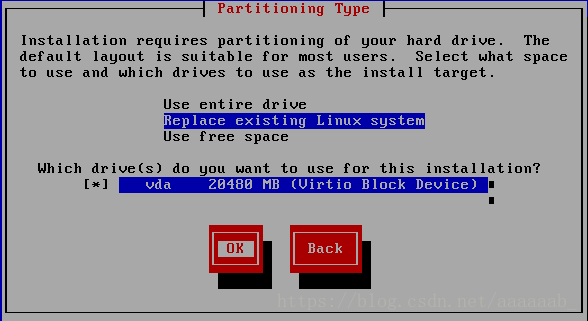
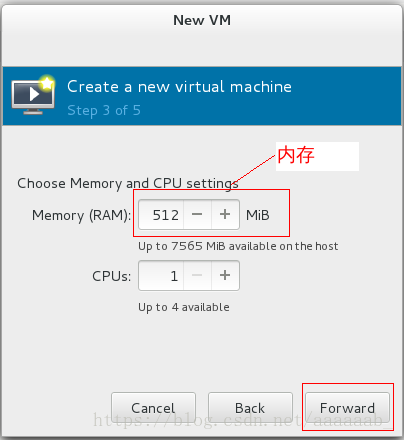
3.分配512进行无图形化安装:
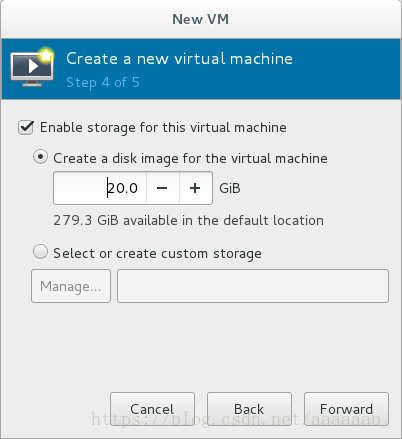
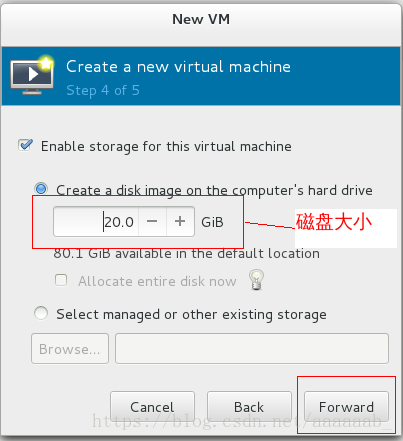
4.给磁盘分配20G:
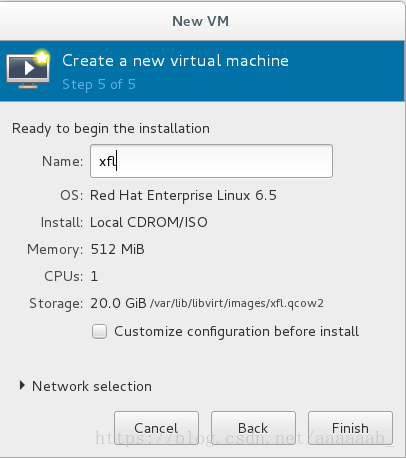
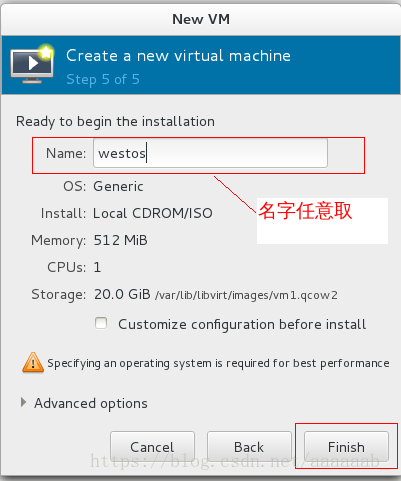
5.自己定义个名字:
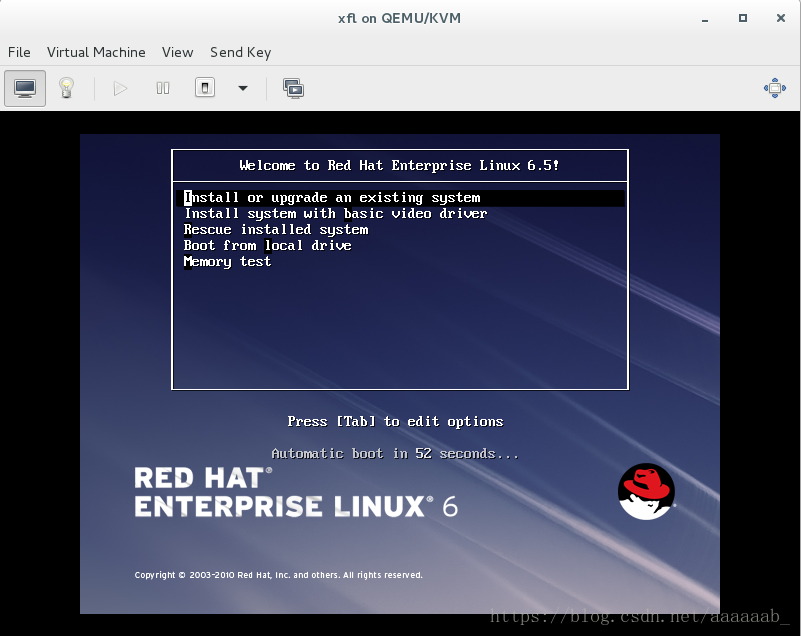
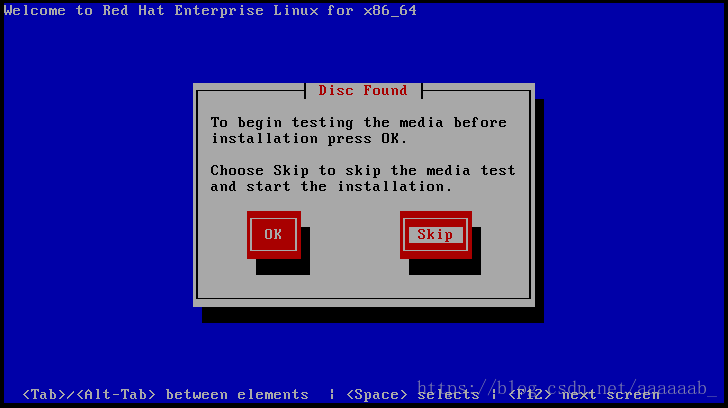
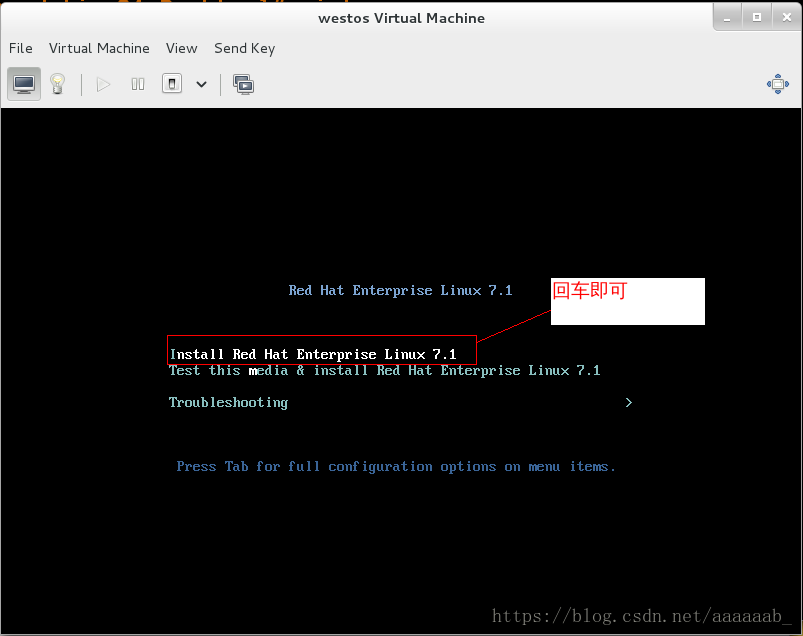
6.直接点击第一选项安装:
7.选取跳过,不进行iso的检测:
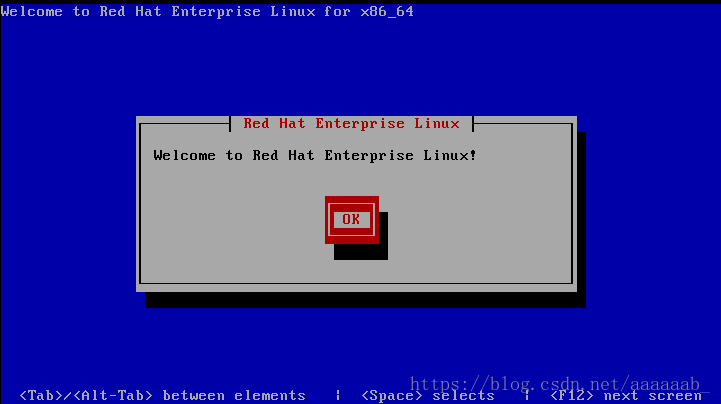
8.直接ok!
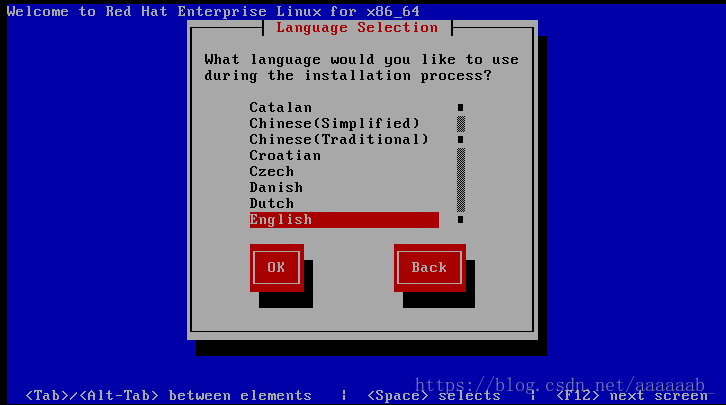
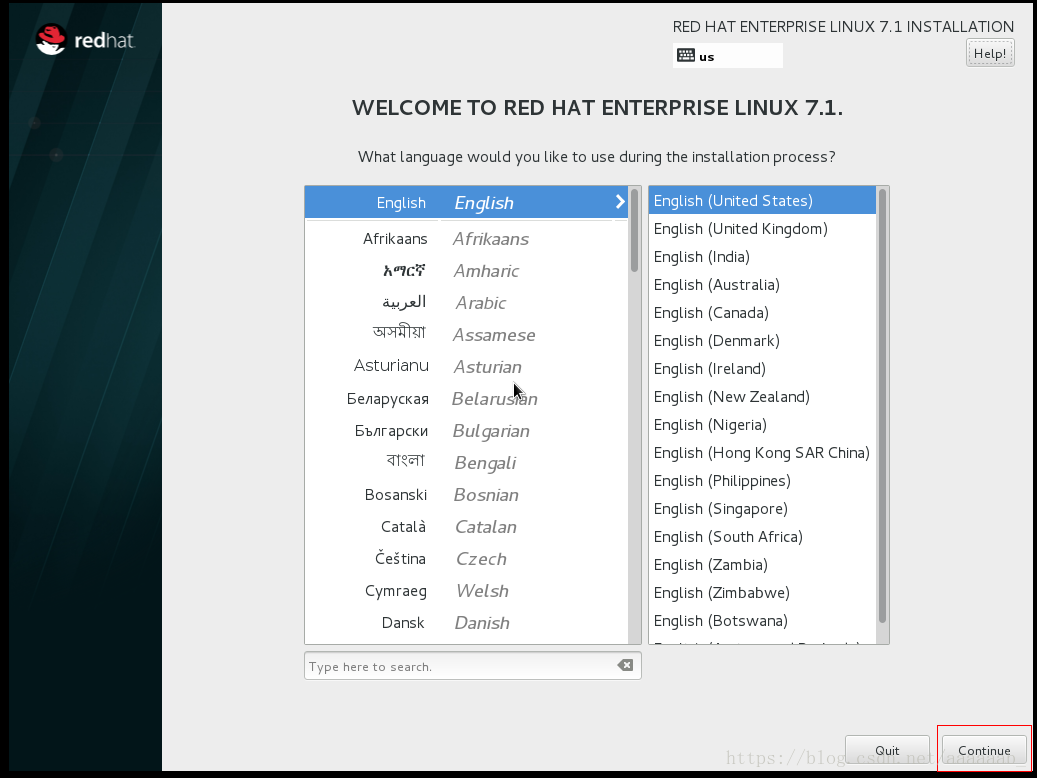
9.选取语言:
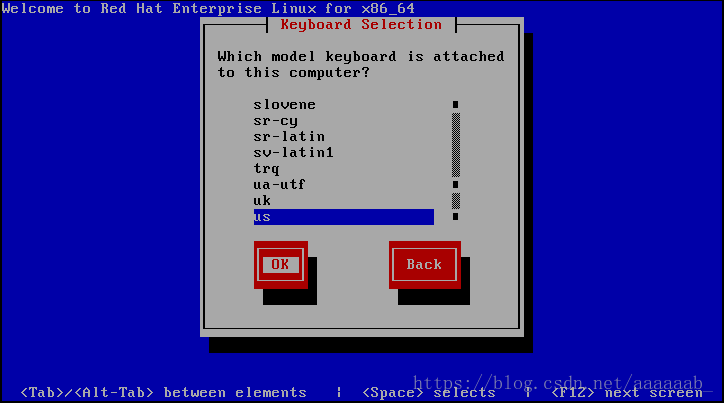
10.选取键盘语言:
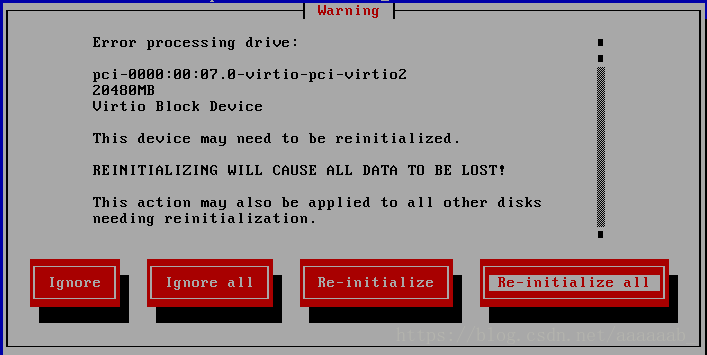
11.初始化:
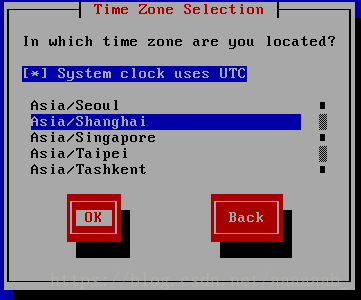
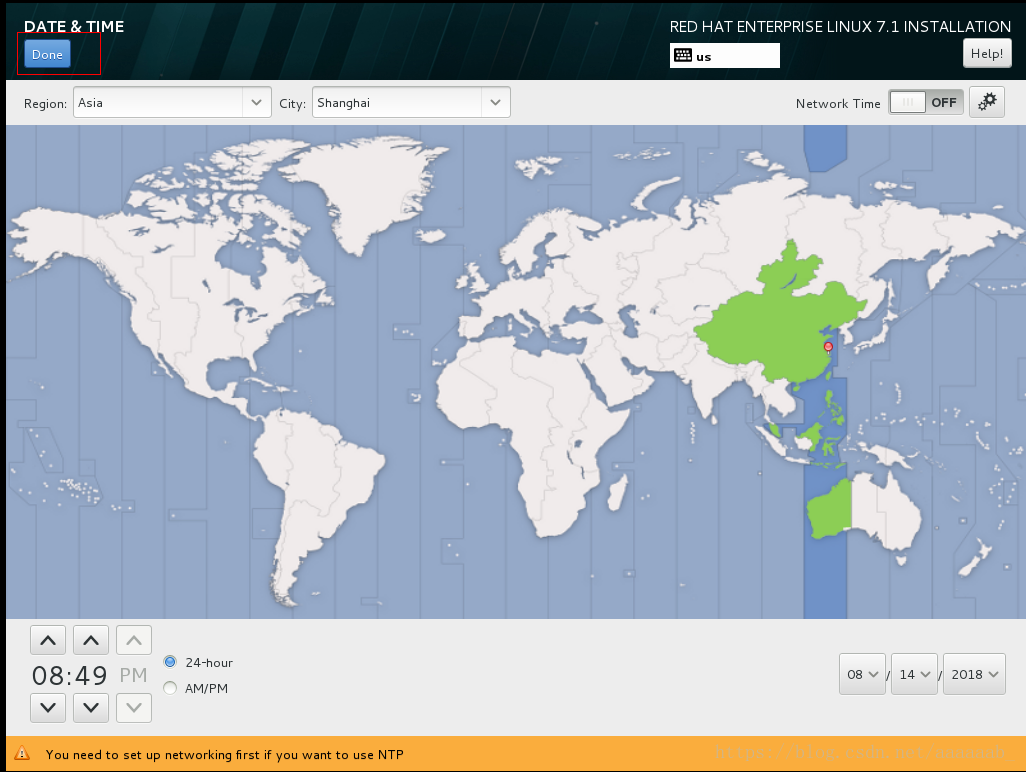
12.时区:
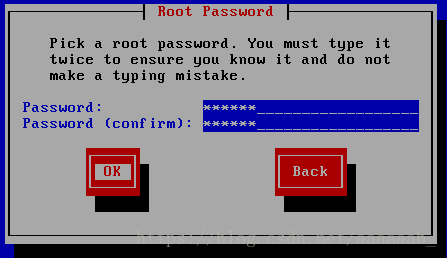
13.超级用户密码:
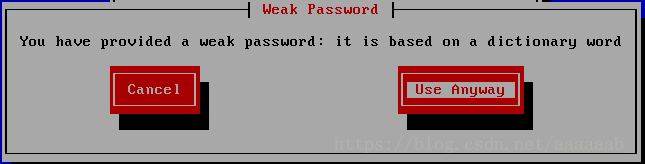
14.密码强弱度忽略:
15.默认即可:
16.写入磁盘:
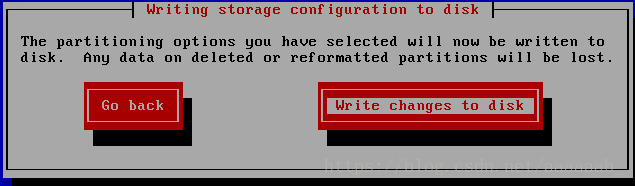
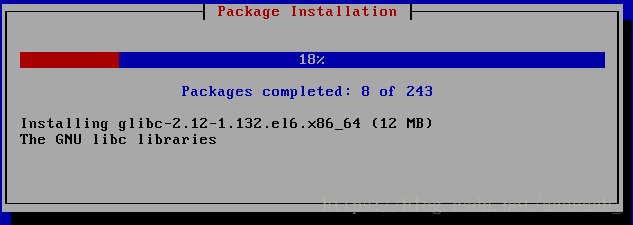
17.开始安装:
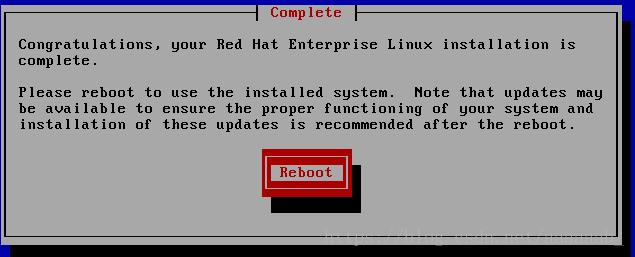
18.重启即可:
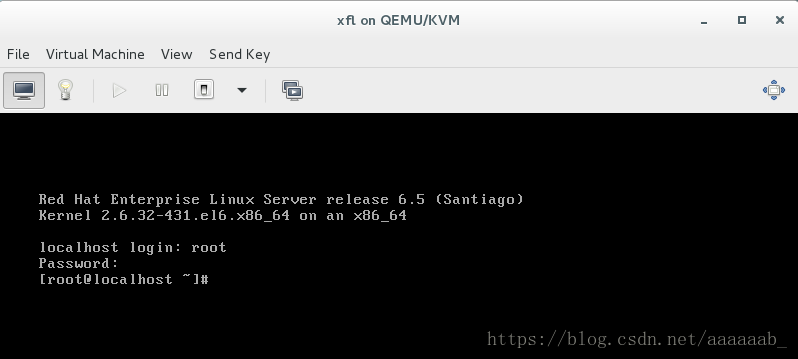
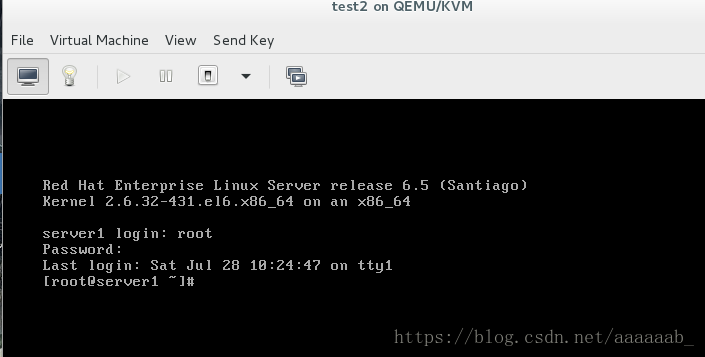
19:登陆用户密码即可进去无图形化虚拟机:
进行封装母盘的配置:
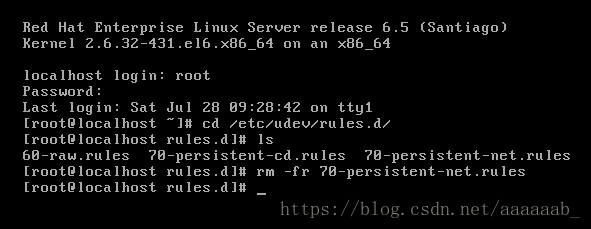
1.删除70.net,为了防止之后的建立虚拟机
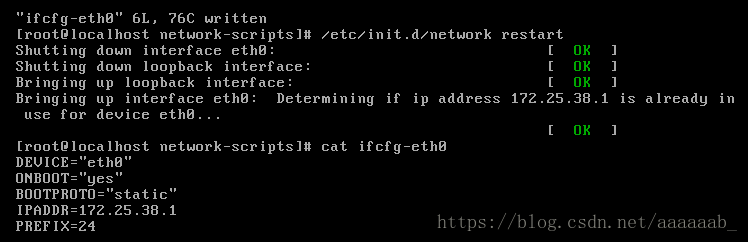
2.进行配置网络

重启网络:
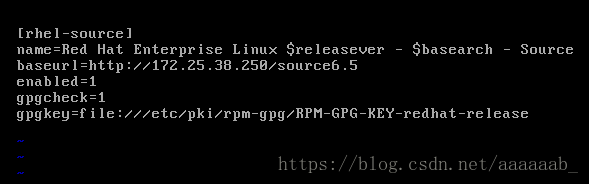
3.配置yum源:有问题的话在真机打开httpd关闭防火墙
4.安装服务

5.永久修改主机名字:

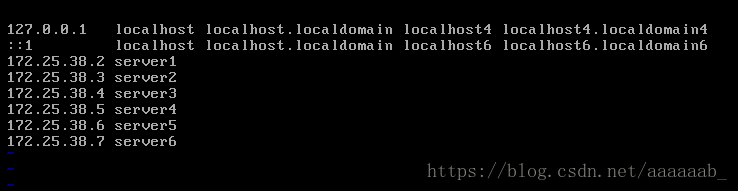
6.写入本地解析:
7.物理性关闭防火墙:
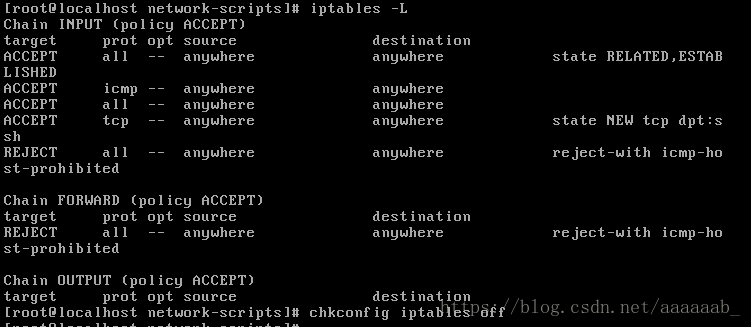
8.企业6的方式关闭防火墙:

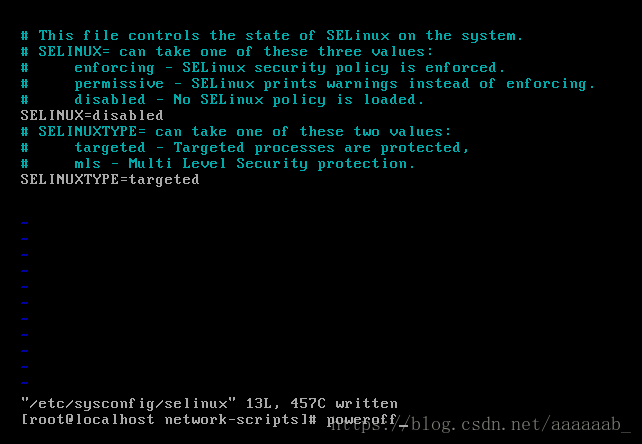
9.关闭selinux:直接关闭即可
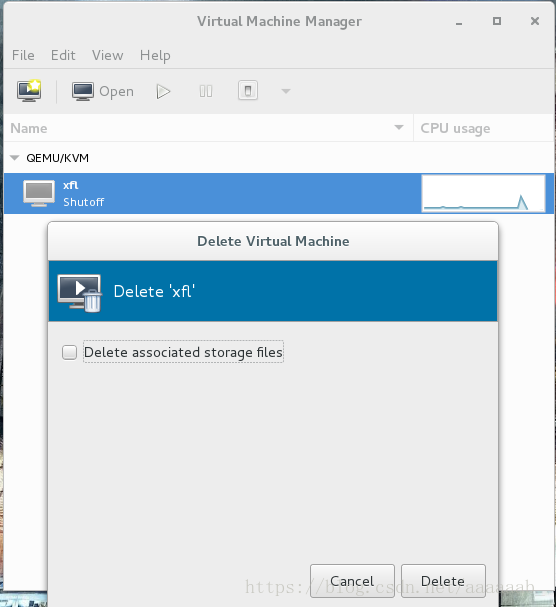
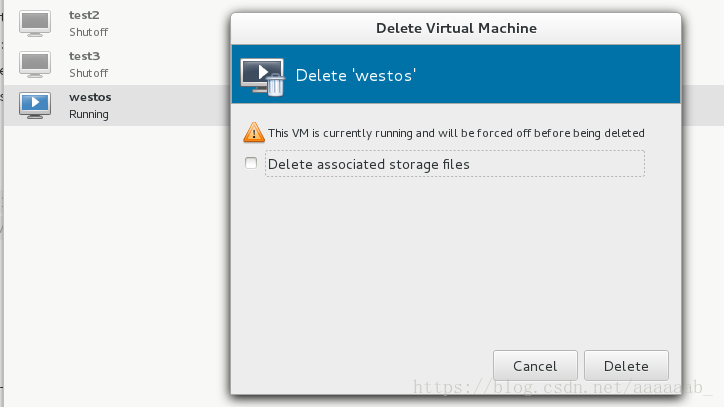
10.为了防止不小心点开母盘,直接删除图标:
11.但是磁盘镜像还在:(母盘封装完成)

用母盘可以直接建立虚拟机:
[root@foundation38 kiosk]# cd /var/lib/libvirt/images/
[root@foundation38 images]# ls
base.qcow2  xfl.qcow2
[root@foundation38 images]# ll
total 3955696
-rw------- 1 qemu qemu 21478375424 Jul 27 12:49 base.qcow2
-rw------- 1 root root 21478375424 Jul 28 10:37 xfl.qcow2
[root@foundation38 images]# du -h xfl.qcow2  查看母盘的大小
2.0G    xfl.qcow2
[root@foundation38 images]# qemu-img create -f qcow2 -b xfl.qcow2 test1
进行快照test1
Formatting 'test1', fmt=qcow2 size=21474836480 backing_file='xfl.qcow2' encryption=off cluster_size=65536 lazy_refcounts=off
[root@foundation38 images]# qemu-img create -f qcow2 -b xfl.qcow2 test2
进行快照test2
Formatting 'test2', fmt=qcow2 size=21474836480 backing_file='xfl.qcow2' encryption=off cluster_size=65536 lazy_refcounts=off
[root@foundation38 images]# du -h test1 查看快照的大小
196K    test1
[root@foundation38 images]# du -h test2
196K    test2
[root@foundation38 images]# virt-manager 打开虚拟机管理进行安装子盘
用同样的方法可以建立多个子盘:
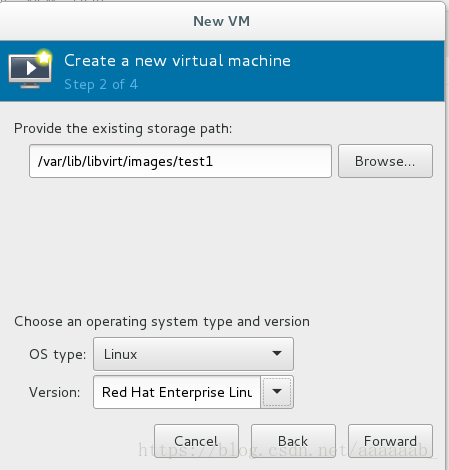
1.选择从快照好test1的进行导入
2.选择test1镜像:同时选择linux和6.5的yum源
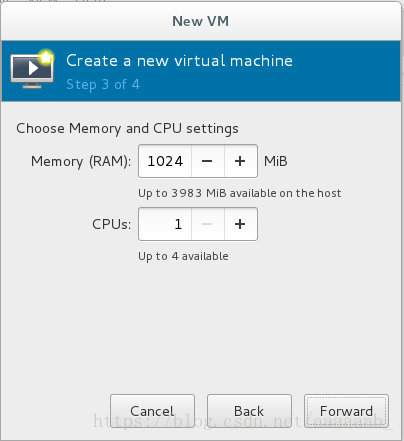
3.分配内存:
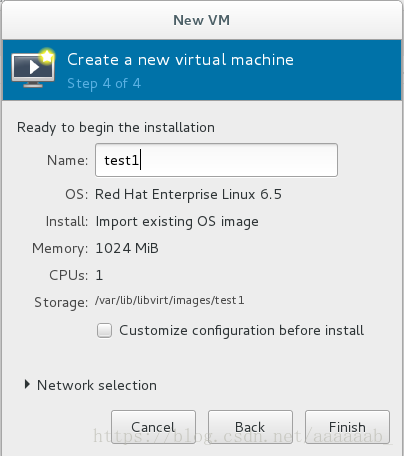
4.起名字:
5.建立好的两个虚拟机子盘:
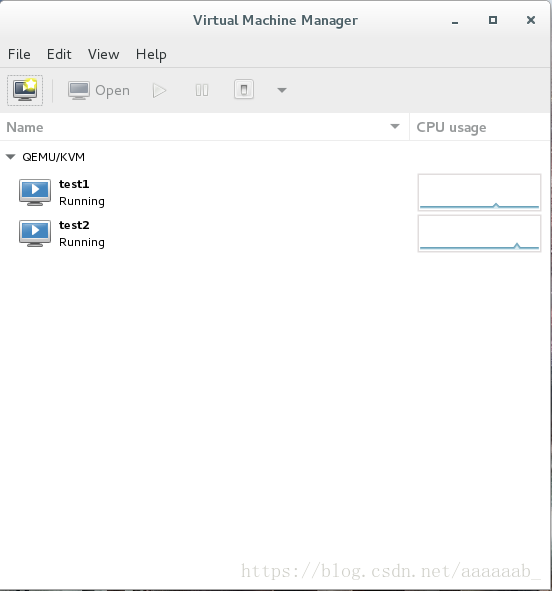
6.两个子盘均可以正常登陆:

当子盘损坏重新进行快照即可:(操作的是子盘不会对母盘进行损坏)
[root@foundation38 kiosk]# qemu-img info /var/lib/libvirt/images/test1
image: /var/lib/libvirt/images/test1
file format: qcow2
virtual size: 20G (21474836480 bytes)
disk size: 3.9M
cluster_size: 65536
backing file: xfl.qcow2 (actual path: /var/lib/libvirt/images/xfl.qcow2) 母盘
Format specific information:
    compat: 1.1
    lazy refcounts: false
[root@foundation38 kiosk]# qemu-img info /var/lib/libvirt/images/test2
image: /var/lib/libvirt/images/test2
file format: qcow2
virtual size: 20G (21474836480 bytes)
disk size: 3.9M
cluster_size: 65536
backing file: xfl.qcow2 (actual path: /var/lib/libvirt/images/xfl.qcow2)
Format specific information:
    compat: 1.1
    lazy refcounts: false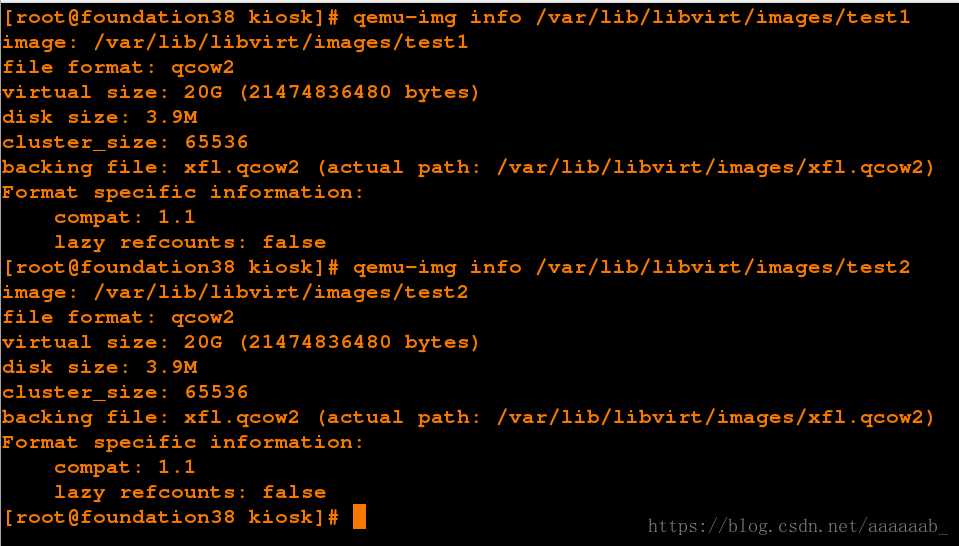
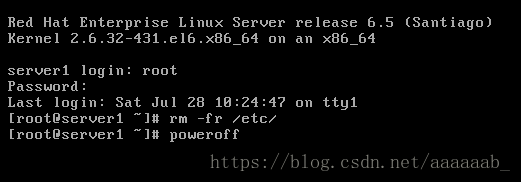
模拟子盘损坏环境:
1.删除/etc/

2.无法关机:
3.无法正常启动:
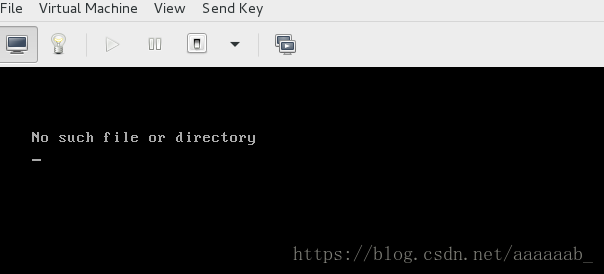
4.重新生成快照:

5.可以正常启动:
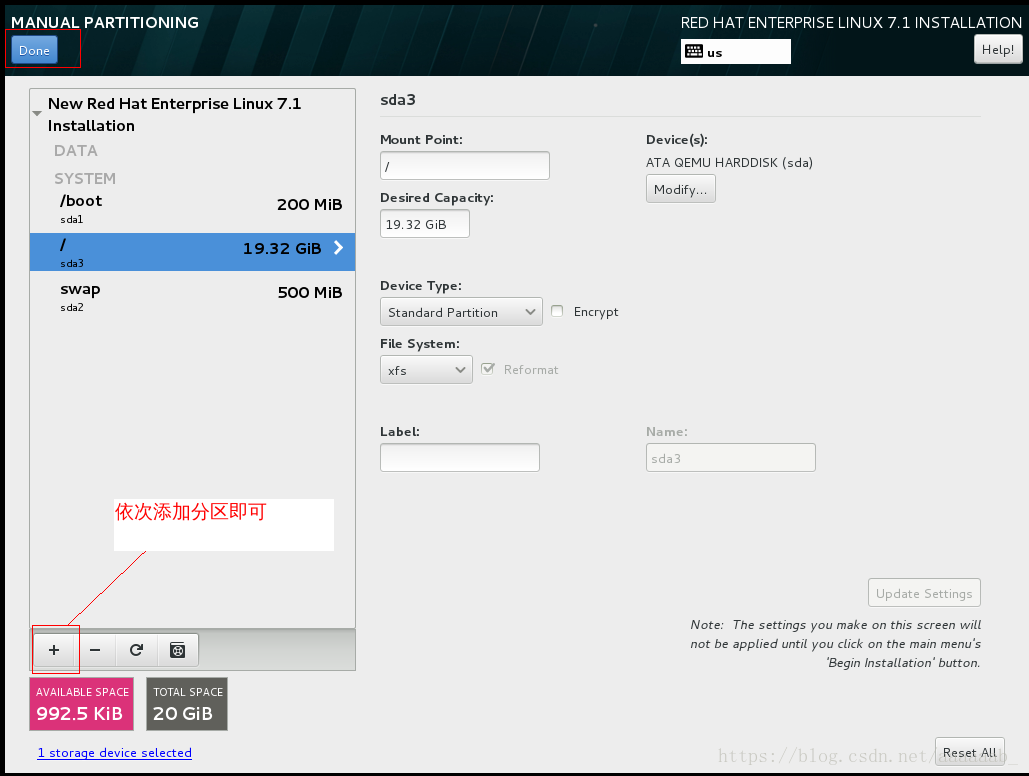
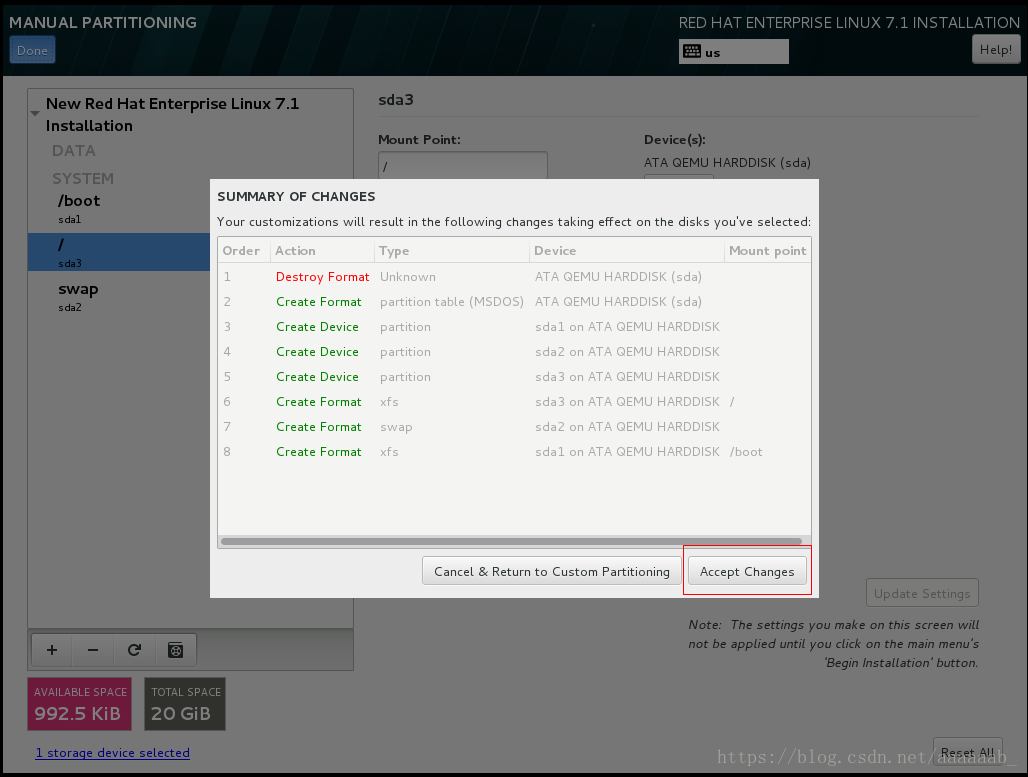
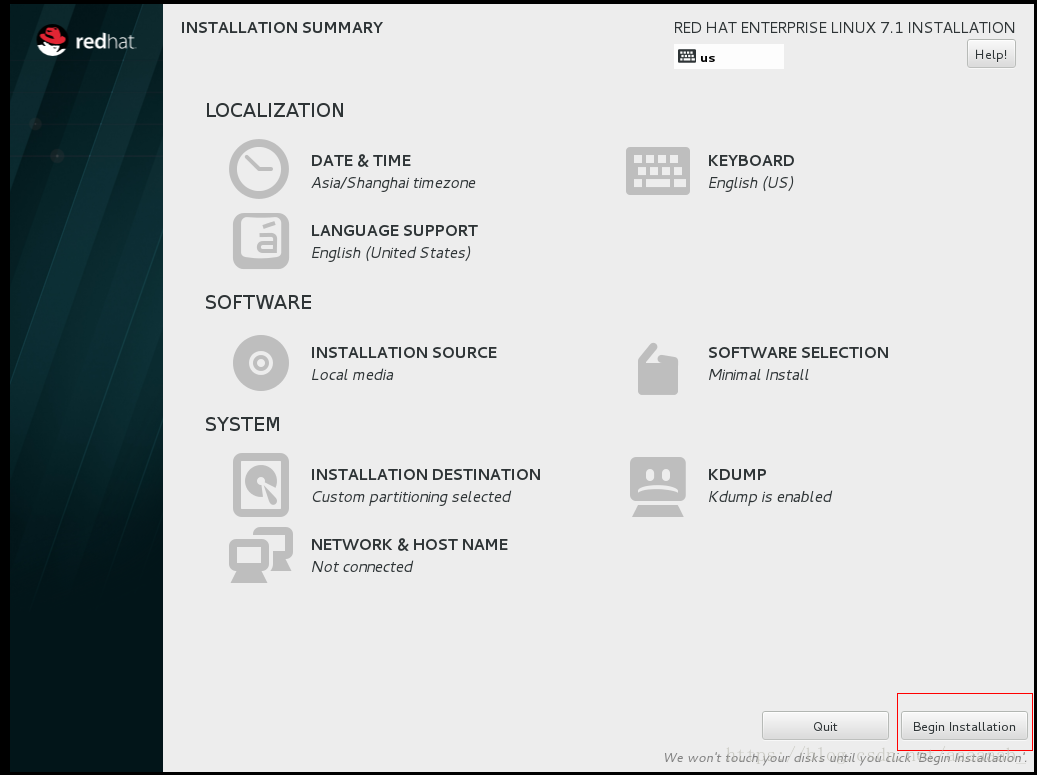
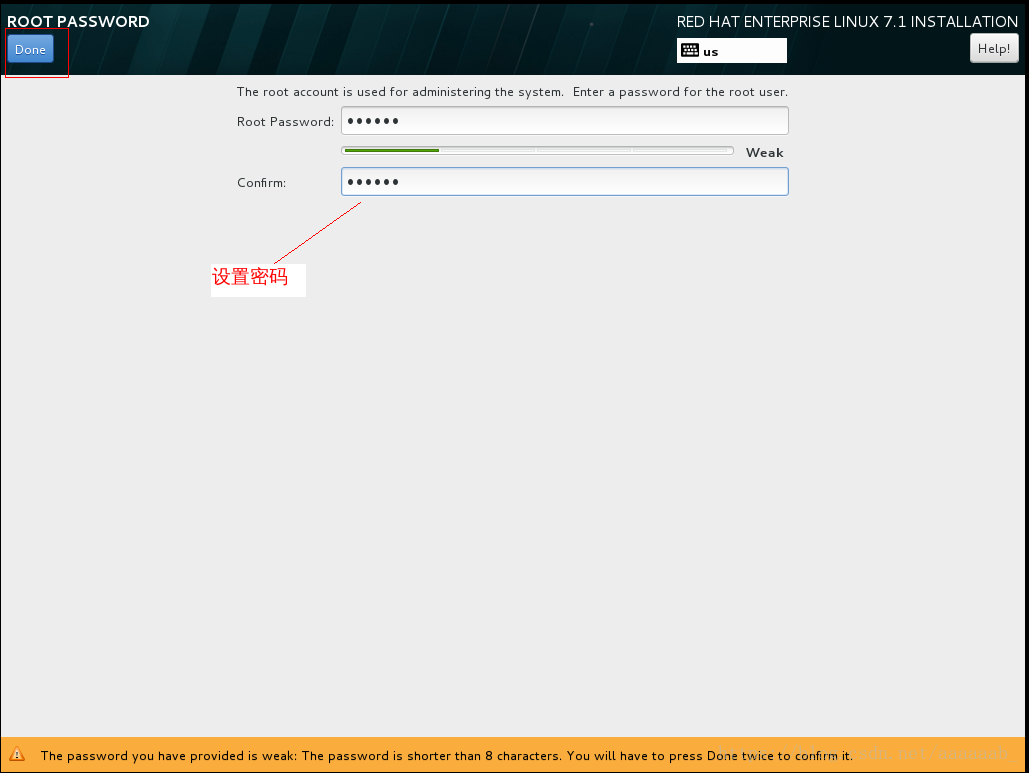
企业7版本虚拟机的封装:
步骤均在图中描述,不做具体介绍:
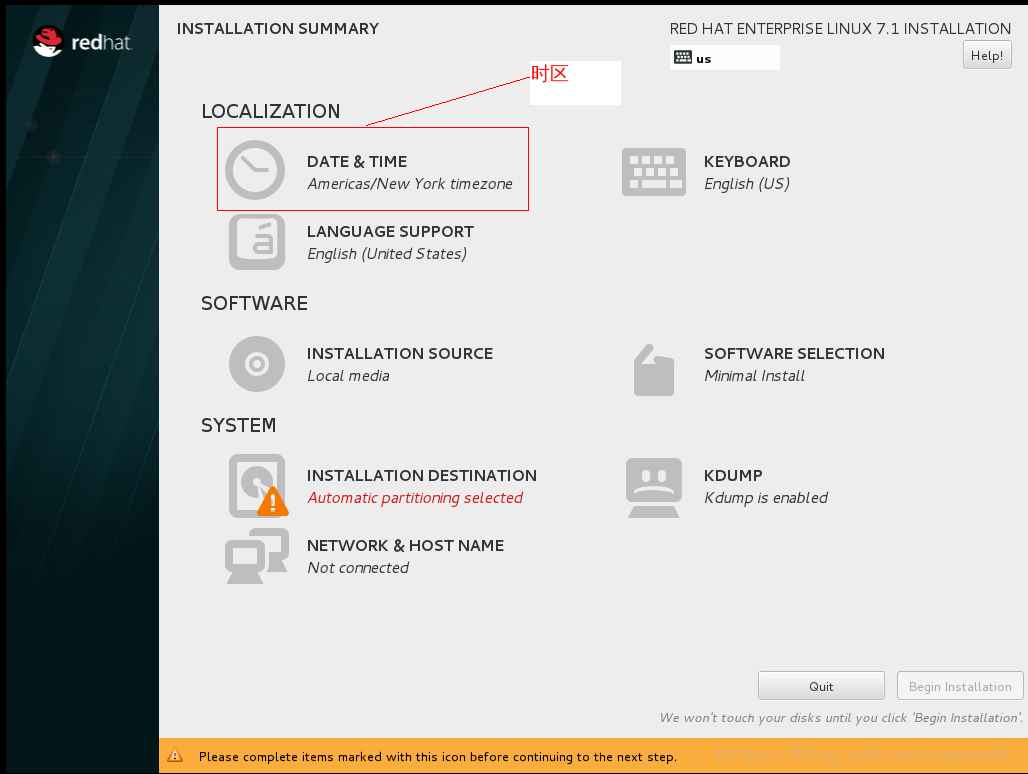
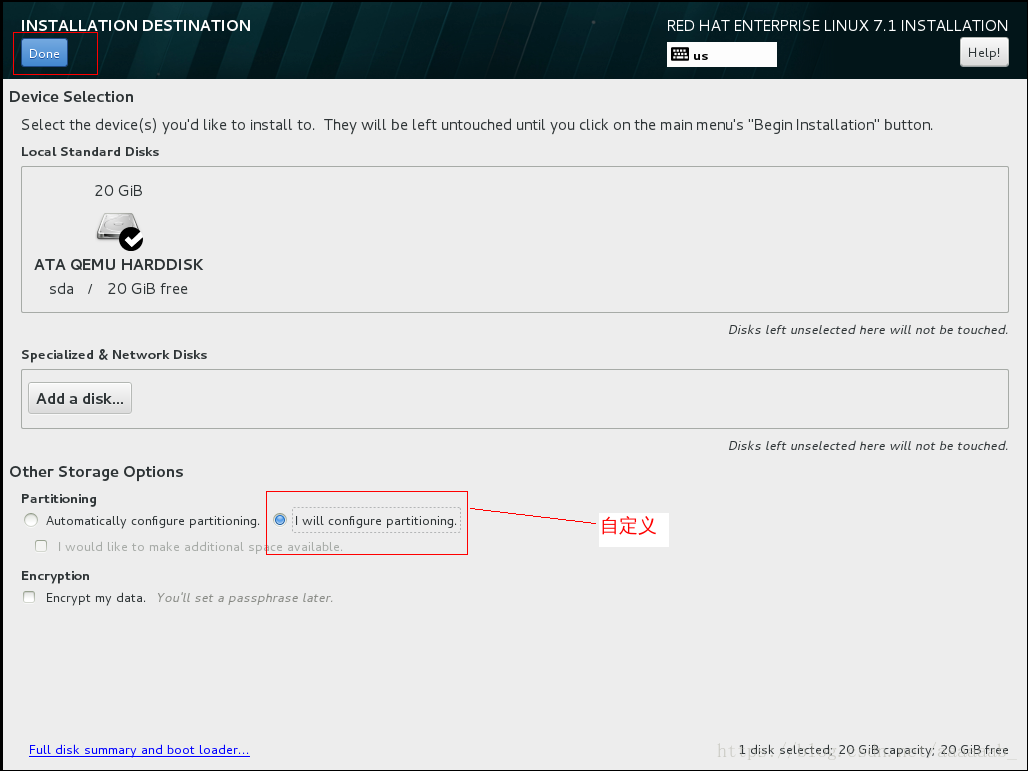
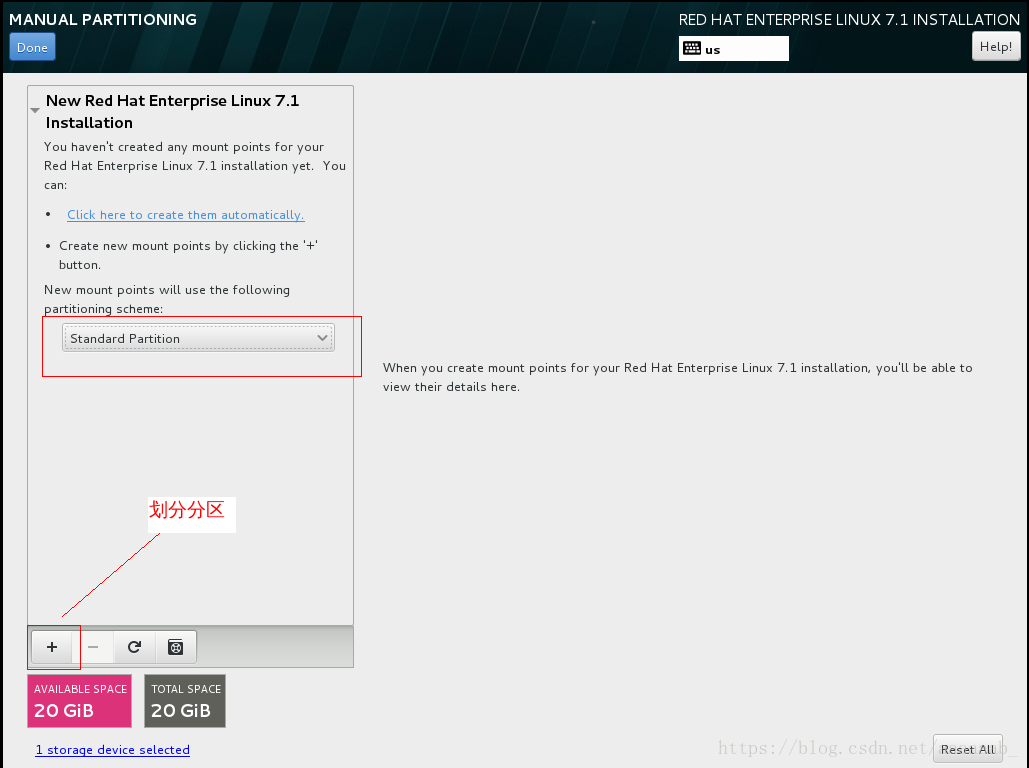
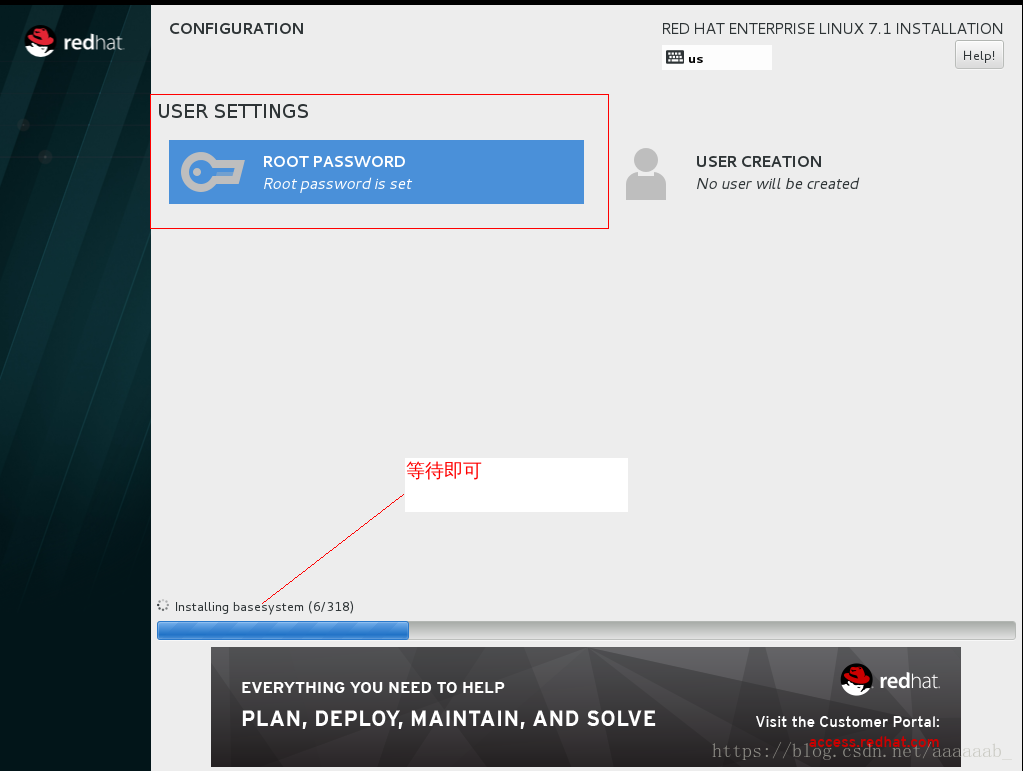
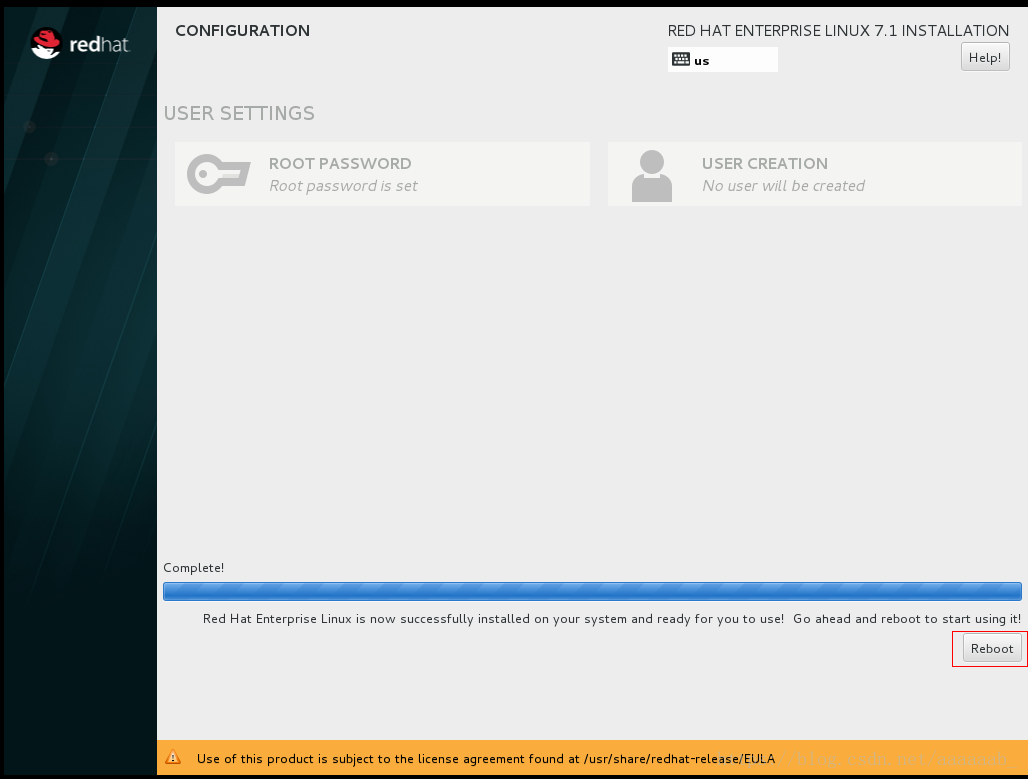
接下来进行母盘的配置:
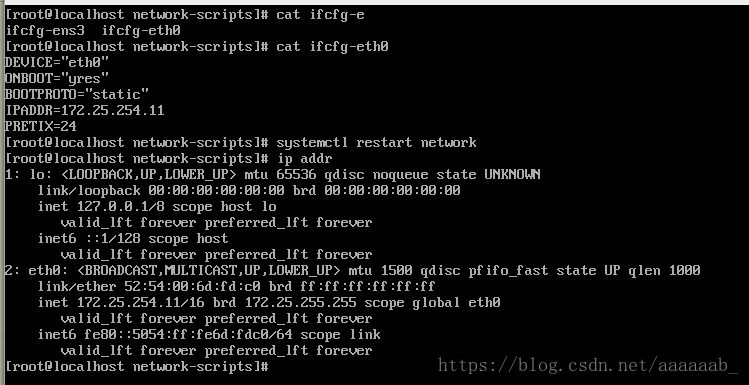
配置IP:
配置yum源主机名安装常用软件:
[root@westos1 ~]# hostname
westos1
[root@westos1 ~]# cd /etc/yum.repos.d/
[root@westos1 yum.repos.d]# ls
[root@westos1 yum.repos.d]# vi yum.repo
[root@westos1 yum.repos.d]# vi yum.repo
[root@westos1 yum.repos.d]# yum repolist
Loaded plugins: product-id, subscription-manager
This system is not registered to Red Hat Subscription Management. You can use subscription-manager to register.
rhel-source                                              | 4.1 kB     00:00
(1/2): rhel-source/group_gz                                | 134 kB   00:00
(2/2): rhel-source/primary_db                              | 3.4 MB   00:00
repo id          repo name                                                status
rhel-source      Red Hat Enterprise Linux 7Server - x86_64 - Source       4,371
repolist: 4,371
[root@westos1 yum.repos.d]# cat yum.repo
[rhel-source]
name=Red Hat Enterprise Linux $releasever - $basearch - Source
baseurl=http://172.25.254.84/source7.1
enabled=1
gpgcheck=1
gpgkey=file:///etc/pki/rpm-gpg/RPM-GPG-KEY-redhat-release

[root@westos1 yum.repos.d]# yum install vim lftp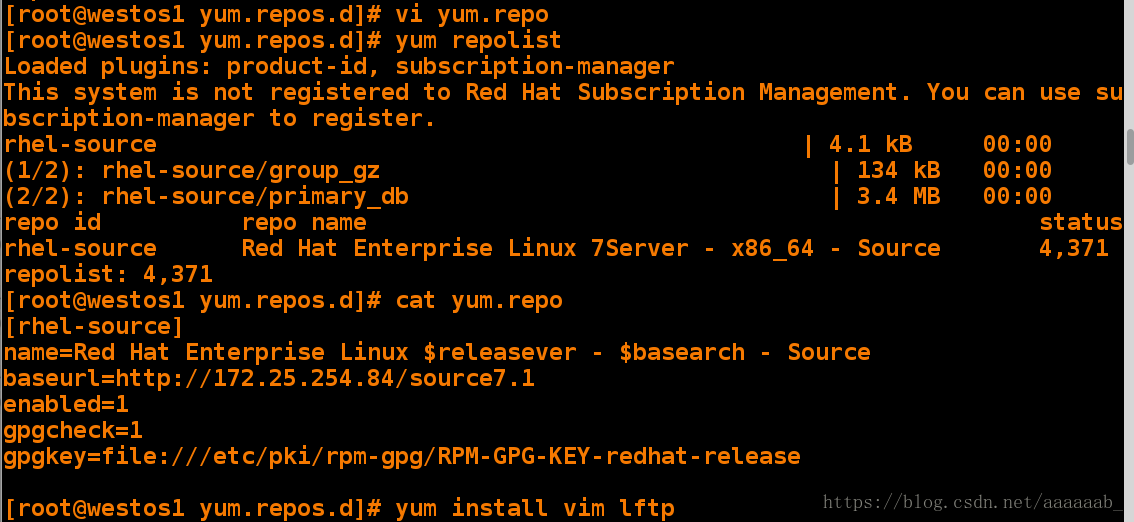
配置解析,关闭selinux和防火墙:
[root@westos1 yum.repos.d]# vim /etc/hosts
[root@westos1 yum.repos.d]# cat /etc/hosts
127.0.0.1   localhost localhost.localdomain localhost4 localhost4.localdomain4
::1         localhost localhost.localdomain localhost6 localhost6.localdomain6
172.25.254.11 westos1
172.25.254.12 westos2
172.25.254.13 westos3
172.25.254.14 westos4
172.25.254.15 westos5
172.25.254.16 westos6
172.25.254.17 westos7
[root@westos1 yum.repos.d]# systemctl stop firewalld
[root@westos1 yum.repos.d]# systemctl disable firewalld
rm '/etc/systemd/system/dbus-org.fedoraproject.FirewallD1.service'
rm '/etc/systemd/system/basic.target.wants/firewalld.service'
[root@westos1 yum.repos.d]# getenforce
Enforcing
[root@westos1 yum.repos.d]# vim /etc/sysconfig/selinux
[root@westos1 yum.repos.d]# cat /etc/sysconfig/selinux

# This file controls the state of SELinux on the system.
# SELINUX= can take one of these three values:
#     enforcing - SELinux security policy is enforced.
#     permissive - SELinux prints warnings instead of enforcing.
#     disabled - No SELinux policy is loaded.
SELINUX=disabled
为了防止不小心点开母盘,直接删除图标:
[root@localhost ~]# ls
fping-3.10-1.el7.x86_64.rpm            zabbix-java-gateway-3.4.6-1.el7.x86_64.rpm
iksemel-1.4-2.el7.centos.x86_64.rpm    zabbix-proxy-mysql-3.4.6-1.el7.x86_64.rpm
php-bcmath-5.4.16-42.el7.x86_64.rpm    zabbix-server-mysql-3.4.6-1.el7.x86_64.rpm
php-mbstring-5.4.16-42.el7.x86_64.rpm  zabbix-web-3.4.6-1.el7.noarch.rpm
zabbix-agent-3.4.6-1.el7.x86_64.rpm    zabbix-web-mysql-3.4.6-1.el7.noarch.rpm
zabbix-get-3.4.6-1.el7.x86_64.rpm
[root@localhost ~]# yum install *