安装zabbix
yum install zabbix-server-mysql-3.4.6-1.el7.x86_64.rpm zabbix-web-3.4.6-1.el7.noarch.rpm zabbix-web-mysql-3.4.6-1.el7.noarch.rpm fping-3.10-1.el7.x86_64.rpm  iksemel-1.4-2.el7.centos.x86_64.rpm  php-mbstring-5.4.16-42.el7.x86_64.rpm php-bcmath-5.4.16-42.el7.x86_64.rpm  -y
yum install mariadb-server -y
systemctl start mariadb
mysql_secure_installation
Enter current password for root (enter for none):
OK, successfully used password, moving on...

Setting the root password ensures that nobody can log into the MariaDB
root user without the proper authorisation.

You already have a root password set, so you can safely answer 'n'.

Change the root password? [Y/n] y
New password:
Re-enter new password:
Password updated successfully!
Reloading privilege tables..
 ... Success!


By default, a MariaDB installation has an anonymous user, allowing anyone
to log into MariaDB without having to have a user account created for
them.  This is intended only for testing, and to make the installation
go a bit smoother.  You should remove them before moving into a
production environment.

Remove anonymous users? [Y/n] y
 ... Success!

Normally, root should only be allowed to connect from 'localhost'.  This
ensures that someone cannot guess at the root password from the network.

Disallow root login remotely? [Y/n] y
 ... Success!

By default, MariaDB comes with a database named 'test' that anyone can
access.  This is also intended only for testing, and should be removed
before moving into a production environment.

Remove test database and access to it? [Y/n] y
 - Dropping test database...
 ... Success!
 - Removing privileges on test database...
 ... Success!

Reloading the privilege tables will ensure that all changes made so far
will take effect immediately.

Reload privilege tables now? [Y/n] y
 ... Success!

Cleaning up...

All done!  If you've completed all of the above steps, your MariaDB
installation should now be secure.

Thanks for using MariaDB!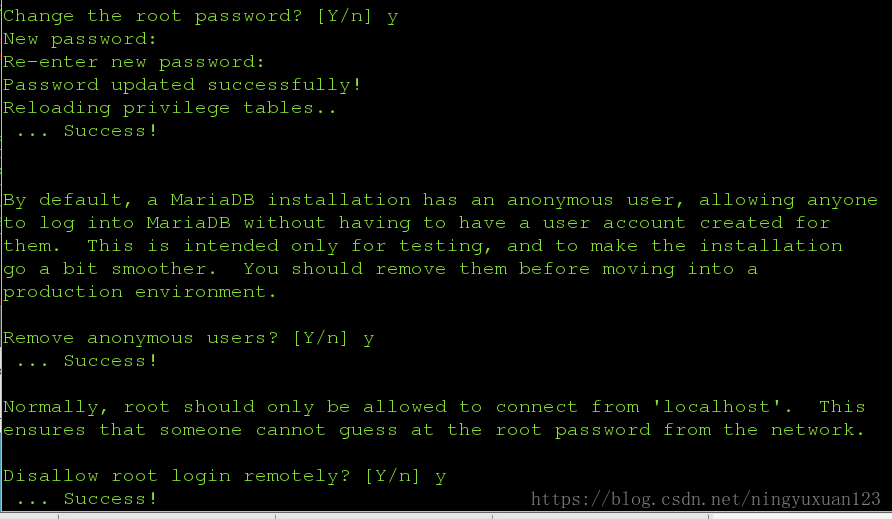
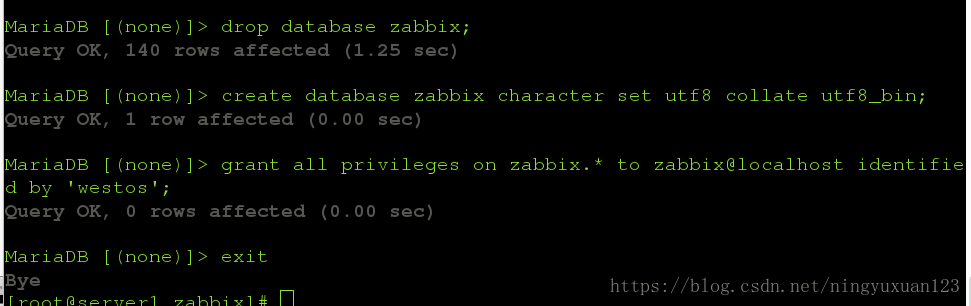
mysql -p

MariaDB [(none)]> create database zabbix character set utf8 collate utf8_bin;
Query OK, 1 row affected (0.00 sec)

MariaDB [(none)]> grant all privileges on zabbix.* to zabbix@localhost identified by 'westos';
Query OK, 0 rows affected (0.00 sec)

MariaDB [(none)]> exit
Bye
[root@server1 doc]# cd zabbix-server-mysql-3.4.6/
[root@server1 zabbix-server-mysql-3.4.6]# ls
AUTHORS ChangeLog COPYING create.sql.gz NEWS README
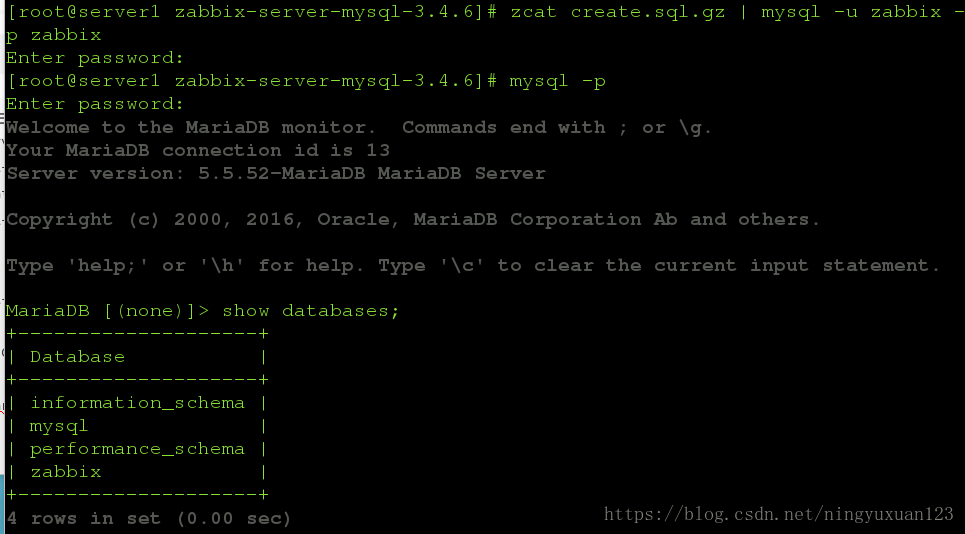
[root@server1 zabbix-server-mysql-3.4.6]# zcat create.sql.gz | mysql -u zabbix -p zabbix
Enter password:
[root@server1 zabbix-server-mysql-3.4.6]# mysql -p
Enter password:
Welcome to the MariaDB monitor. Commands end with ; or \g.
Your MariaDB connection id is 13
Server version: 5.5.52-MariaDB MariaDB Server
Copyright (c) 2000, 2016, Oracle, MariaDB Corporation Ab and others.
Type 'help;' or '\h' for help. Type '\c' to clear the current input statement.
MariaDB [(none)]> show databases;
+--------------------+
| Database |
+--------------------+
| information_schema |
| mysql |
| performance_schema |
| zabbix |
+--------------------+
4 rows in set (0.00 sec)
MariaDB [(none)]> use zabbix;
Reading table information for completion of table and column names
You can turn off this feature to get a quicker startup with -A
Database changed
MariaDB [zabbix]> show tables;
vim /etc/hosts
172.25.23.1 server1
172.25.23.6 server6
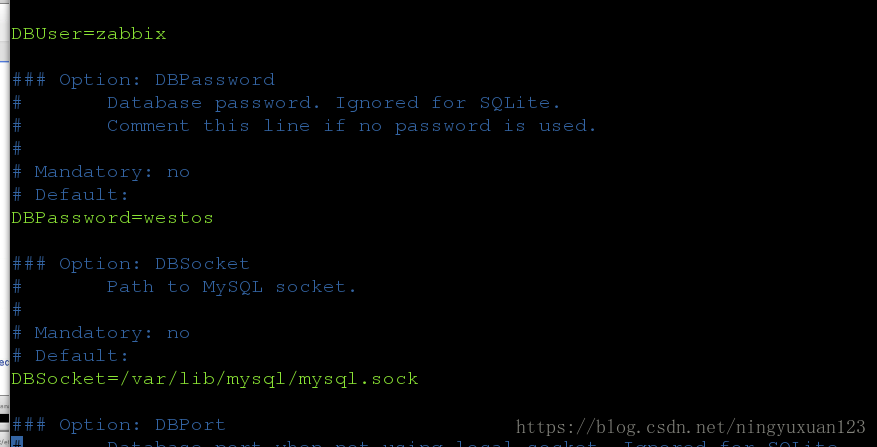
[root@server1 zabbix]# vim /etc/zabbix/zabbix_server.conf
[root@server1 zabbix]# ls
web zabbix_agentd.d zabbix_java_gateway_logback.xml
zabbix_agentd.conf zabbix_java_gateway.conf zabbix_server.conf
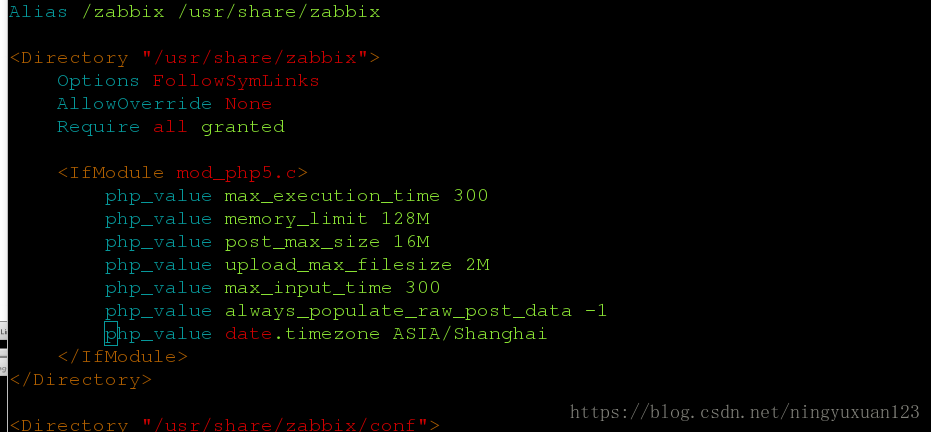
[root@server1 zabbix]# vim /etc/httpd/conf.d/zabbix.conf
[root@server1 zabbix]# systemctl start zabbix-server
[root@server1 zabbix]# systemctl start httpd
[root@server1 zabbix]# getenforce
Disabled
[root@server1 zabbix]# iptables -L
Chain INPUT (policy ACCEPT)
target prot opt source destination
Chain FORWARD (policy ACCEPT)
target prot opt source destination
Chain OUTPUT (policy ACCEPT)
target prot opt source destination
[root@server1 ~]# yum install zabbix-agent-3.4.6-1.el7.x86_64.rpm
[root@server1 ~]# systemctl start zabbix-agent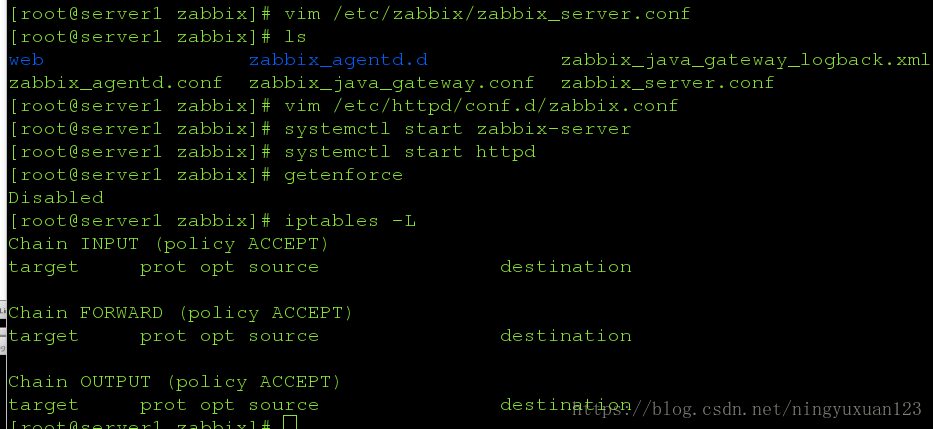
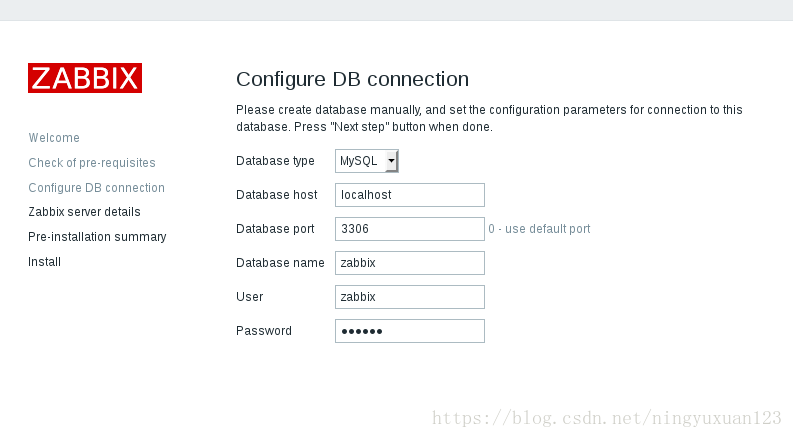
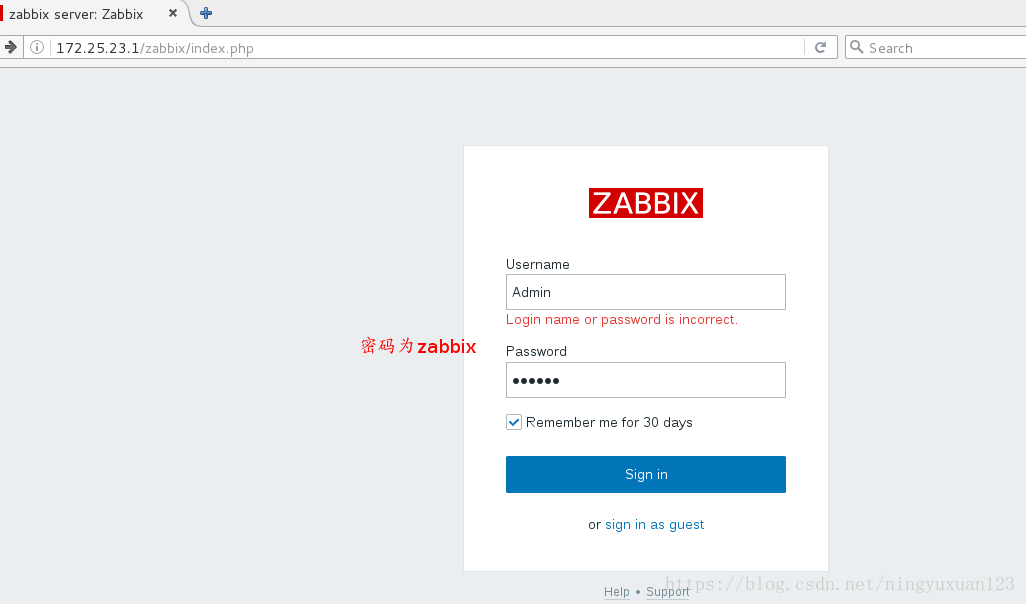
浏览器中对zabbix进行操作:
浏览器输入172.25.23.1/zabbix
server6:
vim /etc/hosts
172.25.23.1 server1
172.25.23.6 server6
[root@server6 ~]# yum install zabbix-agent-3.4.6-1.el6.x86_64.rpm
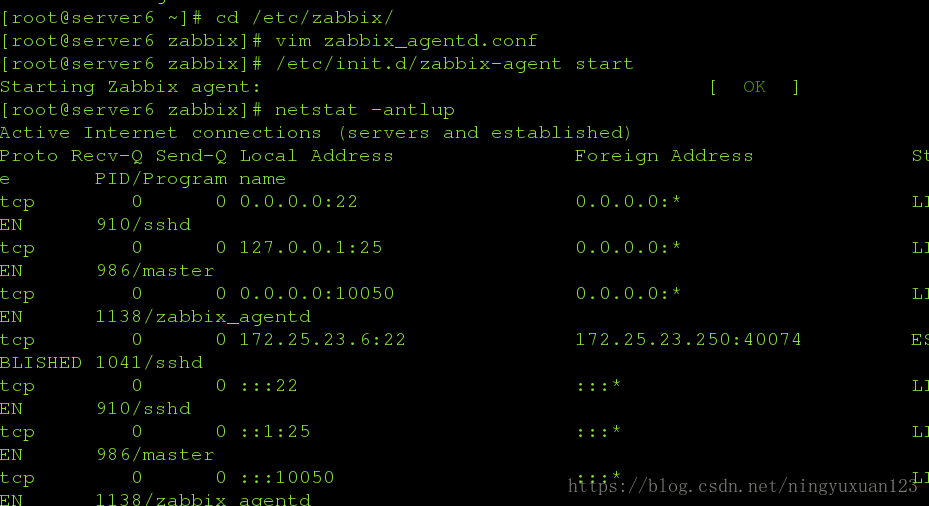
[root@server6 ~]# cd /etc/zabbix/
[root@server6 zabbix]# vim zabbix_agentd.conf
ServerActive=172.25.23.1
Hostname=server6
[root@server6 zabbix]# /etc/init.d/zabbix-agent start
Starting Zabbix agent: [ OK ]
[root@server6 zabbix]# netstat -antlup
Active Internet connections (servers and established)
Proto Recv-Q Send-Q Local Address Foreign Address State PID/Program name
tcp 0 0 0.0.0.0:22 0.0.0.0:* LISTEN 910/sshd
tcp 0 0 127.0.0.1:25 0.0.0.0:* LISTEN 986/master
tcp 0 0 0.0.0.0:10050 0.0.0.0:* LISTEN 1138/zabbix_agentd
tcp 0 0 172.25.23.6:22 172.25.23.250:40074 ESTABLISHED 1041/sshd
tcp 0 0 :::22 :::* LISTEN 910/sshd
tcp 0 0 ::1:25 :::* LISTEN 986/master
tcp 0 0 :::10050 :::* LISTEN 1138/zabbix_agentd

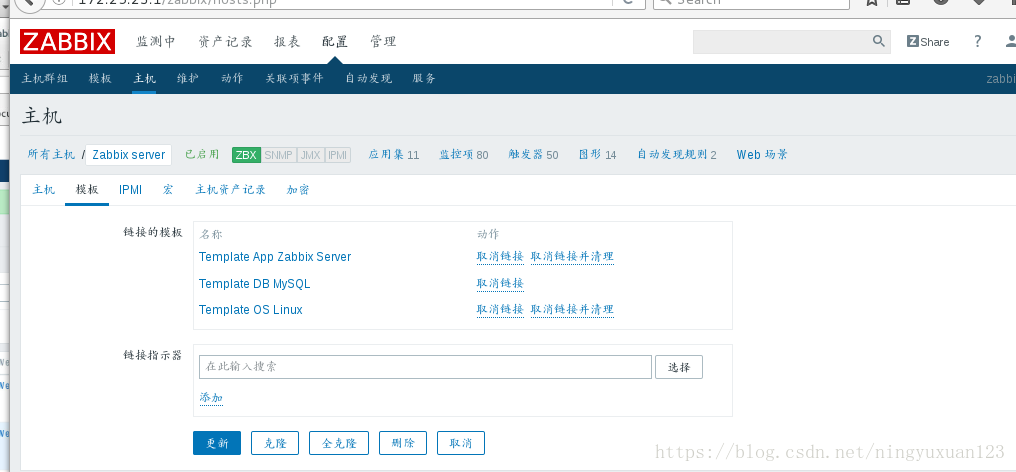
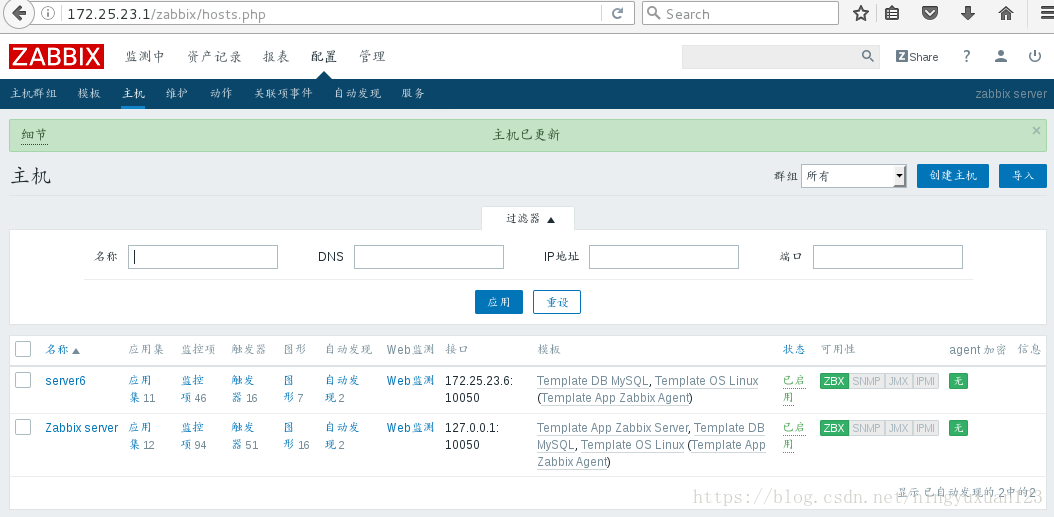
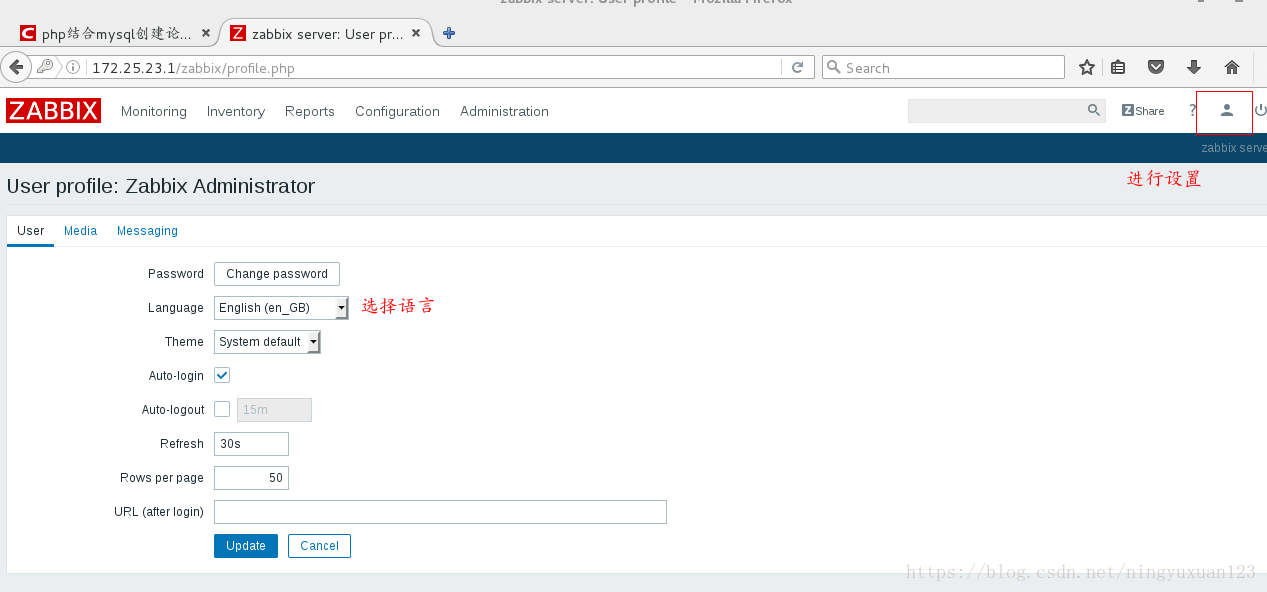
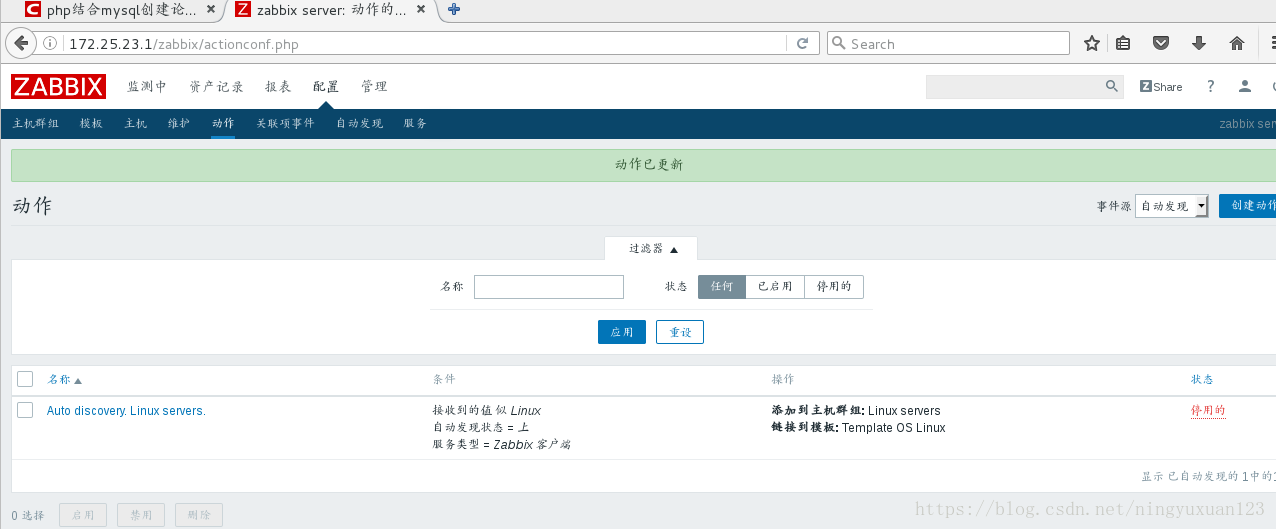
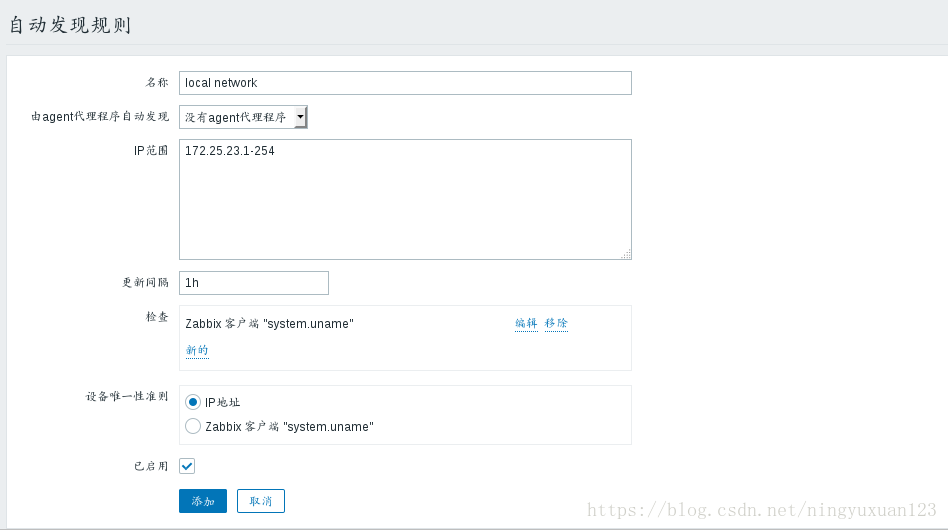
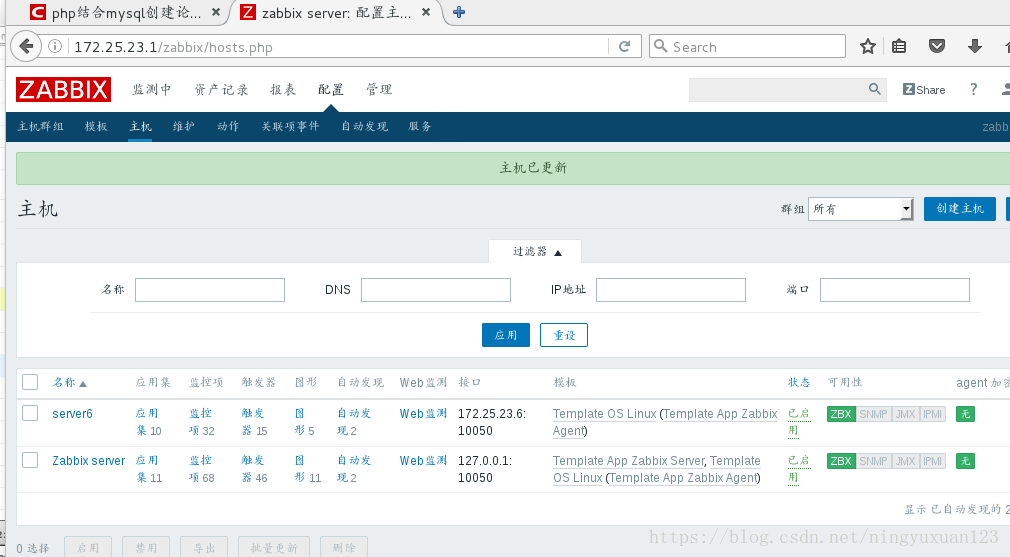
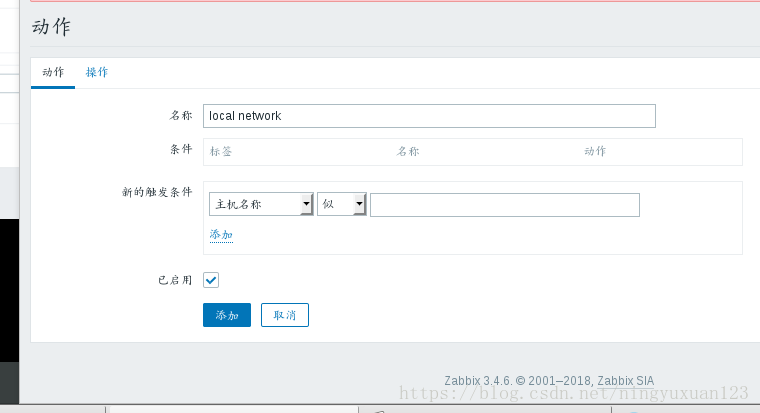
浏览器中进行:
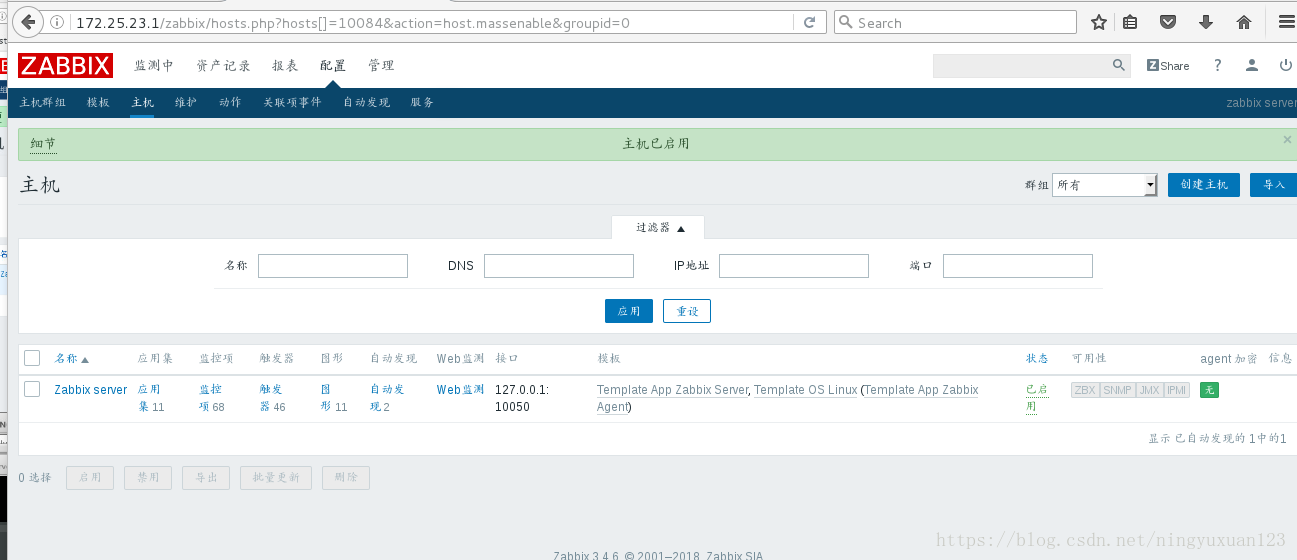
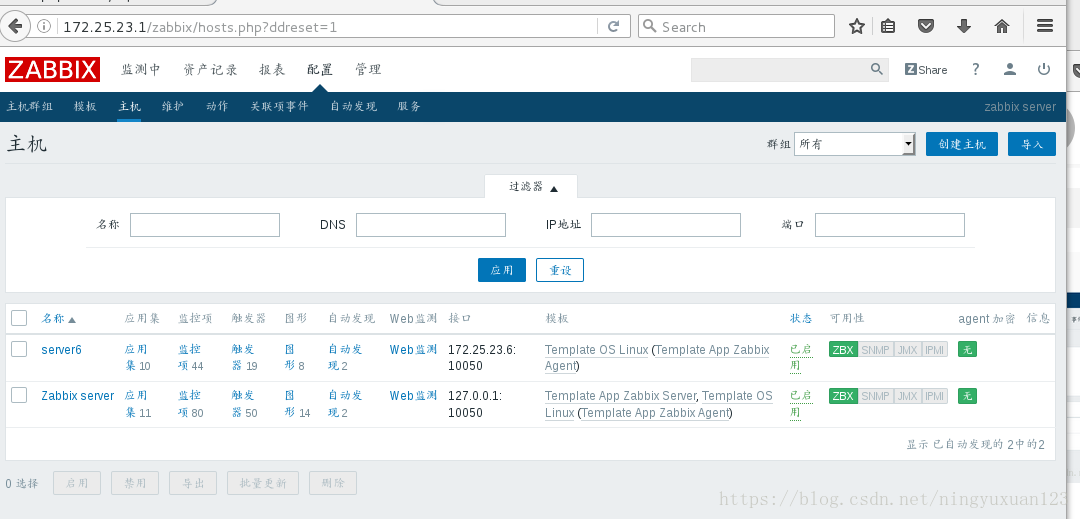
让zabbix-server发现设备并且监控:
第一种添加监控主机的方法:自动发现主机

第二种添加监控主机的方法:手动添加主机

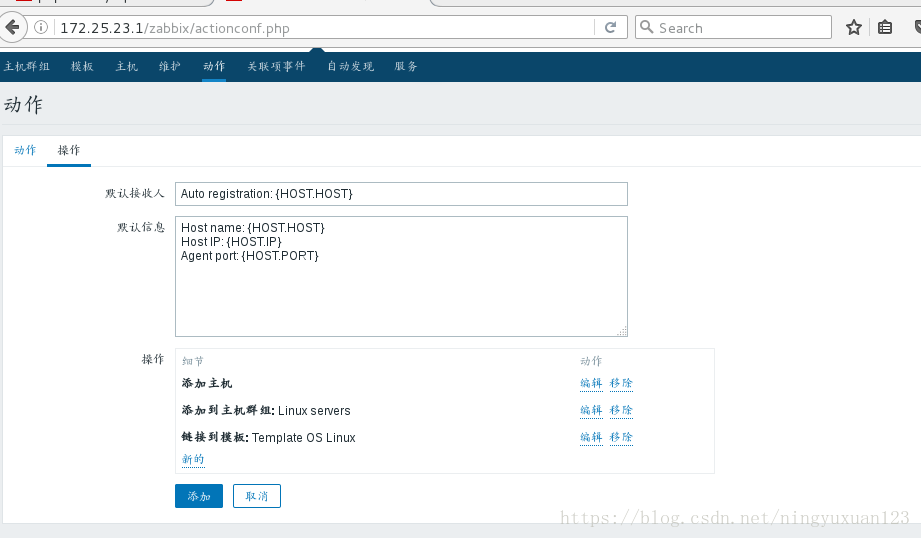
第三种添加监控主机的方法:自动注册

server6:
yum install httpd -y
/etc/init.d/httpd start
server1:
[root@server1 ~]# cd /etc/zabbix/zabbix_agentd.d/
[root@server1 zabbix_agentd.d]# ls
userparameter_mysql.conf  userparameter_percona_mysql.conf
[root@server1 zabbix_agentd.d]# vim userparameter_mysql.conf
[root@server1 zabbix]# cd /var/lib/
[root@server1 lib]# ls
alternatives  dnsmasq    misc            php       rpm        tpm
authconfig    games      mysql           plymouth  rpm-state  up2date
dav           initramfs  net-snmp        polkit-1  rsyslog    yum
dbus          logrotate  NetworkManager  postfix   stateless  zabbix
dhclient      machines   os-prober       rhsm      systemd
[root@server1 lib]# ll -d zabbix/
drwxr-xr-x 3 root root 36 Aug 15 11:33 zabbix/
[root@server1 lib]# cd zabbix/
[root@server1 zabbix]# vim .my.cnf
[mysql]
user=root
password=westos
socket=/var/lib/mysql/mysql.sock
[mysqladmin]
user=root
password=westos
socket=/var/lib/mysql/mysql.sock
[root@server1 zabbix]# systemctl restart zabbix-agent
浏览器中添加监控项