haproxy安装和配置
tar zxf haproxy-1.6.11.tar.gz 解压源码包
制作rpm包
yum install rpm-build -y    ###安装rpm-build软件
rpmbuild -tb haproxy-1.6.11.tar.gz    ###源码编译,制作rpm包
yum install -y gcc pcre-devel   ##解决依赖性包安装
226 cd rpmbuild/RPMS/x86_64/
232 rpm -qpl haproxy-1.6.11-1.x86_64.rpm ###查看安装后有那些文件
233 ls
234 rpm -ivh haproxy-1.6.11-1.x86_64.rpm ###安装制作好的rpm包
235 cd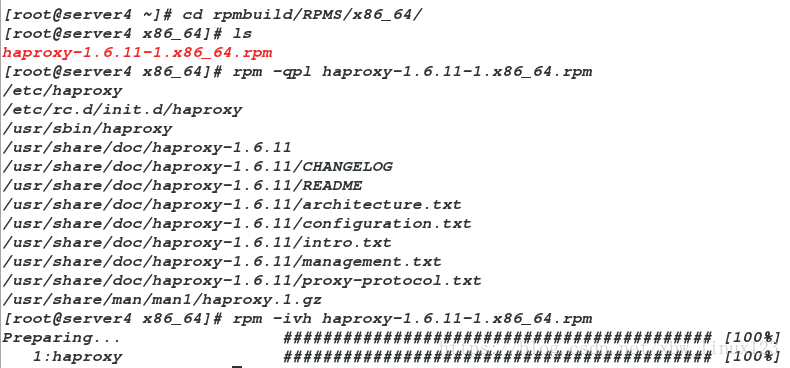
cd haproxy-1.6.11/examples/
cp content-sw-sample.cfg /etc/haproxy/haproxy.cfg
find -name *.spec
cd /etc/haproxy/
ls
haproxy负载均衡
groupadd -g 200 haproxy
useradd -u 200 -g 200 -M haproxy
id haproxy
vim /etc/security/limits.conf
aproxy      -    nofile      10000
cd /etc/haproxy
vim haproxy.cfg
修改配置文件:
global
maxconn 10000 # 最大连接数
stats socket /var/run/haproxy.stat mode 600 level admin
log 127.0.0.1 local0 # 夲机日志
uid 200 # haproxy用户的uid
gid 200 # haproxy用户的gid
chroot /var/empty
daemon
defaults # 默认条件
mode http
log global
option httplog
option dontlognull
monitor-uri /monitoruri
maxconn 8000
timeout client 30s
stats uri /admin/stats
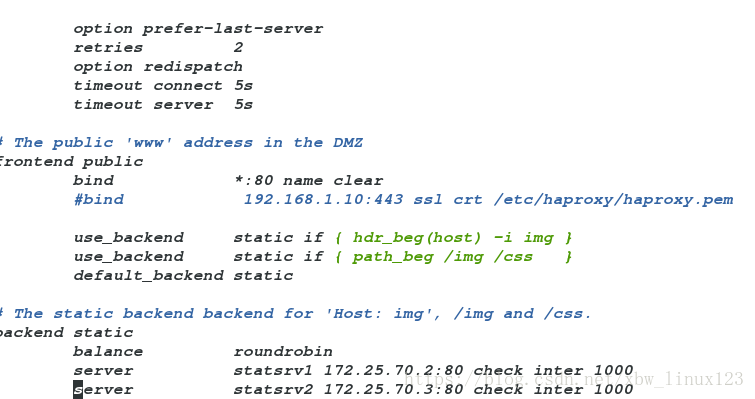
option prefer-last-server
retries 2
option redispatch
timeout connect 5s
timeout server 5s
# The public 'www' address in the DMZ
frontend public
bind *:80 name clear
#bind 192.168.1.10:443 ssl crt /etc/haproxy/haproxy.pem
#use_backend static if { hdr_beg(host) -i img }
#use_backend static if { path_beg /img /css }
default_backend static ###默认后端设置为静态的
# The static backend backend for 'Host: img', /img and /css.
backend static
balance roundrobin # 负载均衡算法rr
server statsrv1 172.25.70.2:80 check inter 1000 ###添加两个后端
server statsrv2 172.25.70.3:80 check inter 1000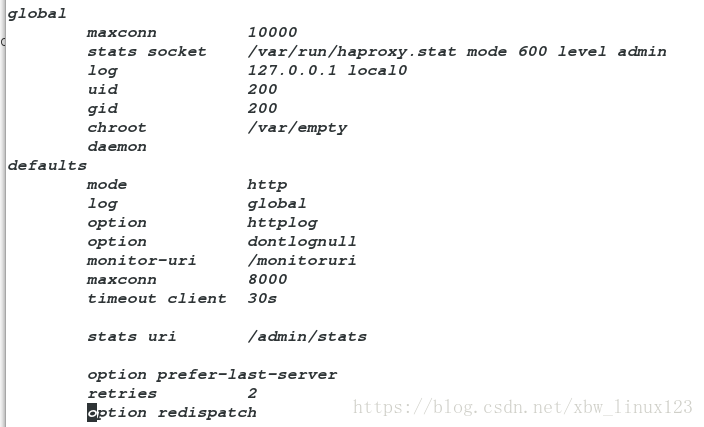
/etc/init.d/haproxy start ##打开服务
在server2和server3中分别打开httpd
/etc/init.d/httpd start
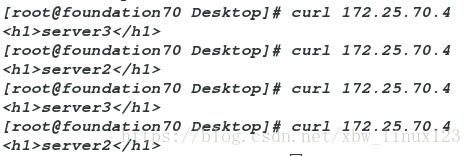
测试:在浏览器访问:172.25.3.1实现轮询
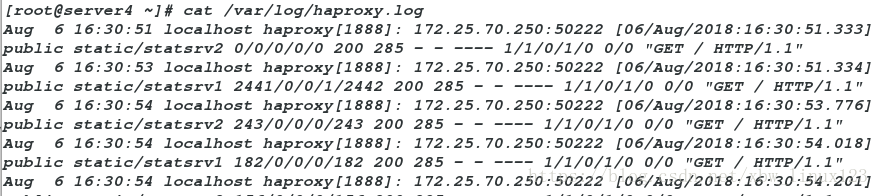
haproxy的日志
vim /etc/rsyslog.conf
去掉这两行注释
13 $ModLoad imudp
14 $UDPServerRun 514
42 *.info;mail.none;authpriv.none;cron.none;local0.none              /var/log/messages
62 local0.*                                                /var/log/haproxy.log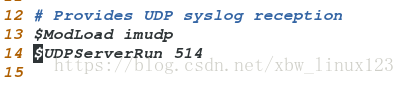


/etc/init.d/rsyslog restart ###重启日志服务
测试: 在浏览器中访问,查看日志
动静分离
vim /etc/haproxy/haproxy.cfg
修改配置
# The public 'www' address in the DMZ
frontend public
bind *:80 name clear
#bind 192.168.1.10:443 ssl crt /etc/haproxy/haproxy.pem
#use_backend static if { hdr_beg(host) -i img }
#use_backend static if { path_beg /img /css }
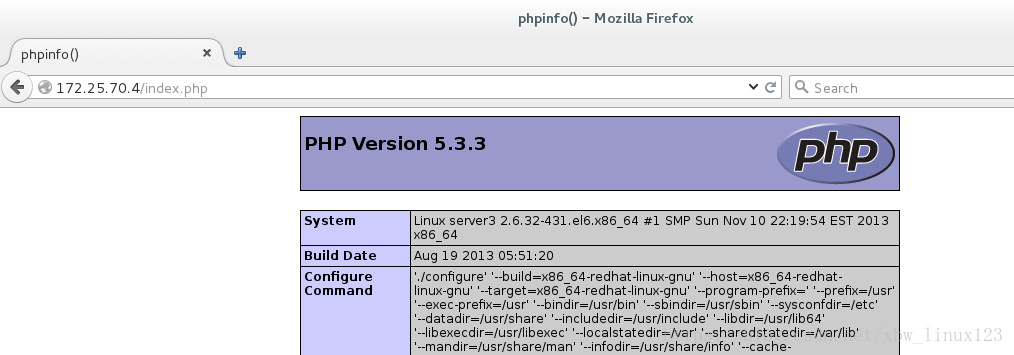
use_backend static2 if { path_end -i .php } ###如果是以.php结尾的都会去访问server3
default_backend static1 ###默认去访问server2
# The static backend backend for 'Host: img', /img and /css.
backend static1
balance roundrobin
#balance source ###相当与hash算法
server statsrv1 172.25.70.2:80 check inter 1000
backend static2
balance roundrobin
server statsrv2 172.25.70.3:80 check inter 1000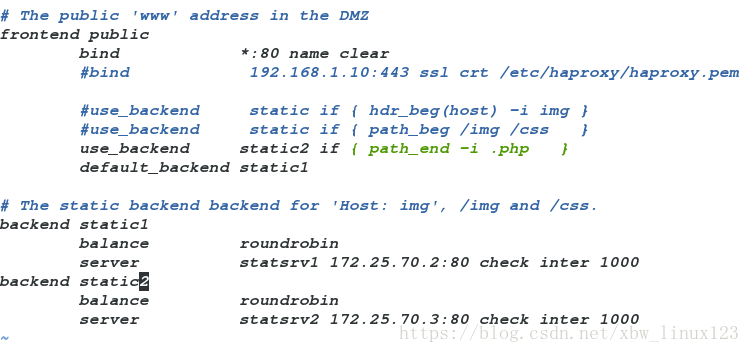
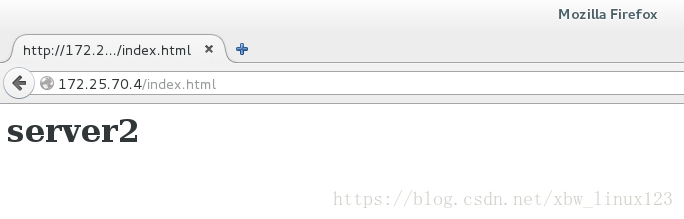
测试:在浏览器访问:172.25.3.1/index.html
172.25.3.1/index.php
访问黑名单的设置和重定向
vim /etc/haproxy/haproxy.cfg
修改配置:
# The public 'www' address in the DMZ
frontend public
bind *:80 name clear
#bind 192.168.1.10:443 ssl crt /etc/haproxy/haproxy.pem
#use_backend static if { hdr_beg(host) -i img }
#use_backend static if { path_beg /img /css }
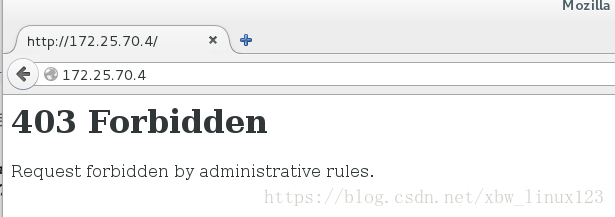
acl blacklist src 172.25.70.250 ###定义访问主机黑名单,当这个ip访问时,把其重定向到别的地址
http-request deny if blacklist
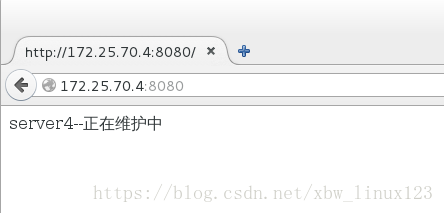
errorloc 403 https://172.25.70.4:8080 ###报错,然后转到172.25.70.4:8080地址
#redirect location http://www.baidu.com ###直接重定向到别的地址(需要做解析,在真机中:172.25.70.4 www.westos.org)
use_backend static2 if { path_end -i .php }
default_backend static1
# The static backend backend for 'Host: img', /img and /css.
backend static1
balance roundrobin
#balance source ###相当与hash算法
server statsrv1 172.25.70.2:80 check inter 1000
backend static2
balance roundrobin
server statsrv2 172.25.70.3:80 check inter 1000如果设定了黑名单,不重定向就会出现403错误
  yum install -y httpd
  ###把端口修改为8080做实验
   cd /var/www/html/
 ls
 vim index.html
       server1--正在维护中
测试:用真机的浏览器去访问172.25.70.4时,跳转到172.25.70.4:8080 的页面
读写分离
vim /etc/haproxy/haproxy.cfg
修改配置
在server4:
# The public 'www' address in the DMZ
frontend public
        bind            *:80 name clear
        #bind            192.168.1.10:443 ssl crt /etc/haproxy/haproxy.pem

        #use_backend     static if { hdr_beg(host) -i img }
        #use_backend     static if { path_beg /img /css   }

        acl  blacklist src 172.25.3.250
         acl write method POST  # POST是写的动作
         acl write method PUT    # PUT也是写的动作
        #http-request deny if blacklist

        #errorloc   403  https://172.25.3.1:8080
        #redirect location http://www.baidu.com
        #use_backend     static2 if { path_end -i .php   }
        use_backend     static2 if write  ##如果是写的动作,调用server3

        default_backend  static1
# The static backend backend for 'Host: img', /img and /css.
backend static1
        balance         roundrobin
        #balance        source
        server          statsrv1 172.25.70.2:80 check inter 1000

backend static2
        balance         roundrobin
        server          statsrv2 172.25.70.3:80 check inter 1000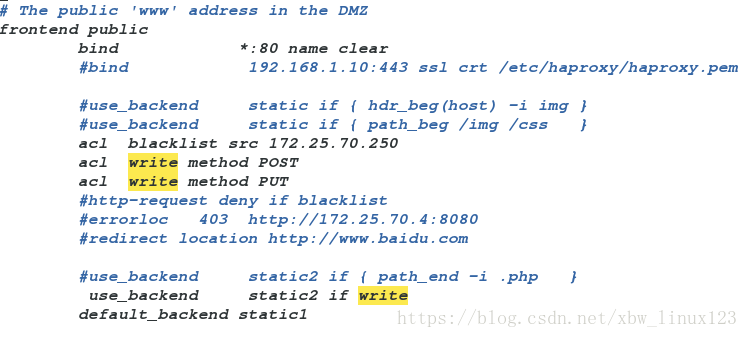
在server2中:读
yum install php -y
cd /var/www/html
mkdir images
mv redhat.jpg images/
cd upload/
mv * ..
cd ..
chmod 777 upload ###给upload设置777权限
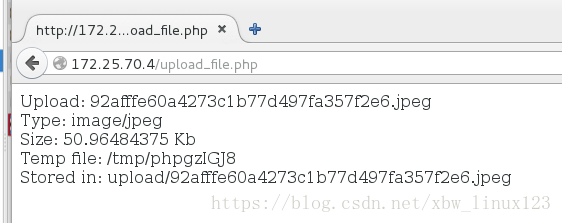
vim upload_file.php ###将文件的大小改为2000000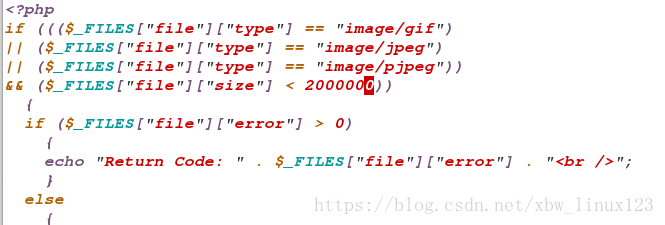
测试: 在网页访问172.25.70.4/images/92afffe60a4273c1b77d497fa357f2e6.jpeg

cd upload ls查看没有图片
在server3中 写:
yum install -y php
 cd /var/www/html/
 /etc/init.d/httpd restart
cd upload/
mv * ..
cd ..
chmod 777 upload
vim upload_file.php  ###将文件的大小改为2000000
cd upload
ls
读的是server2上的东西