雪崩效应
微服务架构的应用系统通常包含多个服务层。微服务之间通过网络进行通信,从而支撑起整个应用系统,因此,微服务之间难免存在依赖关系。任何微服务都并非100%可用,网络往往也很脆弱,因此难免有些请求会失败。
我们常把“基础服务故障”导致“级联故障”的现象称为雪崩效应。雪崩效应描述的是提供者不可用导致消费者不可用,并将 不可用逐渐扩大的过程。
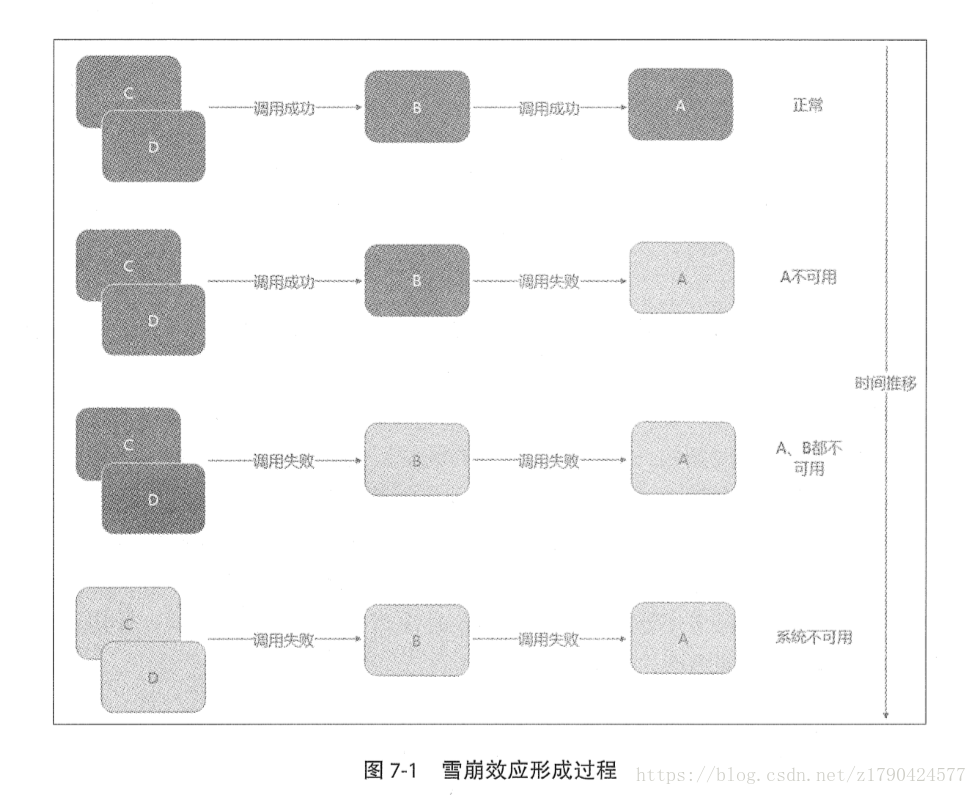
A作为服务提供者(基础服务),B为A的服务消费者,C和D是B的服务消费者。当A不可用引起了B的不可用,并将不可用像滚雪球一样放大到C和D时,雪崩效应就形成了!
如何容错?
- 为网络请求设置超时:通常情况下,一次远程调用对应着一个线程/进程。如果响应太慢,这个线程/进程就得不到释放。而线程/进程又对应着系统资源,如果得不到释放的线程/进程越积越多,资源就会被逐渐耗尽,最终导致服务不可用。因此,必须为每个网络请求设置超时,让资源尽快释放。
- 使用断路器模式:断路器可理解为对容易导致错误的操作的代理。这种代理能够统计一段时间内调用的次数,并决定是正常请求依赖的服务还是直接返回,断路器可以实现快速失败,如果它在一段时间内检测到许多类似的错误(例如超时),就会在之后的一段时间内,强迫对该服务的调用快速失败,即不再请求所依赖的服务。这样,应用程序就无须再浪费CPU时间去等待长时间的超时。断路器也可自动诊断依赖的服务是否已经恢复正常。如果发现依赖的服务已经恢复正常,那么就会恢复请求该服务。使用这种方式,就可以实现微服务的“自我修复”——–当依赖的服务不正常时打开断路器快速失败,从而防止雪崩效应;当发现依赖的服务恢复正常时,又会恢复请求。
使用Hystrix实现容错
Hystrix是Netflix开源的一个延迟和容错库,用于隔离访问远程系统、服务或者第三方库,防止级联失败,从而提升系统的可用性与容错性。
1:新建Spring Boot项目EurekaServer,添加依赖Eureka Server
2:启动类
@EnableEurekaServer
@SpringBootApplication
public class EurekaServerApplication {

    public static void main(String[] args) {
        SpringApplication.run(EurekaServerApplication.class, args);
    }
}
3:application.yml
server:
  port: 8761
eureka:
  client:
    registerWithEureka: false    #是否将自己注册到Eureka Server,默认为True。由于当前应用就是Eureka Server,故false
    fetchRegistry: false         #是否从Eureka Server获取注册信息,默认True。因为这是一个单节点的Eureka Server,不需要同步其他的Eureka Server节点,故false
    serviceUrl:
      defaultZone: http://localhost:8761/eureka/
4:新建Spring Boot项目EurekaClient,添加依赖Eureka Client(已经包含Web)
5:启动类
@EnableDiscoveryClient
@SpringBootApplication

public class EurekaClientApplication {

    public static void main(String[] args) {
        SpringApplication.run(EurekaClientApplication.class, args);
    }
}
6:控制器MyController
@RestController
public class MyController {

    @RequestMapping("/eureka/test")  //等会通过Feign来访问它,测试Hystrix
    public String test()
    {
        return "Hello Hystrix";
    }
}
7:application.yml
server:
  port: 8003
spring:
  application:
    name: EurekaClinet
eureka:
  client:
    serviceUrl:
      defaultZone: http://localhost:8761/eureka/
  instance:
    prefer-ip-address: true
8:新建Spring Boot项目ServerHystrix,添加依赖Hystrix、Feign、Actuator、Eureka Client(已经包含Web)
9:启动类
@EnableHystrix
@SpringBootApplication
@EnableDiscoveryClient
@EnableFeignClients
public class ServerHystrixApplication {
    public static void main(String[] args) {
        SpringApplication.run(ServerHystrixApplication.class, args);
    }
}
10:Feign接口
@FeignClient(name = "EurekaClinet")
public interface UserFeignClient {
    @RequestMapping(value = "/eureka/test", method = RequestMethod.GET)
      public String testHystrix();
}
11:MyController
@RestController
public class MyController {
      @Autowired
      private UserFeignClient userFeignClient;

@HystrixCommand(fallbackMethod="testHystrixFallback")//fallbackMethod属性指定回退方法
@GetMapping("/testHystrix")
public String testHystrix()
{
    return this.userFeignClient.testHystrix();
}
public String testHystrixFallback() {
    return "Hystrix  Fallback";
}
}
12:运行测试
启动项目EurekaServer
启动项目EurekaClient
启动项目ServerHystrix
访问:http://localhost:8010/testHystrix
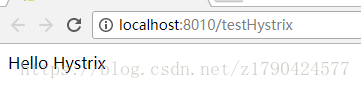
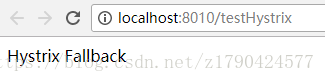
停止项目启动项目EurekaClient
再次访问:http://localhost:8010/testHystrix
为Feign添加回退
1:修改项目ServerHystrix的Feign接口

@FeignClient(name = "EurekaClinet",fallback=FeignClientFallBack.class)//只需指定使用@FeignClient的fallback属性,就可为客户端添加回退
public interface UserFeignClient {
    @RequestMapping(value = "/eureka/test", method = RequestMethod.GET)
      public String testHystrix();
}

@RestController
class FeignClientFallBack implements UserFeignClient
{

    @Override
    public String testHystrix() {
        return "Hystrix  Fallback";
    }

}
2:修改MyController
@RestController
public class MyController {
      @Autowired
      private UserFeignClient userFeignClient;

@GetMapping("/testHystrix")
public String testHystrix()
{
    return this.userFeignClient.testHystrix();
}
}
3:application.yml
feign:
  hystrix:
    enabled: true    #为Feign启动hystrix
4:运行测试
与上面的结果是一致的!
通过FallbackFactory检查回退原因
1:修改项目ServerHystrix的Feign接口
@FeignClient(name = "EurekaClinet",fallbackFactory=FeignClientFallbackFactory.class)
public interface UserFeignClient {
    @RequestMapping(value = "/eureka/test", method = RequestMethod.GET)
      public String testHystrix();
}

@RestController
class FeignClientFallbackFactory implements FallbackFactory<UserFeignClient> {
  private static final Logger LOGGER = LoggerFactory.getLogger(FeignClientFallbackFactory.class);

  @Override
  public UserFeignClient create(Throwable cause) {
    return new UserFeignClient() {
      @Override
      public String testHystrix() {
        // 日志最好放在各个fallback方法中,而不要直接放在create方法中。
        // 否则在引用启动时,就会打印该日志。
        // 详见https://github.com/spring-cloud/spring-cloud-netflix/issues/1471
        FeignClientFallbackFactory.LOGGER.info("fallback; reason was:", cause);
        return "FallbackFactory 检查原因";
      }
    };
  }
}
2:运行测试
启动项目EurekaServer
启动项目EurekaClient
启动项目ServerHystrix
访问:http://localhost:8010/testHystrix
停止项目启动项目EurekaClient
再次访问:http://localhost:8010/testHystrix
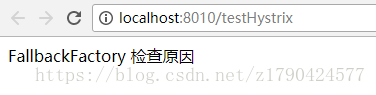
控制台打印:

为Feign禁用Hystrix
1:为指定Feign客户端禁用Hystrix
//配置类
@Configuration
public class FeignDisableHystricConfig {
@Bean
@Scope("prototype")
public Feign.Builder feignBuilder()
{
    return Feign.builder();
}
}
//想要禁用Hystrix的@FeignClient引用该配置类即可
@FeignClient(name = "EurekaClinet",configuration=FeignDisableHystricConfig.class)2:全局禁用Hystrix
application.yml
feign:
  hystrix:
    enabled: false
Hystrix的监控
除实现容错外,Hystrix还提供了近乎实时的监控。HystrixCommand和HystrixObservableCommand在执行时,会生成执行结果和运行指标,比如每秒执行的请求数、成功数等。
使用Hystrix的模块hystrix-metrics-event-stream,就可将这些监控的指标信息以text/event-stream的格式暴露给外部系统。spring-cloud-starter-hystrix已包含该模块,在此基础上,只须为项目添加spring-boot-starter-actuator,就可使用/hystrix.stream端点获得Hystrix的监控信息了。
运行测试:
启动项目EurekaServer
启动项目EurekaClient
启动项目ServerHystrix
访问:http://localhost:8010/hystrix.stream
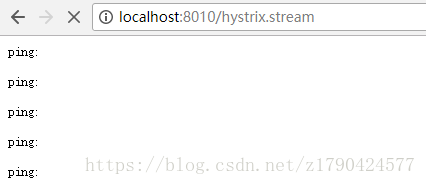
可以看到,浏览器一直处于请求的状态。这是因为此时项目中注解了@HystrixCommand的方法还没有被执行,因此也没有任何的监控数据。
访问:http://localhost:8010/testHystrix后,再次访问:http://localhost:8010/hystrix.stream

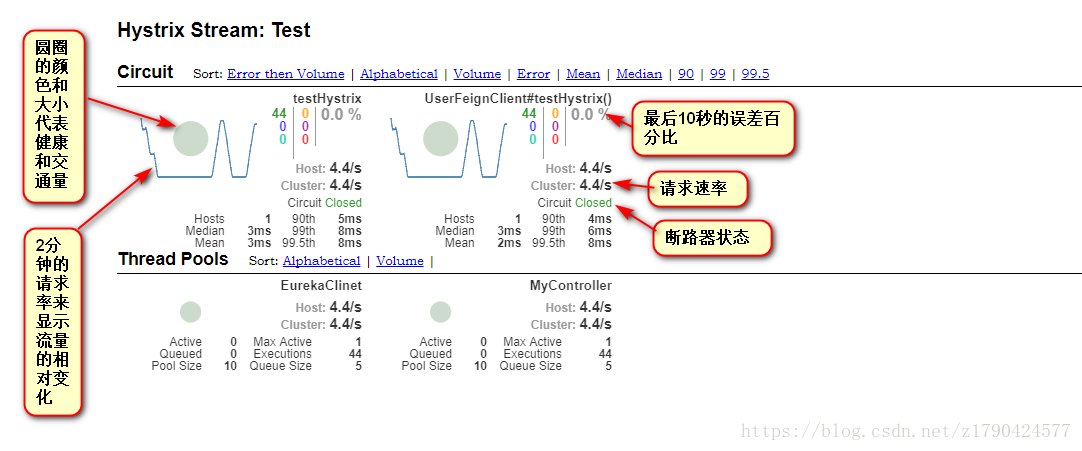
系统会不断地刷新以获得实时的监控数据。Hystrix的监控指标非常全面,例如HystrixCommand的名称、group名称、断路器状态、错误率、错误数等。
使用Hystrix Dashboard可视化监控数据
前面访问/hystrix.stream端点获得的数据是以文字形式展示的,很难通过这些数据,一眼看出系统当前的运行状态。
可使用Hystrix Dashboard,从而让监控数据图形化、可视化。
1:新建Spring Boot项目ServerHystrixDashboard,添加依赖Dashboard
2:启动类
@EnableHystrixDashboard
@SpringBootApplication
public class ServerHystrixDashboardApplication {

    public static void main(String[] args) {
        SpringApplication.run(ServerHystrixDashboardApplication.class, args);
    }
}
3:application.yml
server:
  port: 8030
4:运行测试
启动项目ServerHystrixDashboard
访问:http://localhost:8030/hystrix
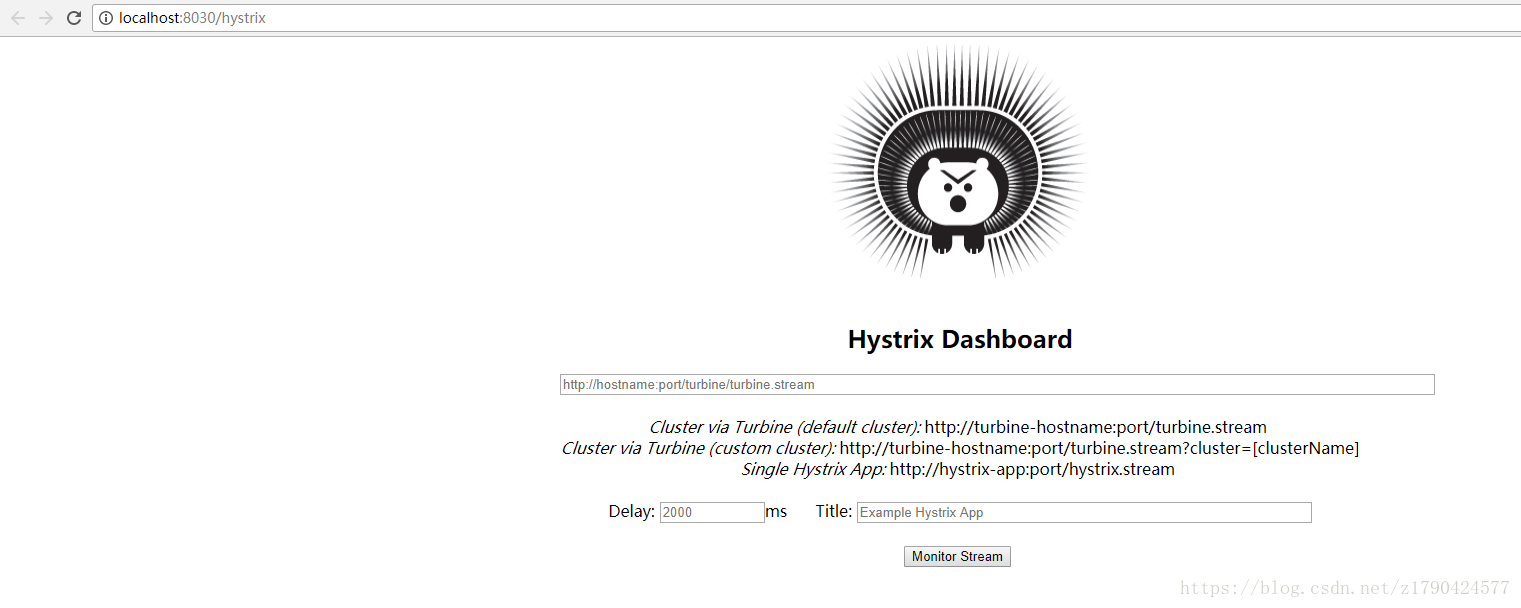
在上一节测试的基础上,在URL一栏输入:http://localhost:8010/hystrix.stream,随意设置一个Title,并点击MonitorStream按钮后:
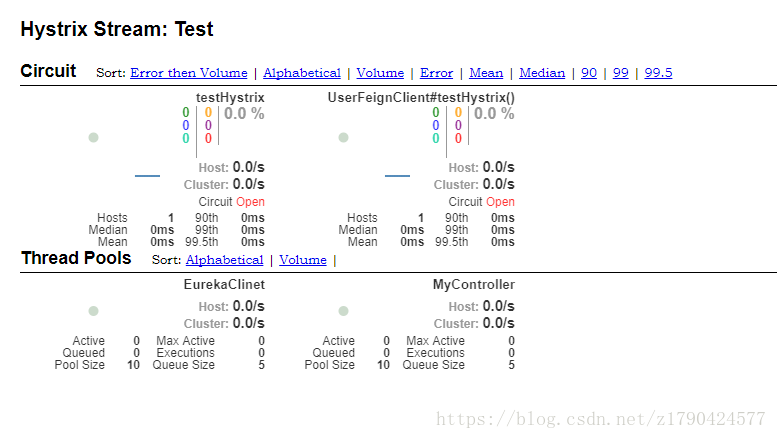
多次访问:http://localhost:8010/testHystrix
参考书籍:Spring Cloud与Docker微服务架构实战
以上只是学习所做的笔记,以供日后参考!!!