install ZSH
To install the very mystery and legendary “ZSH” , the first thing u have to do is install the same legendary “homebrew” management.
If u use the MacBook Pro just like what I used , I strongly recommend install the item2 first.Just go to the website of Item2 download and install (that’s pretty easy)
easy_install homebrew
okay , done.(pretty easy right?)
Now, we can install the “ZSH”
sh -c "$(curl -fsSL https://raw.github.com/robbyrussell/oh-my-zsh/master/tools/install.sh)"
Okay, actually there is ‘oh-my-zsh’
Also, u can check out this page.
ZSH official tutor installation
There is a optional choice that u can change the default bash to ‘ZSH’ , by click like below:
Item2->Make Item2 Default term
Okay, Done.
Next we can just install a Plugin management “Vundle”(this is awesome)
Install the “Vundle”
$ git clone https://github.com/VundleVim/Vundle.vim.git ~/.vim/bundle/Vund
Then u can just install any plugin u want ,just edit the link in ur “.vimrc”
For more detail, please check on this
The last thing but the most important, here is a problem in zsh I found
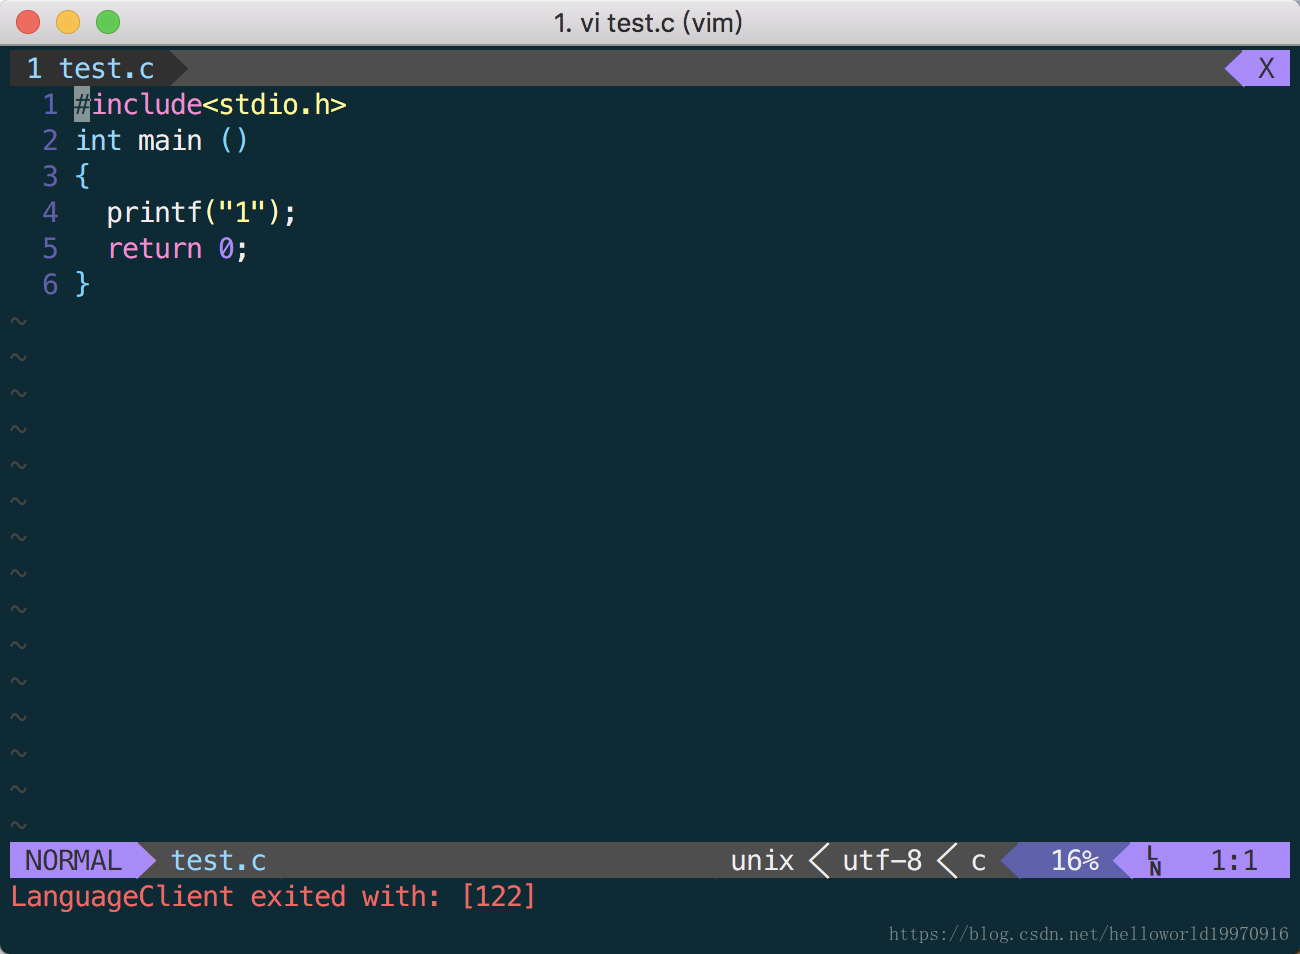
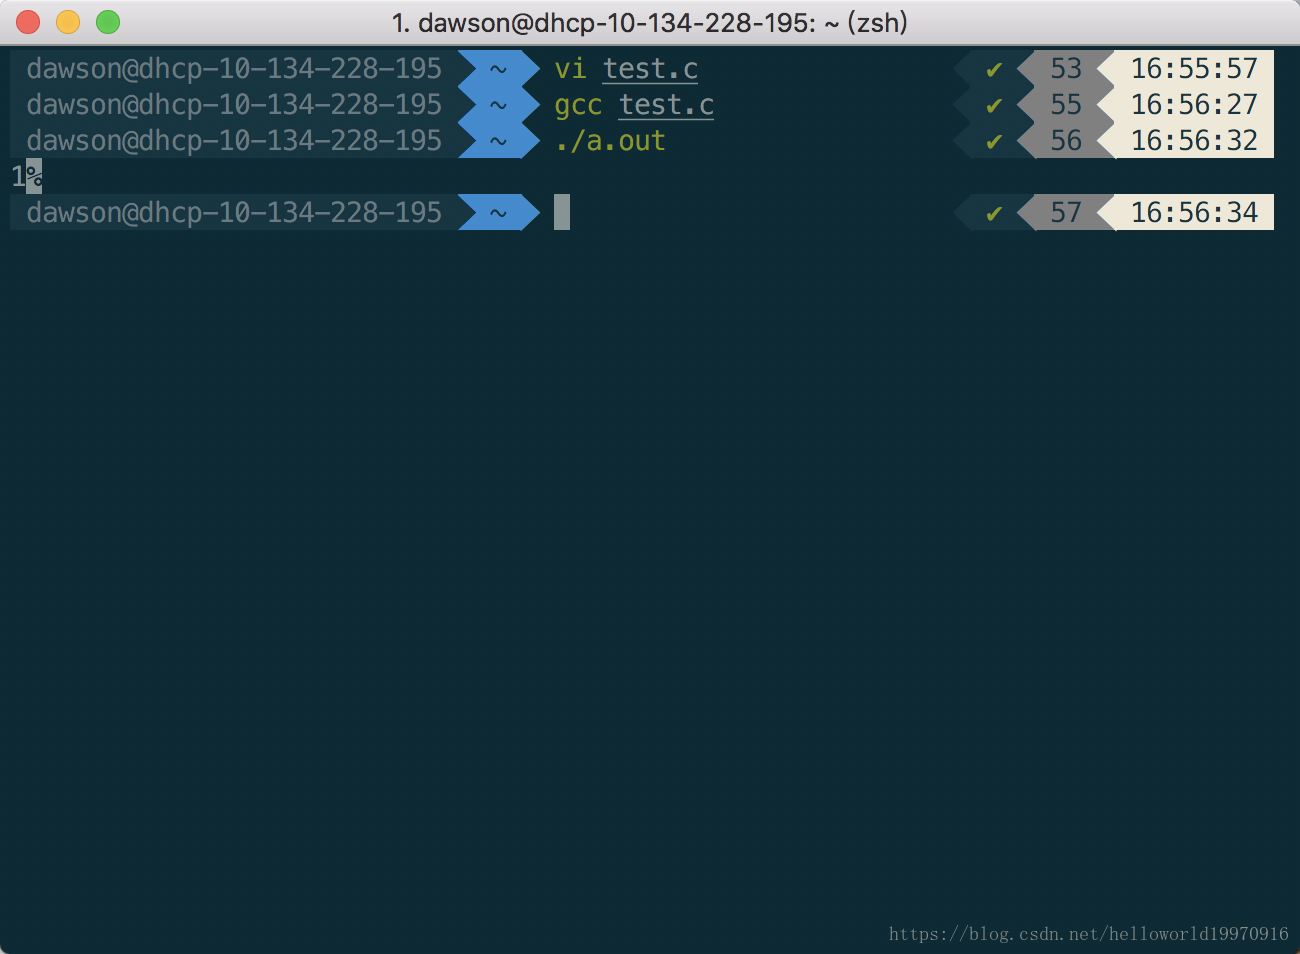
Did u notice there is something wrong?
Yeah! What hell is the ‘%’ there?
Ok, Don’t worry. I got the answer and the solution as well
For reason: Click here
Solution:
add this into ur “.zshrc”
PROMPT_EOL_MARK=””
source .zshrc