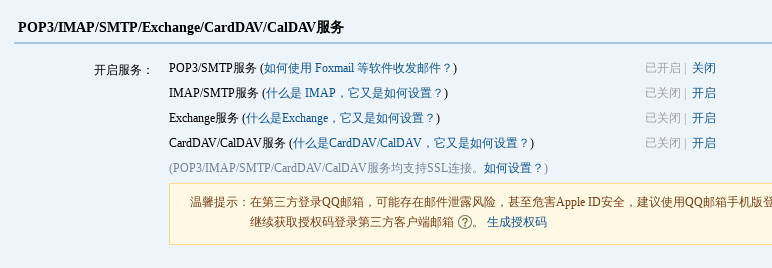
1.在qq邮箱的设置中开启POP3/SMTP服务
保存下授权码
2.1.在Yii2配置文件中(common/config/main.php中components)添加邮箱组件
'mailer' => [
            'class' => 'yii\swiftmailer\Mailer',
            'viewPath' => '@common/mail',
            // send all mails to a file by default. You have to set
            // 'useFileTransport' to false and configure a transport
            // for the mailer to send real emails.
            'useFileTransport' => false,
            'transport' => [
                //这里如果你是qq的邮箱,可以参考qq客户端设置后再进行配置 http://service.mail.qq.com/cgi-bin/help?subtype=1&&id=28&&no=1001256
                'class' => 'Swift_SmtpTransport',
                'host' => 'smtp.qq.com',
                // qq邮箱
                'username' => '114***[email protected]',
                //授权码, 什么是授权码, http://service.mail.qq.com/cgi-bin/help?subtype=1&&id=28&&no=1001256
                'password' => '***',
                'port' => '465',
                'encryption' => 'ssl',
             ],
            'messageConfig'=>[
                'charset'=>'UTF-8',
                'from'=>['114***@qq.com'=>'developer']
            ],
],3.调用邮箱接口发送邮件
public function actionSendmail()
    {
        $mail = \YII::$app->mailer->compose();
        $mail->setTo("***@qq.com");
        $mail->setSubject("邮件测试");
        $mail->setTextBody("textbody 25 ok?");//发布纯文字文本
        //$mail->setHtmlBody("htmlbody");//发布可以带html标签的文本
        if($mail->send()){
            echo "success";
        }else{
            echo "failure";
        }
    }