C++访问WebService(gSoap方式和com组件方式)
http://www.cnblogs.com/virtorld/archive/2012/11/16/2773395.html
一、 gSOAP访问WebService
1. 下载gSOAP
gSOAP 2.7.17 版下载地址http://sourceforge.net/projects/gsoap2/)
2. 安装gSOAP
解压下载的gsoap_2.7.17.zip,假设该路径为F:\WebService\gsoap-2.7
3. 通过WSDL生成C++头文件
3.1、通过WSDL生成访问接口
在 F:\WebService\gsoap-2.7\gsoap\bin\win32目录下建一个空的头文件WebService.h;再建立一个字符转换规则文件wsmap.dat,文件内容为xsd__string = | std::wstring | wchar_t*
那么SOAP/XML中的string将转换成std::wstrin或wchar_t*,这样能更好地支持中文。
启动cmd,进入到F:\WebService\gsoap-2.7\gsoap\bin\win32目录,调用wsdl2h.exe生成头文件接口定义,命令为:
wsdl2h -o WebService.h -n WS -t wsmap.dat http://webservice.webxml.com.cn/WebServices/WeatherWS.asmx?WSDL
- -o 文件名,指定输出头文件
- -n 名空间前缀 代替默认的ns
- -c 产生纯C代码,否则是C++代码
- -s 不要使用STL代码
- -t 文件名,指定type map文件,默认为typemap.dat
- -e 禁止为enum成员加上名空间前缀
3.2、解析WebService.h,生成存根程序
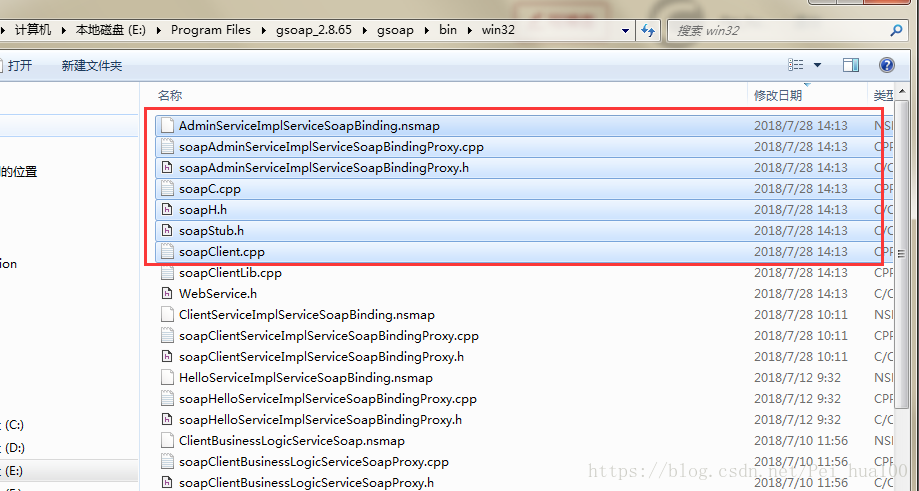
在命令行输入soapcpp2 -C WebService.h -I F:\WebService\gsoap-2.7\gsoap\import
最后提示成功,在F:\WebService\gsoap-2.7\gsoap\bin\win32目录中生成系列文件如下:
- -C 仅生成客户端代码
- -S 仅生成服务器端代码
- -L 不要产生soapClientLib.c和soapServerLib.c文件
- -c 产生纯C代码,否则是C++代码(与头文件有关)
- -I 指定import路径(此项是必要的,因前面为指定-s)
- -x 不要产生XML示例文件
- -i生成C++包装,客户端为xxxxProxy.h(.cpp),服务器端为xxxxService.h(.cpp)。
4. 建立工程
4.1、头文件
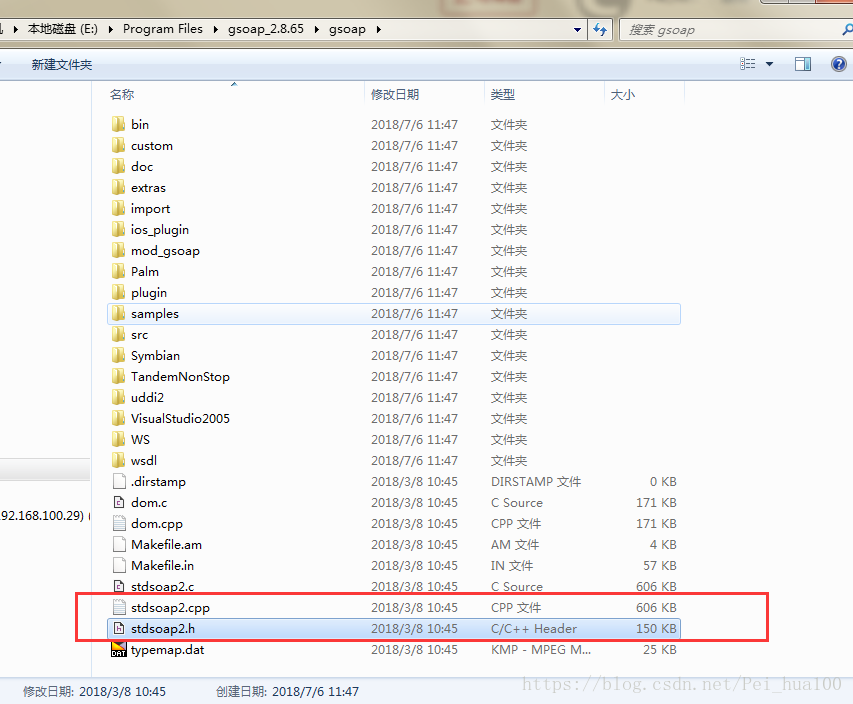
将生成的soapC.cpp、soapClient.cpp、soapH.h、soapStub.h、soapWeatherWSSoapProxy.h、WeatherWSSoap.nsmap、stdsoap2.h和stdsoap2.cpp文件加入到工程
比如:
4.2、命名空间
在工程的头文件中加入#include “WeatherWSSoap.nsmap”,否则会有命名空间编译出错的问题
4.3、代码示例
#include <iostream>
#include <string>
// 名称空间映射表
#include "WeatherWSSoap.nsmap"
#include "soapWeatherWSSoapProxy.h"
using namespace std;
main函数:
// // 代理类对象
WeatherWSSoap weatherwebservice;
// 获取近5天天气情况及城市信息
_ns1__getWeather cityName;
_ns1__getWeatherResponse weatherResponse;
cityName.theCityCode = L"北京";
int result = weatherwebservice.__ns2__getWeather(&cityName, &weatherResponse);
if(SOAP_OK == result)
{
vector<wstring> weatherString = weatherResponse.getWeatherResult->string;
vector<wstring>::iterator itr;
vector<wstring>::iterator itr_end;
cout<<"近5天天气情况及城市信息:"<<endl;
for(itr = weatherString.begin(),itr_end = weatherString.end(); itr!=itr_end; ++itr)
{
wcout<<*itr<<endl;
}
cout<<endl;
}

二、 非托管com组件访问WebService
在Visual Studio 2008以及以后版本中,微软停止了非托管C++的直接WebService引用。不过ATL Server代码已经托管到开源网站上,我们可以找到ATL Server的源代码,编译出Sproxy.exe,这个工具可以根据wsdl文件来生成非托管的代理类。这个代理类还需要配合一些头文件才能一起使用,这个相关的头文件都包含在ATL Server 的源代码内。
1. 准备sproxy.exe工具
在vs2008以前的版本,比如vs2005,本身就带有这个命令,但在vs2008版,已经把它给去除了。需要去http://atlserver.codeplex.com/下载ATL_Server源代码并编译产生sproxy.exe工具。
2. 生成代理类
启动cmd,进入sproxy.exe目录,执行sproxy.exe / wsdl http://www.webxml.com.cn/WebServices/WeatherWebService.asmx?wsdl
生成WeatherWebService.h文件
3. 建立工程
3.1、头文件
#include "iostream"
#include "WeatherWebService.h"
using namespace std;
3.2、代码示例
// 设置中文区域
setlocale(LC_ALL,"chs");
CoInitialize(NULL);
HRESULT hr = S_OK;
WeatherWebService::CWeatherWebServiceT<CSoapSocketClientT<>>* mWeatherWS = new WeatherWebService::CWeatherWebServiceT<CSoapSocketClientT<>>;
CComBSTR cityName = "北京";
BSTR* weatherOut;
int weatherSize;
// 获取天气
hr = mWeatherWS->getWeatherbyCityName(cityName,(BSTR**)&weatherOut,&weatherSize);
if(FAILED(hr))
{
cout<<"getWeather fail!"<<endl;
}
else
{
for (int i=0;i<weatherSize;i++)
{
wcout<<weatherOut[i]<<endl;
}
}
if (mWeatherWS != NULL)
delete mWeatherWS;
CoUninitialize();