1.ssh简介
sshd=secure shell
可以通过网络在主机中开机shell的服务
客户端软件
sshd
连接方式:
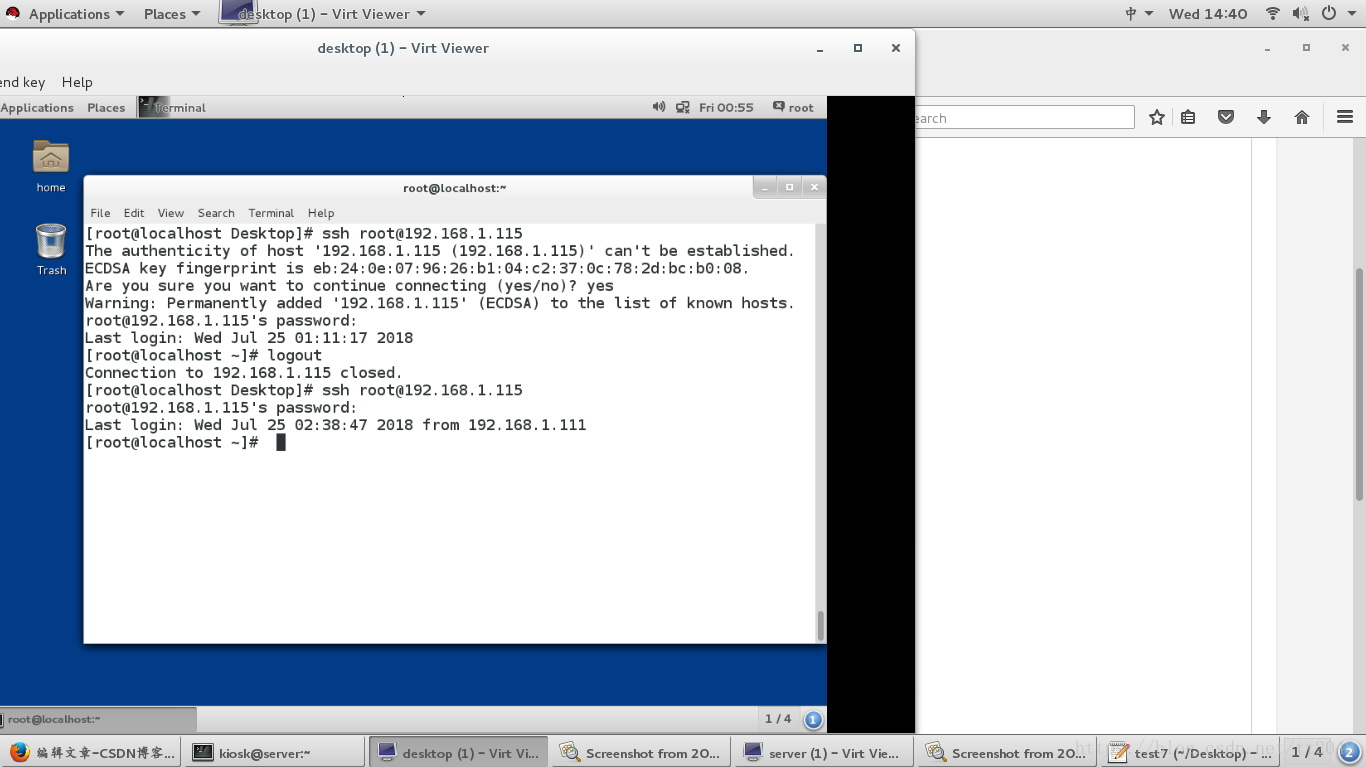
ssh username@ip 文本模式的连接
ssh -x username@ip 可以在连接完成后开启图形
注意:第一次连接陌生主机是要建立认证文件
所以会询问是否建立,需要输入yes
再次连接此台主机时,因为已经生成认证文件
/.ssh/know_hosts文件不需要输入yes
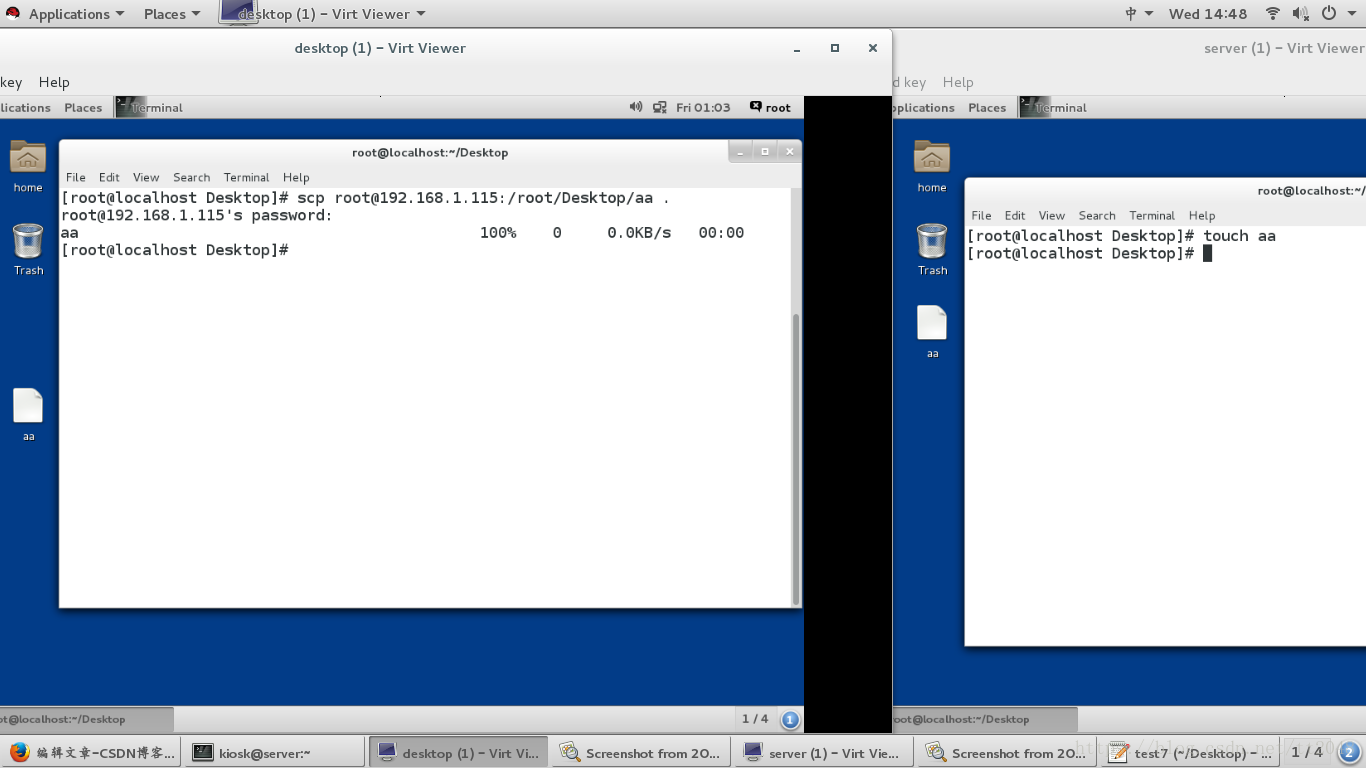
远程复制:
scp file root@ip:dir
scp root@ip:file dir
2.生成公钥私钥
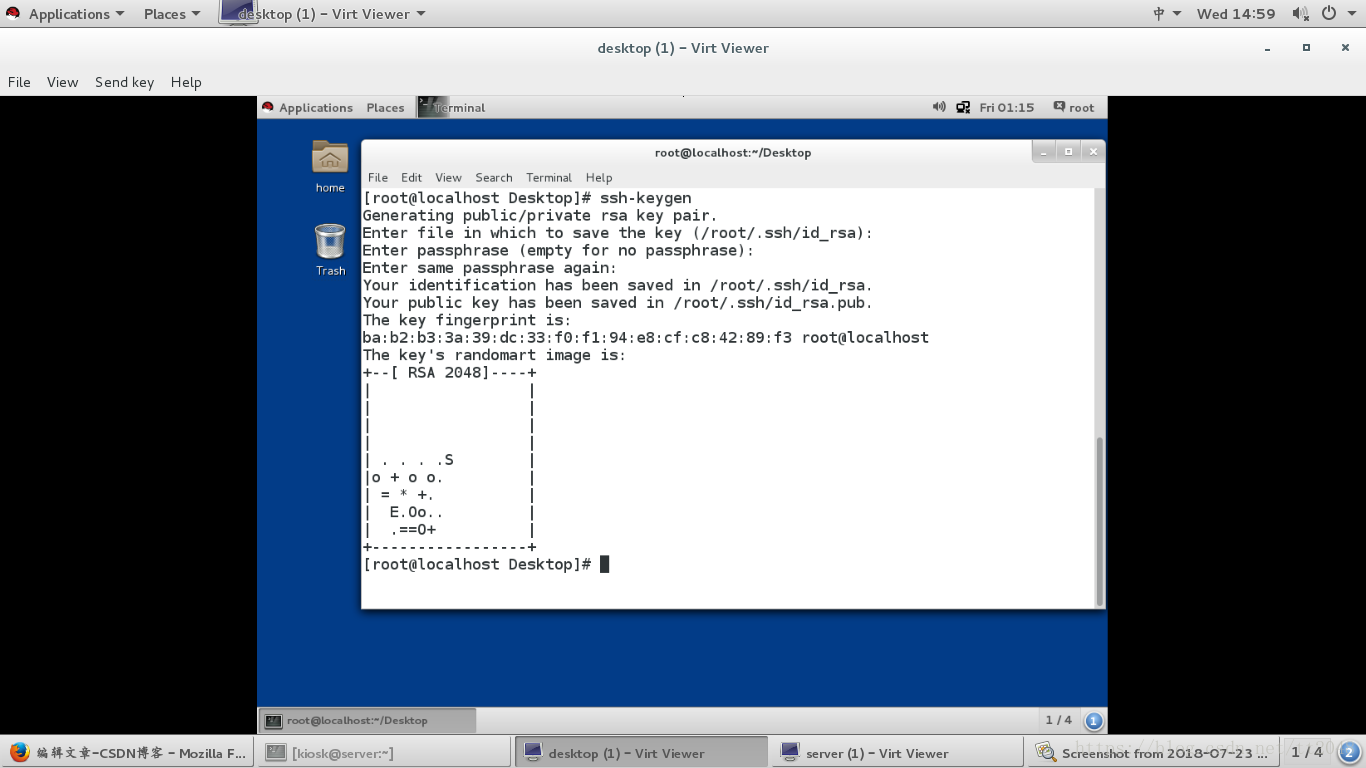
[root@server0 ~]# ssh-keygen ##生成公钥私钥工具
Generating public/private rsa key pair.
Enter file in which to save the key (/root/.ssh/id_rsa):[enter] ##加密字符保存文件(建议用默认)
Created directory '/root/.ssh'.
Enter passphrase (empty for no passphrase): [enter] ##密钥密码,必须>4个字符
Enter same passphrase again: [enter] ##确认密码
Your identification has been saved in /root/.ssh/id_rsa.
Your public key has been saved in /root/.ssh/id_rsa.pub.
The key fingerprint is:
ab:3c:73:2e:c8:0b:75:c8:39:3a:46:a2:22:34:84:81 [email protected]
The key's randomart image is:
+--[ RSA 2048]----+
|o |
|E. |
|.. |
|. . o |
|.o. * . S |
|oo.o o . |
|+ =. . . |
|o. oo.+.. |
| ..o*. |
+-----------------+
[root@server0 ~]# ls /root/.ssh/
id_rsa id_rsa.pub
id_rsa ##私钥,就是钥匙
id_rsa.pub ##公钥,就是锁
2.添加key认证方式
[root@server0 ~]# ssh-copy-id -i /root/.ssh/id_rsa.pub [email protected]
ssh-copy-id ##添加key认证方式的工具
-i ##指定加密key文件
/root/.ssh/id_rsa.pub ##加密key
root ##加密用户为root
172.25.0.11 ##被加密主机ip

3.分发钥匙给客户端
[root@server0 ~]# scp /root/.ssh/id_rsa [email protected]:/root/.ssh/

4.测试
[root@desktop0 ~]# ssh [email protected] ##通过id_rsa直接连接不需要输入用户密码
Last login: Mon Oct 3 03:58:10 2016 from 172.25.0.250
[root@server0 ~]#

####3.提升openssh的安全级别####
1.openssh-server配置文件
/etc/ssh/sshd_config
78 PasswordAuthentication yes|no ##是否开启用户密码认证,yes为支持no为关闭
48 PermitRootLogin yes|no ##是否允许超级用户登陆
49 AllowUsers student westos ##用户白名单,只有在名单中出现的用户可以使用sshd建立shell
50 DenyUsers westos ##用户黑名单
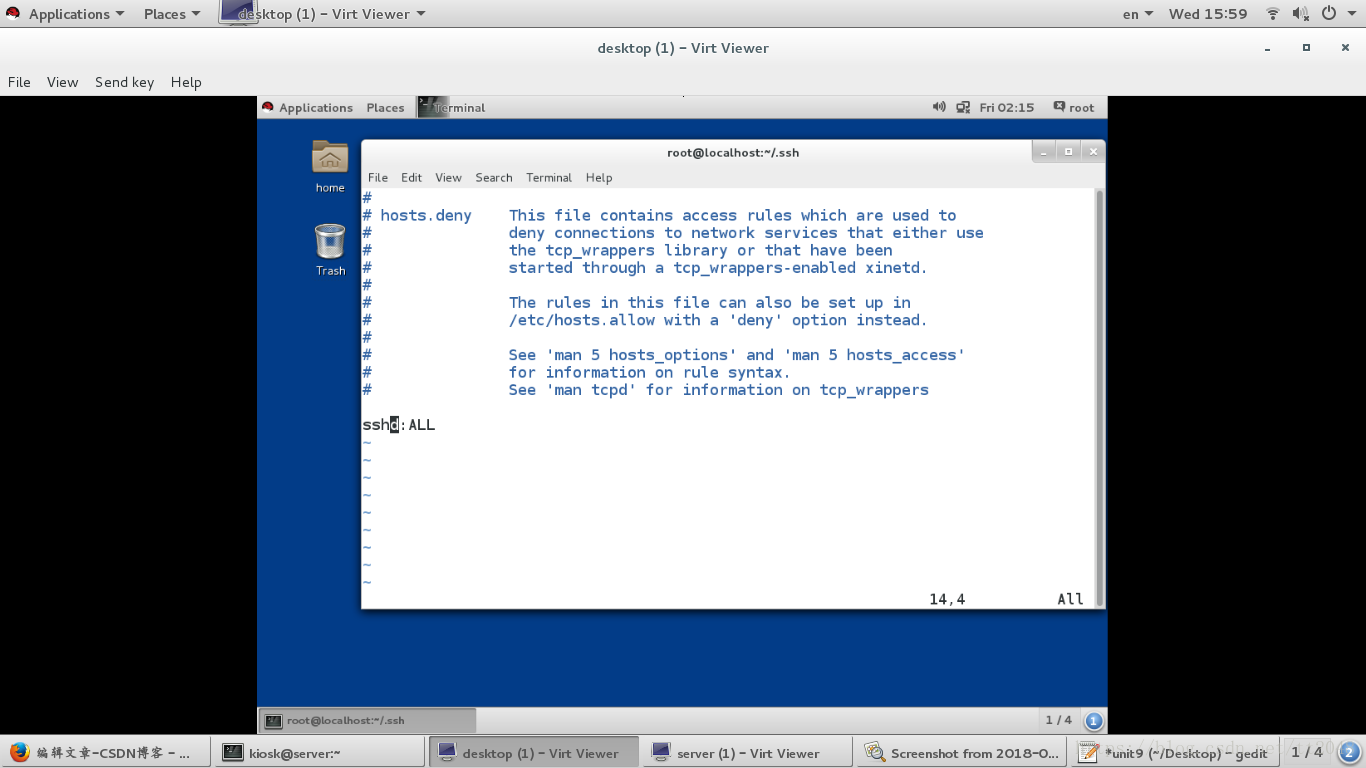
2.控制ssh客户端访问
vim /etc/hosts.deny
sshd:ALL ##拒绝所有人链接sshd服务
vim /etc/hosts.allow
sshd:172.25.254.250 ##允许250主机链接sshd
sshd:172.25.254.250, 172.25.254.180 ##允许250和180链接
3.ssh登陆提示修改该
vim /etc/motd ##显示登陆后字符

hello world ##在登陆后就会显示这个字符
