此安装方法是在Windows下
tensorflow在Windows下只有64位版本,所以必须下载64位的python。tensorflow仅支持windows上64位的python3.5,从2017年6月开始已经支持最新的64位的python3.6。
1、通过命令提示符(cmd)安装
1、安装python
https://www.python.org/downloads/windows/
一般选择 Windows x86-64 executable installer,记得将python添加到系统路径。
2、安装 numpy
进入cmd,输入:
pip install numpy
3、安装tensorflow
tensorflow有CPU版本和GPU版本
TensorFlow仅支持CPU支持。如果您的系统没有NVIDIA®GPU,则必须安装此版本。请注意,此版本的TensorFlow通常会更容易安装(通常在5或10分钟内),因此即使您有NVIDIA GPU,我们建议先安装此版本。
TensorFlow支持GPU。TensorFlow程序通常在GPU上比在CPU上运行得更快。因此,如果您的系统具有满足以下所示先决条件的NVIDIA®GPU,并且您需要运行性能关键型应用程序,则应最终安装此版本。
本教程安装CPU版本
进入cmd,输入:
pip3 install --upgrade tensorflow
—————————-相关问题——————————-
numpy 与 tensorflow安装完之后,进入cmd窗口,输入:
python
进入python编程环境,输入
import tensorflow
出现以下内容:
Error importing tensorflow. Unless you are using bazel,you should not try to import tensorflow from its source directory;please exit the tensorflow source tree, and relaunch your python interpreter from there.
下载并安装:
_redist.x64.exe
https://www.microsoft.com/en-us/download/details.aspx?id=49984,若无法显示请刷新重试。
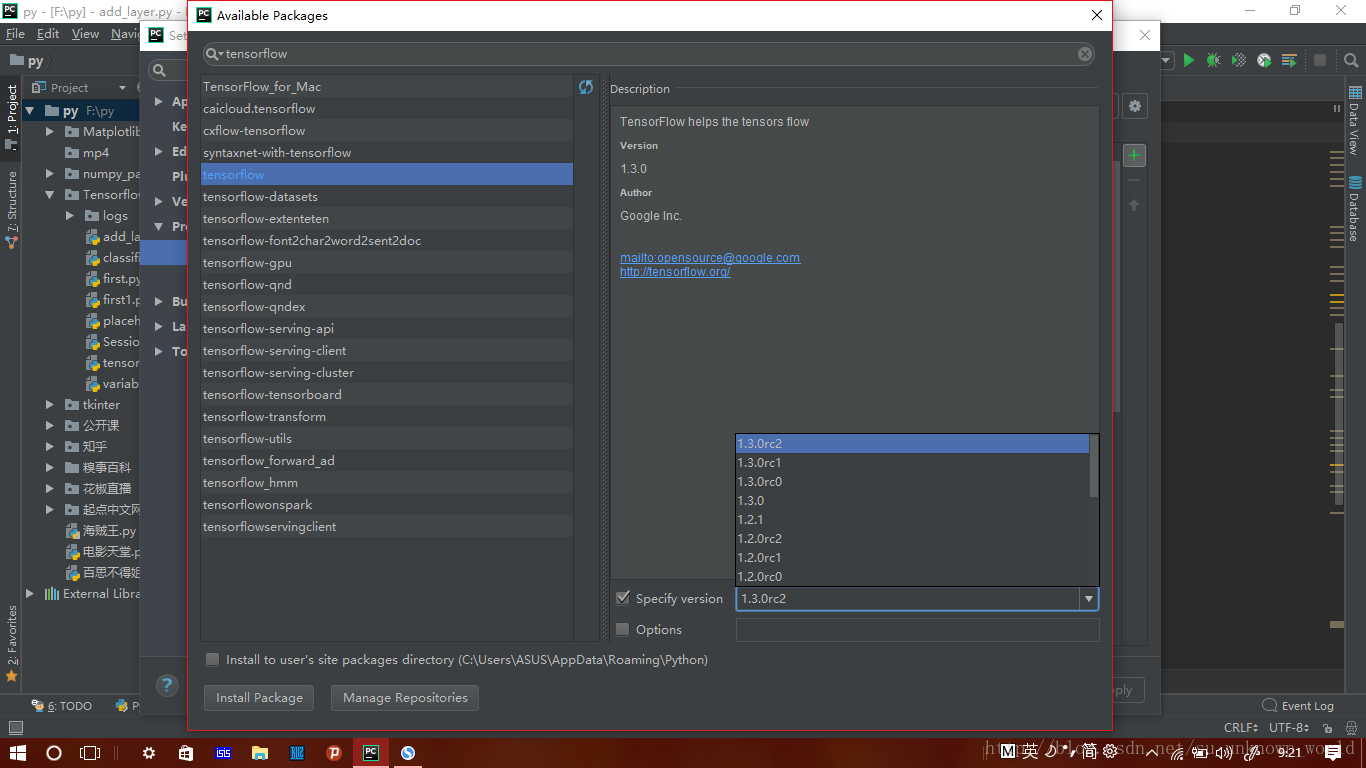
2.通过pycharm安装tensorflow
1、下载pycharm:
pycharm注册码获取:
http://idea.lanyus.com/
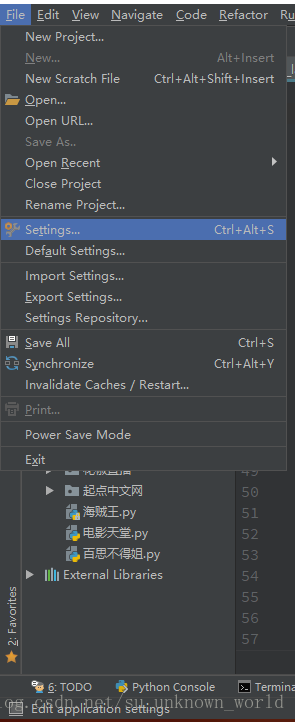
2、进入pycharm:
File->Settings
找到Project Interpreter:
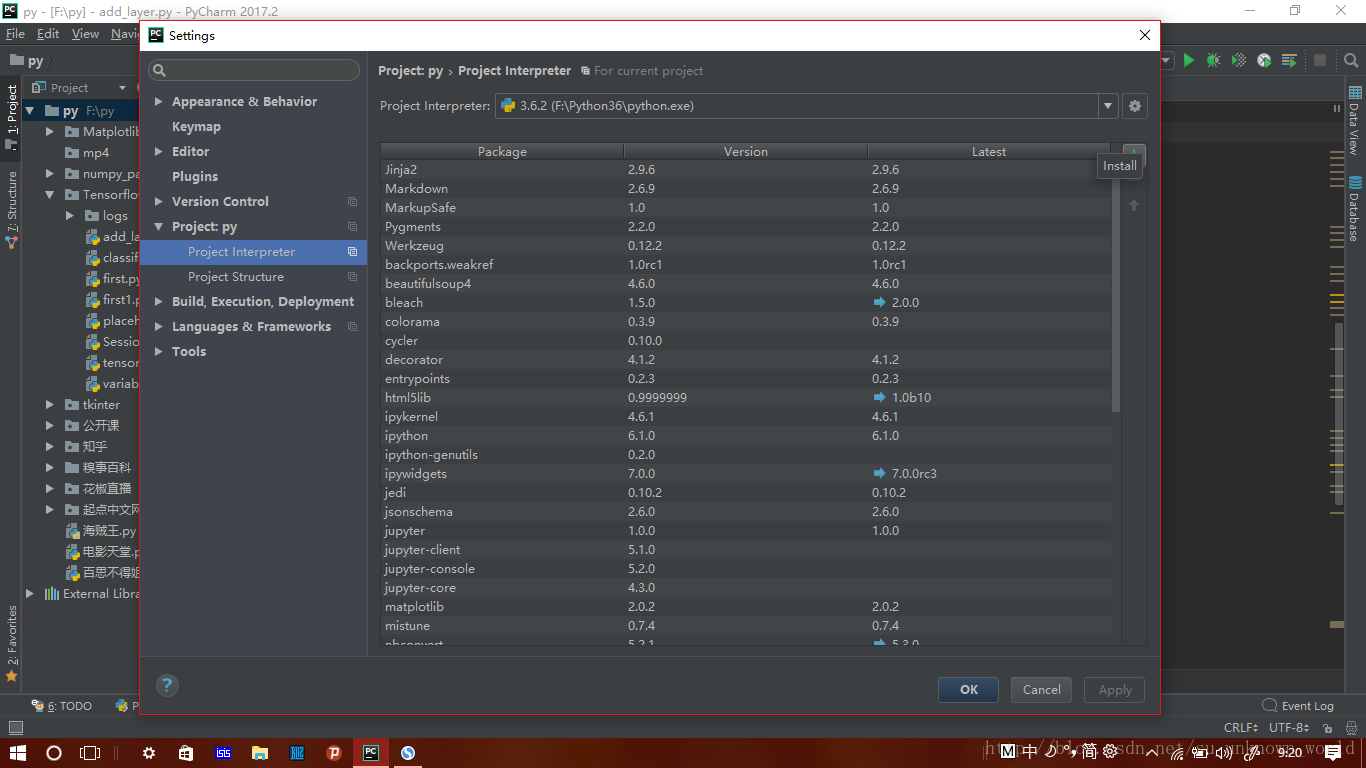
找到右边的绿色的’+’后:
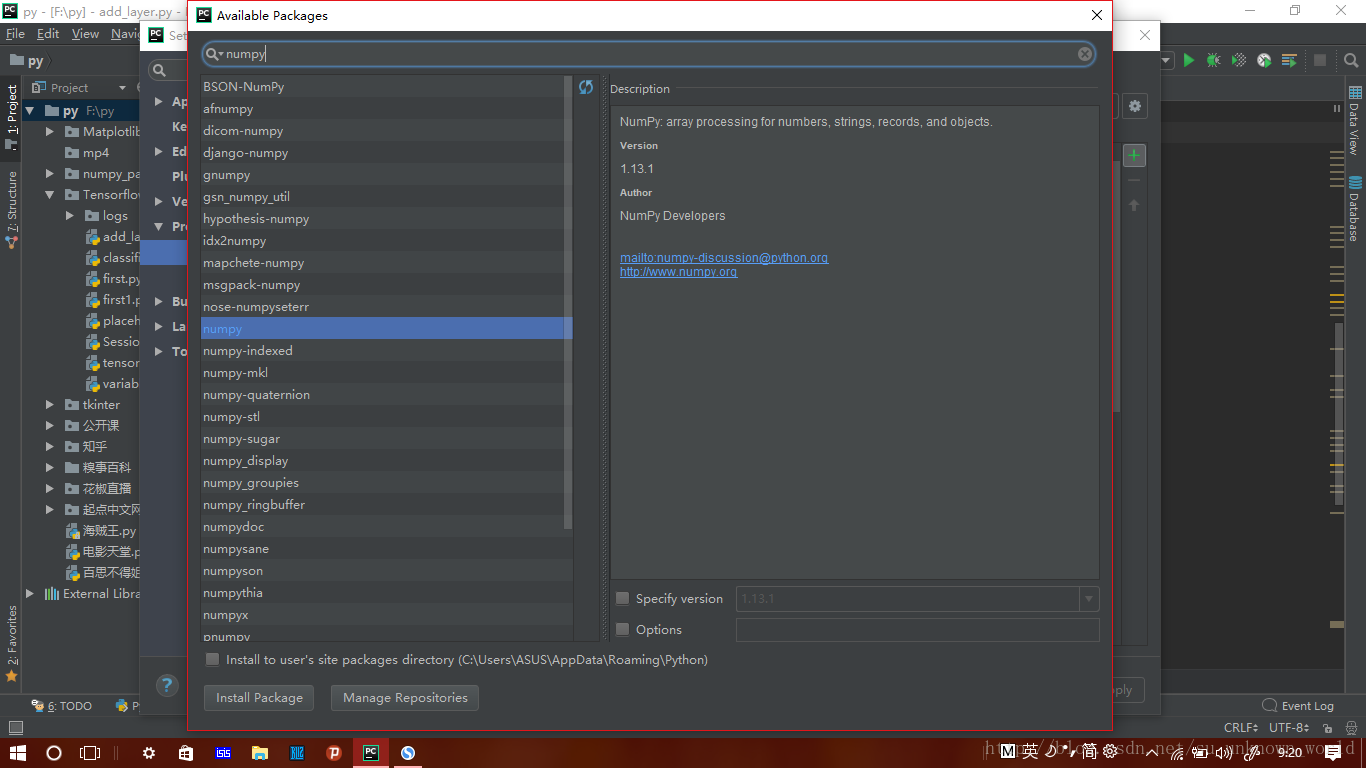
1、安装numpy
2、安装tensorflow,如图可以选择版本,建议选择1.2的版本