一、CSS Cascading Style Sheets 层叠样式表
概括的说css就是用来给html标签添加颜色,调整样式、位置的。
1、通过标签style来设置标签大小、背景色和字体颜色
style中的样式:height、width、background-color、color
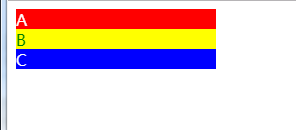
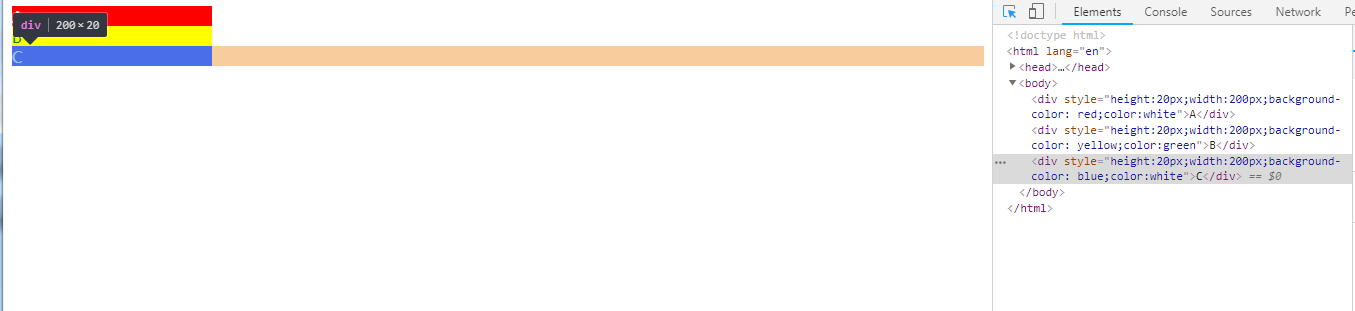
<body>
    <div style="height:20px;width:200px;background-color: red;color:white">A</div>
    <div style="height:20px;width:200px;background-color: yellow;color:green">B</div>
    <div style="height:20px;width:200px;background-color: blue;color:white">C</div>
</body>
效果

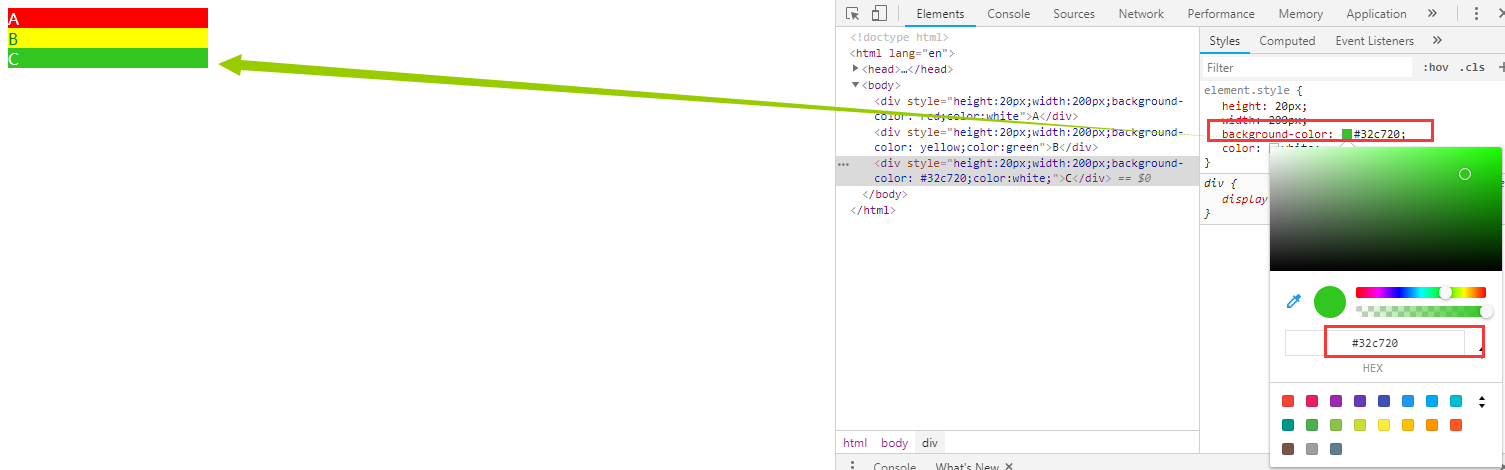
字体的颜色可以使用#xxxxx会rgb()来描述,此处不做展开,需要用的时候直接查即可。
2、格式复用的问题
我们可以对每个标签分别设置不同的样式,
但是,此时,我们考虑如何复用这些格式
2.1、直接复制
2.2、选择器的使用 head标签中添加style标签,结合选择器中来使样式复用
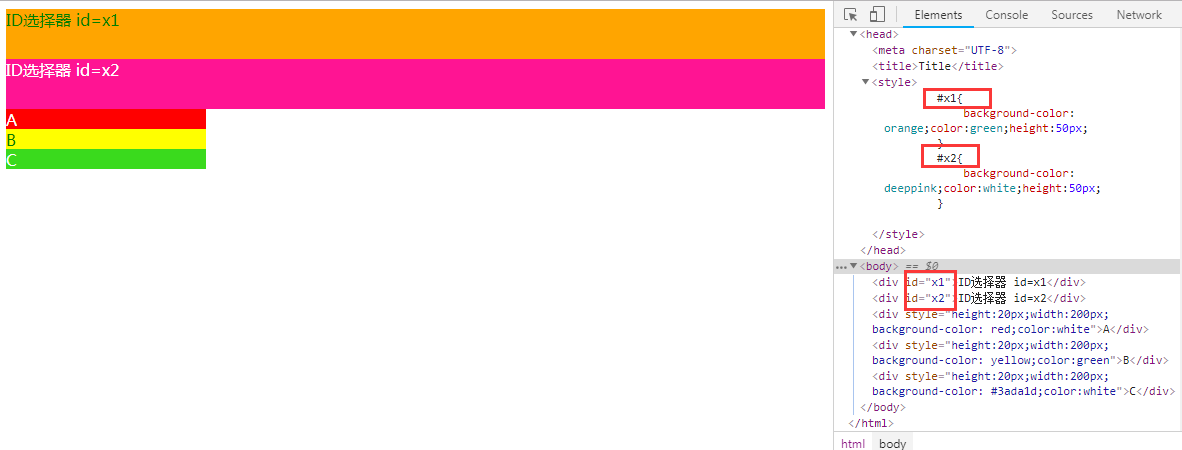
2.2.1 id选择器 #id
<head>
    <meta charset="UTF-8">
    <title>Title</title>
    <style>
        #x1{
            background-color: orange;color:green;height:50px;
        }
        #x2{
            background-color: deeppink;color:white;height:50px;
        }
    </style>
</head>
<body>
    <div id="x1">ID选择器 id=x1</div>
    <div id="x2">ID选择器 id=x2</div>
</body>
</html>
2.2.2 css选择器 最常用的选择器 .classname
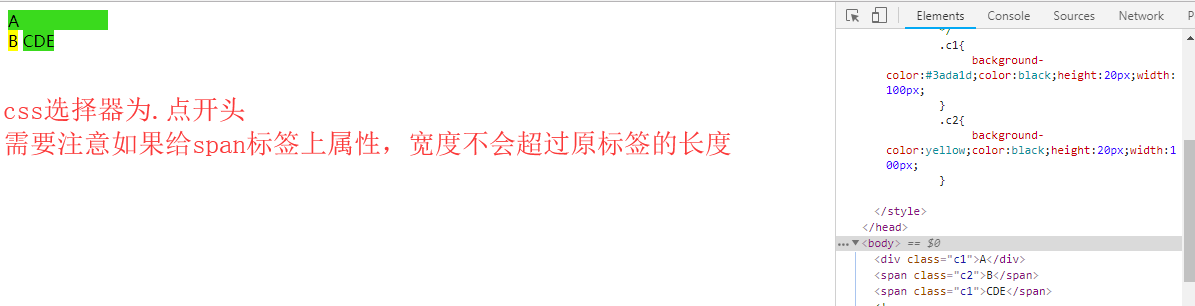
<head>
    <meta charset="UTF-8">
    <title>Title</title>
    <style>
        .c1{
             background-color:#3ada1d;color:black;height:20px;width:100px;
        }
        .c2{
             background-color:yellow;color:black;height:20px;width:100px;
        }
    </style>

</head>
<body>
    <div class="c1">A</div>
    <span class="c2">B</span>
    <span class="c1">CDE</span>
</body>
</html>
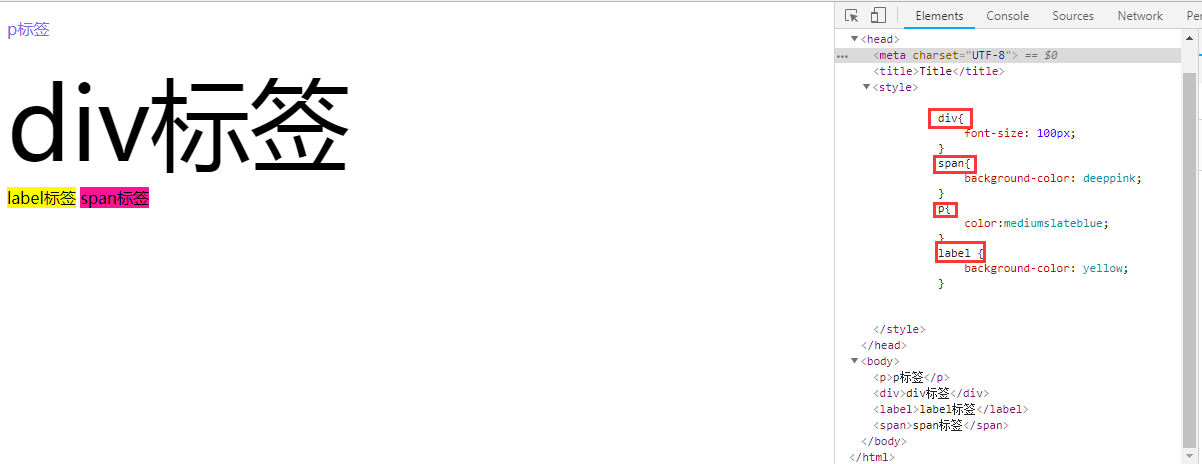
2.2.3 标签选择器
<head>
    <meta charset="UTF-8">
    <title>Title</title>
    <style>
        div{
            font-size: 100px;
        }
        span{
            background-color: deeppink;
        }
        p{
            color:mediumslateblue;
        }
        label {
            background-color: yellow;
        }

    </style>

</head>
<body>
     <p>p标签</p>
     <div>div标签</div>
     <label>label标签</label>
     <span>span标签</span>
</body>
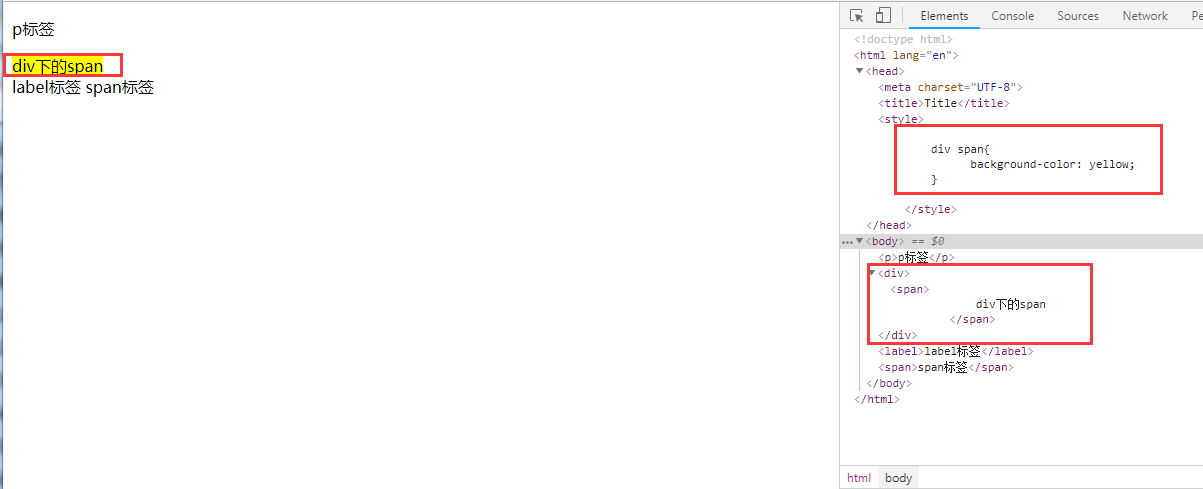
2.2.4 关联(层级)选择器
2.2.5 层级选择器可以和其他的选择器搭配使用

2.2.6 组合选择器
将多个样式一样的选择器合并在一起,逗号是或的关系

<html lang="en">
<head>
    <meta charset="UTF-8">
    <title>Title</title>
    <style>
        .c1 .c2,.c3{
            background-color: skyblue;
        }


    </style>

</head>
<body>
    <div class="c1">
        <P >
            it is p1<br />
            <span class="c3">p1 span</span>
        </P>
        <p class="c2">
            it is p2<br/>
            <span>p2 span</span>
        </p>
    </div>


</body>
</html>

input,div,p{ background-color:red; }
2.2.7 属性选择器
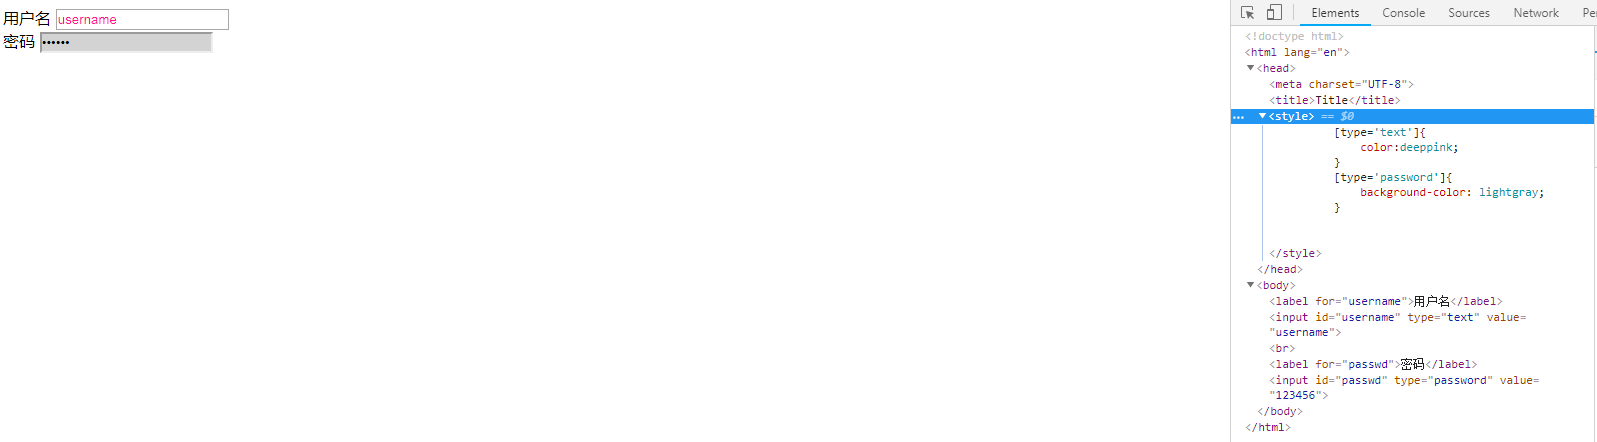
<!DOCTYPE html>
<html lang="en">
<head>
    <meta charset="UTF-8">
    <title>Title</title>
    <style>
        [type='text']{
            color:deeppink;
        }
        [type='password']{
            background-color: lightgray;
        }

    </style>

</head>
<body>
     <label for="username">用户名</label>
     <input id="username" type="text" value="username">
     <br />
     <label for="passwd">密码</label>
     <input id="passwd" type="password" value="123456">
</body>
</html>
3、不同选择器的优先级
我们并不建议将多个选择器组合在一起使用,当组合的时候需要明确优先级
1、复合选择器优先
写的越精确,优先级越高
2、同一级别
同一级别中后写的会覆盖先写的样式
head中style内样式的注释方法
文件中引用css样式的方法
标签选择器 <类选择器 < id选择器 <行内样式表
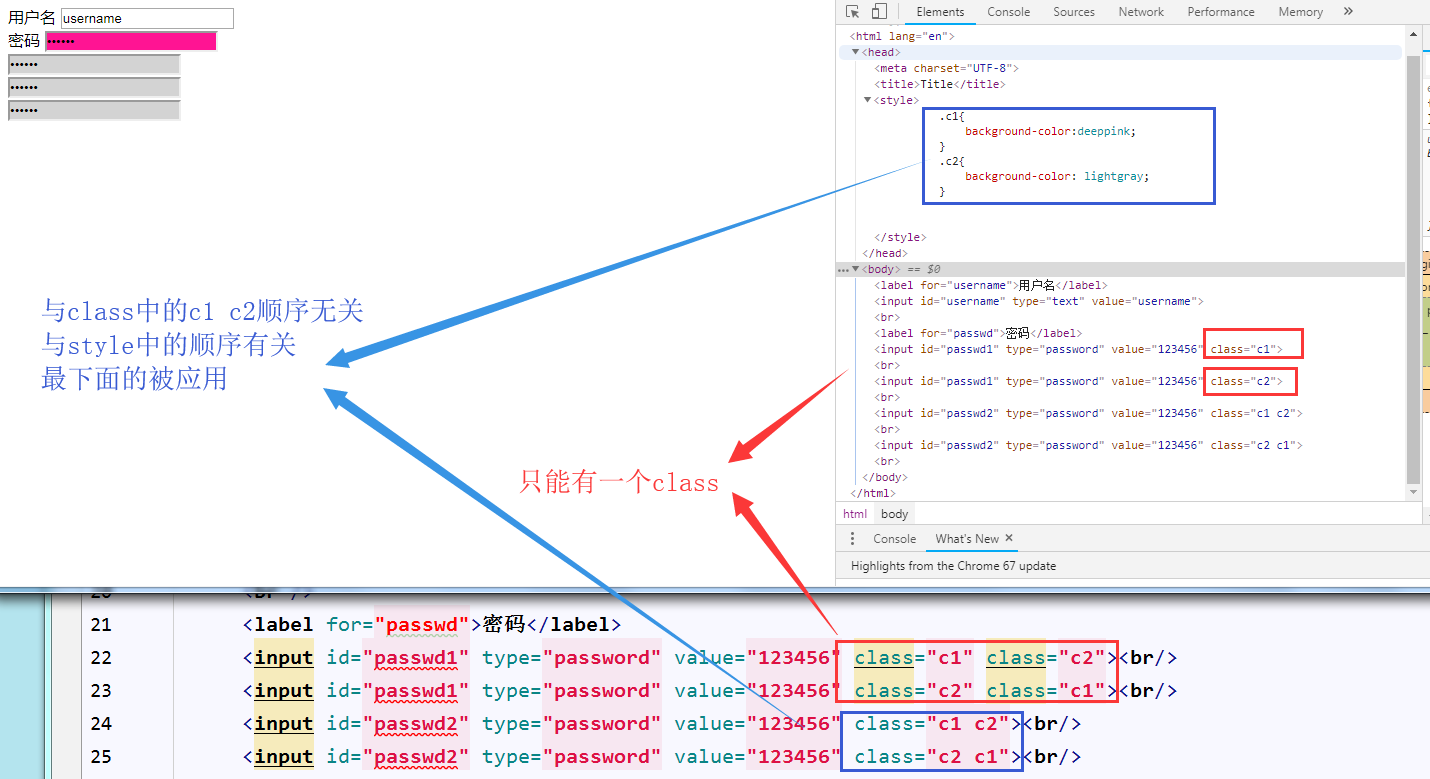
<head>
    <meta charset="UTF-8">
    <title>Title</title>
    <style>
        .c1{
            background-color:deeppink;
        }
        .c2{
            background-color: lightgray;
        }

    </style>

</head>
<body>
     <label for="username">用户名</label>
     <input id="username" type="text" value="username">
     <br />
     <label for="passwd">密码</label>
     <input id="passwd1" type="password" value="123456" class="c1" class="c2"><br/>
     <input id="passwd1" type="password" value="123456" class="c2" class="c1"><br/>
     <input id="passwd2" type="password" value="123456" class="c1 c2"><br/>
     <input id="passwd2" type="password" value="123456" class="c2 c1"><br/>
</body>

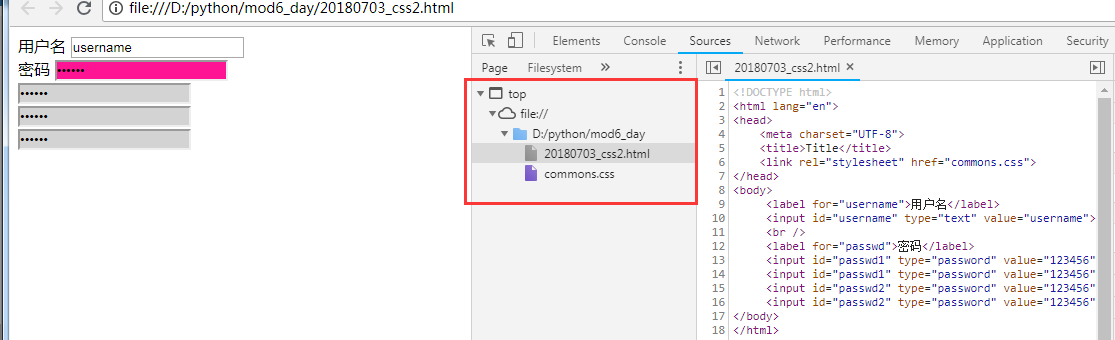
<!DOCTYPE html>
<html lang="en">
<head>
    <meta charset="UTF-8">
    <title>Title</title>
    <link rel="stylesheet" href='commons.css'>
</head>
<body>
     <label for="username">用户名</label>
     <input id="username" type="text" value="username">
     <br />
     <label for="passwd">密码</label>
     <input id="passwd1" type="password" value="123456" class="c1" class="c2"><br/>
     <input id="passwd1" type="password" value="123456" class="c2" class="c1"><br/>
     <input id="passwd2" type="password" value="123456" class="c1 c2"><br/>
     <input id="passwd2" type="password" value="123456" class="c2 c1"><br/>
</body>
</html>
-------------------------------------------
commons.css
.c1{
    background-color:deeppink;
}
.c2{
    background-color: lightgray;
}
3、边框样式 border
指令分为三个部分:像素+样式+颜色
像素表示线的粗细程度
样式 实线虚线等 实线虚线 solid dotted dashed
颜色,rgb
border与left/right/top/bottom的结合使用

 <input type="text" style="border: 10px dotted red;">
     <input type="text" style="border: 5px solid red;">
     <br />
     <input type="text" style="height:50px;width:50px;border-left: 10px solid orangered;border-top:10px solid greenyellow;">
     <br />
     <br />
     <input type="text" style="
                     height:50px;width: 80px;
                     border-left: 3px solid orangered;
                     border-top:5px dotted greenyellow;
                     border-bottom:5px dashed yellow;
                     border-right: 3px solid plum"

     >
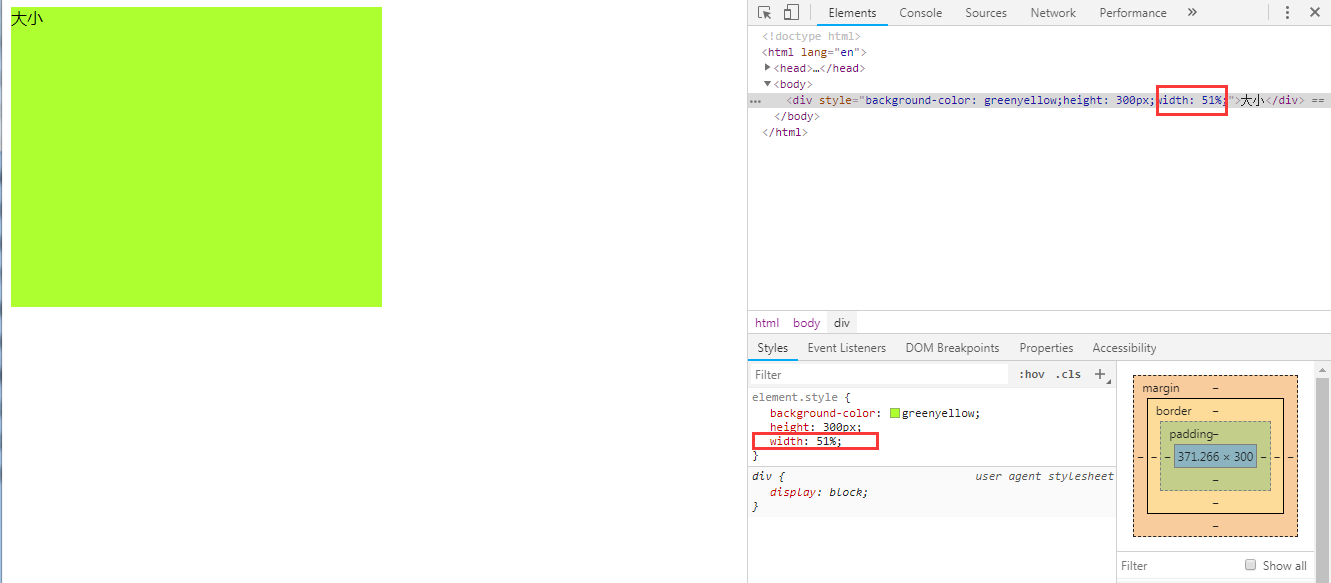
4、宽度及高度的样式 width height
可以用过像素指定大小,也可以使用百分比的方式
5、字体居中(水平居中、垂直居中)
水平居中text align
垂直居中line-heigh 和div像素一致
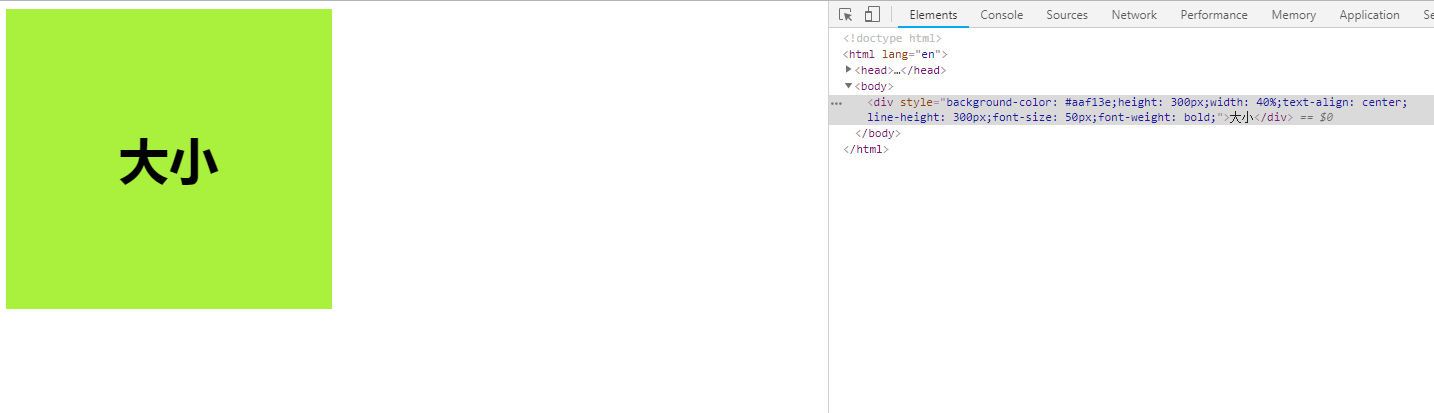
6、字体的大小及加粗样式
font-size
font-weight:bold(加粗常用)
<div style="background-color: greenyellow;height: 300px;width:40%;text-align: center;line-height: 300px;font-size: 50px;font-weight: bolder">大小</div>
7、float的使用 让几个div在一个div中并排靠左或靠右排列
需要注意父标签对子标签的控制 <div style="clear: both;"></div>

<!DOCTYPE html>
<html lang="en">
<head>
    <meta charset="UTF-8">
    <title>Title</title>
    <link rel="stylesheet" href="commons.css">
    <style>
        .pg_goods{
            height: 200px;
            width:150px;
            border: 2px solid red;
            float: left;
        }
        .pg_goods_img{
            height: 100px;
            width: 100px;
            text-align: center;
        }
    </style>
</head>
<body style="margin:0 auto">
  <div style="height: 100px;background-color: skyblue;color: white;font-weight: bold;font-size: 30px;line-height: 100px">
      yomi的小卖部
  </div>
  <div style="border: 3px dashed lightslategray">
      <div style="border:5px solid antiquewhite;width:10%;height:600px;float: left;background-color: lightgray"></div>
      <div style="border:5px dotted powderblue;width:88%;height:600px;float: right;">
          <div class="pg_goods">
          </div>
          <div class="pg_goods">
          </div>
          <div class="pg_goods">
          </div>
      </div>
      <div style="clear: both;"></div>
  </div>
</body>
</html>
8、display样式的使用(4个情况:行内、块级、混合、空)
display:inline
display:block
display none
display inline-block
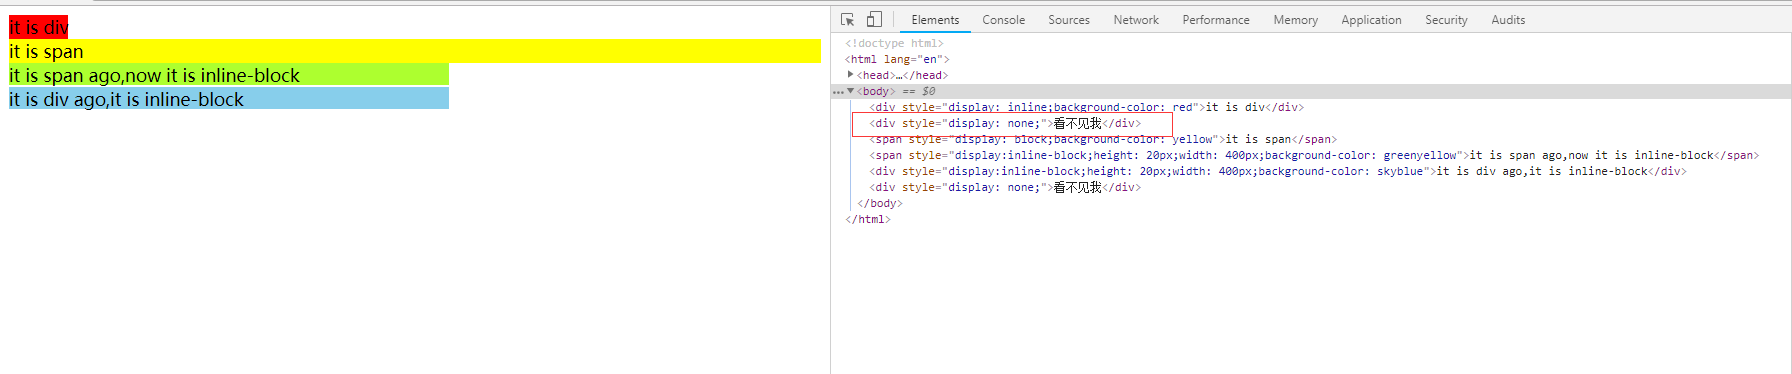
<!DOCTYPE html>
<html lang="en">
<head>
    <meta charset="UTF-8">
    <title>Title</title>
    <link rel="stylesheet" href='commons.css'>

</head>
<body>
     <div style="display: inline;background-color: red">it is div</div>
     <div style="display: none;">看不见我</div>
     <span style="display: block;background-color: yellow">it is span</span>
     <span style="display:inline-block;height: 20px;width: 400px;background-color: greenyellow">it is span ago,now it is inline-block</span>
     <div style="display:inline-block;height: 20px;width: 400px;background-color: skyblue">it is div ago,it is inline-block</div>
     <div style="display: none;">看不见我</div>
</body>
</html>
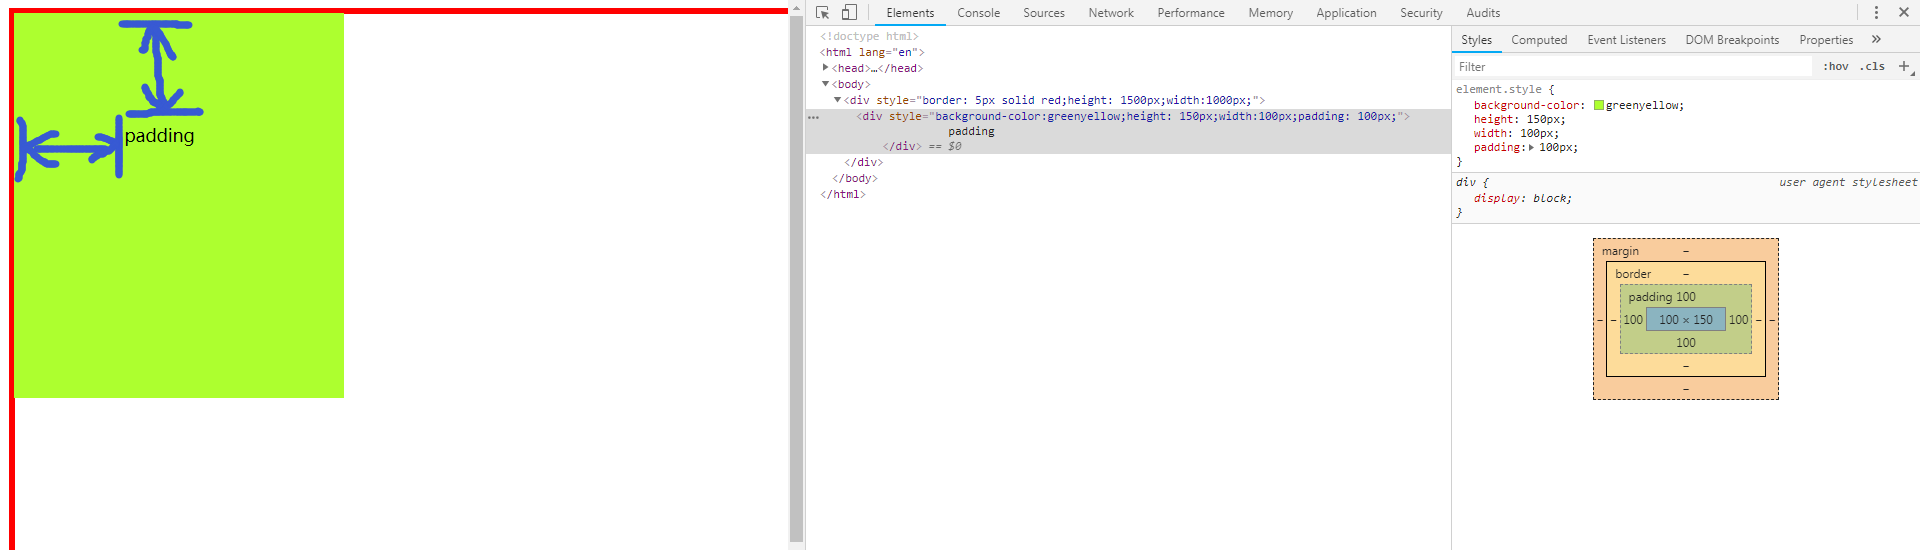
9、外边距 margin与内边距padding
margin不仅能设置边距,还能设置auto居中

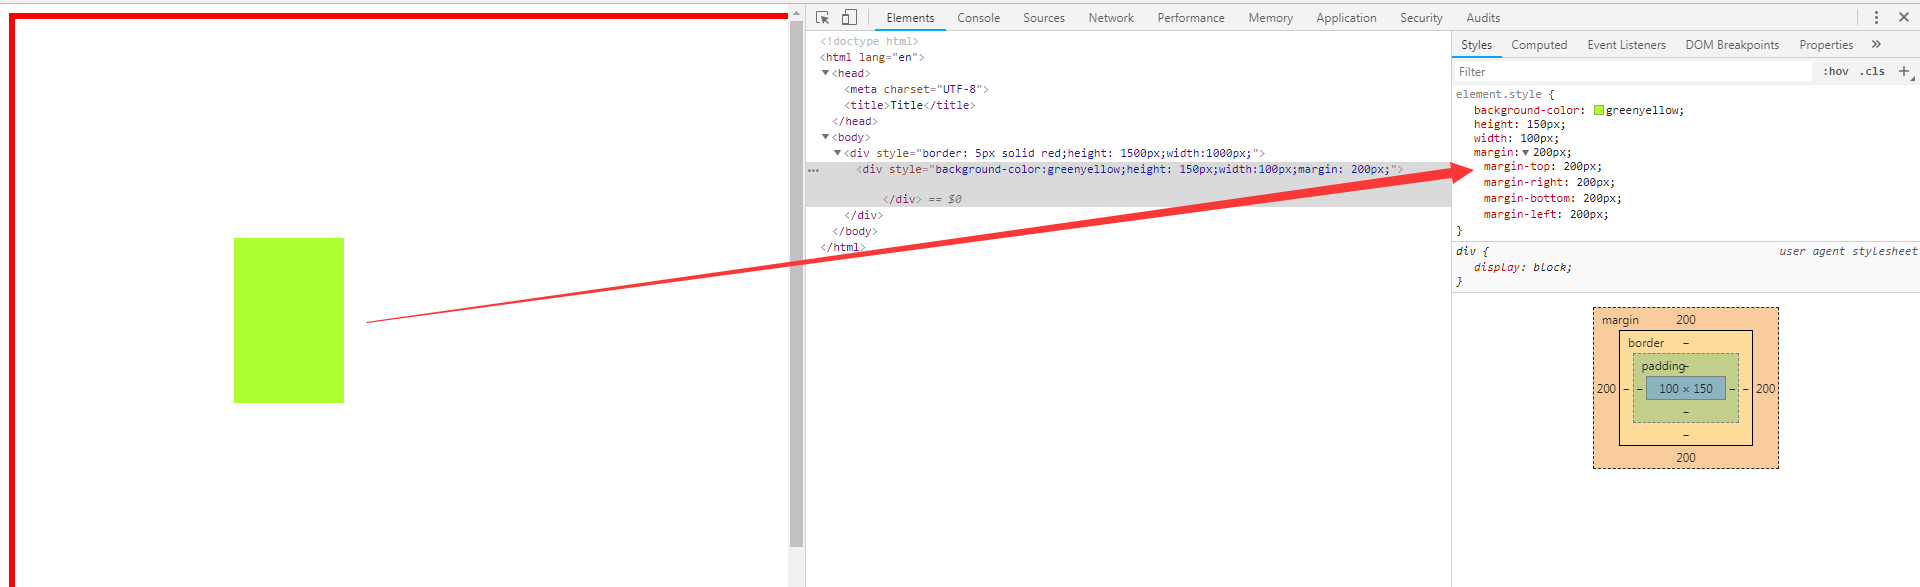
<div style="background-color:greenyellow;height: 150px;width:100px;margin:20px">


float与margin的结合使用

<!DOCTYPE html>
<html lang="en">
<head>
    <meta charset="UTF-8">
    <title>Title</title>
</head>
<body style="margin:0 auto">
    <div style="background-color: lightgray;">
           <div style="width: 1500px;margin:0 auto">
              <div style="float: left;height: 30px;line-height: 30px">收藏本站</div>
              <div style="float: right;height: 30px;margin-left: 3px;line-height: 30px"><a href="http://www.baidu.com">登录</a></div>
              <div style="float: right;height: 30px;line-height: 30px"><a href="http://www.qq.com">注册</a></div>
              <div style="clear: both;"></div>
           </div>
           <div style="clear: both;"></div>
    </div>

</body>
</html>
10、补充一些技巧
10.1、css复用
将公有的样式放到一个css中私有的再单独写css,增加阅读性条理性。
<style>
如果整个页面的宽度 > 900px时:
.c{共有 }
.c1{独有}
.c2{独有}
<div class='c c1'></div>
<div class='c c2'></div>
10.2、自适应 和 改变大小变形
左右滚动条的出现
宽度,百分比
页面最外层:像素的宽度 => 最外层设置绝对宽度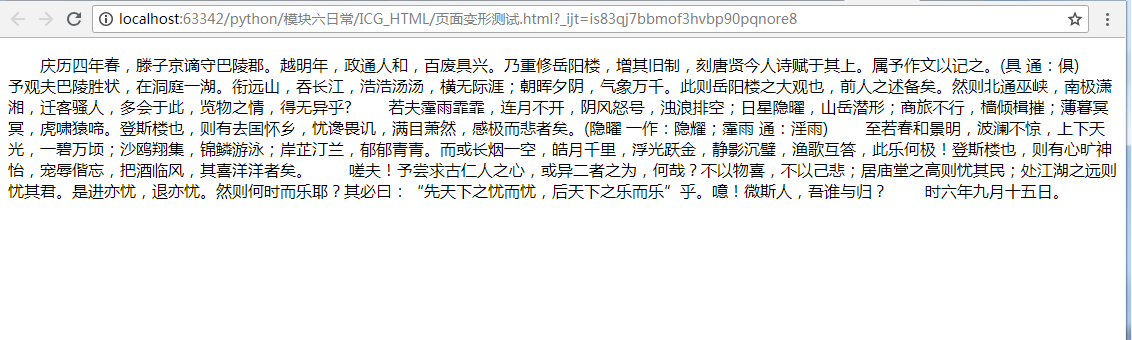

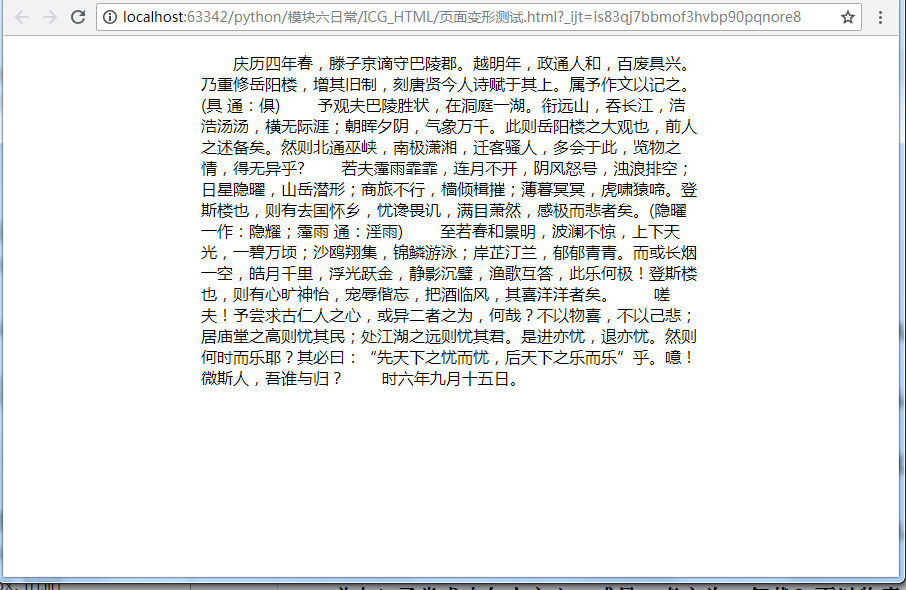
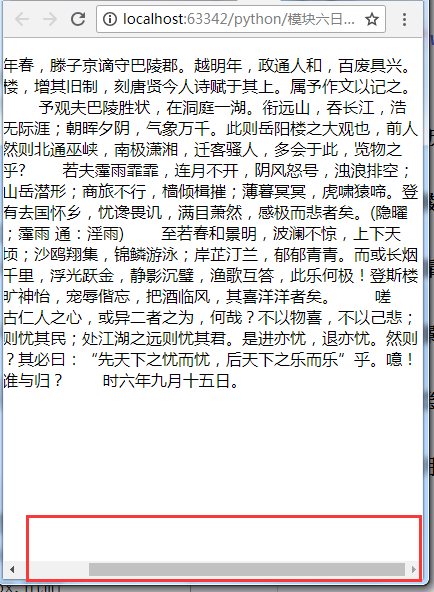
<!DOCTYPE html>
<html lang="en">
<head>
    <meta charset="UTF-8">
    <title>Title</title>
</head>
<body>
<div style="width:500px;margin:0 auto">

    <p>
          庆历四年春,滕子京谪守巴陵郡。越明年,政通人和,百废具兴。乃重修岳阳楼,增其旧制,刻唐贤今人诗赋于其上。属予作文以记之。(具 通:俱)

  予观夫巴陵胜状,在洞庭一湖。衔远山,吞长江,浩浩汤汤,横无际涯;朝晖夕阴,气象万千。此则岳阳楼之大观也,前人之述备矣。然则北通巫峡,南极潇湘,迁客骚人,多会于此,览物之情,得无异乎?

  若夫霪雨霏霏,连月不开,阴风怒号,浊浪排空;日星隐曜,山岳潜形;商旅不行,樯倾楫摧;薄暮冥冥,虎啸猿啼。登斯楼也,则有去国怀乡,忧谗畏讥,满目萧然,感极而悲者矣。(隐曜 一作:隐耀;霪雨 通:淫雨)

  至若春和景明,波澜不惊,上下天光,一碧万顷;沙鸥翔集,锦鳞游泳;岸芷汀兰,郁郁青青。而或长烟一空,皓月千里,浮光跃金,静影沉璧,渔歌互答,此乐何极!登斯楼也,则有心旷神怡,宠辱偕忘,把酒临风,其喜洋洋者矣。

  嗟夫!予尝求古仁人之心,或异二者之为,何哉?不以物喜,不以己悲;居庙堂之高则忧其民;处江湖之远则忧其君。是进亦忧,退亦忧。然则何时而乐耶?其必曰:“先天下之忧而忧,后天下之乐而乐”乎。噫!微斯人,吾谁与归?

  时六年九月十五日。
    </p>
</div>

</body>
</html>
10.3、默认img标签,有一个1px的边框
img{border: 0;}
11、positon的三个情况(fix、relative、absolute)
11.1 position:
a. fiexd => 固定在页面的某个位置 ,如页面工具栏,模态登录框
b.absolute=>第一次打开页面时候固定,后面拖动滚轮会移动。
b. relative + absolute 相对于relative标签,absolute与其保持固定的相对位置,如点赞
<div style='position:relative;'>
<div style='position:absolute;top:0;left:0;'></div>
</div>
11.2 模态登录框需要结合的参数:
opcity: 0.5 透明度 1->0 0消失
z-index: 层级顺序 越大越在上面
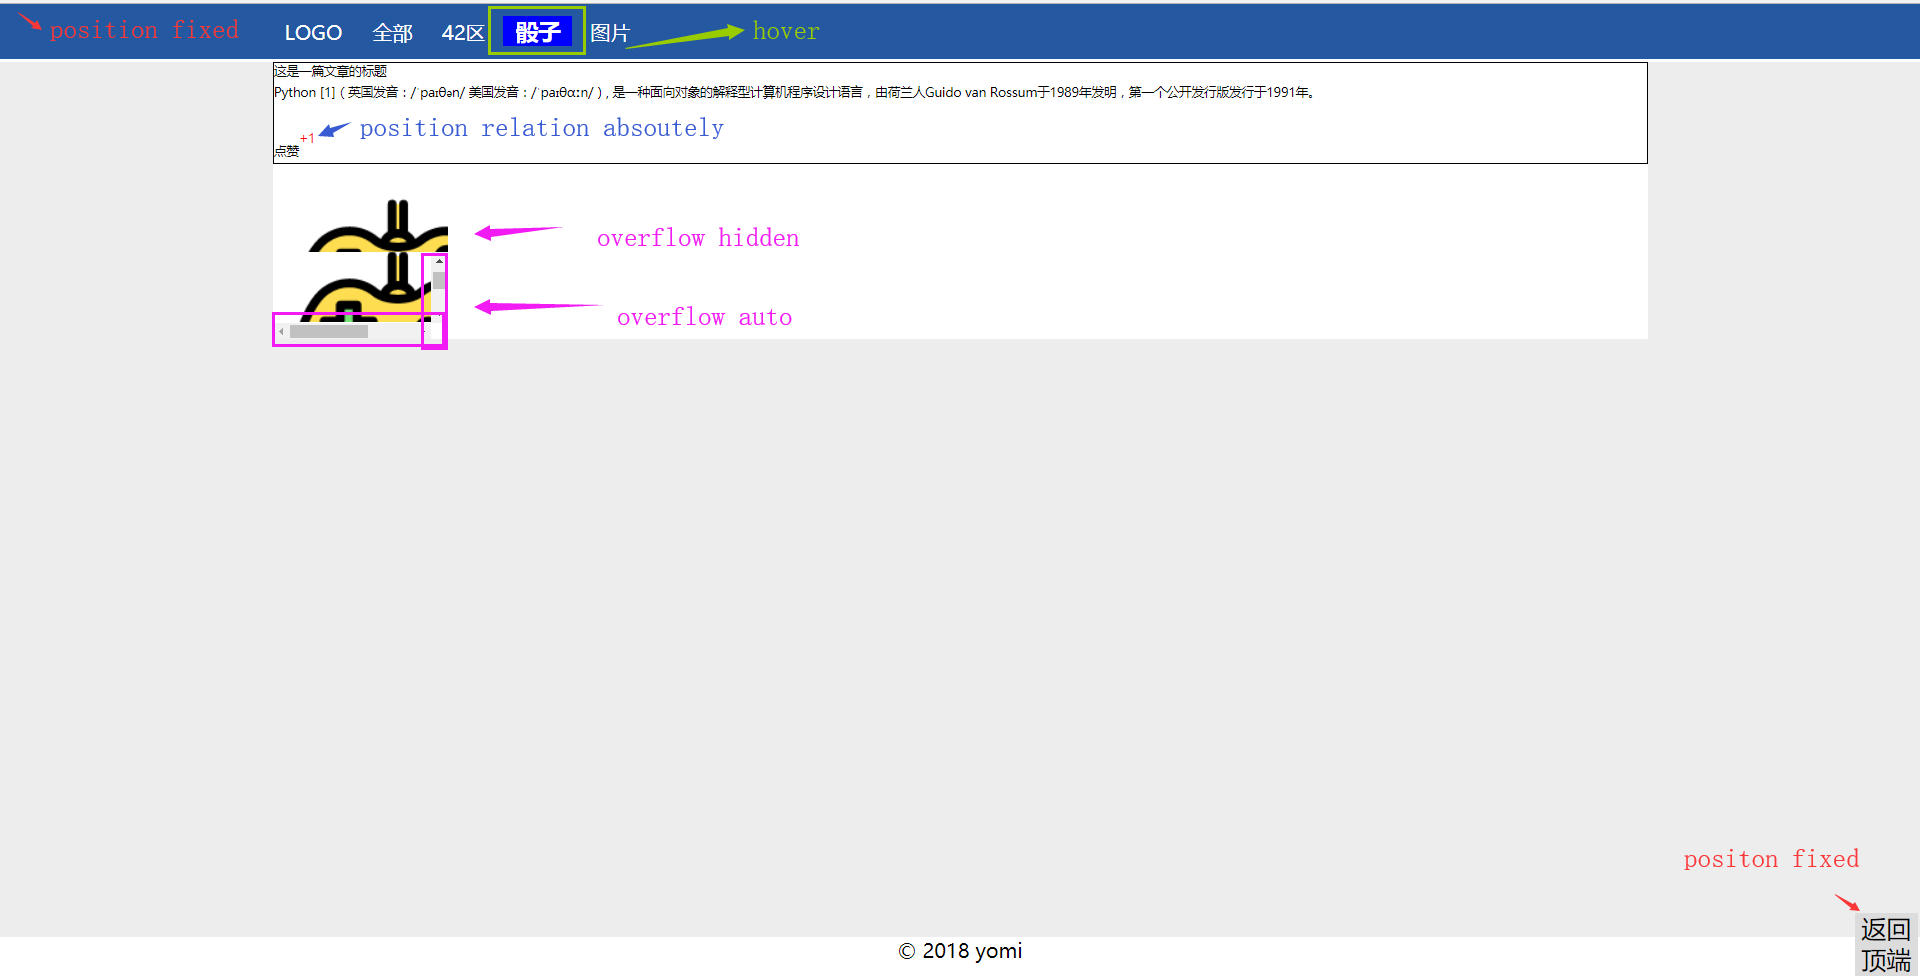
<!DOCTYPE html> <html lang="en"> <head> <meta charset="UTF-8"> <title>Title</title> <style> .body{ margin: 0 auto; } .pg_width{ width:1760px; } .pg_head{ height:44px; color:white; background-color: #2459a2; position: fixed; top: 0; left: 0; right: 0; } .pg_body{ background-color: #ededed; height: 700px; margin-top: 46px; } .pg_info{ margin: 0 auto; width: 1100px; } .c1{ background-color: white; } .p{ border: 1px solid black; height: 80px; } [name='pg_head'] a{ text-align: center; line-height: 44px; padding: 0 10px; } [name='pg_head'] a:hover{ font-weight: bold; background-color: blue; font-size: large; } </style> </head> <body class="body"> <div name="to_top" style="height: 50px;width: 50px;background-color: gainsboro;position: fixed;bottom: 2px;right: 2px;z-index:10;font-size: 20px;text-align: center;line-height:25px">返回顶端</div> <div name="pg_head" class="pg_width pg_head" style="width: 100%"> <div class="pg_info"> <a>LOGO</a> <a>全部</a> <a>42区</a> <a>骰子</a> <a>图片</a> </div> </div> <div name="pg_body" class="pg_body"> <div class="pg_info c1"> <div class="p"> <div style="height: 20%;font-size: 10px">这是一篇文章的标题</div> <div style="height: 60%;font-size: 10px">Python [1](英国发音:/ˈpaɪθən/ 美国发音:/ˈpaɪθɑːn/), 是一种面向对象的解释型计算机程序设计语言,由荷兰人Guido van Rossum于1989年发明,第一个公开发行版发行于1991年。</div> <div style="height: 20%;font-size: 10px;position: relative"> 点赞 <span style=" color:red; position: absolute; top:-10px; left: 20px;">+1</span> </div> </div> <div style="height: 70px;width:140px;overflow: hidden"> <img src="手柄.png"> </div> <div style="height: 70px;width:140px;overflow: auto"> <img src="手柄.png"> </div> </div> </div> <div name="pg_tail" style="width:100%" > <div class="pg_info"> <div style="text-align: center;">© 2018 yomi</div> </div> </div> </body> </html>
12、 overflow样式的hidden与auto
不加overflow -->撑开
overflow
拿图片测试 使用auto,则超出部分变为滚动条,使用hidden则隐藏
<div style="width:600px;height:300px; overflow: hidden">
    <img src="lx素材.jpg" >
</div>
拿文字测试
<div style="width:100px;height:100px;margin:0 auto;overflow: auto">
此处不截图了,效果和图片是一样的
13、hover鼠标悬停时候的样式
不做截图了,上面有
        [name='pg_head'] a:hover{
            font-weight: bold;
            background-color: blue;
            font-size: large;
        }
14、backgroud与url结合添加图片
此处我们先不思考使用background添加图片和使用img标签添加图片的优劣对比
几个点:repeat、no-repeat、repeat-x、repeat-y、background-positon-x、background-position-y
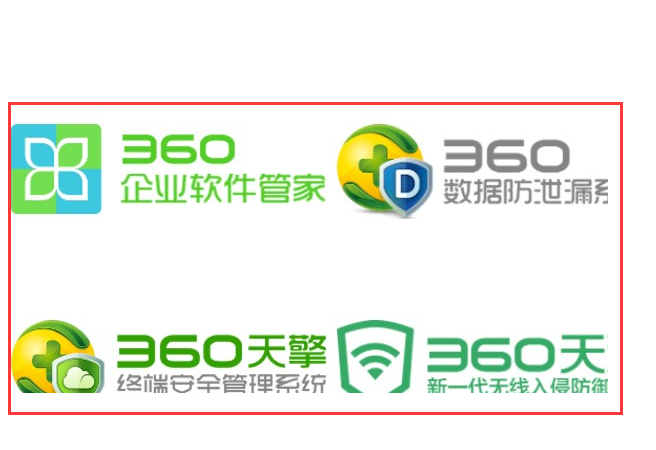
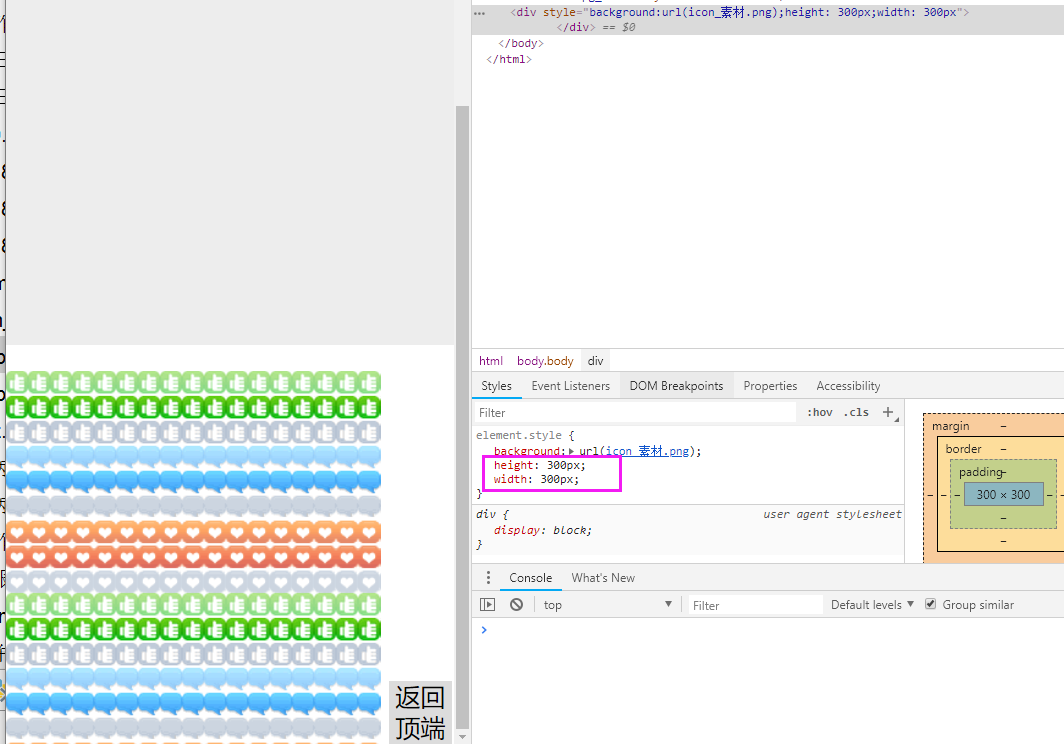
repeat情况:
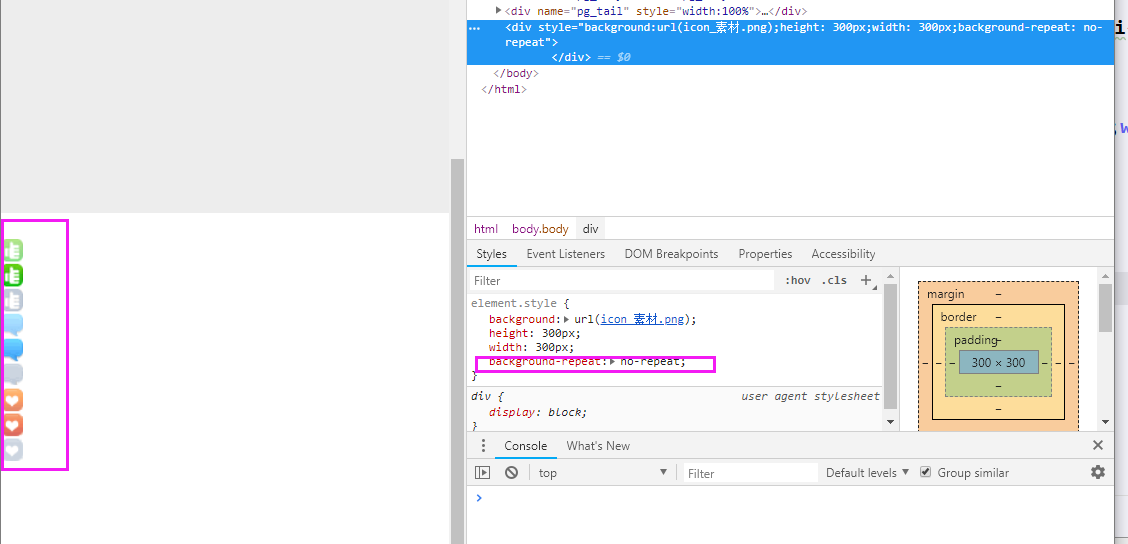
no-repeat的情况
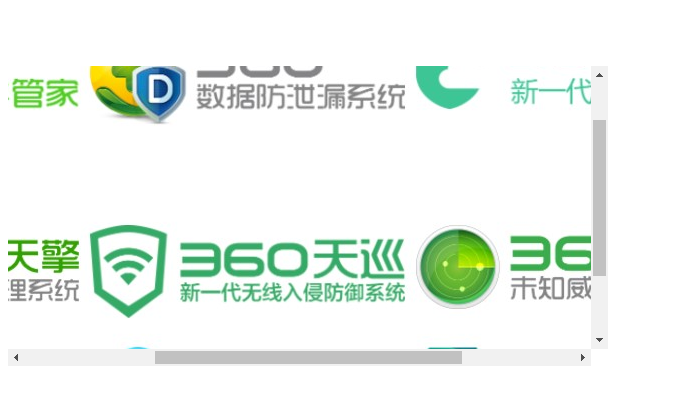
repeat -x与repeat-y的情况 x轴重复与y轴重复

<div style="background:url(icon_素材.png);height: 300px;width: 300px;background-repeat: repeat-x">
background-position-x、background-position-y的情况:通常用于一张大图截取不同的图标,结合在一张图上可以减少建立会话的数量


<div style="height: 25%;font-size: 10px;position: relative">
                       <span style="
                                   display: inline-block;
                                   height: 18px;width: 18px;
                                   background: url(icon_素材.png);
                                   background-position-y:18px">
                        </span>
                        点赞
</div>
二、输入框带图片的实现方法
1、step1 一个div套一个input
     <div style="height: 35px;width: 400px;border:1px solid red">
        <input type="text" style="height: 35px;width: 400px;" >
        <span class="c3"></span>
     </div>

去掉border:1px solid red
     <div style="height: 35px;width: 400px;">
        <input type="text" style="height: 35px;width: 400px;" >
        <span class="c3"></span>
     </div>

2、step2 一个div套一个span、图片为background且span与div保持relative与absolute的关系,来确保位置
开始放图片调整位置

     <div style="height: 35px;width: 200px;position: relative">
        <input type="text" style="height: 35px;width: 200px;" >
        <span style="position: absolute;display: inline-block;right: 2px;top:10px;height: 16px;width: 16px;background: url(i_name.jpg);"></span>
     </div>
出现挡住文字的情况

3、padding调整位置并调整width的值
使用padding调整
     <div style="height: 35px;width: 200px;position: relative">
        <input type="text" style="height: 35px;width: 200px;padding-right: 30px" >
        <span style="position: absolute;display: inline-block;right: 2px;top:10px;height: 16px;width: 16px;background: url(i_name.jpg);"></span>
     </div>

发现图片发生偏移

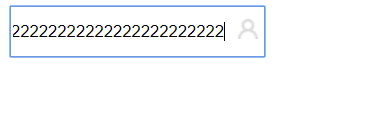
4、完成
调整input标签 padding多少减多少

成功
     <div style="height: 35px;width: 200px;position: relative">
        <input type="text" style="height: 35px;width: 170px;padding-right: 30px" >
        <span style="position: absolute;display: inline-block;right: 2px;top:10px;height: 16px;width: 16px;background: url(i_name.jpg);"></span>
     </div>