控制banner内容
Spring Boot启动的时候默认的banner是spring的字样,看多了觉得挺单调的,Spring Boot为我们提供了自定义banner的功能。
自定义banner只需要在resource下新建一个banner.txt文件,将我们需要的banner字样放进去,启动的时候就会去读取使用这个文本文件中的banner。
比如:
|
1
2
3
4
5
6
7
8
9
10
11
12
13
14
15
16
17
18
19
20
|
_ooOoo_
o8888888o
88" . "88
(| -_- |)
O\ = /O
____/`---'\____
.' \\| |// `.
/ \\||| : |||// \
/ _||||| -:- |||||- \
| | \\\ - /// | |
| \_| ''\---/'' | |
\ .-\__ `-` ___/-. /
___`. .' /--.--\ `. . __
."" '< `.___\_<|>_/___.' >'"".
| | : `- \`.;`\ _ /`;.`/ - ` : | |
\ \ `-. \_ __\ /__ _/ .-` / /
======`-.____`-.___\_____/___.-`____.-'======
`=---='
^^^^^^^^^^^^^^^^^^^^^^^^^^^^^^^^^^^^^^^^^^^^^
佛祖保佑 永无BUG
|
控制banner样式
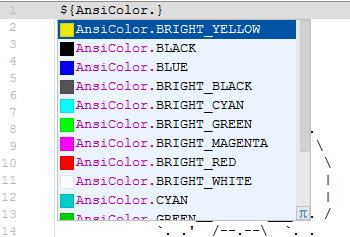
Spring提供了三个枚举类来设定字符的颜色,分别是:
AnsiColor: 用来设定字符的前景色
AnsiBackground: 用来设定字符的背景色
AnsiStyle: 用来控制加粗、斜体、下划线等等。
使用${AnsiFoo.Bar}来指定样式,当指定样式的时候会有提示的:
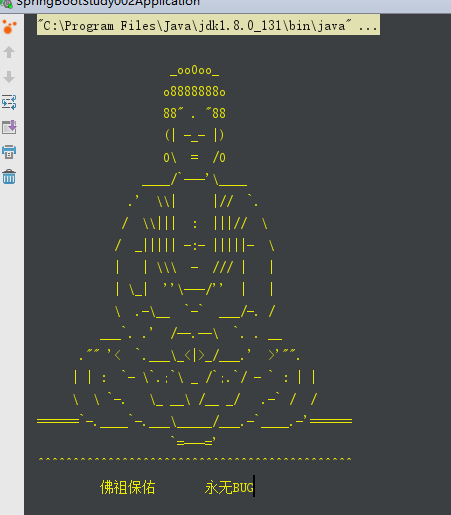
指定一种试一下,比如下面这种:
|
1
2
3
4
5
6
7
8
9
10
11
12
13
14
15
16
17
18
19
20
21
|
${AnsiColor.BRIGHT_YELLOW}
_ooOoo_
o8888888o
88" . "88
(| -_- |)
O\ = /O
____/`---'\____
.' \\| |// `.
/ \\||| : |||// \
/ _||||| -:- |||||- \
| | \\\ - /// | |
| \_| ''\---/'' | |
\ .-\__ `-` ___/-. /
___`. .' /--.--\ `. . __
."" '< `.___\_<|>_/___.' >'"".
| | : `- \`.;`\ _ /`;.`/ - ` : | |
\ \ `-. \_ __\ /__ _/ .-` / /
======`-.____`-.___\_____/___.-`____.-'======
`=---='
^^^^^^^^^^^^^^^^^^^^^^^^^^^^^^^^^^^^^^^^^^^^^
佛祖保佑 永无BUG
|
效果:
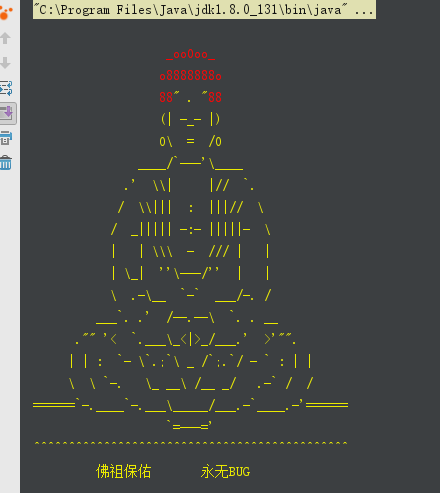
重点是这个颜色的设置是可以变的,也就是说同一个屏幕可以指定多个 {AnsiColor.BRIGHT_YELLOW}
${AnsiColor.BRIGHT_RED}_ooOoo_${AnsiColor.BRIGHT_YELLOW}
${AnsiColor.BRIGHT_RED}o8888888o${AnsiColor.BRIGHT_YELLOW}
${AnsiColor.BRIGHT_RED}88${AnsiColor.BRIGHT_YELLOW}" . "${AnsiColor.BRIGHT_RED}88${AnsiColor.BRIGHT_YELLOW}
(| -_- |)
O\ = /O
____/`---'\____
.' \\| |// `.
/ \\||| : |||// \
/ _||||| -:- |||||- \
| | \\\ - /// | |
| \_| ''\---/'' | |
\ .-\__ `-` ___/-. /
___`. .' /--.--\ `. . __
."" '< `.___\_<|>_/___.' >'"".
| | : `- \`.;`\ _ /`;.`/ - ` : | |
\ \ `-. \_ __\ /__ _/ .-` / /
======`-.____`-.___\_____/___.-`____.-'======
`=---='
^^^^^^^^^^^^^^^^^^^^^^^^^^^^^^^^^^^^^^^^^^^^^
佛祖保佑 永无BUG
效果:
显示应用信息
除了上面的指定样式之外,还可以显示一些与应用相关的版本信息:
${application.version} 与MANIFEST.MF文件中相同的版本号,比如1.5.4.RELEASE
${application.formatted-version} 格式化过的版本号就是加个v然后用括号包起来,比如(v1.5.4.RELEASE)
${application.title}
${spring-boot.version} Spring Boot的版本
${spring-boot.formatted-version} 格式化过的版本
控制banner是否开启,输出位置
设置banner mode为OFF关闭banner:
|
1
2
3
4
5
6
7
8
9
10
11
12
13
14
15
16
|
package
org.cc11001100;
import
org.springframework.boot.Banner;
import
org.springframework.boot.SpringApplication;
import
org.springframework.boot.autoconfigure.SpringBootApplication;
@SpringBootApplication
public
class
SpringBootStudy002Application {
public
static
void
main(String[] args) {
SpringApplication springApplication =
new
SpringApplication(SpringBootStudy002Application.
class
);
springApplication.setBannerMode(Banner.Mode.OFF);
springApplication.run(args);
}
}
|
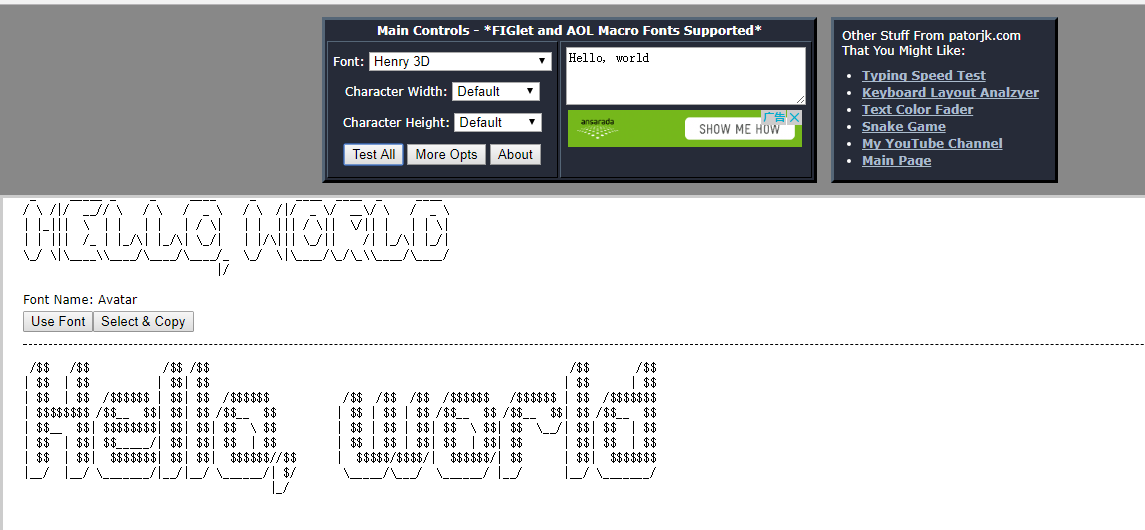
几个常用的字符画生成网站
介绍几个常用的字符画生成网站:
1. http://patorjk.com/software/taag/#p=display&f=Henry%203D&t=CC11001100%0A 这个是比较常用的,可以根据输入的字符生成字符画
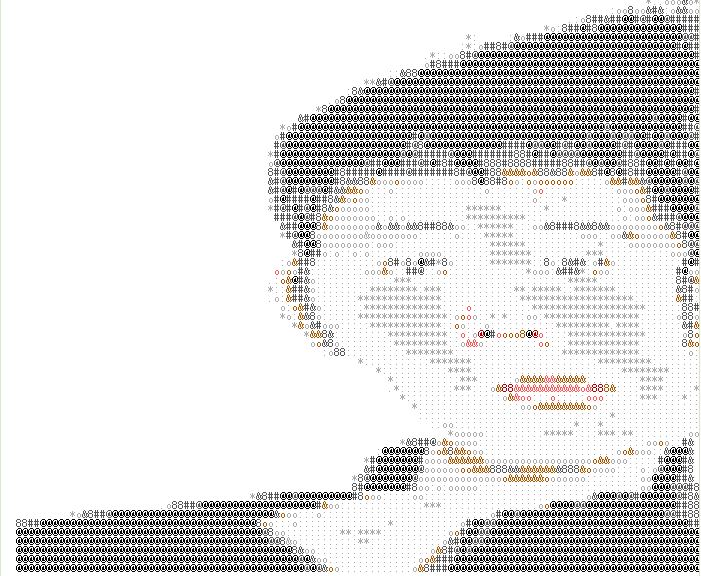
2. https://spring-boot-banner-gen.cfapps.io/ 可以将上传图片转为文本形式的字符画,只是感觉风格比较鬼畜(绝不能承认是我长的鬼畜…),这是鄙人的字符画….
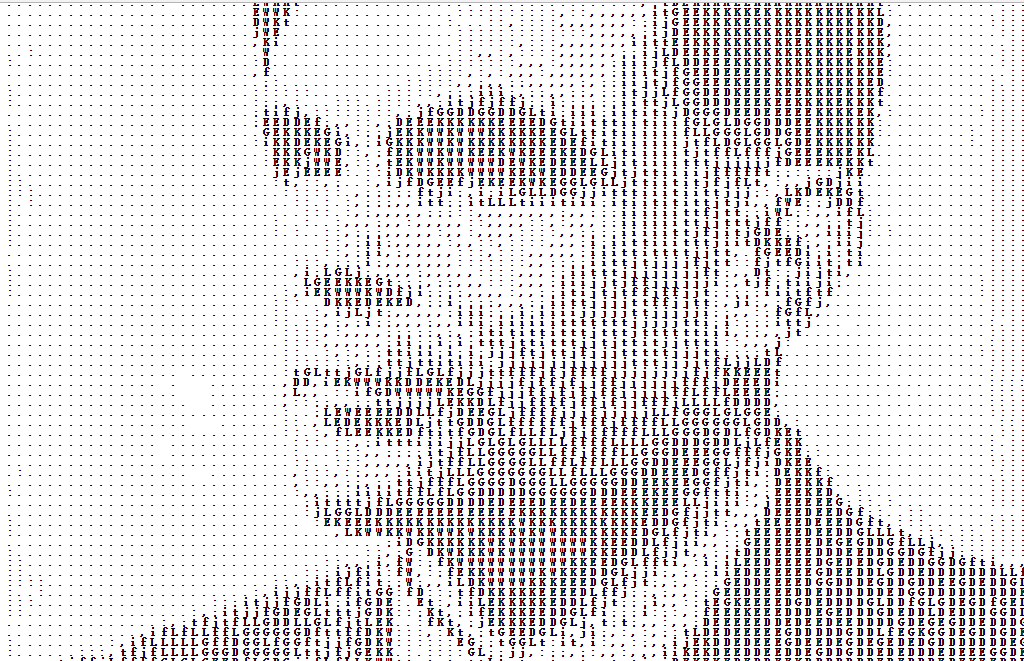
3. http://www.degraeve.com/img2txt.php 可以根据在线的图片网址生成字符画,比如可以直接将公司logo的地址粘贴进去生成字符画,风格还算正常…
来张祖师爷的画像:
.
</div><!--end: forFlow -->
</div>


【福利】校园拼团福利,腾讯云1核2G云服务器10元/月!
【大赛】2018首届“顶天立地”AI开发者大赛
· 刘强东:我目前做的物流供应链要20年才能看到效果
· 大众点评被指暴露用户行踪 官方公布三项整改措施
· 万字长文解析小米模式:真正成功后直接威胁阿里腾讯
· Timeline登陆Microsoft Launcher还要再等段时间
· 外媒分析小米为何首日破发:估值还是有些高
» 更多新闻…
· 测试 | 让每一粒尘埃有的放矢
· 从Excel到微服务
· 如何提升你的能力?给年轻程序员的几条建议
· 程序员的那些反模式
2016-08-31 《Thinking in Java》十四章类型信息_习题解
2016-08-31 NYOJ题目842整除的尾数
2016-08-31 NYOJ题目840吃花生
2016-08-31 NYOJ题目839合并
2016-08-31 NYOJ题目836画图
2016-08-31 NYOJ题目822画图
2016-08-31 NYOJ题目817英文藏头诗
2016-08-31 NYOJ题目816它合法吗?
2016-08-31 NYOJ题目813对决
2016-08-31 NYOJ题目809摸底
2016-08-31 NYOJ题目806HEIHEI的心情