先看下效果

scroll-view一般用于做横向侧滑动栏目,分类等等,在这里我用改组件做时间分栏。
wxml部分
<view class="scroll_box">
  <scroll-view class="scroll-view_x" scroll-x='true' scroll-into-view="{{toview}}" scroll-with-animation="true" scroll-left="{{scrollLeftSys}}">
    <view class="item_list" class="{{item.isChoose?'choosed':'not_choose'}}" wx:for="{{classData}}" wx:key='key' id='{{item.id}}' data-index="{{index}}" bindtap='switchType'>
      <text>{{item.time}}</text>
      <text>{{item.desc}}</text>
    </view>
  </scroll-view>
</view>
scroll-view中属性scroll-x/scroll-y声明该控件的滑动方向,属性scroll-into-view='target'为自定滚动到携带目标id='target'某个元素,scroll-left属性为滚动条左边距离,scroll-with-animation:滚动条时滚动动画,属性值为布尔值,具体文档详见;
scroll-view样式
.scroll_box .scroll-view_x {
  width: 100%;
  white-space: nowrap;
  height: 4rem;
  overflow: hidden;
}
item的样式
.choosed {
width: 20%;
padding: 0.8rem 6.5%;
font-size: 0.8rem;
color: white;
display: inline-block;
white-space: nowrap;
background-color: #fe4a65;
}
.not_choose {
width: 20%;
padding: 0.8rem 6.5%;
font-size: 0.8rem;
color: white;
display: inline-block;
white-space: nowrap;
background-color: black;
}
.choosed text, .not_choose text {
display: block;
width: 100%;
font-size: 0.8rem;
text-align: center;
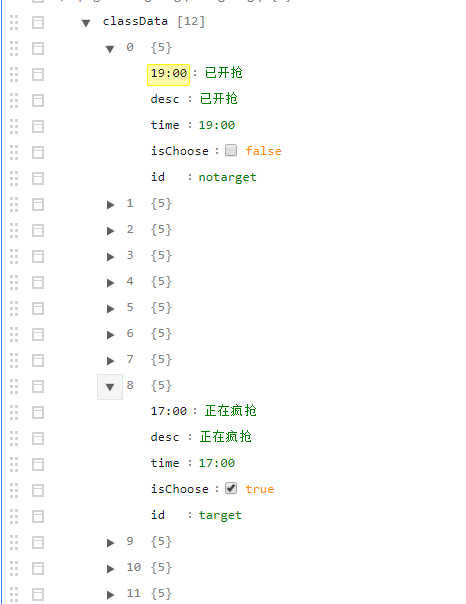
}page对象data属性中的classData
再处理完数据之后,需要更新一次page对象中的data,
 that.setData({
            toview: 'target'
          })