参考博文:
zabbix原理篇
zabbix 3.0 基础介绍 [一] Zabbix 3.0 基础介绍 [一]
设置selinux及关闭防火墙
sed -i "s/SELINUX=enforcing/SELINUX=disabled/g" /etc/selinux/config
setenforce 0
service firewalld stop
service iptables stop
zabbix依赖LAMP环境,所有先安装LAMP环境
LAMP:linux+apache+mysql+php
mariadb安装参考博客:https://www.cnblogs.com/zhanzhan/p/7729981.html
yum install mariadb-server mariadb -y
yum install php -y
yum install php-mysql  -y
yum install httpd -y
systemctl start mysqld -y
netstat –tnlp
tcp6 0 0 :::3306 :::* LISTEN 8512/mysqld 可以看到3306端口已监听
设置用户密码并删除匿名账户
mysql_secure_installation [root@node35 ~]# mysql_secure_installation
NOTE: RUNNING ALL PARTS OF THIS SCRIPT IS RECOMMENDED FOR ALL MySQL
SERVERS IN PRODUCTION USE! PLEASE READ EACH STEP CAREFULLY!
In order to log into MySQL to secure it, we'll need the current
password for the root user. If you've just installed MySQL, and
you haven't set the root password yet, the password will be blank,
so you should just press enter here.
Enter current password for root (enter for none):
ERROR 1045 (28000): Access denied for user 'root'@'localhost' (using password: YES)
Enter current password for root (enter for none):
ERROR 1045 (28000): Access denied for user 'root'@'localhost' (using password: YES)
Enter current password for root (enter for none):
OK, successfully used password, moving on...
Setting the root password ensures that nobody can log into the MySQL
root user without the proper authorisation.
Set root password? [Y/n]
New password:
Sorry, you can't use an empty password here.
New password:
Re-enter new password:
Password updated successfully!
Reloading privilege tables..
... Success!
By default, a MySQL installation has an anonymous user, allowing anyone
to log into MySQL without having to have a user account created for
them. This is intended only for testing, and to make the installation
go a bit smoother. You should remove them before moving into a
production environment.
Remove anonymous users? [Y/n] y
... Success!
Normally, root should only be allowed to connect from 'localhost'. This
ensures that someone cannot guess at the root password from the network.
Disallow root login remotely? [Y/n] y
... Success!
By default, MySQL comes with a database named 'test' that anyone can
access. This is also intended only for testing, and should be removed
before moving into a production environment.
Remove test database and access to it? [Y/n] y
- Dropping test database...
ERROR 1008 (HY000) at line 1: Can't drop database 'test'; database doesn't exist
... Failed! Not critical, keep moving...
- Removing privileges on test database...
... Success!
Reloading the privilege tables will ensure that all changes made so far
will take effect immediately.
Reload privilege tables now? [Y/n] y
... Success!
All done! If you've completed all of the above steps, your MySQL
installation should now be secure.
Thanks for using MySQL! 进入mysql交互环境
mysql –uroot –p[root@node30 ~]# mysql -uroot -p
Enter password:
Welcome to the MariaDB monitor. Commands end with ; or \g.
Your MariaDB connection id is 8138
Server version: 5.5.56-MariaDB MariaDB Server
Copyright (c) 2000, 2017, Oracle, MariaDB Corporation Ab and others.
Type 'help;' or '\h' for help. Type '\c' to clear the current input statement.
MariaDB [(none)]>
创建数据库,用户,并赋权登录及数据库权限。
MariaDB [(none)]> create database zabbix character set utf8;
	grant all privileges on zabbix.* to 'zbxuser'@'192.168.%.%' identified by 'zbxpass';
        grant all privileges on zabbix.* to 'zbxuser'@'localhost' identified by 'zbxpass';
	flush privileges;
退出登录:
exit检查创建的用户账号密码是否可以登录
mysql -uzbxuser -h192.168.137.130 –p
		Welcome to the MariaDB monitor.  Commands end with ; or \g.
Your MariaDB connection id is 125
Server version: 5.5.56-MariaDB MariaDB Server
Copyright (c) 2000, 2017, Oracle, MariaDB Corporation Ab and others.
Type 'help;' or '\h' for help. Type '\c' to clear the current input statement.
MariaDB [(none)]>
配置php环境:
修改/etc/php.ini
date.timezone=Asia/Shanghai
在/var/www/html文件夹下新建test.php文件,写入如下内容:
<?php
     phpinfo();
?>
访问http://192.168.137.130/testphp.php
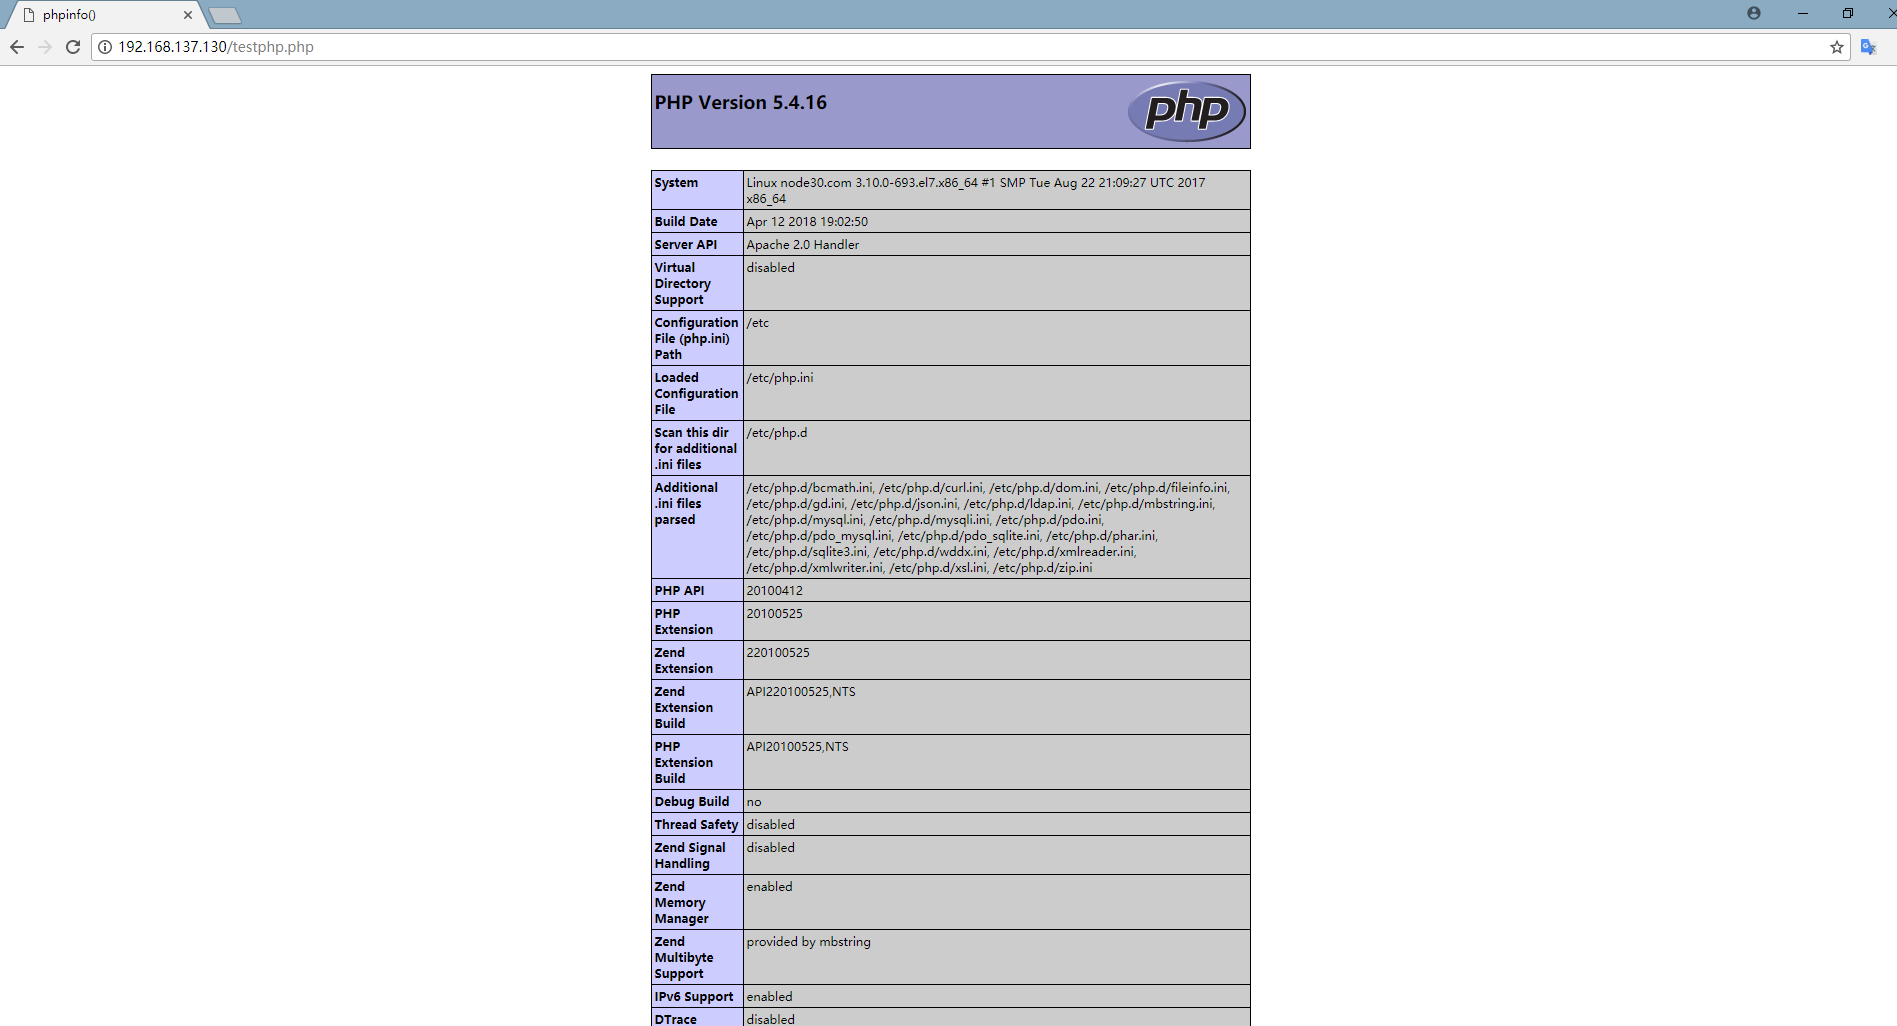
出现php的信息即可,到此LAMP环境搭建完成,接着安装zabbix
参考博客:
https://www.sogou.com/link?url=DSOYnZeCC_oIySO-Zoh5MMrwxqf2iVLmEWdvOFStCtrqaL8BmvRmQtSSHTo-wwG7reaVHN88tHY.
安装zabbix的官方yum仓库
rpm -i http://repo.zabbix.com/zabbix/3.4/rhel/7/x86_64/zabbix-release-3.4-2.el7.noarch.rpm会在/etc/yum.repos.d/文件夹下生成一个 zabbix.repo文件
zabbix组件:
- zabbix_server :服务端守护进程
- zabbix_agentd :agent端守护进程
- zabbix_proxy :代理服务器(可选)
- zabbix_database :存储系统,常用如:MySQL/PGSQL
- zabbix_web :Web GUI 接口
- zabbix_get :命令行工具,在server端安装,用于测试向agent端发起数据采集请求
- zabbix_sender :命令行工具,在agent端安装,用于测试向server端发送数据
- zabbix_java_gateway :java网关
安装yum源后安装服务端组件
yum install zabbix-server zabbix-agent zabbix-server-mysql zabbix-web-mysql zabbix-agent zabbix-get -y安装后重启httpd服务
service httpd start
如果之前启动了就重启
启动 httpd后ls /etc/httpd/conf.d/
出现了一个zabbix.conf文件
导入zabbix的创建数据库脚本
cd /usr/share/doc/zabbix-server-mysql-3.4.9/有一个create.sql.gz文件,导入
zcat create.sql.gz | mysql -uzbxuser –pzbxpass zabbixmysql -uzbxuser -pzbxpass -h192.168.137.130
show databases;
use zabbix;
show tables;
显示了很多由脚本建立的表
140rows in set (0.00 sec)
编辑/etc/zabbix/zabbix_server.conf文件
DBHost=localhost
DBName=zabbix
DBUser=zbxuser
DBPassword=zbxpass
编辑/etc/httpd/conf.d/zabbix.conf添加:
php_valuedate.timezone Asia/Shanghai
启动zabbix-server
service zabbix-server start重启httpd服务
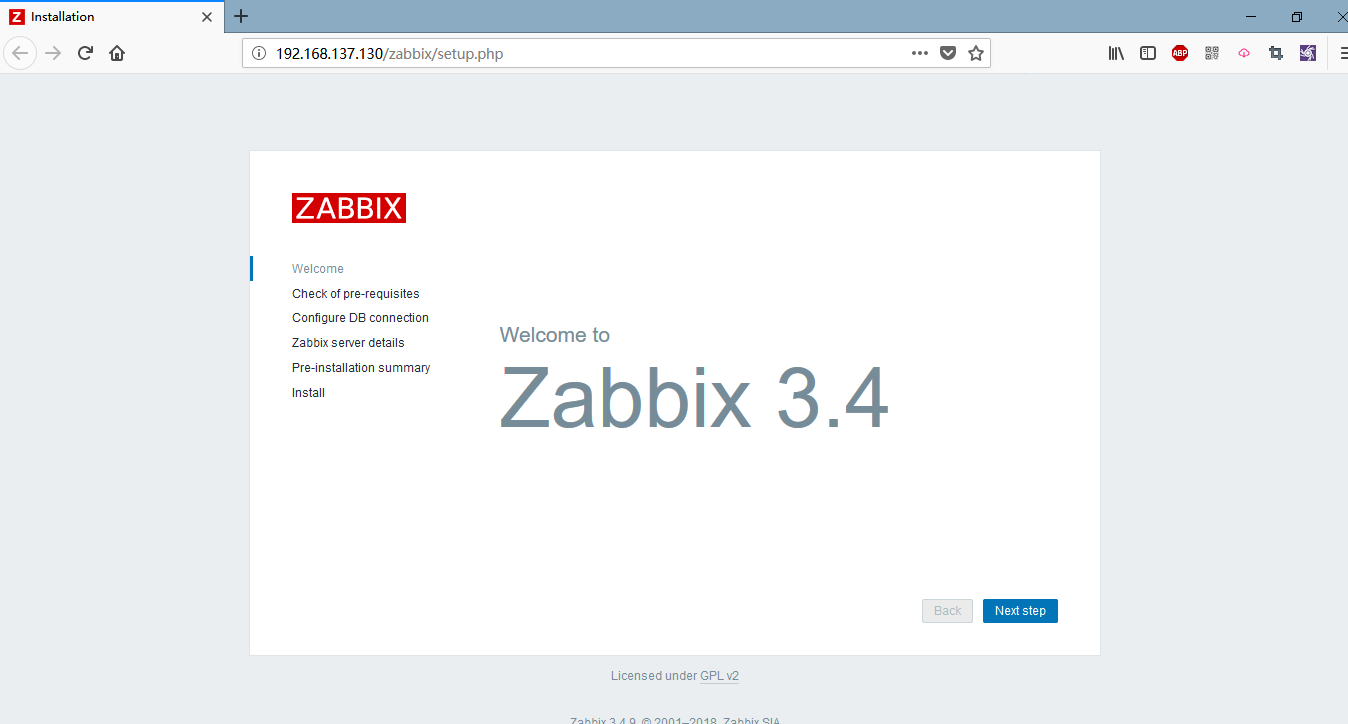
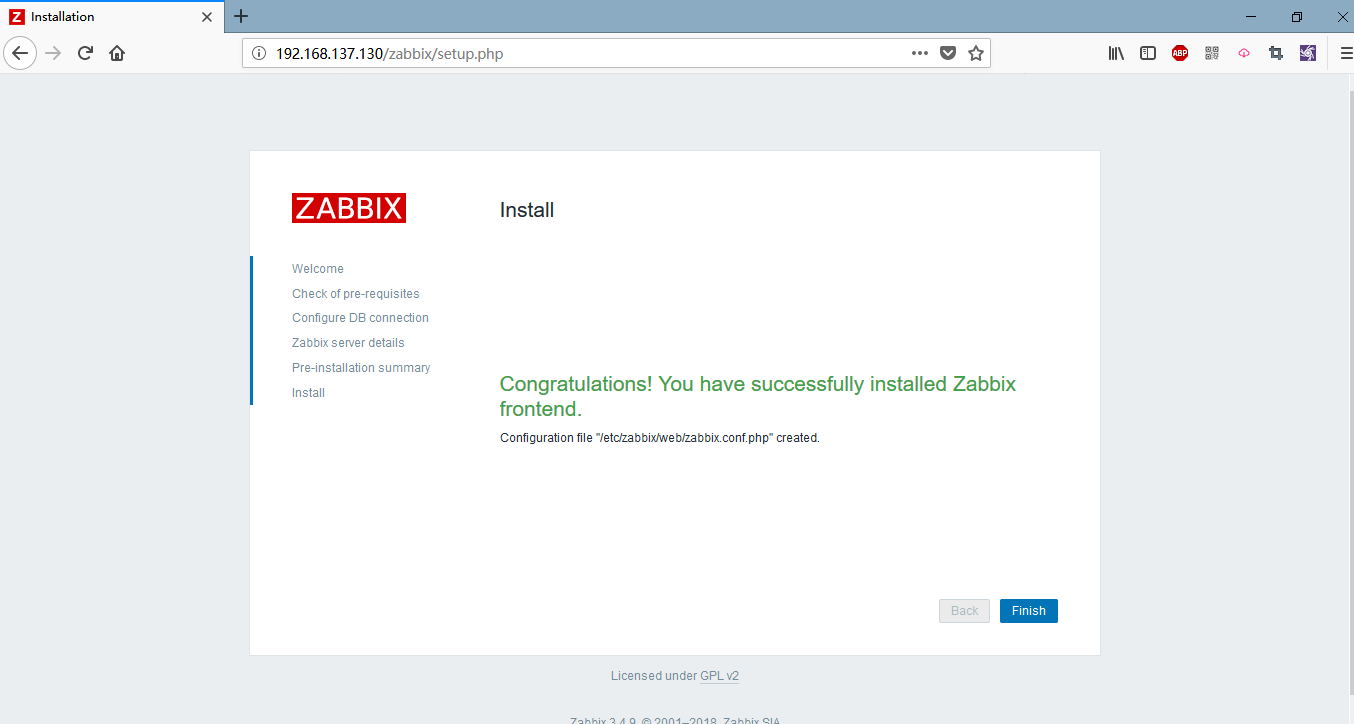
service httpd restart访问: http://192.168.137.130/zabbix/setup.php
其中的IP为zabbix-server主机的IP地址
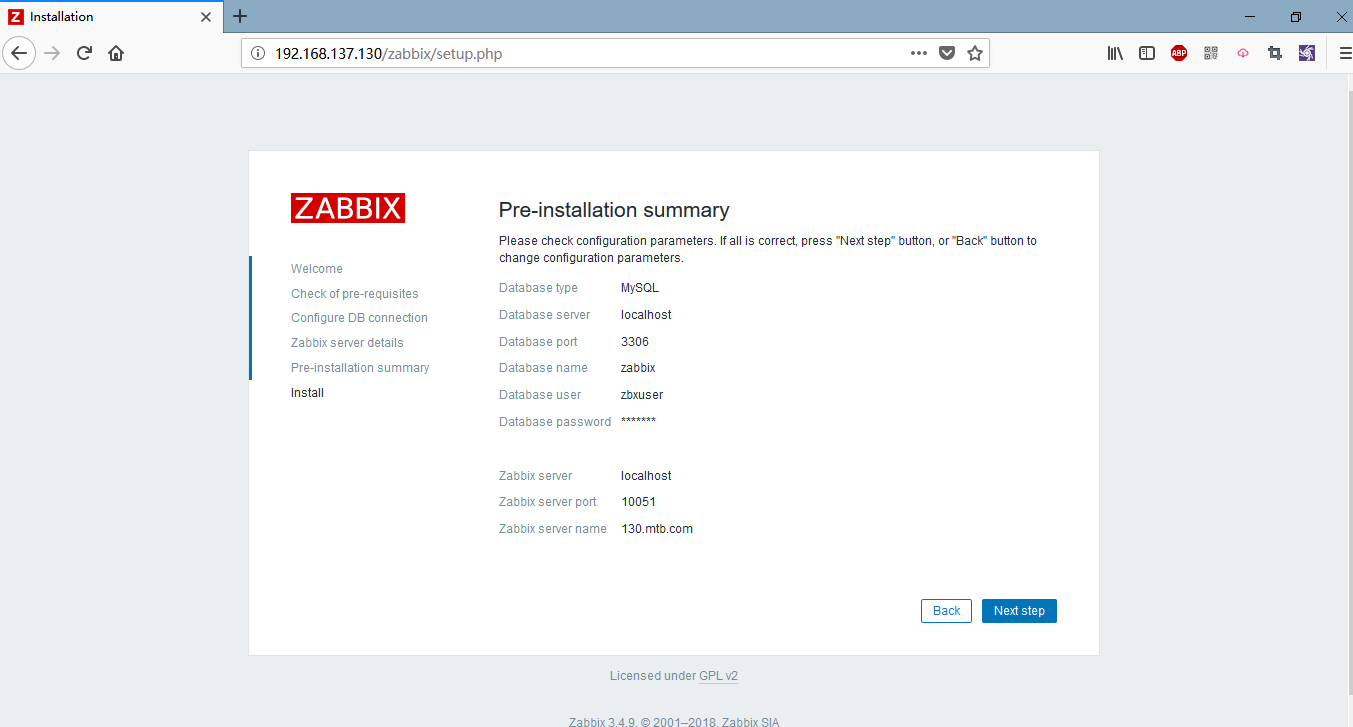
点击nextstep,所有项目都显示OK
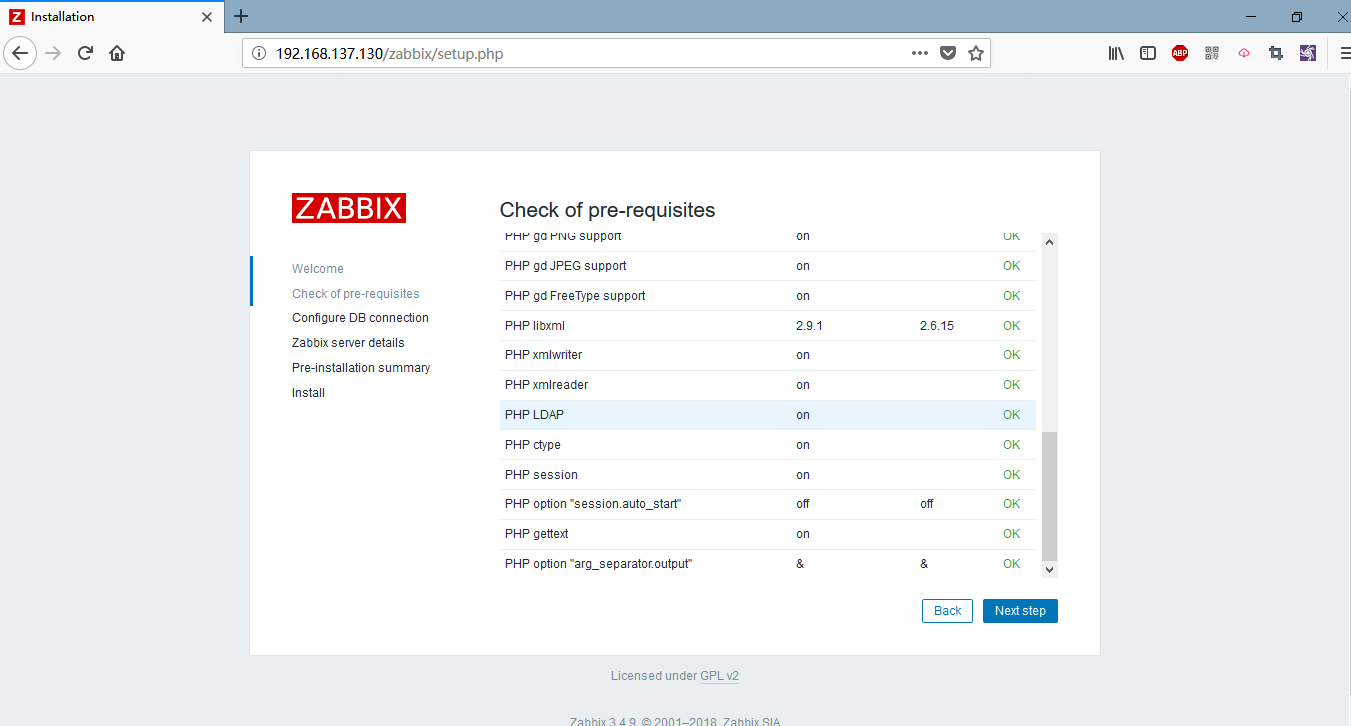
点击下一步
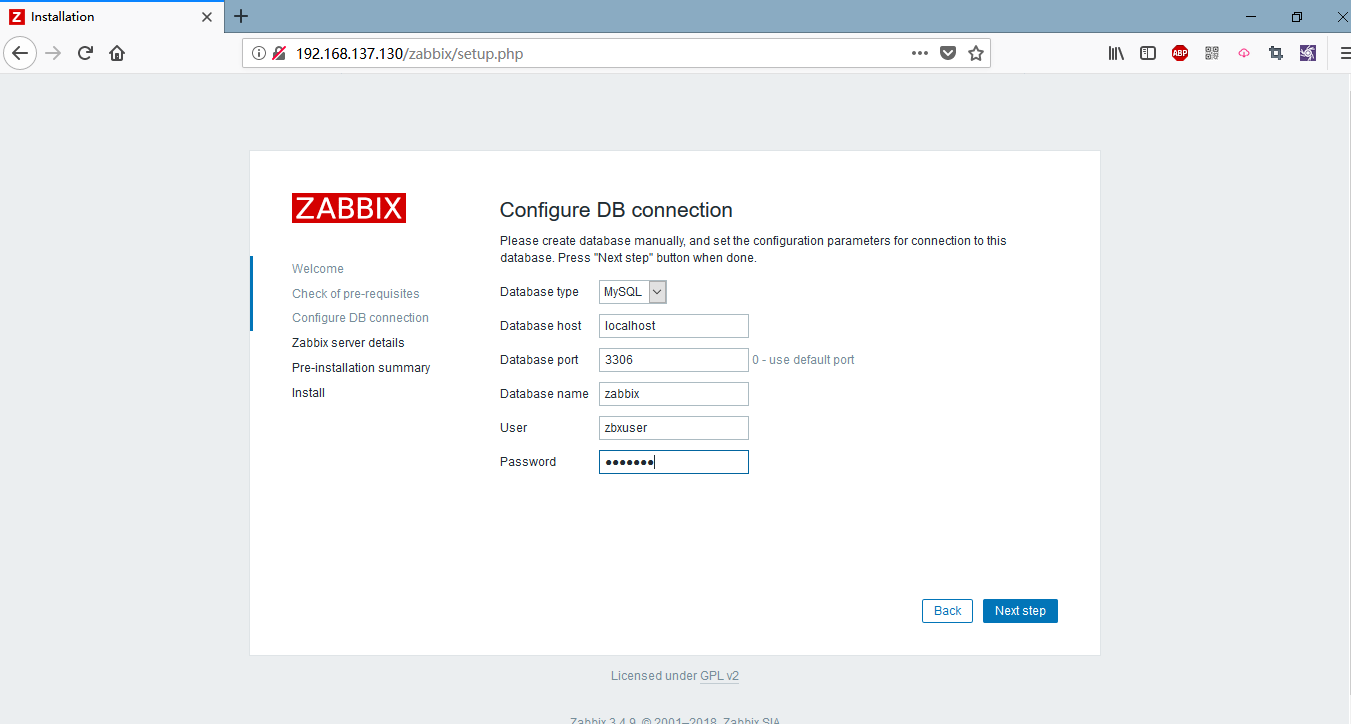
填入数据库信息
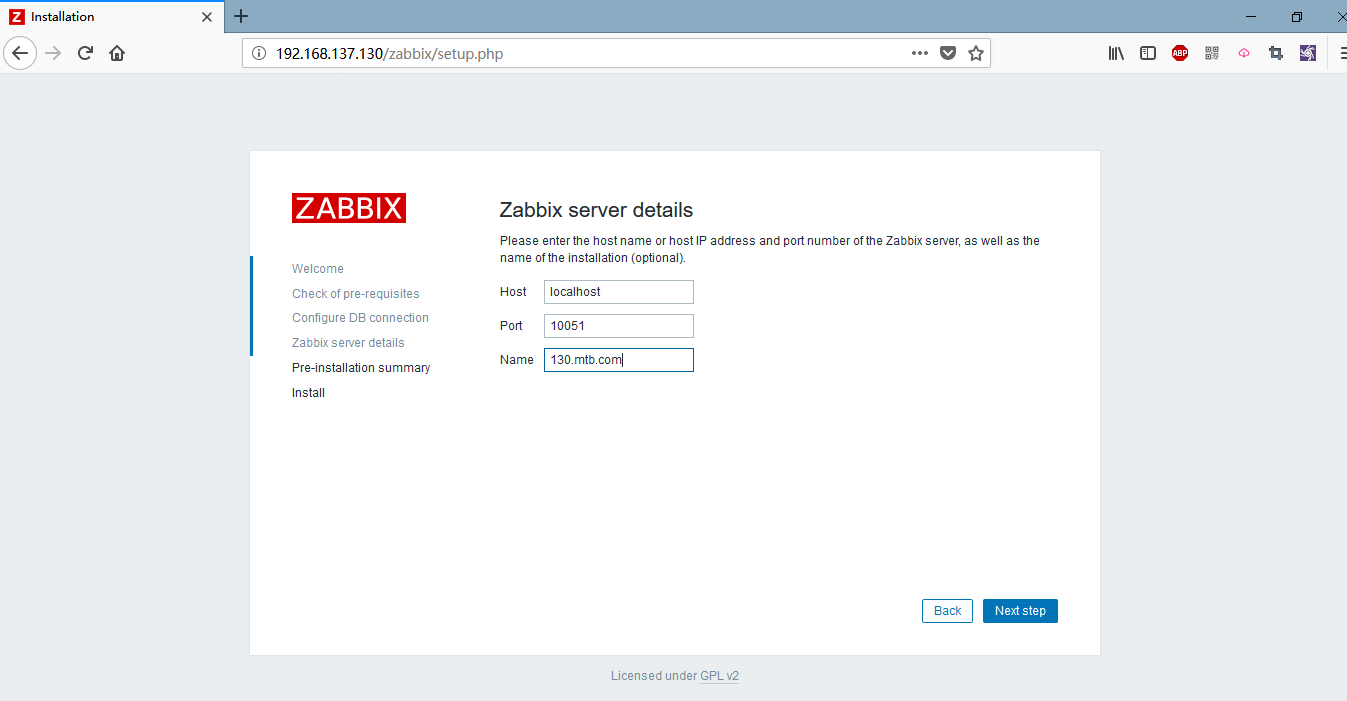
填入数据库IP,给定一个名称
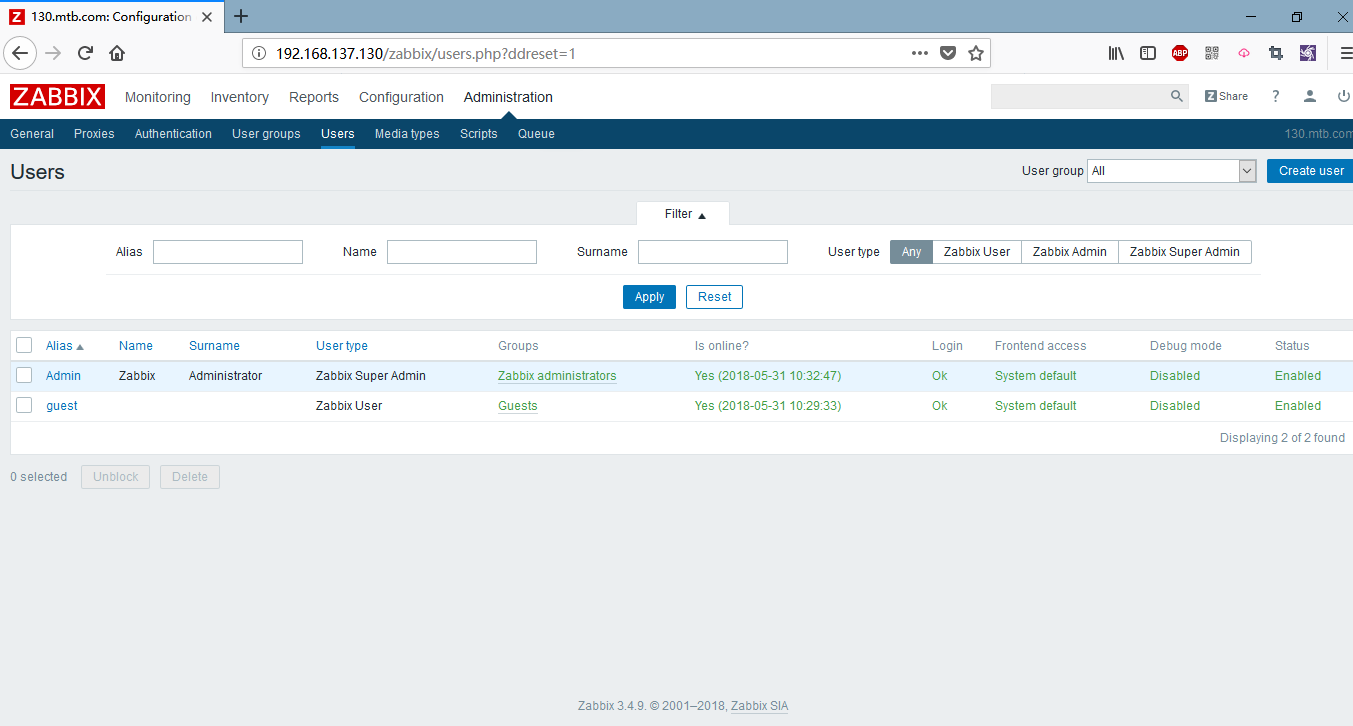
登录:http:192.168.137.130/zabbix

默认用户名/密码:Admin/zabbix
可以看到右下方的Status ofZabbix状态

切换到Administrator的users可以看到有一个server时OK状态
如果出现zabbix-server is not running,一般是配置错误,查看日志文件/var/log/zabbix/zabbix_server.log,根据提示修改配置后重启zabbix-server
zabbix-server安装完成,zabbix-server本机也安装了zabbi-agent,继续配置本机的zabbix-agent
编辑zabbix-agent的配置文件
vim /etc/zabbix/zabbix_agentd.conf
Server=127.0.0.1
基于IP的授权,允许127.0.0.1获取数据
修改为:
Server=127.0.0.1,192.168.137.130
ServerActive=127.0.0.1,192.168.137.130
指定将数据发送给哪台服务器
Hostname=node30.com
Hostname可用于主动发现主机,应与主机名一致(hostname的结果)
启动zabbix-agent
service zabbix-agent start查看zabbix-agent监听
ss -tnlpusers:(("zabbix_agentd",pid=22163,fd=5),("zabbix_agentd",pid=22162,fd=5),("zabbix_a
gentd",pid=22161,fd=5),("zabbix_agentd",pid=22160,fd=5),("zabbix_agentd",pid=2215
9,fd=5),("zabbix_agentd",pid=22158,fd=5),("zabbix_agentd",pid=22157,fd=5))
在zibbix主界面进入configuration的hosts界面
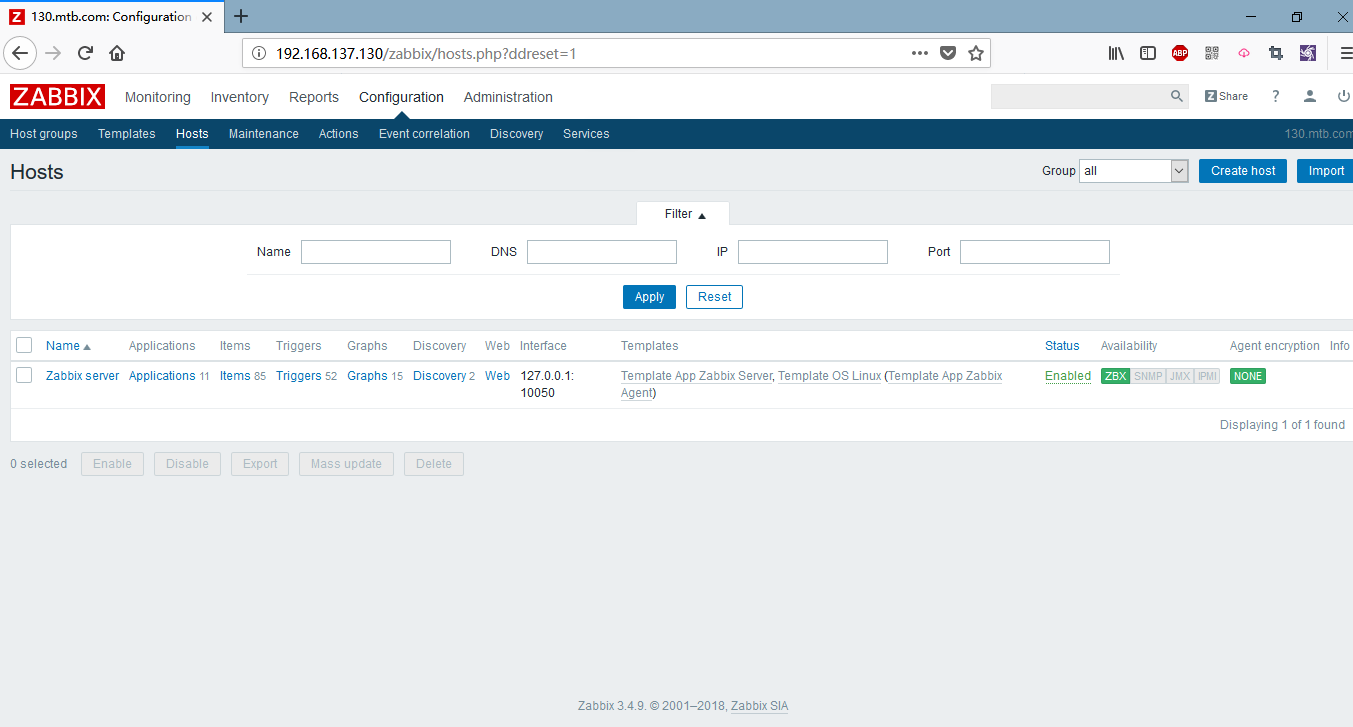
zabbix-server已经加入进来,但是默认是disable,点击disable变成enable
agent端配置(192.168.137.135)
vim /etc/selinux/config,修改
SELINUX=Permissive
setenforce 0关闭防护墙
service firewalld stop
service iptables stop
安装:
yum install zabbix-agent zabbix-send -y修改配置文件
vim/etc/zabbix/zabbix_agentd.conf
修改:
Server=192.168.137.130
ServerActive=192.168.137.130
Hostname=node35.com
192.168.137.130是zabbix-server的地址
启动zabbix-agent:
service zabbix-agent start查看状态:
service zabbix-agent status
ss –tnlp
在server的管理界面添加主机
在configuration的hosts下点击create host
填写主机信息,新建一个组并加入
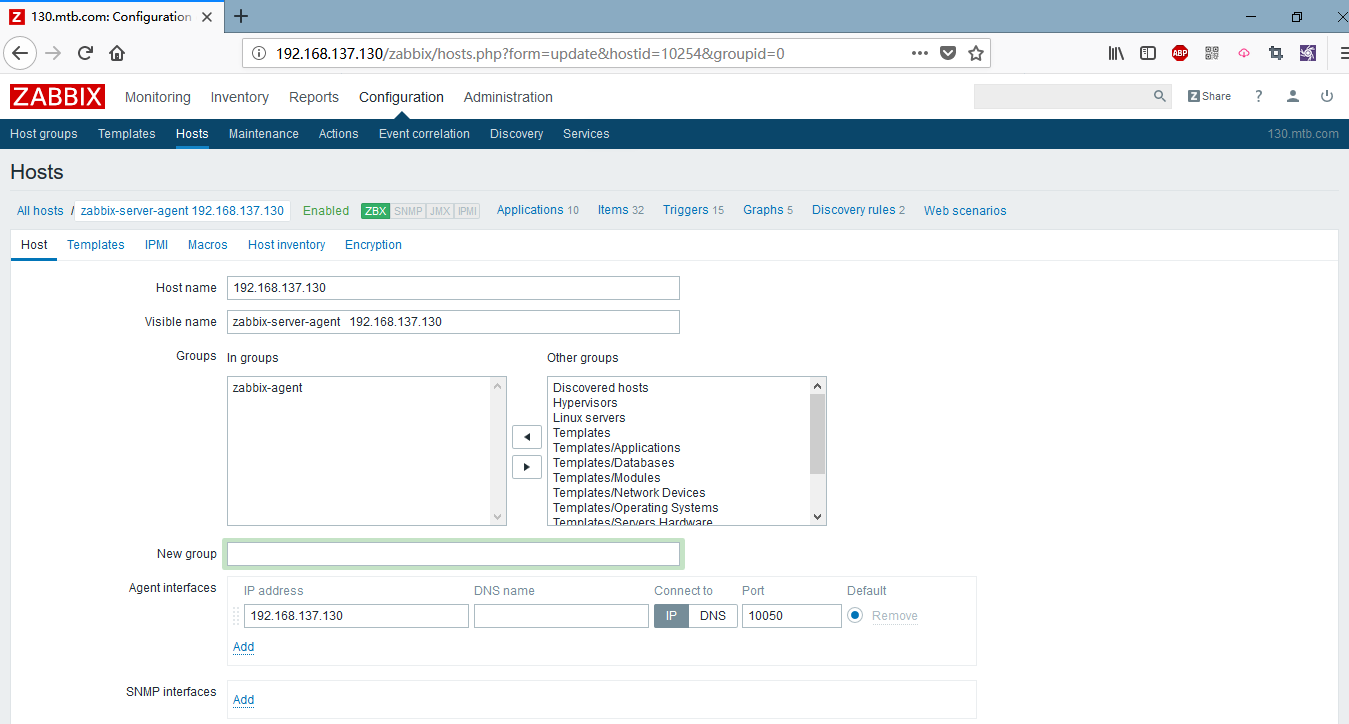
切换到模板,添加一个OS linux的监控模板
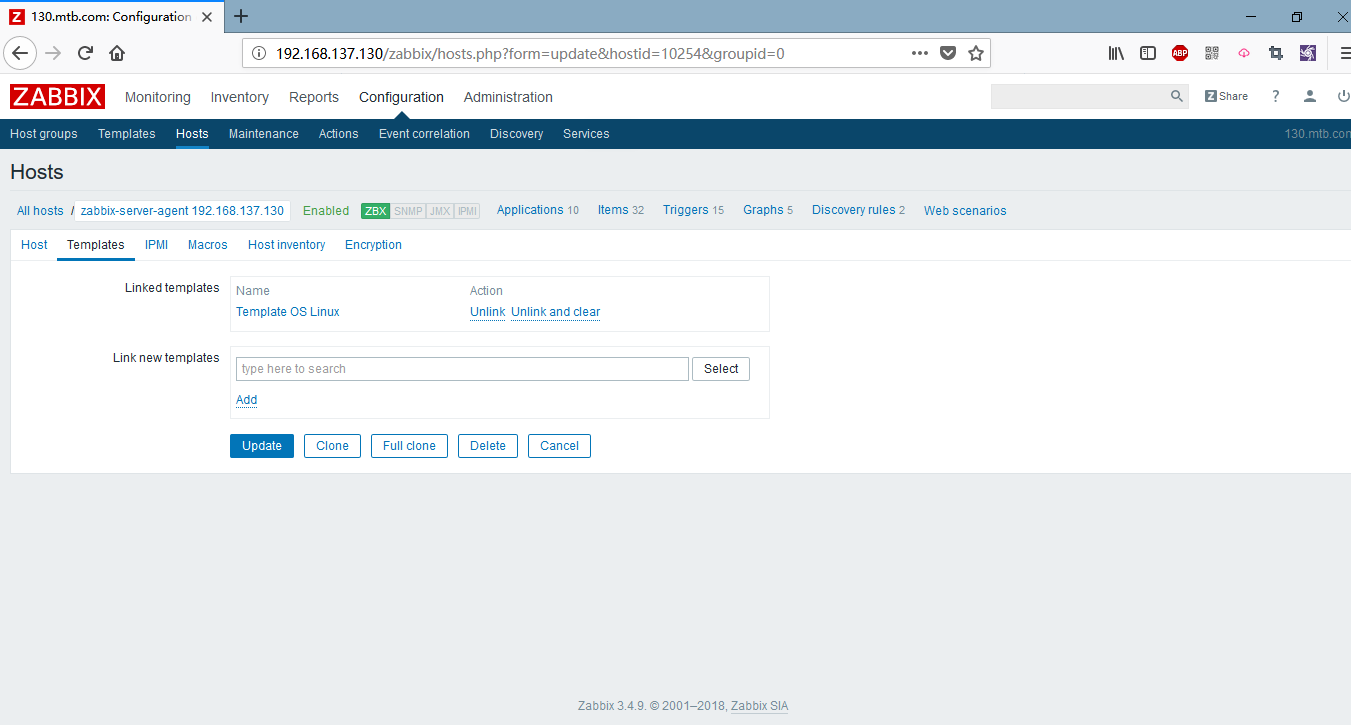
点击创建
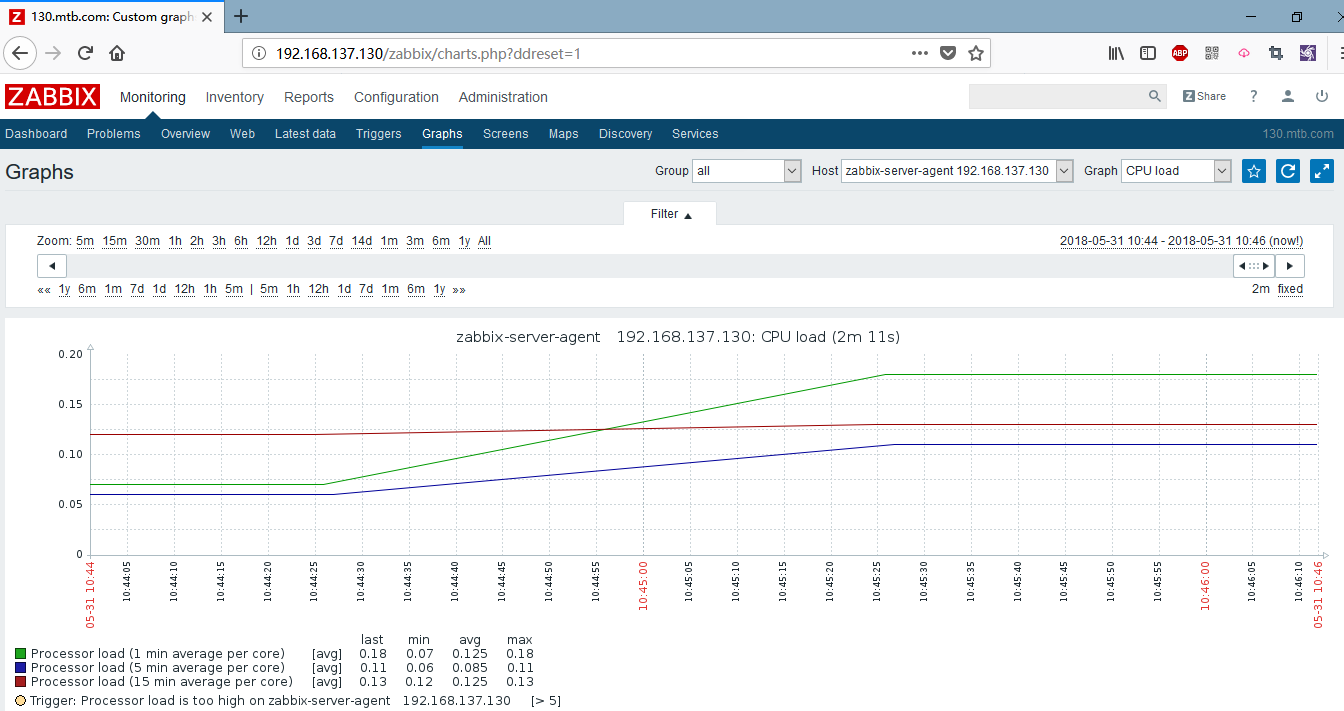
主机后面的Z不是绿色,即不在线,是因为没有添加监控项,稍等会变成绿色
在图形管理界面的monitoring的graph界面选中cpu loader

zabbix oncentos 7
zabbix:2.0,2,2,2.4
epel
zabbix20
zabbix22
查看版本:zabbix_agentd–V
linux开源监控系统
Nagios
cacti
zabbix
ganglia
(1)zabbix_server
server的配置文件为zabbix_server.conf,至少应该为其配置数据库等相关信息,例如
LogFile=/var/log/zabbix/zabbix_server.log
LogFileSize=0
PidFile=/var/run/zabbix/zabbix_server.pid
DBHost=localhost
DBName=zabbix
DBUser=zabbix
DBPassword=zabbix
DBSocket=/tmp/mysql.sock
SNMPTrapperFile=/var/log/snmptrap/snmptrap.log
AlertScriptsPath=/usr/lib/zabbix/alertscripts
ExternalScripts=/usr/lib/zabbix/externalscripts
(2)配置php环境
编辑/etc/httpd/conf.d/zabbix.conf,添加如下项:
php_valuedate.timezone=Asia/Shanghai
启动httpd服务:systenctl start httpd.server
访问zabbix web
登录:Admin/zabbix
(3)配置zabbix_agent
agent的配置文件为zabbix_agentd.conf,至少应该为其指定server的IP地址