介绍
云锁是一款服务器安全软件,能够防护网站注入等众多漏洞
最近服务器升级到LNMP1.5以后.安装NGINX1.14.0后无法启动云锁,甚至都无法初始化云锁
降级安装1.13.12后,开启插件导致网站不可用
问了管理员以后,获得了内测版的云锁客户端可服务端
服务器安装:yunsuo_agent_3.0.63.1_64bit.tar.gz
用户电脑安装:yunsuo_gui_setup_3.1.18.1.exe
安装了以后,nginx1.13.12会被替换为1.13.2.NGINX1.14.0直接无法开启防护模块
因此需要对NGINX1.14.0重新编译
步骤介绍
其实步骤可以在 http://help.yunsuo.com.cn/guide/Nginx_inst.html 查看
就两部
 configure时添加路径
 configure后修改Makefile文件
准备
先把LNMP升级到1.5.
步骤
进入lnmp1.5目录,运行
wget https://codeload.github.com/yunsuo-open/nginx-plugin/zip/master -O nginx-plugin-master.zip && unzip nginx-plugin-master.zip && cd nginx-plugin-master/ && pwd 记录显示的文件目录路径,如/root/lnmp1.5/nginx-plugin-master
进入lnmp1.5目录cd ..
运行vi lnmp.conf
Nginx_Modules_Options一行添加
Nginx_Modules_Options='--add-module=/root/lnmp1.5/nginx-plugin-master'路径为上一步获得的路径,保存退出
修改nginx.sh脚本,这里修改的是upgrade_nginx.sh,只针对upgrade.sh有效
为了是能够在编译前暂停,实现修改Makefile文件
vi include/upgrade_nginx.sh
找到 make -j `grep 'processor' /proc/cpuinfo | wc -l`
上方添加
Press_Start
保存退出
最终效果为:
 else
        ./configure --user=www --group=www --prefix=/usr/local/nginx --with-http_stub_status_module --with-http_ssl_module --with-http_v2_module --with-http_gzip_static_module --with-http_sub_module --with-stream --with-stream_ssl_module ${Nginx_With_Openssl} ${Nginx_Module_Lua} ${NginxMAOpt} ${Nginx_Modules_Options}
    fi
    Press_Start
    make -j `grep 'processor' /proc/cpuinfo | wc -l`
    if [ $? -ne 0 ]; then
        make
fi运行./upgrade.sh
升级nginx为1.14.0
升级中会运行到暂停的步骤
暂停的时候重新ssh连接到服务器,修改
 vi src/nginx-1.14.0/objs/Makefile
CFLAGS=...-Werror -g后追加宏定义 -DHIGHERTHAN8
保存退出后继续脚本运行,完成NGINX的升级安装
小问题
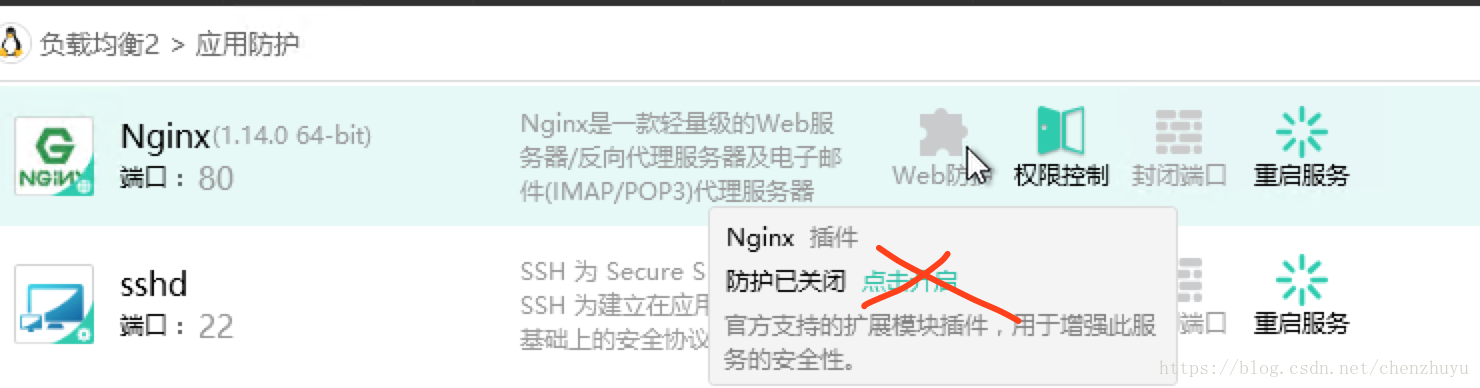
现在服务器是已经开启了防护的,但是客户端的WEB防护按钮是灰色的,不影响防护
并且千万不要点击开启防护,否则NGINX会被替换为1.13.2
其他参考连接
http://www.cctv01.cn/