1、首先需要在配置中指定文件的上传路径,先说一下springboot默认的访问文件夹
默认情况下Spring Boot 使用WebMvcAutoConfiguration中配置的各种属性。
默认映射的文件夹有:
classpath:/META-INF/resources
classpath:/resources
classpath:/static
classpath:/public
上面这几个都是静态资源的映射路径,优先级顺序为:META-INF/resources > resources > static > public
2、上传文件,肯定是需要存储在某个外部文件夹中,不能存储在项目中,所以需要指定外部文件夹
使用 spring.resources.static-locations 可以重新定义 pattern 所指向的路径,支持 classpath: 和 file:
修改 application.properties 配置文件
upload-path=D:/supload/
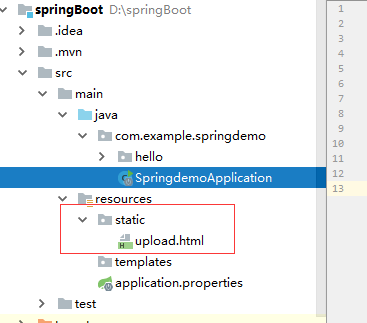
spring.resources.static-locations=classpath:/METAINF/resources/,classpath:/resources/,classpath:/static/,classpath:/public/,file:${upload-path}3、由于springboot默认提供了访问文件夹,我将新建的html文件放在了static里面
<!DOCTYPE html>
<html lang="en">
<head>
    <meta charset="UTF-8">
    <title>文件上传</title>
</head>
<body>
    <form enctype="multipart/form-data" method="post" action="/testupload">
        图片<input type="file" name="file"/>
    <input type="submit" value="上传"/>
</form>
</body>
</html>
4、上传文件代码
package com.example.springdemo.hello;

import org.apache.commons.io.FileUtils;
import org.springframework.web.bind.annotation.PostMapping;
import org.springframework.web.bind.annotation.RequestParam;
import org.springframework.web.bind.annotation.RestController;
import org.springframework.web.multipart.MultipartFile;

import java.io.File;
import java.util.UUID;

@RestController
public class UploadController {

    @PostMapping(value="/testupload")
    public void uploadFile(@RequestParam(name = "file") MultipartFile file){
        //判断文件是否为空
        if (!file.isEmpty()) {
            String originFileName = file.getOriginalFilename();
            //文件后缀名
            String ext= originFileName.substring(originFileName.lastIndexOf(".")+1);
            //重命名文件
            String targetFileName = UUID.randomUUID().toString() + "."+ext;
            //文件存储文件夹
            String parentPath = "D:/supload/"; //实际开发中从配置文件中读取
            File parentDir = new File(parentPath);
            if (!parentDir.exists()) {
                parentDir.mkdirs();
            }
            File target = new File(parentDir.getAbsolutePath(), targetFileName);
            try {
                //file.transferTo(target);
                // fix weblogic write file bug
                FileUtils.writeByteArrayToFile(target, file.getBytes());
            } catch (Exception e) {

            }
        }
    }
}
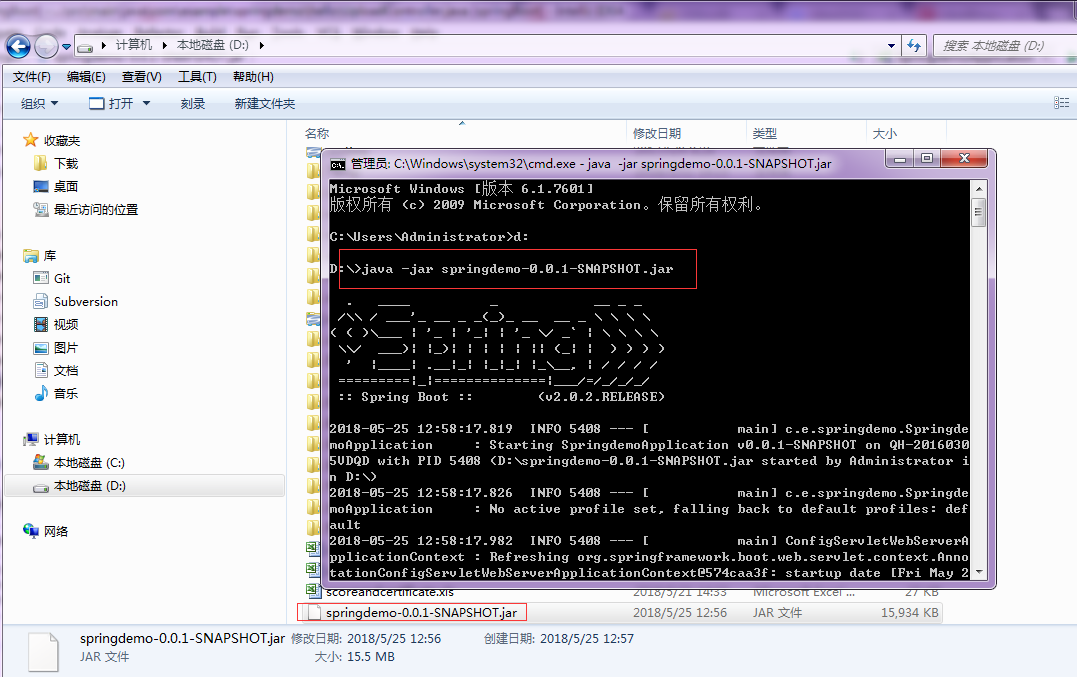
5、将项目打成jar包

6、运行jar包
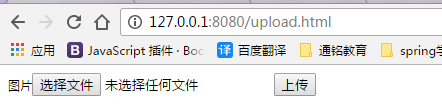
上传文件
访问文件
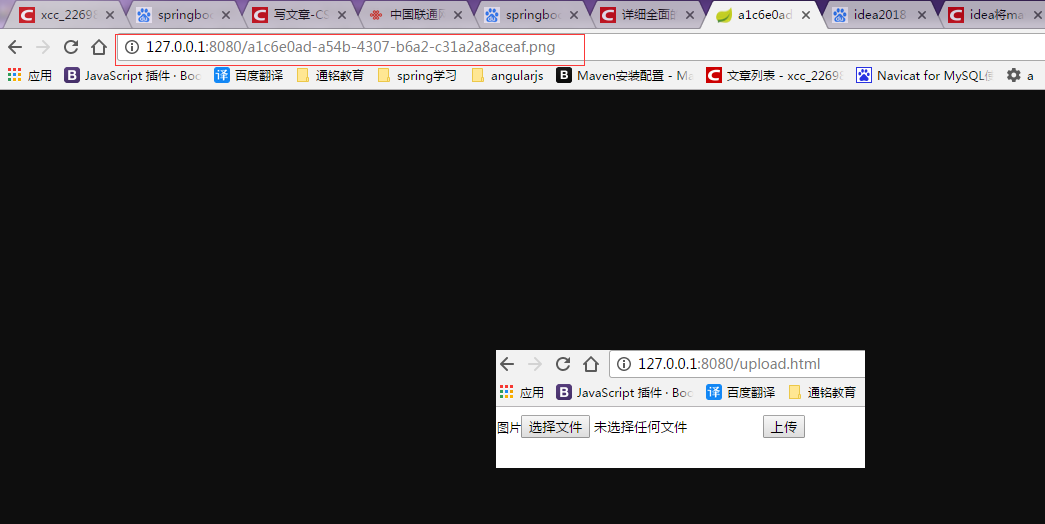
注意:使用此种办法你会发现只能是http://127.0.0.1:8080/019ab385-a155-44b9-bc10-8e07e6ba8bb6.png才能访问到
如果你想在返回的文件中加上文件的父目录 http://127.0.0.1:8080/content/019ab385-a155-44b9-bc10-8e07e6ba8bb6.png
这样就会报错。
如果想通过加入父目录的方式访问,需要重写WebMvcConfigurerAdapter,项目实际开发中大多使用这种办法
package com.example.springdemo.hello;
import org.springframework.context.annotation.Configuration;
import org.springframework.web.servlet.config.annotation.ResourceHandlerRegistry;
import org.springframework.web.servlet.config.annotation.WebMvcConfigurerAdapter;
@Configuration
public class ApplicationMvcConfig  extends WebMvcConfigurerAdapter {
    /**
     * 提供/content路径下静态文件访问功能
     */
    @Override
    public void addResourceHandlers(ResourceHandlerRegistry registry) {
        registry.addResourceHandler("content/**")
                .addResourceLocations("file:" + "D:/data/content/");
    }
}
并将之前写在配置文件中的spring.resources.static-locations注释掉
此时在访问就可以了