最近在学习Git,各种对比下来决定使用GITLAB来进行本地安装练习,以下将详细安装步骤共享出来。
安装环境:
CentOS7_64
因为GITLAB是面向于64位机的,32位的安装起来可能会有点麻烦,所以这里选择了使用CentOS7_64位机。
官网下载地址:
http://120.52.73.13/isoredirect.centos.org/centos/7/isos/x86_64/CentOS-7-x86_64-DVD-1511.iso
TIP: 1.CentOS7在安装时默认是最小安装,可以根据需要自行选择。

2.CentOS7如果安装图形界面,第一次登录时会
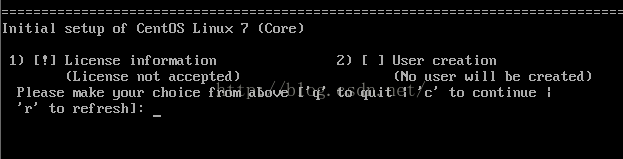
此时依次输入1,2,q,yes然后就可以进入图形界面
3.CentOS7默认是不开启网络的,简单解决方式如下(详细配置修改清自行百度)
(1).cd /etc/sysconfig/network-scripts
(2).ls -l ifcfg* (找到ifcfg开头的文件)
(3).用vi指令打开
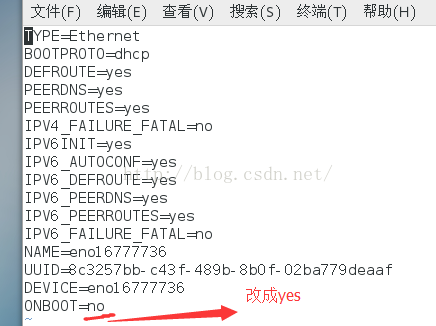
(3).wq保存退出,重启网络服务 --service network restart
(4).ping www.baidu.com 测试一下看看网络是否正常
按以上步骤下来你可以得到一个健康的Cent0S7系统,然后可以依次输入以下命令来进行安装
1.sudo yum install curl policycoreutils openssh-server openssh-clients
2.sudo systemctl enable sshd
3.sudo systemctl start sshd
4.sudo yum install postfix
5.sudo systemctl enable postfix
6.sudo systemctl start postfix
7.sudo firewall-cmd --permanent --add-service=http
8.sudo systemctl reload firewalld
9.curl -sS http://packages.gitlab.cc/install/gitlab-ce/script.rpm.sh | sudo bash
10.sudo yum install gitlab-ce
11.curl -LJO https://mirrors.tuna.tsinghua.edu.cn/gitlab-ce/yum/el7/gitlab-ce-8.9.5-ce.0.el7.x86_64.rpm
12.rpm -i gitlab-ce-8.9.5-ce.0.el7.x86_64.rpm
开启GITLab
sudo gitlab-ctl start
关闭GITLab
sudo gitlab-ctl stop
重启GITLab
sudo gitlab-ctl restart
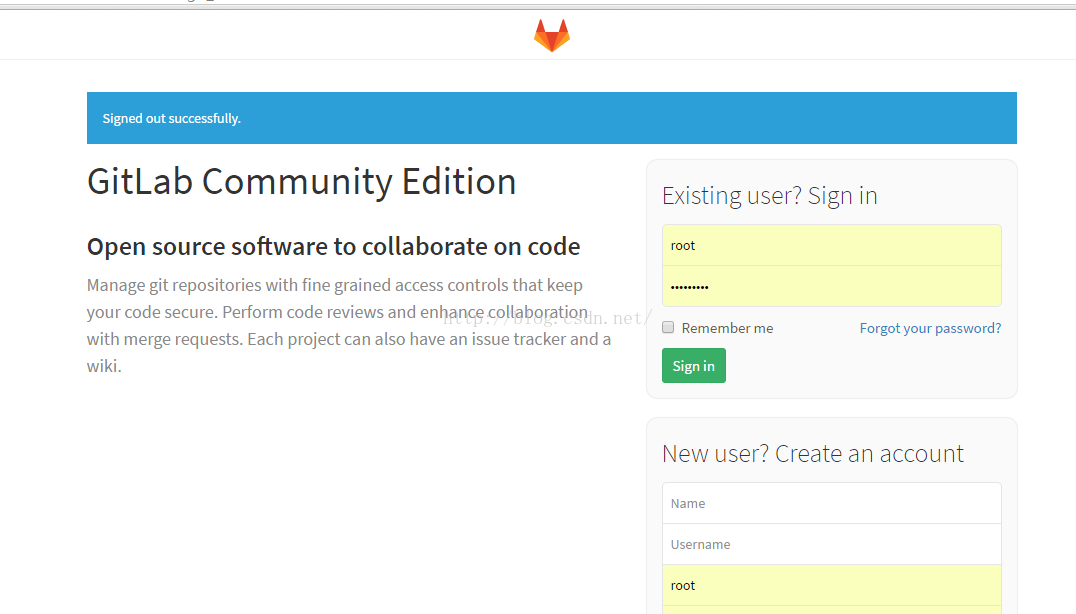
因为这种安装会附带安装Nignx,所以GITLAB占用80端口,访问时直接访问IP就可以(第一次会让你确认root账户登录的密码)。