Flat Coloring
So you’ve got a cool black on white drawing, and now you want to color it! The thing we’ll aim for in this tutorial is to get your lineart colored in with flat colors. So no shading just yet. We’ll be going through some techniques for preparing the lineart, and we’ll be using the layer docker to put each colour on a separate layer, so we can easily access each colour when we add shading.
Understanding Layers
To fill lineart comfortably, it’s best to take advantage of the layerstack. The layer stack is pretty awesome, and it’s one of those features that make digital art super-convenient.
In traditional art, it is not uncommon to first draw the full background before drawing the subject. Or to first draw a line art and then colour it in. Computers have a similar way of working.
In programming, if you tell a computer to draw a red circle, and then afterwards tell it to draw a smaller yellow circle, you will see the small yellow circle overlap the red circle. Switch the commands around, and you will not see the yellow circle at all: it was drawn before the red circle and thus ‘behind’ it.
This is referred to as the “drawing order”. So like the traditional artist, the computer will first draw the images that are behind everything, and layer the subject and foreground on top of it. The layer docker is a way for you to control the drawing order of multiple images, so for example, you can have your lineart drawn later than your colors, meaning that the lines will be drawn over the colors, making it easier to make it neat!
Other things that a layer stack can do are blending the colors of different layers differently with blending modes, using a filter in the layer stack, or using a mask that allows you to make parts transparent.
Tip
Programmers talk about transparency as ‘’Alpha’‘, which is because the ‘a’ symbol is used to present transparency in the algorithms for painting one color on top of another. Usually when you see the word ‘’Alpha’’ in a graphics program, just think of it as affecting the transparency.
Preparing your line-art
Put the new layer underneath the layer containing the lineart(drag and drop or use the up/down arrows for that), and draw on it.
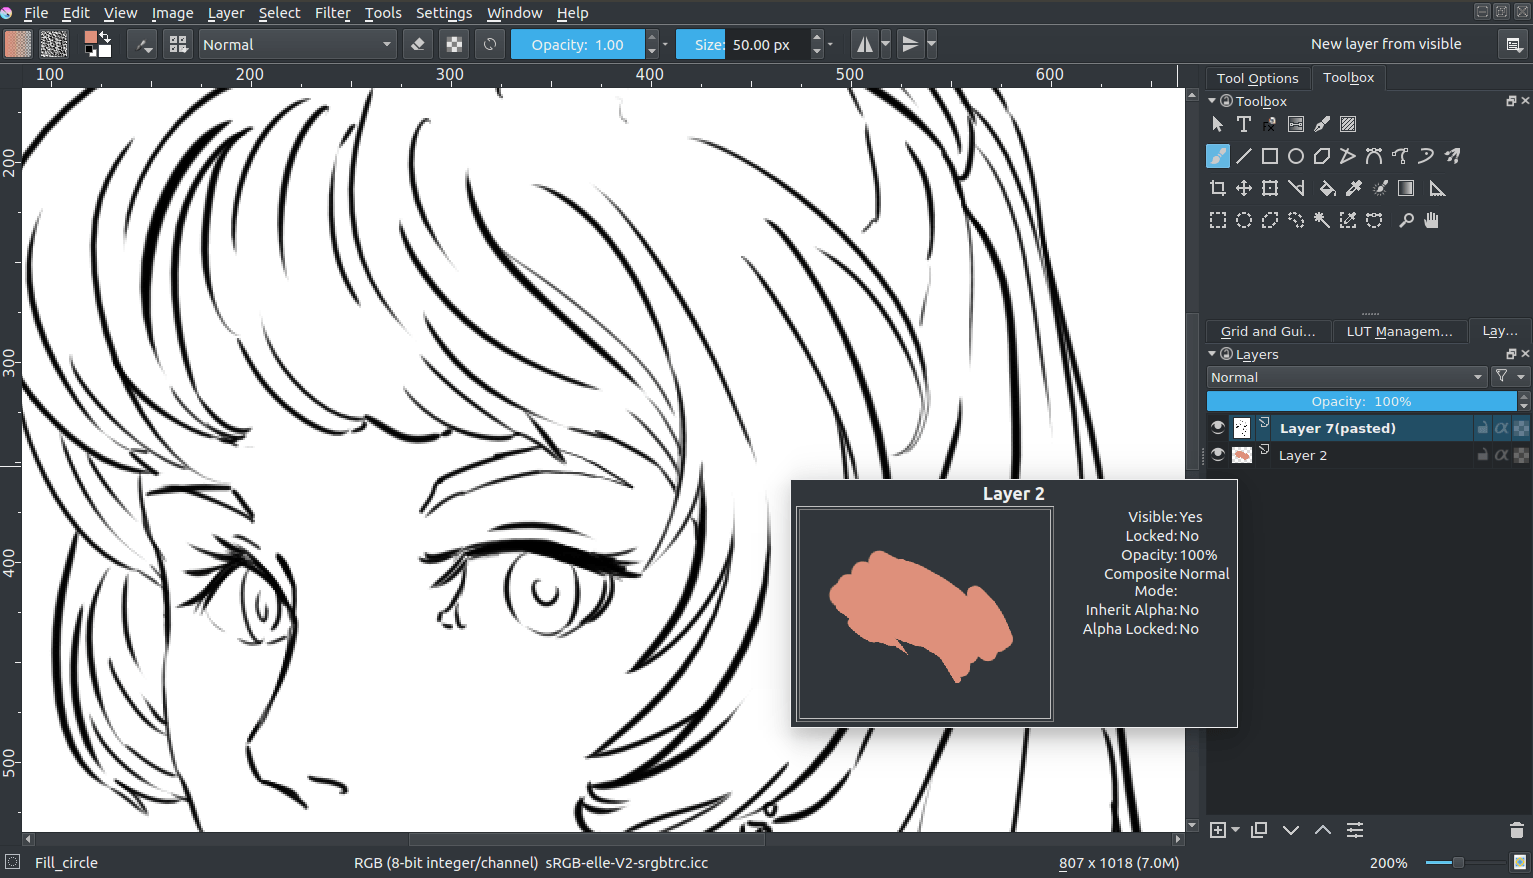
…And notice nothing happening. This is because the white isn’t transparent. You wouldn’t really want it to either, how else would you make convincing highlights? So what we first need to do to colour in our drawing is prepare our lineart. There’s several methods of doing so, each with varying qualities.
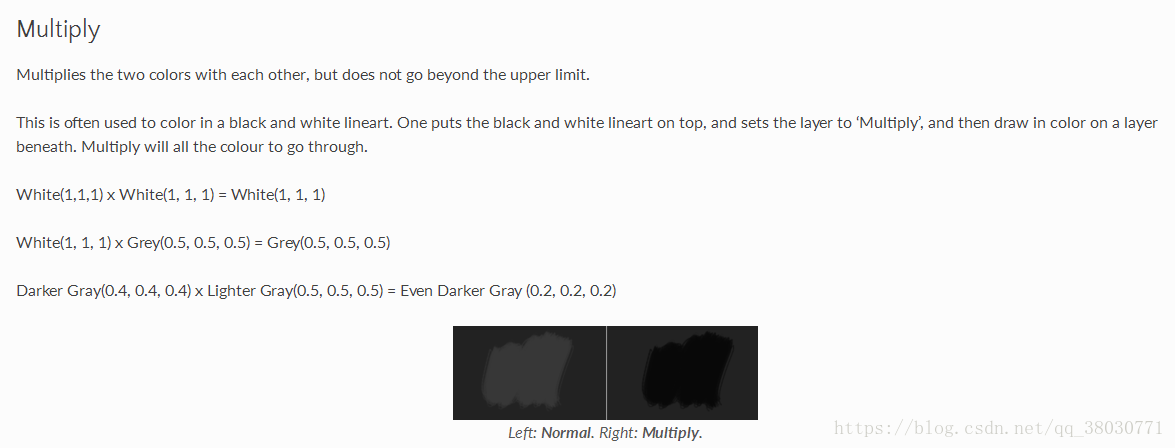
The Multiply Blending Mode
So, typically, to get a black and white lineart usable for colouring, you can set the blending mode of the lineart layer to Multiply. You do this by selecting the layer and going to the drop down that says Normal and setting that to Multiply.
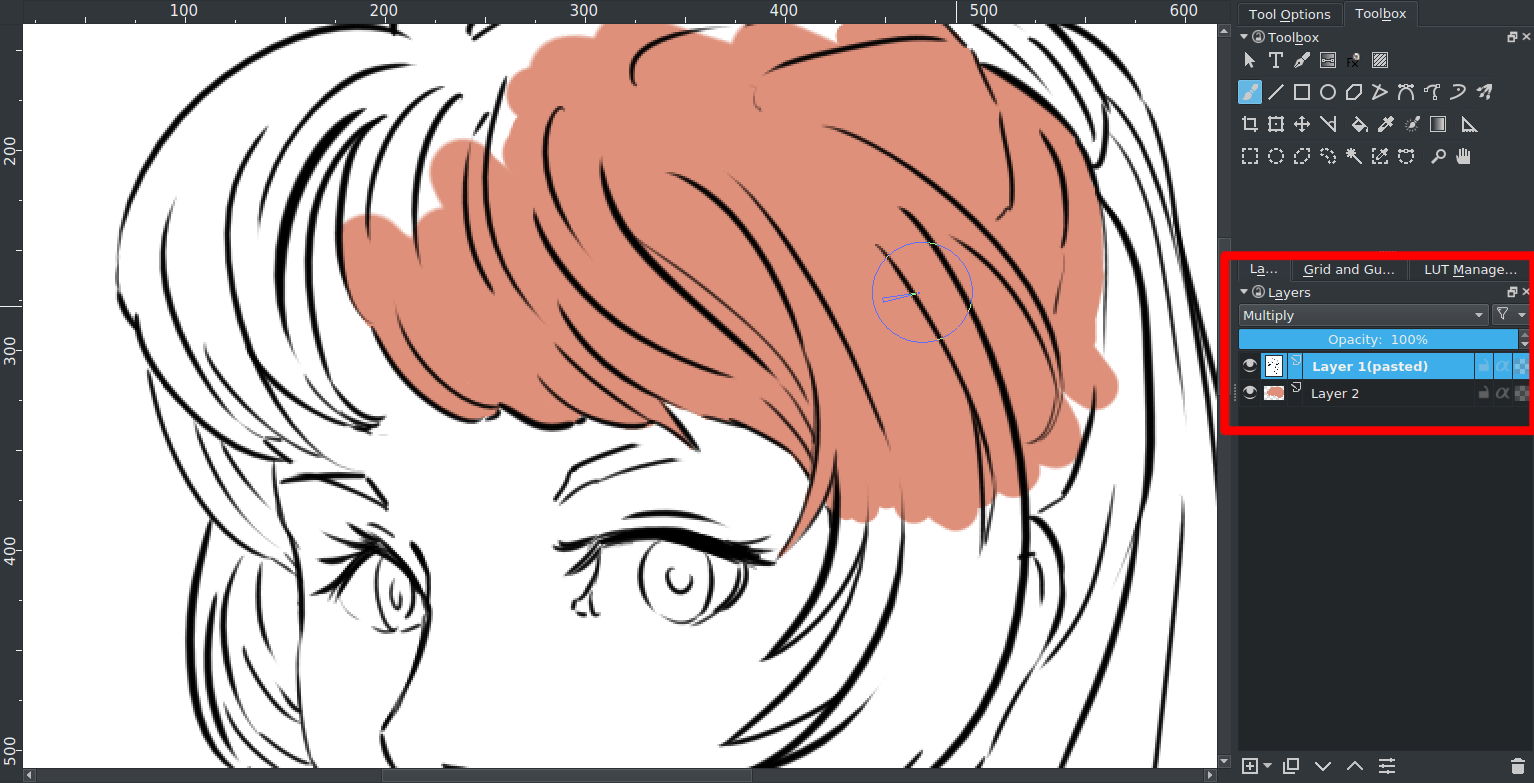
And then you should be able to see your colors!
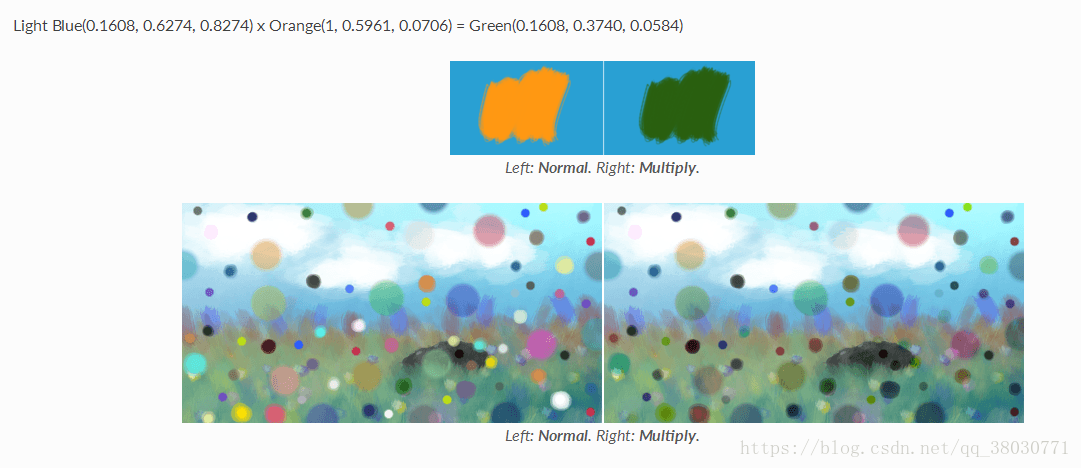
Multiply is not a perfect solution however. For example, if through some image editing magic I make the lineart blue, it results into this:
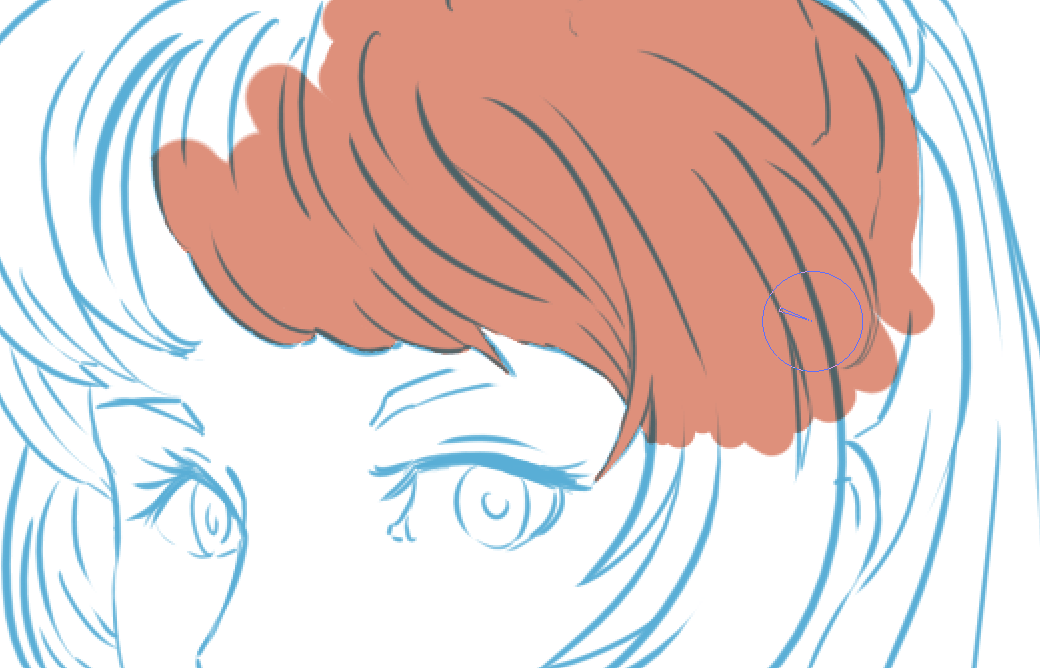
This is because multiply literally multiplies the colors. So it uses maths!
What it first does is take the values of the RGB channels, then divides them by the max(because we’re in 8bit, this is 255), a process we call normalising. Then it multiplies the normalised values. Finally, it takes the result and multiplies it with 255 again to get the result values.
| Pink | Pink(normalised) | Blue | Blue(normalised) | Normalised, multiplied | Result | |
|---|---|---|---|---|---|---|
| Red | 222 | 0.8705 | 92 | 0.3607 | 0.3139 | 80 |
| Green | 144 | 0.5647 | 176 | 0.6902 | 0.3897 | 99 |
| Blue | 123 | 0.4823 | 215 | 0.8431 | 0.4066 | 103 |
This isn’t completely undesirable, and a lot of artists use this effect to add a little richness to their colors.
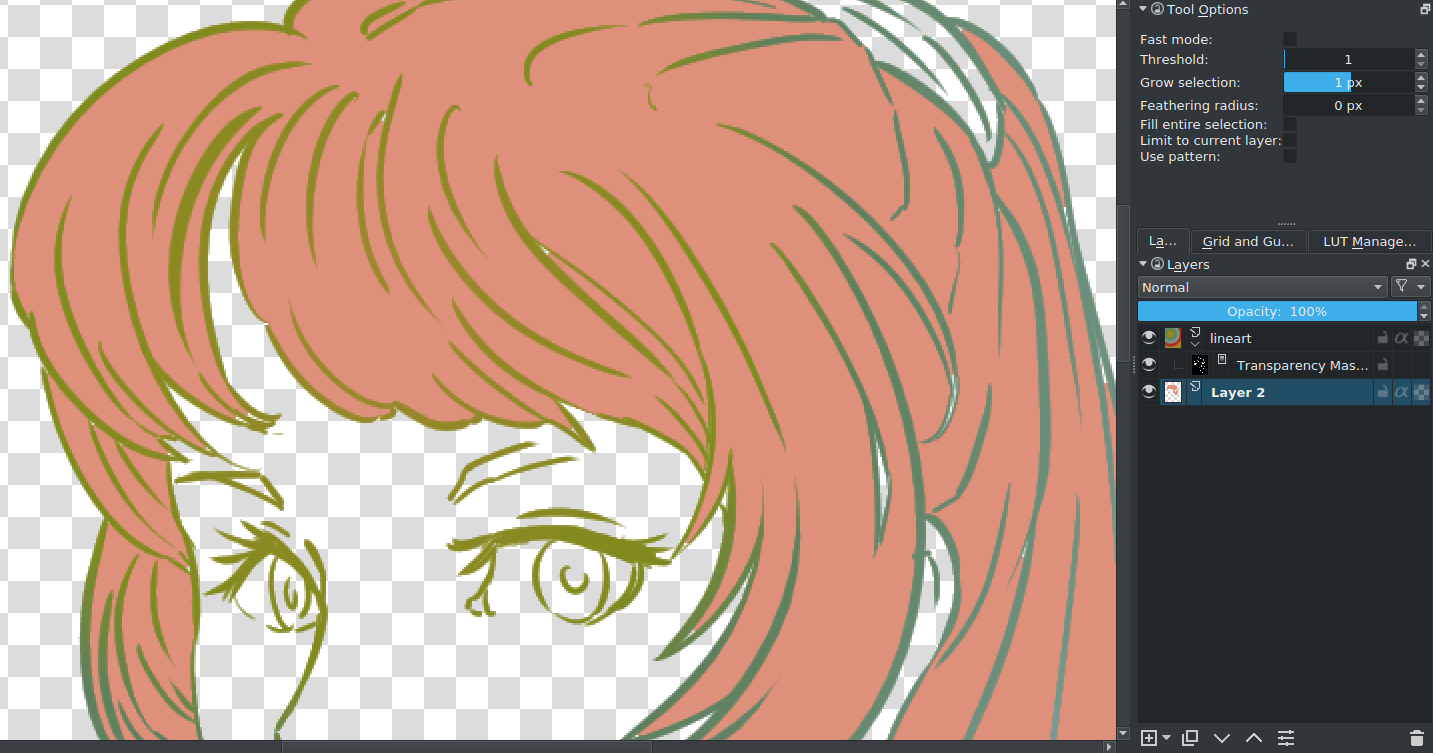
Fill Tool

In most cases the fill-tool can’t deal with the anti-aliasing(the soft edge in your lineart to make it more smooth when zoomed out) In Krita you have the grow-shrink option. Setting that to say… 2 expands the colour two pixels.
Threshold decides when the fill-tool should consider a different colour pixel to be a border. And the feathering adds a extra soft border to the fill.
Now, if you click on a gapless-part of the image with your preferred colour…(Remember to set the opacity to 1.0!)
Depending on your lineart, you can do flats pretty quickly. But setting the threshold low can result in little artifacts around where lines meet:
However, setting the threshold high can end with the fill not recognising some of the lighter lines. Besides these little artifacts can be removed with the brush easily.
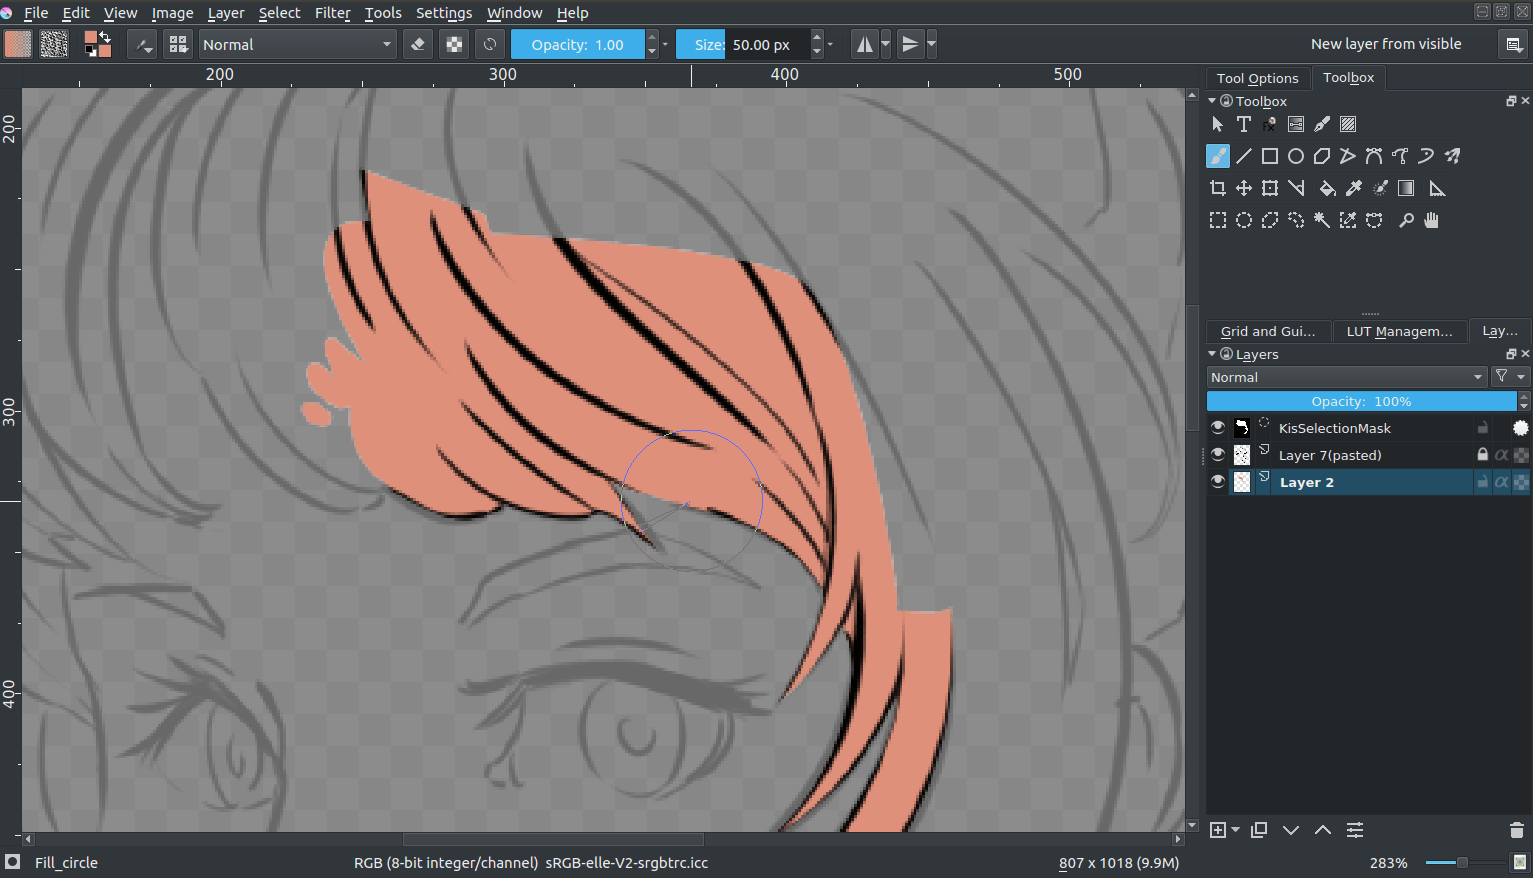
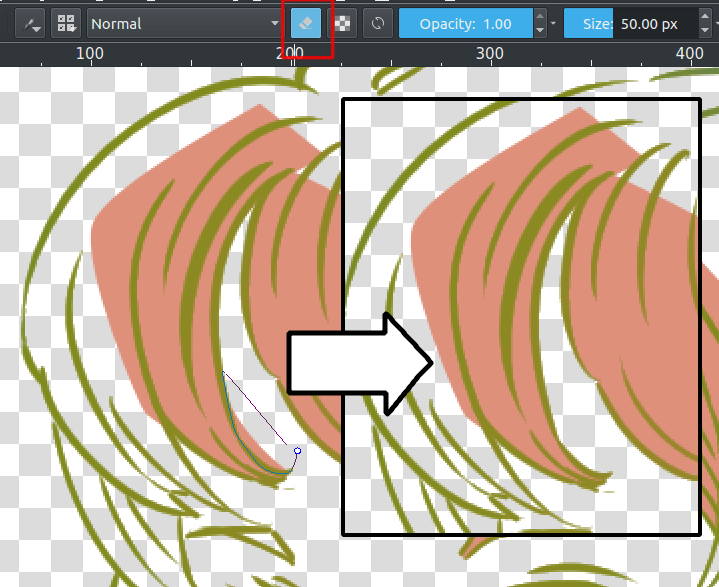
Selections
Selections work using the selection tools.

For example with the Path Selection Tool you can easily select a curved area, and the with Shift +  (not + Shift, there’s a difference!) you can easily add to an existing selection.
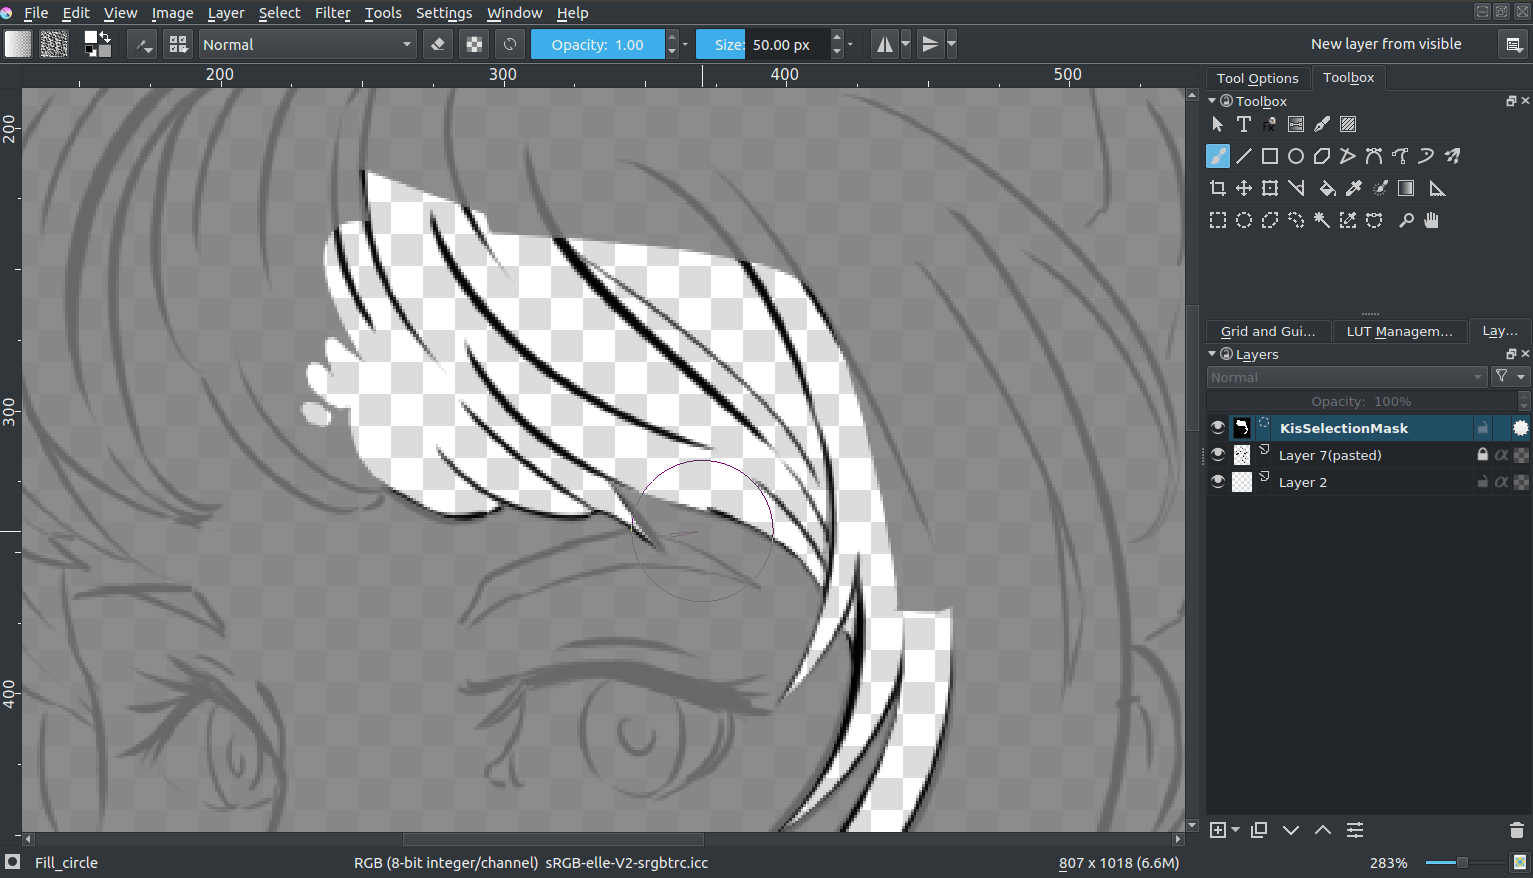
You can also edit the selection if you have turned on. Then you can select the global selection mask, and paint on it. (Above with the alternative selection mode, activated in the lower-left corner of the stats bar)
When done, select the color you want to fill it with and press shift + backspace.
You can save selections in selection masks by  a layer, and then going to . You first need to deactivate a selection by pressing the circle before adding a new selection.
This can serve as an alternative way to split out different parts of the image, which is good for more painterly pieces:
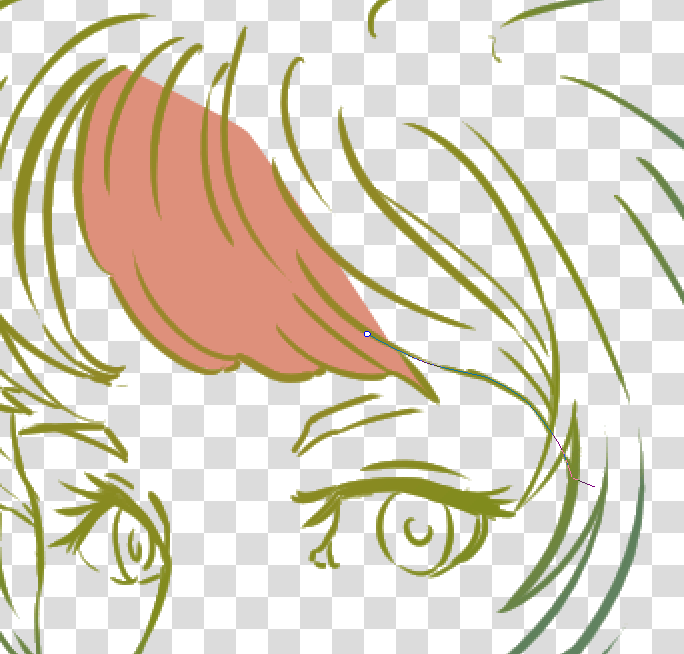
Geometric tools
So you have a tool for making rectangles or circles. And in the case of Krita, a tool for bezier curves. Select the path tool ( ), and set the tool options to fill=foreground and outline=none. Make sure that your opacity is set to 1.00(fully opaque).
By clicking and holding, you can influence how curvy a line draw with the path tool is going to be. Letting go of the mouse button confirms the action, and then you’re free to draw the next point.
You can also erase with a geometric tool. Just press E or the eraser button.
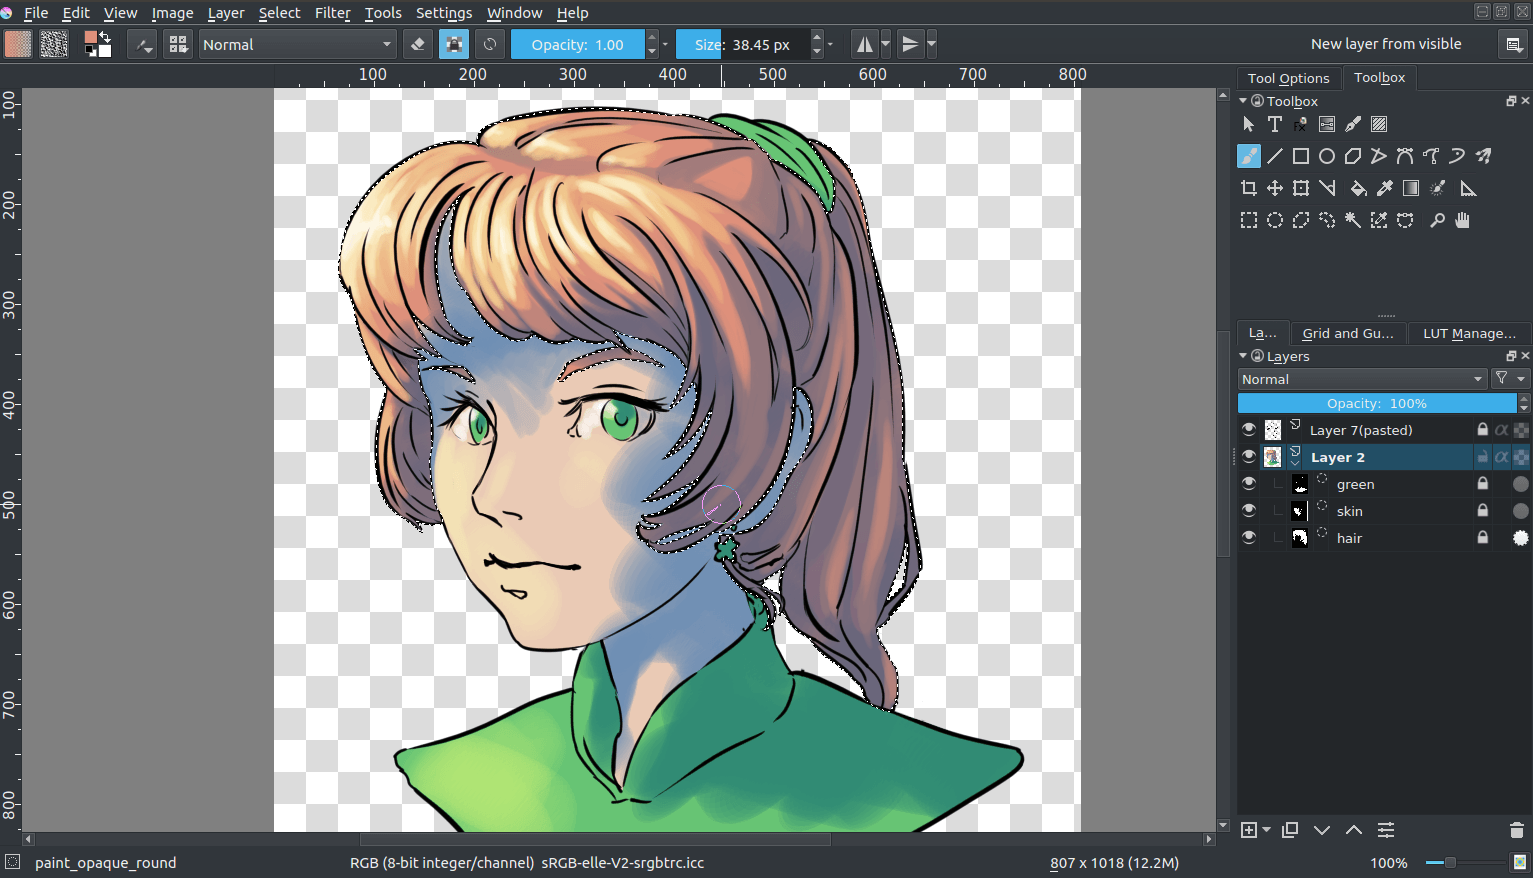
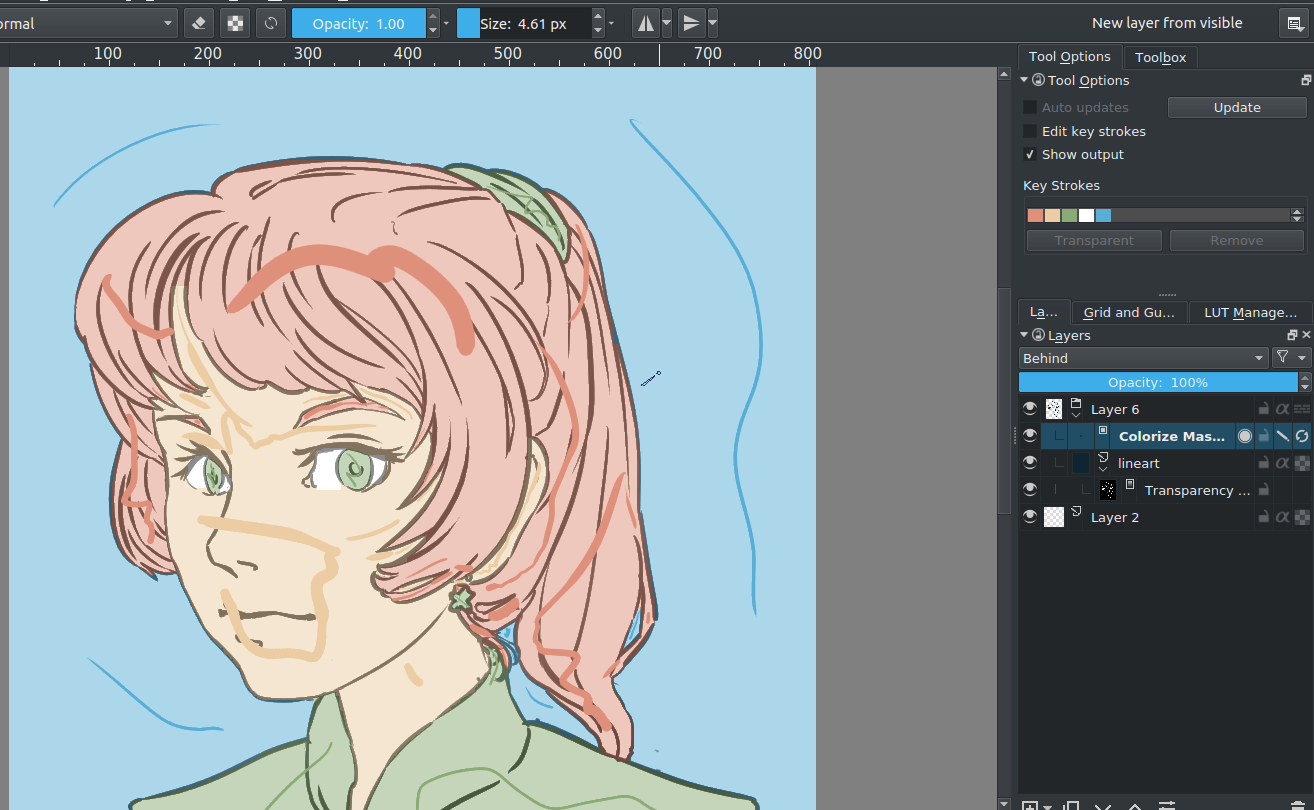
Colorize Mask
So, this is a bit of an odd one. In the original tutorial, you’ll see I’m suggesting using G’Mic, but that was a few years ago, and g’mic is a little unstable on windows. Therefore, the Krita developers have been attempting to make an internal tool doing the same.
It is disabled in 3.1, but if you use 4.0 or later, it is in the toolbox. Check the Colorize Mask for more information.
So it works like this:
- Select the colorize mask tool.
- Tick the layer you’re using.
- Paint the colors your want to use on the colorize mask
- Click update to see the results:
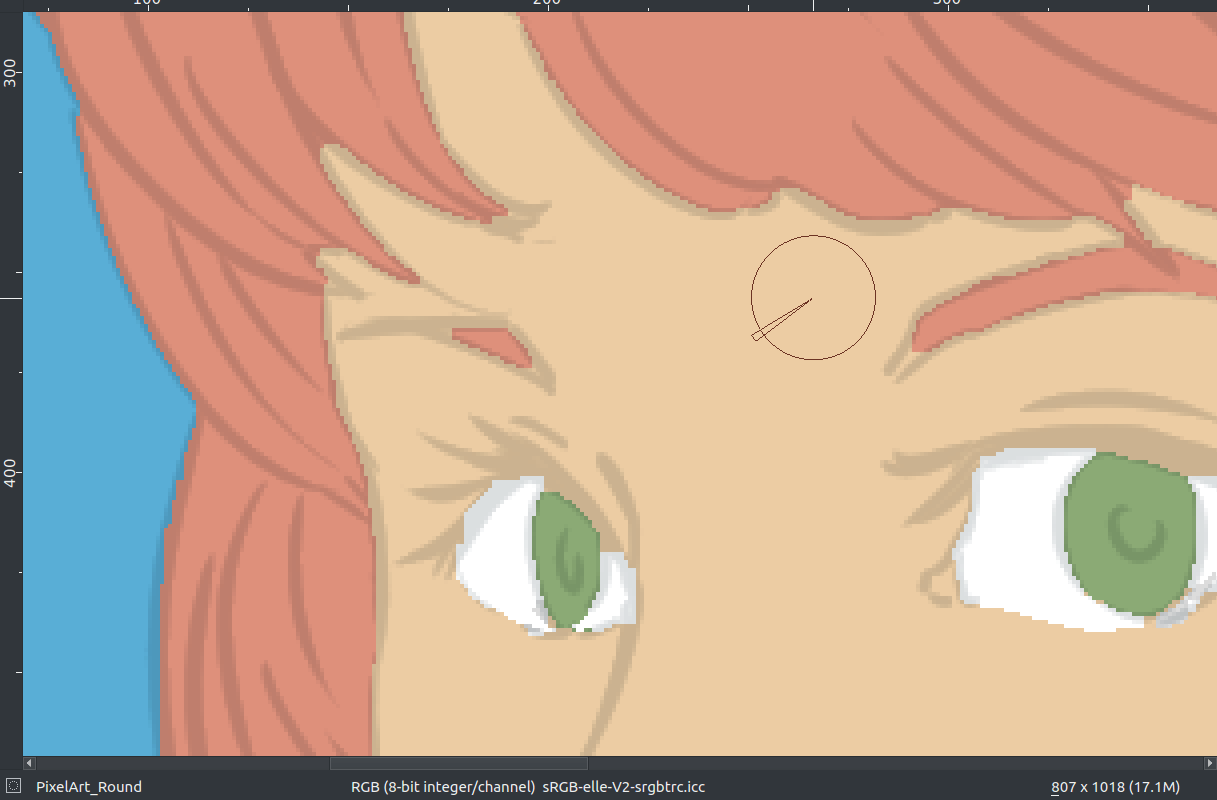
When you are satisfied, the colorize mask, and go to . This will turn the colorize mask to a generic paint layer. Then, you can fix the last issues by aking the lineart semi-transparent and painting the flaws away with a pixel art brush.
Then, when you are done, split the layers via . There’s a few options you can choose, but the following should be fine:
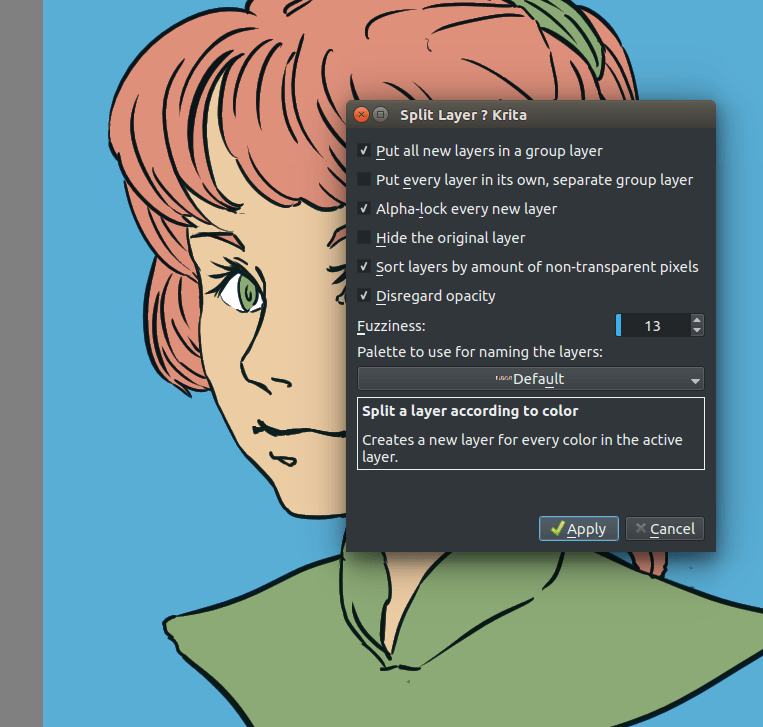
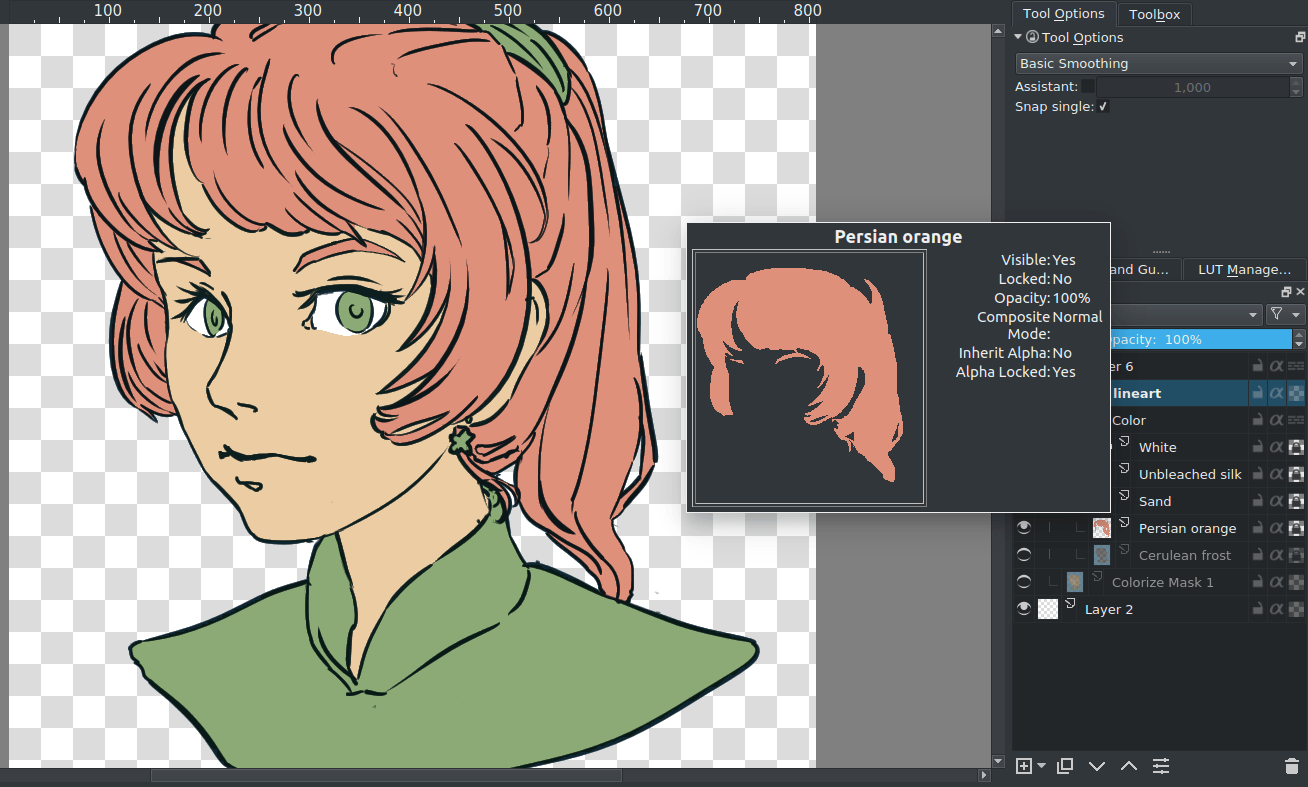
Finally, press Ok and you should get the following. Each color patch it on a different layer, named by the palette in the menu and alpha locked, so you can start painting right away!
Conclusion
I hope this has given you a good idea of how to fill in flats using the various techniques, as well as getting a hand of different Krita features. Remember that a good flat filled lineart is better than a badly shaded one, so keep practising to get the best out of these techniques!
文章转自krita官网使用教程
-----------------------------------------------------------------------下面的字是我加的-------------------------------------------------------------------------------
其实上色方法大致分为两种模式:使用颜色蒙版与在线稿下方建立图层上色
使用颜色蒙版速度快,但是边缘可能不平滑,而且要求区域闭合。
在线稿下方简历图层上色时,如果线稿背景为白色则需要设置线稿图层为正片叠底(四则运算里的乘法,multiply)。
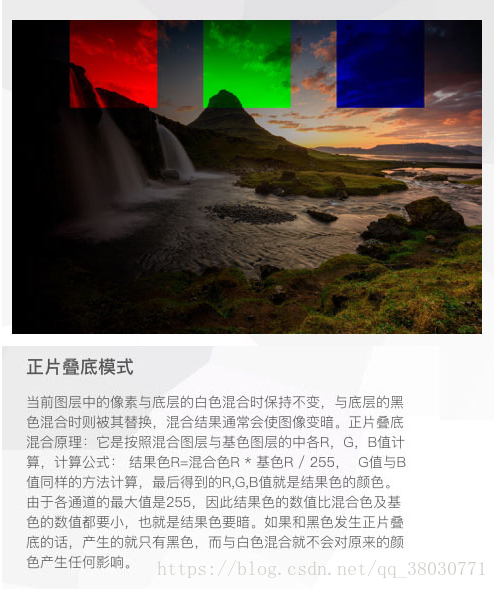
线稿图层设置为正片叠底(乘法)后,下方图层的颜色,与白色(线稿背景)混合不发生任何变化,与黑色(线稿的线)混合,结果色只有黑色,所以用这种方式处理白色背景线稿非常合理。
如果线稿背景透明,则保持混合模式为正常即可。
截下来,就可以在上色图层上色了。
上色时可使用直接使用填充工具,也可选择后再使用填充工具,可使用贝塞尔曲线,还可使用各式各样的笔刷。
各式各样的笔刷,提供了各种创作的可能性。