一、在eclipse中创建maven-archetype-webapp项目:
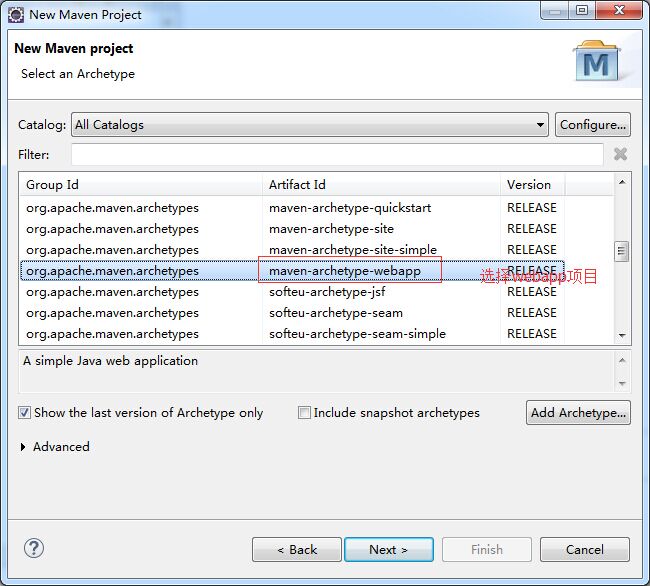
1.新建项目选择maven项目

2.默认,下一步

3.选择maven-archetype-webapp,其他保持默认即可
4.如下填写完成后,点击完成即可

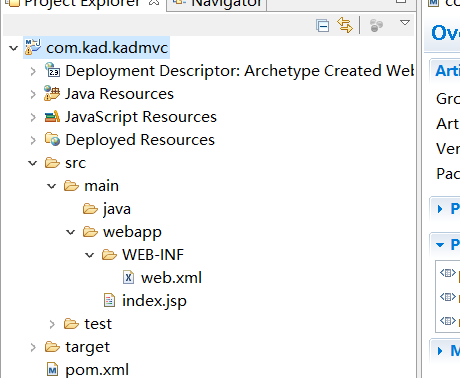
5.创建完成后的maven项目结构如下

其中index.jsp报错,错误信息:Multiple annotations found at this line: - The superclass "javax.servlet.http.HttpServlet" was not found on the Java
意思是缺少servlet包,我们可以导入javax.servlet-api-3.1.0.jar包,我们可以用两种方式来处理:
1> 在pom.xml中的dependencies中加入依赖包
<!-- https://mvnrepository.com/artifact/javax.servlet/javax.servlet-api -->
<dependency>
    <groupId>javax.servlet</groupId>
    <artifactId>javax.servlet-api</artifactId>
    <version>3.1.0</version>
    <scope>provided</scope>
</dependency>
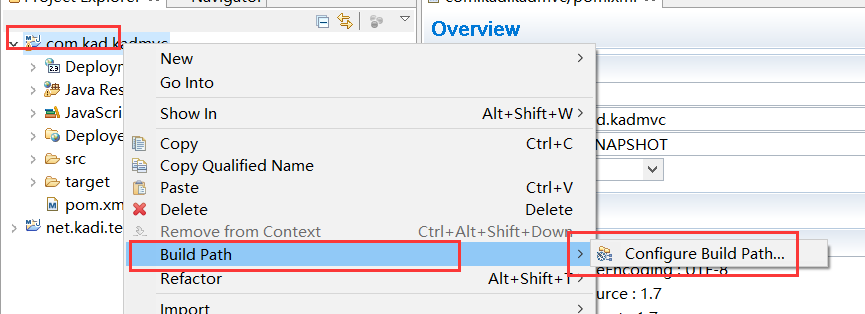
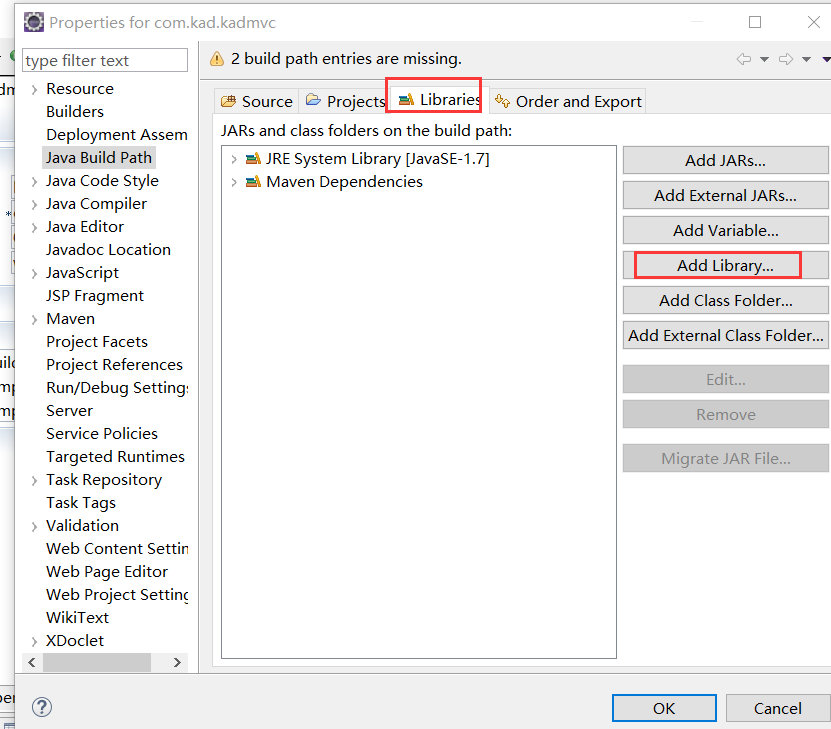
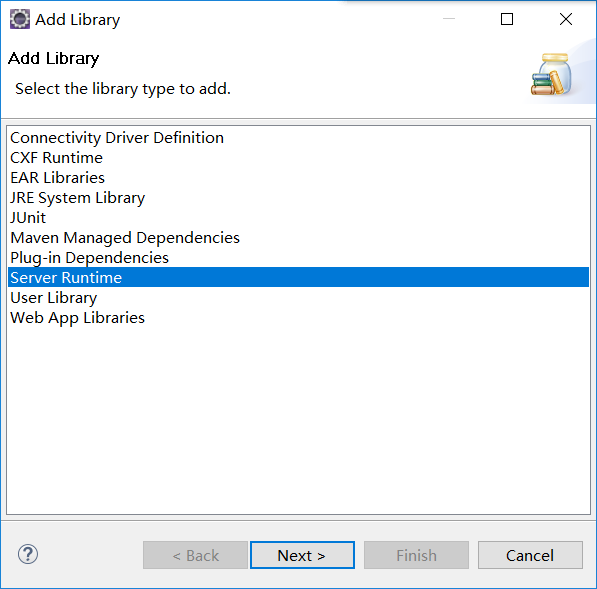
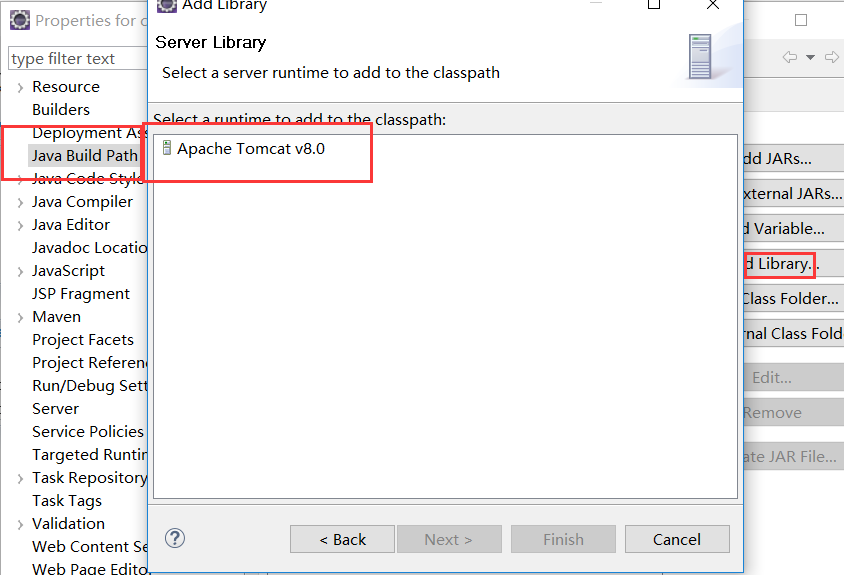
2> 可以在build path中添加tomcat 库,如下
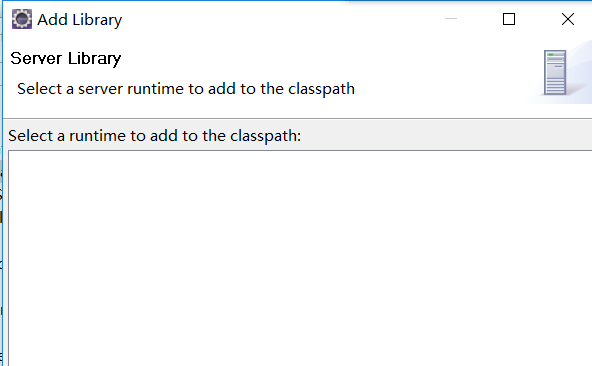
为空 需要添加tomcat ,配置sever 入下
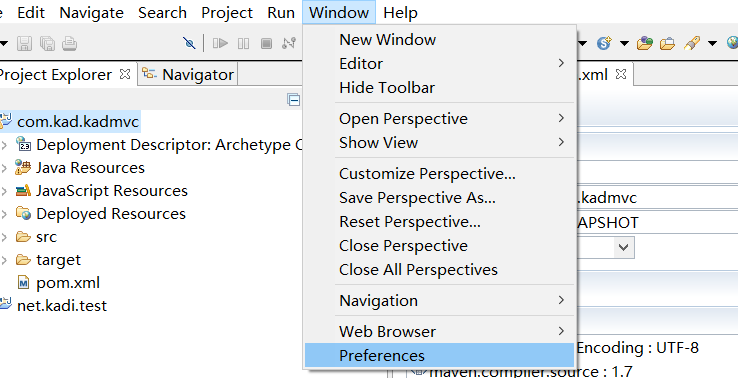
打开Eclipse,单击“Window”菜单,选择下方的“Preferences”。
单击“Server”选项,选择下方的“Runtime Environments”。
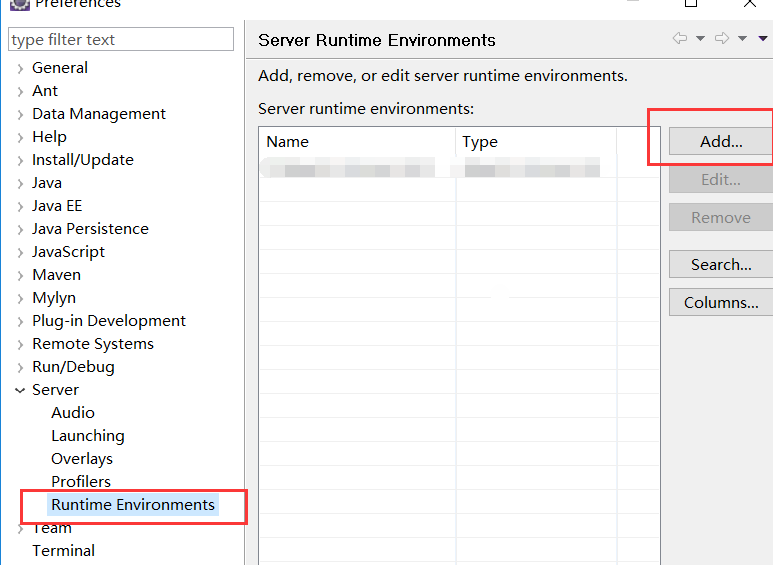
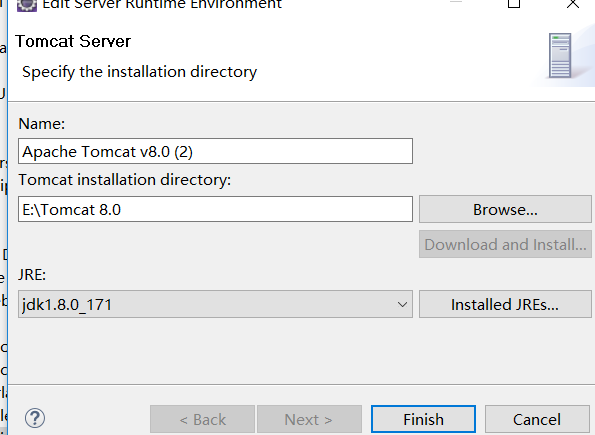
点击“Add”添加Tomcat。
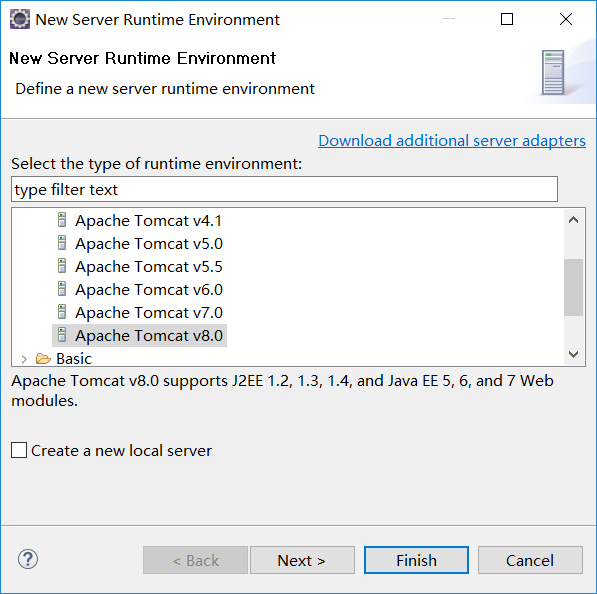
点击“Next”,选中自己安装的Tomcat路径。
配置server完成.接着配置 上边的 上边的buidpath
有了
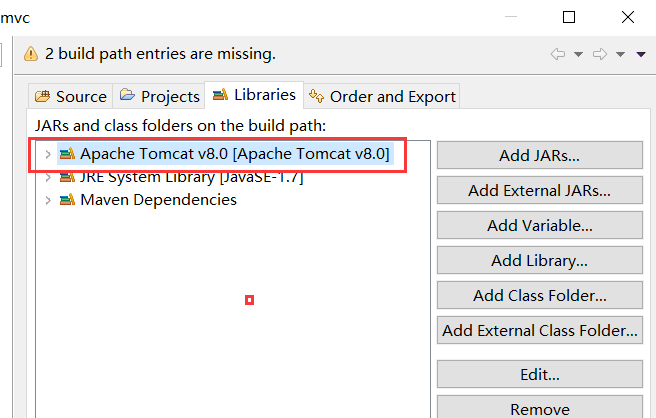
添加成功
至此,一个正常的maven web项目已经建好,如下:
二、配置springMVC
1.在pom.xml中添加对spring的依赖 pom.xml
 <properties>
      <spring.version>4.3.18.RELEASE</spring.version>
  </properties>
 <dependency>
        <groupId>org.springframework</groupId>
        <artifactId>spring-core</artifactId>
        <version>${spring.version}</version>
    </dependency>
    <dependency>
        <groupId>org.springframework</groupId>
        <artifactId>spring-web</artifactId>
        <version>${spring.version}</version>
    </dependency>
    <dependency>
        <groupId>org.springframework</groupId>
        <artifactId>spring-webmvc</artifactId>
        <version>${spring.version}</version>
    </dependency>
报错

 <properties>
      <spring.version>4.3.18.RELEASE</spring.version>
  </properties> 把这个加上就好了..
2.编辑web.xml文件
web.xml内容
<web-app version="3.0" xmlns="http://java.sun.com/xml/ns/javaee"
    xmlns:xsi="http://www.w3.org/2001/XMLSchema-instance"
    xsi:schemaLocation="http://java.sun.com/xml/ns/javaee
    http://java.sun.com/xml/ns/javaee/web-app_3_0.xsd">

  <display-name>Archetype Created Web Application</display-name>

  <servlet>
      <servlet-name>dispatcher</servlet-name>
      <servlet-class>org.springframework.web.servlet.DispatcherServlet</servlet-class>
          <init-param>
             <param-name>contextConfigLocation</param-name>
          <param-value>classpath:springContext.xml</param-value>
      </init-param>
      <load-on-startup>1</load-on-startup>
  </servlet>
  <servlet-mapping>
      <servlet-name>dispatcher</servlet-name>
      <url-pattern>/</url-pattern>
  </servlet-mapping>
  <context-param>
      <param-name>contextConfigLocation</param-name>
      <param-value>classpath:springContext.xml</param-value>
  </context-param>
  <listener>
      <listener-class>org.springframework.web.context.ContextLoaderListener</listener-class>
  </listener>
</web-app>
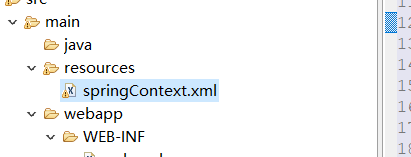
3.创建springContext.xml文件,在src/main/resources包中创建springContext.xml文件,如图:
<?xml version="1.0" encoding="UTF-8"?>
<beans xmlns="http://www.springframework.org/schema/beans"
xmlns:context="http://www.springframework.org/schema/context"
xmlns:xsi="http://www.w3.org/2001/XMLSchema-instance"
xsi:schemaLocation="
http://www.springframework.org/schema/beans
http://www.springframework.org/schema/beans/spring-beans-3.0.xsd
http://www.springframework.org/schema/context
http://www.springframework.org/schema/context/spring-context-3.0.xsd">
<!-- 搜索spring控件 -->
<context:component-scan base-package="com.kad.test"></context:component-scan>
<!-- 视图页面配置 -->
<bean class="org.springframework.web.servlet.view.InternalResourceViewResolver">
<property name="prefix">
<value>/WEB-INF/views/</value>
</property>
<property name="suffix">
<value>.jsp</value>
</property>
</bean>
</beans>
在springContext.xml中,base-package是指定spring控制器控件的包,前缀指定的是视图目录,被设置为/WEB-INF/views,即视图目录被放到WEB-INF下。后缀指定的是视图的扩展名。例如,"hellospring"视图,将被放到/WEB-INF/views/hellospring.jsp。
4. 创建Spring控制器和视图
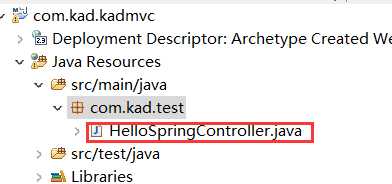
package com.kad.test;

import org.springframework.stereotype.Controller;
import org.springframework.web.bind.annotation.RequestMapping;
import org.springframework.web.bind.annotation.RequestParam;
import org.springframework.web.servlet.ModelAndView;


@Controller
public class HelloSpringController {
    String message = "Welcome to Spring MVC!";

    @RequestMapping("/hello")
    public ModelAndView showMessage(@RequestParam(value = "name", required = false, defaultValue = "Spring") String name) {

        ModelAndView mv = new ModelAndView("hellospring");//指定视图  向视图中添加所要展示或使用的内容,将在页面中使用
        mv.addObject("message", message);
        mv.addObject("name", name);
        return mv;
    }
}
HelloSpringController.java
在上面的代码中,@Controller注解为Spring标注前置控制器的方式,@RequestMapping注解映射web请求到具体要操作的类或者方法上面,@RequestMapping注解既可以用到类上,也可以用到方法上,在此不再详述,如有疑问,可以百度。@RequestParam注解为请求指定参数。这种方式提供了一个一致 的编程风格。
另外上述代码中ModelAndView类指定具体的视图,这里是"hellospring",由于我们在springContext.xml配置了视图的前后缀,所以在这里只需要写出视图的具体名称即可,其具体指定的就是:前缀+视图名称+后缀,即完整的视图路径/WEB-INF/views/hellospring.jsp,也就是所要展示的视图的位置。
项目首页index.jsp内容

<%@ page language="java" contentType="text/html; charset=UTF-8"
pageEncoding="UTF-8"%>
<!DOCTYPE html PUBLIC "-//W3C//DTD HTML 4.01 Transitional//EN" "http://www.w3.org/TR/html4/loose.dtd">
<html>
<head>
<meta http-equiv="Content-Type" content="text/html; charset=UTF-8">
<title>Spring 4 MVC - HelloWorld Index Page</title>
</head>
<body>

    <center>
        <h2>Hello World</h2>
        <h3>
            <a href="hello?name=zhangsan">点击跳转</a>
        </h3>
    </center>
</body>
</html>
上述代码中,点击跳转 的链接其实就是我们HelloSpringController.java中定义的控制器的一个@RequestMapping注解方法,name=zhangsan为showMessage接受的参数。
在/WEB-INF/views/下创建hellospring.jsp视图,如图:

hellospring.jsp
<%@ page language="java" contentType="text/html; charset=UTF-8" pageEncoding="UTF-8"%>
<!DOCTYPE html PUBLIC "-//W3C//DTD HTML 4.01 Transitional//EN" "http://www.w3.org/TR/html4/loose.dtd">
<html>
<head>
<meta http-equiv="Content-Type" content="text/html; charset=UTF-8">
<title>Spring 4 MVC -HelloWorld</title>
</head>
<body>
    <center>
        <h2>Hello World</h2>
        <h2>
            ${message} ${name}     </h2>
    </center>
</body>
</html>
上述代码中显示我们在HelloSpringController.java的showMessage方法中添加的两个参数message和name,如图:

好,至此我们使用maven搭建springMVC的操作已经全部完成,完成后整个项目的结构如下图:

三、将项目部署到tomcat服务器运行
首页 http://localhost:8080/HelloSpringMVC/ ,其中也可以使用 http://localhost:8080/HelloSpringMVC/index.jsp 两个效果是一样的