一、概述:
DelayQueue是一个线程安全的无界延时阻塞队列。队列头部是延时时间最长的元素,也就是下一个将出队列的元素。该种队列一般在缓存系统和任务调度系统中使用。DelayQueue的基本属性如下。
public class DelayQueue<E extends Delayed> extends AbstractQueue<E>
    implements BlockingQueue<E> {
	// 重入锁
    private final transient ReentrantLock lock = new ReentrantLock();
	// 优先级队列
    private final PriorityQueue<E> q = new PriorityQueue<E>();
	// 当前线程
    private Thread leader = null;
	// 唤醒线程的条件
    private final Condition available = lock.newCondition();
 }
如类名所示:DelayQueue<E extends Delayed> 队列要求入队的对象实现Delayed接口。
实现这个接口的目的:实现getDelay(TimeUnit unit)方法,与compareTo(T o)方法。其中compareTo()是Comparable<T>接口中的方法。
实现这两个方法的目的:获取队列中元素的剩余时间,对队列中的元素进行优先级规则的排序。
Leader:当前获取锁的消费者线程
二、添加和移除的方法分析:
1)、offer()方法(添加元素)
public boolean offer(E e) {
	// 获取并上锁
    final ReentrantLock lock = this.lock;
    lock.lock();
    try {
        q.offer(e);
	/** 获取队列头部元素并且判断是否就是刚加进来的元素
	 *  唤醒最先等待的线程
	 */
        if (q.peek() == e) {
            leader = null;
            available.signal();
        }
        return true;
    } finally {
        lock.unlock();
    }
}public E take() throws InterruptedException {
final ReentrantLock lock = this.lock;
lock.lockInterruptibly();
try {
for (;;) {
E first = q.peek();
if (first == null)
// 队列中没有可用元素时把当前线程放入available的条件队列等待(阻塞)
available.await();
else {
// 获取剩余的过期时间
long delay = first.getDelay(NANOSECONDS);
if (delay <= 0)
// 获取队列头部元素
return q.poll();
// 释放first的引用,避免有可能引起的内存泄漏
first = null; // don't retain ref while waiting
if (leader != null)
// leader不为空时,说明已经有线程在操作队列中的元素了,把当前线程放入available的条件队列等待(阻塞),这样来避免线程竞争
available.await();
else {
Thread thisThread = Thread.currentThread();
leader = thisThread;
try {
available.awaitNanos(delay);
} finally {
if (leader == thisThread)
leader = null;
}
}
}
}
} finally {
if (leader == null && q.peek() != null)
available.signal();
lock.unlock();
}
}三、例子
/**
* @author Scott
* @date 11:23 2018/6/1
**/
public class DelayQueueModel implements Delayed {
// 数据
private String str;
// 延时时间
private long delayTime;
// 到期时间
private long timeOut;
/**
* 构造函数 到期时间 = 延时时间 - 当前系统时间
* @param str 数据
* @param timeOut 延迟时间
*/
DelayQueueModel(String str,long timeOut){
this.str = str;
this.delayTime = timeOut;
this.timeOut = timeOut + System.currentTimeMillis();
}
//返回距离你自定义的超时时间还有多少
public long getDelay(TimeUnit unit){
return unit.convert(timeOut - System.currentTimeMillis(), TimeUnit.MILLISECONDS);
}
//比较getDelay()函数的返回值
public int compareTo(Delayed other){
if (other == this)
return 0;
DelayQueueModel delayQueueModel = (DelayQueueModel)other;
long time = (getDelay(TimeUnit.MILLISECONDS) - delayQueueModel.getDelay(TimeUnit.MILLISECONDS));
return (time == 0) ? 0 : ((time < 0) ? -1 : 1);
}
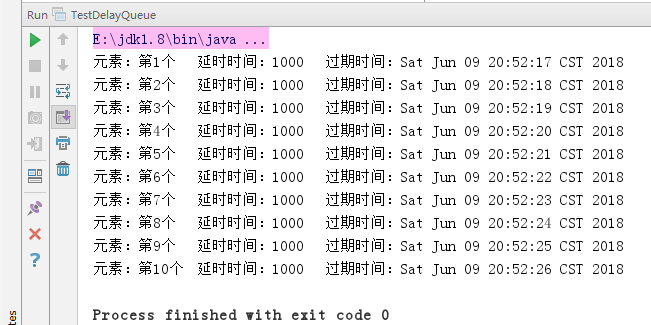
void print(){
System.out.println("元素:" + str + "\t 延时时间:" + delayTime + "\t 过期时间:" + new Date(timeOut));
}
}
public class TestDelayQueue {

    public static void main(String[] args) {
        DelayQueue<DelayQueueModel> queue = new DelayQueue<>();
        for(int i = 0; i < 10; i++){
            DelayQueueModel delayQueueModel = new DelayQueueModel("第"+ (i + 1) +"个", 1000);
            queue.put(delayQueueModel);
            try {
                queue.take().print();
            } catch (InterruptedException e) {
                e.printStackTrace();
            }
        }
    }
}