项目最开始用百度团队的文件上传组件做了个物料照片采集的功能,后来做员工头像采集时竟然不知道怎么使用了。
参照官方Demo:
http://fex.baidu.com/webuploader/getting-started.html
前端代码:
这里我的模板文件还用到了
<link href="~/Themes/P2Mobile/css/layer.css" rel="stylesheet" />
<script src="~/Themes/P2Mobile/js/layer.js"></script>
<script src="@Url.Content("~/Themes/Mobile/js/jquery-1.10.2.min.js")"></script>
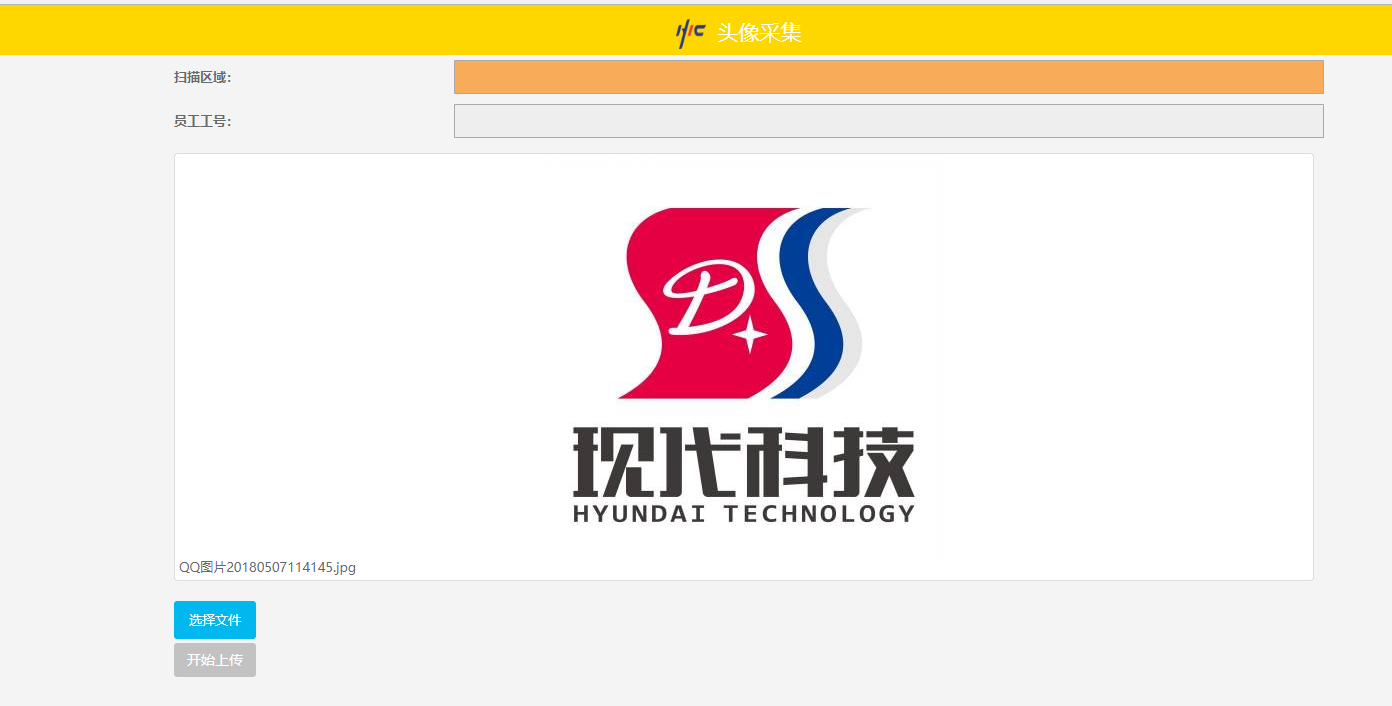
@{
    ViewBag.Title = "头像采集";
    Layout = "~/Views/P2Mobile/P2MB_LayoutPage.cshtml";
}
<link href="~/Themes/P2Mobile/css/webuploader.css" rel="stylesheet" />
<script src="~/Themes/P2Mobile/js/webuploader.min.js"></script>
<script type="text/javascript">
    function DeleteImg(fileid) {
        //页面层
        layer.open({
            type: 1
          , content: '<div class="row list-group"><div class="list-group-item font15" style="text-align:center"  id="cp_img_jian" data-picid="' + fileid + '"><p  style="display:inline-block;">删除</p></div></div>'
                      , anim: 'up'
                      , style: 'position:fixed; bottom:0; left:0; width: 100%; height: 40px; padding:10px 0; border:none;color:red;'
        });
    }
    $(document).ready(function () {
        $(document).on("click", "#cp_img_jian", function () {
            var pic = document.getElementById("cp_img_jian");
            var Id = pic.getAttribute('data-picid');
            uploader.removeFile(uploader.getFile(Id, true));
            $('#' + Id).remove();
            layer.closeAll();
        });

        var $list = $('#fileList'),
       // 优化retina, 在retina下这个值是2
       ratio = window.devicePixelRatio || 1,
       // 缩略图大小
       thumbnailWidth = 400 * ratio,
       thumbnailHeight = 400 * ratio,
       serverURL = '/FRUBarCodeOtherMobile/FRU_UploadImages?Material=',
        uploader;
        // 初始化Web Uploader
        uploader = WebUploader.create({
            // 自动上传。
            auto: false,
            // swf文件路径
            swf: '../../Themes/P2Mobile/js/Uploader.swf',
            // 文件接收服务端。
            server: "/FRUBarCodeOtherMobile/FRU_UploadImages",
            // 选择文件的按钮。可选。
            // 内部根据当前运行是创建,可能是input元素,也可能是flash.
            pick: '#filePicker',
            fileNumLimit: 10,//限制上传最多10张图片
            // 不压缩image, 默认如果是jpeg,文件上传前会压缩一把再上传!
            accept: {
                title: 'Images',
                extensions: 'gif,jpg,jpeg,bmp,png',
                mimeTypes: 'image/*'
            }
        });


        // 当有文件添加进来的时候
        uploader.on('fileQueued', function (file) {
            var $li = $(
                    '<div id="' + file.id + '" class="file-item thumbnail" onclick="DeleteImg(\'' + file.id + '\')">' +
                        '<img>' +
                        '<div class="info">' + file.name + '</div>' +
                    '</div>'
                    ),
                $img = $li.find('img');
            // $list为容器jQuery实例
            $list.append($li);

            // 创建缩略图
            // 如果为非图片文件,可以不用调用此方法。
            // thumbnailWidth x thumbnailHeight 为 100 x 100
            uploader.makeThumb(file, function (error, src) {
                if (error) {
                    $img.replaceWith('<span>不能预览</span>');
                    return;
                }

                $img.attr('src', src);
            }, thumbnailWidth, thumbnailHeight);

        });

        // 文件上传过程中创建进度条实时显示。
        uploader.on('uploadProgress', function (file, percentage) {
            var $li = $('#' + file.id),
                $percent = $li.find('.progress span');

            // 避免重复创建
            if (!$percent.length) {
                $percent = $('<p class="progress"><span></span></p>')
                        .appendTo($li)
                        .find('span');
            }

            $percent.css('width', percentage * 100 + '%');
        });

        // 文件上传成功,给item添加成功class, 用样式标记上传成功。
        uploader.on('uploadSuccess', function (file, response) {
            $('#' + file.id).addClass('upload-state-done');
        });

        // 文件上传失败,显示上传出错。
        uploader.on('uploadError', function (file) {
            var $li = $('#' + file.id),
                $error = $li.find('div.error');

            // 避免重复创建
            if (!$error.length) {
                $error = $('<div class="error"></div>').appendTo($li);
            }

            $error.text('上传失败');
        });

        // 完成上传完了,成功或者失败,先删除进度条。
        uploader.on('uploadComplete', function (file) {
            $('#' + file.id).find('.progress').remove();
        });

        //所有文件上传完毕
        uploader.on("uploadFinished", function () {
            var ststs = uploader.getStats();
            //提交表单
            alert("成功上传" + ststs.successNum + "张图片。");
            window.location.reload();//刷新页面
        });


        //执行上传
        $("#ctlBtn").click(function () {
            //var str_material = $("#txt_PartNo").val();
            //uploader.options.formData.material = str_material;
            uploader.upload();
            //window.location.href = "/FRUBarCodeOtherMobile/AvatarCollection";
        });
    })
</script>

<div style="padding: 5px;">
    <div class="row" style="margin-bottom: 5px;">
        <div class="col-xs-3" style="padding: 0; line-height: 34px; font-size: 1em">
            <label style="margin-left: 10px;">
                扫描区域:
            </label>
        </div>
        <div class="col-xs-9" style="padding: 0;">
            <input type="text" class="form-control" id="txt_scanarea" name="txt_scanarea" style="background-color: #f8ac59" />
        </div>
    </div>

    <div class="row" style="margin-bottom: 5px;">
        <div class="col-xs-3" style="padding: 0; line-height: 34px; font-size: 1em">
            <label style="margin-left: 10px;">
                员工工号:
            </label>
        </div>
        <div class="col-xs-9" style="padding: 0;">
            <input type="text" class="form-control" id="txt_PartNo" name="txt_PartNo" readonly />
        </div>
    </div>
</div>


<div id="uploader" class="wu-example">
    <!--用来存放文件信息-->
    <div id="fileList" class="uploader-list"></div>
    <div class="btns">
        <div id="filePicker">选择文件</div>
        <button id="ctlBtn" class="btn btn-default">开始上传</button>
    </div>
</div>

在点击了选择文件后,创建缩略图并追加上去