1、下载,解压
把下载的文件放到 /app/programs/目录下
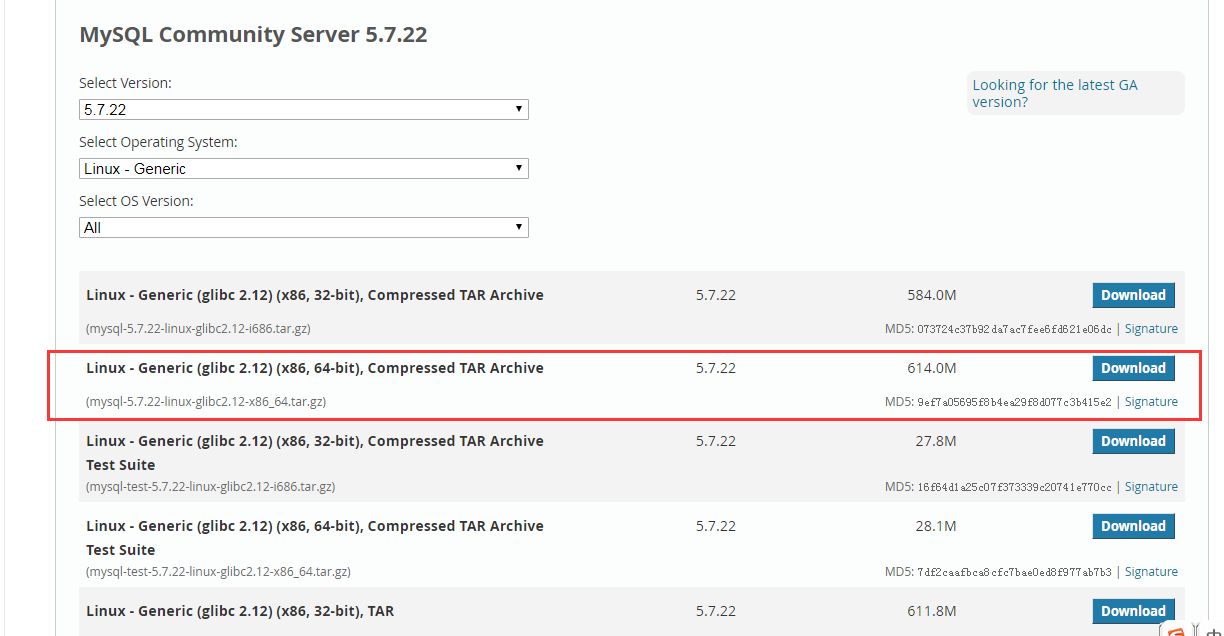
tar -zxvf mysql-5.7.22-linux-glibc2.12-x86_64.tar.gz
地址:https://dev.mysql.com/downloads/mysql/
2、建目录
/usr/local/mysql
3、将解压文件复制到新建目录
cp -r mysql-5.7.22-linux-glibc2.12-x86_64/ /usr/local/mysql/
4、创建用户组和用户
groupadd mysql
useradd -r -g mysql mysql
5、创建data目录
cd /usr/loca/mysql
mkdir data
6、修改目录权限
cd /usr/local/mysql
chown -R mysql:mysql ./
7、初始化
./mysqld --initialize --user=mysql --basedir=/usr/local/mysql/ --datadir=/usr/local/mysql/data/
注意生成的密码:HyjrkTcs8d>4
8、配置my.cnf
[mysqld]
basedir=/usr/local/mysql
datadir=/usr/local/mysql/data
socket=/tmp/mysql.sock
# Disabling symbolic-links is recommended to prevent assorted security risks
symbolic-links=0
# Settings user and group are ignored when systemd is used.
# If you need to run mysqld under a different user or group,
# customize your systemd unit file for mariadb according to the
# instructions in http://fedoraproject.org/wiki/Systemd

[mysqld_safe]
log-error=/usr/local/mysql/mysqld.log
pid-file=/usr/local/mysql/data/mysqld.pid

#
# include all files from the config directory
#
!includedir /etc/my.cnf.d
9、启动
cd /usr/local/mysql/bin
./mysqld_safe --user=mysql &
10、登录修改密码 mysql -uroot -p 上面初始化时的密码
alter user 'root'@'localhost' identified by 'root';
GRANT ALL PRIVILEGES ON *.* TO 'root1'@'%' IDENTIFIED BY 'root' WITH GRANT OPTION; #授权新用户
flush privileges; #刷新权限
11、设置开机启动
cd /usr/local/mysql/support-files/
cp mysql.server /etc/init.d/mysql
vi /etc/init.d/mysql
将mysql目录填上:
basedir=/usr/local/mysql/
datadir=/usr/local/mysql/data/
授权:chmod +x /etc/init.d/mysql
设为开机启动:chkconfig --add mysql
12、service启动和关闭
重启服务:service mysql restart
停止服务:service mysql stop
启动服务:service mysql start
查看服务:service mysql status