PythonCharm,OpenCV等安装配置见上一篇博客。
首先,Surf算法和SIFT算法在OpenCV3.3的Release版本中不存在,其存放在opencv_contrib目录下面的未稳定功能模块。
第一步,重新编译OpenCV3.3,配置opencv_contrib。
注意opencv_contrib版本号要与opencv一致,cmake版本号也不能太高,我下载的是opencv_contrib3.3.0,cmake3.8。
opencv_contrib下载地址:https://github.com/opencv/opencv_contrib/releases
cmake下载地址:https://cmake.org/files
配置contrib详情见大牛的:https://blog.csdn.net/linshuhe1/article/details/51221015
这一步很麻烦,我试了好久……因为cmake和opencv_contrib版本号的问题。
注意!!!!在cmake环节选择编译器一定要选择相应VS的win64版本编译!!因为跟着配置教程走,属于换成win64,浪费了好久的时间。!
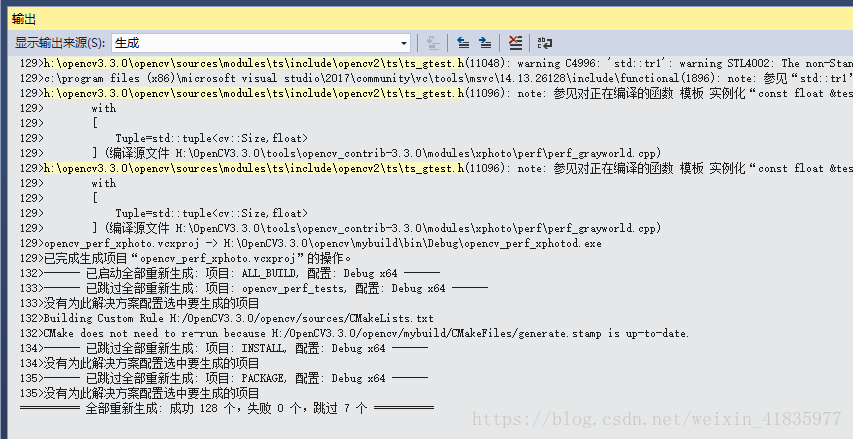
最后成功。
编译成功后,你会在myinstall文件夹目录下看到一系列附加库。
第二步,配置,包含VS,环境变量配置。
环境变量:在高级-环境变量-Path里添加opencv3.3.0的bin目录 + myinstall 的 bin 目录;
在VS的属性管理器中,Debugx64-VC++目录-library-分别添加opencv3.3.0本身,myinstall的lib目录;在include-分别添加opencv3.3.0本身,myinstall的include目录。
第三步,运行程序。
附上VS2017+opencv3.3.0+opencv_contrib3.3.0的SIFT程序。
#include "stdafx.h"
#include <opencv2/opencv.hpp>
#include <opencv2/imgproc/imgproc.hpp>
#include <opencv2/xfeatures2d.hpp>
#include <opencv2/features2d.hpp>
#include <opencv2/core.hpp>
#include <iostream>
#include <vector>

using namespace cv;
using namespace std;
using namespace cv::xfeatures2d;

int main(int argc, char *argv[])
{

	Mat image01 = imread("03.jpg");
	Mat image02 = imread("04.jpg");

	Mat image1, image2;
	//高斯滤波
	GaussianBlur(image01, image1, Size(3, 3), 0, 0);
	GaussianBlur(image02, image2, Size(3, 3), 0, 0);

	imshow("KeyPoints of image1", image1);
	imshow("KeyPoints of image2", image2);

	Ptr<Feature2D> f2d = SIFT::create(20); //第一个值为特征点数量
	//检测特征点
	vector<KeyPoint> keyPoint1, keyPoint2;
	f2d->detect(image1, keyPoint1);
	f2d->detect(image2, keyPoint2);
	cout << "Step:01" << endl;

	//在图像上全出特征点
	drawKeypoints(image1, keyPoint1, image1, Scalar(255, 0, 0), DrawMatchesFlags::DRAW_RICH_KEYPOINTS);
	drawKeypoints(image2, keyPoint2, image2, Scalar(255, 0, 0), DrawMatchesFlags::DRAW_RICH_KEYPOINTS);
	//显示图像
	namedWindow("KeyPoints of image1", 0);
	namedWindow("KeyPoints of image2", 0);

	imshow("KeyPoints of image1", image1);
	imshow("KeyPoints of image2", image2);

	cout << "Step:02" << endl;

	// 特征点描述,为下面特征点匹配做准备
	//SiftDescriptorExtractor siftDescriptor;  //opencv2.4.9中的用法
	Ptr<SIFT> extractor = SIFT::create();
	Mat imageDesc1, imageDesc2;
	extractor->compute(image1, keyPoint1, imageDesc1);
	extractor->compute(image2, keyPoint2, imageDesc2);

	//匹配图像
	BFMatcher matcher;
	vector<DMatch> matchePoints;
	//matcher.match(imageDesc1, imageDesc2, matchePoints, Mat());
	matcher.match(imageDesc1, imageDesc2, matchePoints);
	Mat imageOutput;
	drawMatches(image01, keyPoint1, image02, keyPoint2, matchePoints, imageOutput);
	//显示匹配后图像
	namedWindow("Mathch Points", 0);
	imshow("Mathch Points", imageOutput);

	waitKey(); //等待
	return 0;
实验结果:

当当当!测试成功。