由于没有显示器和HDMI线,这里使用一根网线来连接树莓派。
1.下载putty,做准备;笔记本电脑连接无线网络,在无线网络的属性里设置共享。
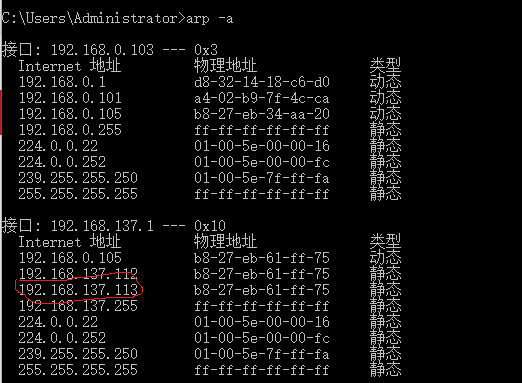
2.在命令窗cmd.exe内输入 arp -a 查看树莓派IP。图中红框内就是树莓派ip
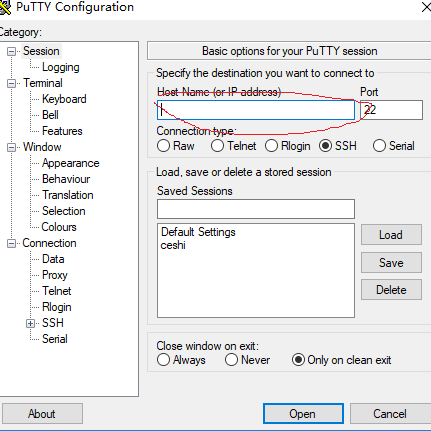
3.打开putty,输入ip地址连接,下图标记处输入ip
在弹出的窗中,输入用户名和密码,即进入了树莓派系统。

5.可视化 ,输入命令: sudo apt-get install xrdp 安装xrdp
sudo /etc/init.d/xrdp start 启动xrdp
sudo update-rc.d xrdp defaults。 设置成默认启动
输入: sudo apt-get install tightvncserver 安装VNC
sudo nano /etc/init.d/tightvncserver init.d下创建tightvncsercer文件
在文件中粘贴如下内容:
#!/bin/sh
### BEGIN INIT INFO
# Provides:          tightvncserver
# Required-Start:    $local_fs
# Required-Stop:     $local_fs
# Default-Start:     2 3 4 5
# Default-Stop:      0 1 6
# Short-Description: Start/stop tightvncserver
### END INIT INFO

# More details see:
# http://www.penguintutor.com/linux/tightvnc

### Customize this entry
# Set the USER variable to the name of the user to start tightvncserver under
export USER='pi'
### End customization required

eval cd ~$USER

case "$1" in
  start)
    # 启动命令行。此处自定义分辨率、控制台号码或其它参数。
    su $USER -c '/usr/bin/tightvncserver -depth 16 -geometry 800x600 :1'
    echo "Starting TightVNC server for $USER "
    ;;
  stop)
    # 终止命令行。此处控制台号码与启动一致。
    su $USER -c '/usr/bin/tightvncserver -kill :1'
    echo "Tightvncserver stopped"
    ;;
  *)
    echo "Usage: /etc/init.d/tightvncserver {start|stop}"
    exit 1
    ;;
esac
exit 0
ctrl+x ,回车保存退出,重启树莓派。
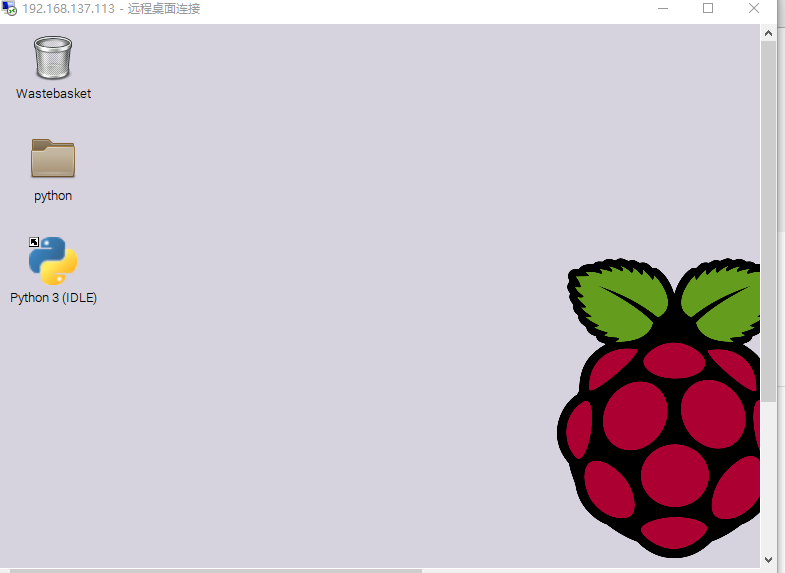
6. 远程桌面连接树莓派,连接成功桌面如下。