【发现呆在草稿箱里太久了,担心哪天不小心删了就发出来作为备份】
准备数据
创建训练/验证索引文件
python scripts/create_index_files.py
训练默认模型
./scripts/train_MUSIC.sh报错:
-bash: ./scripts/train_MUSIC.sh: Permission denied原因:这个脚本没有执行权限
解决方法: chmod +x train_MUSIC.sh 然后再运行上面那条指令即可
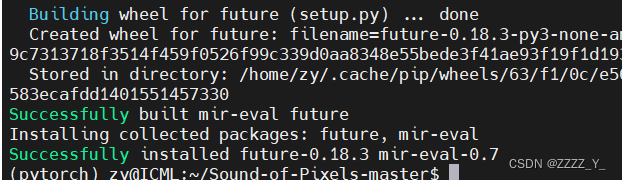
继续报错:ModuleNotFoundError: No module named 'mir_eval'
安装库:pip install mir_eval
报错:ImportError: cannot import name 'imsave'
Traceback (most recent call last):
  File "main.py", line 11, in <module>
    from scipy.misc import imsave
ImportError: cannot import name 'imsave'
原因:scipy在1.3.0版本之后就弃用了imsave函数
方案:卸载scipy,重装低版本scipy,pip uninstall scipy,pip install scipy==1.2.1
报错:ModuleNotFoundError: No module named 'librosa'
方案:pip install安装库 pip install librosa==0.7.2
报错:ModuleNotFoundError: No module named 'numba.decorators'
原因:librosa-0.7.2 与 numba-0.50.0不符合导致的出错,numba 在 0.50版本之后删除了 decorators 模块
方案:重装低版本numba,用 pip install numba==0.48
手多降了numpy版本,报错ModuleNotFoundError: No module named 'numpy.core._multiarray_umath'
方案:装新版本即可
基本就是缺什么库装什么库,有因为版本问题报错的就换库版本
报错:TypeError: guvectorize() missing 1 required positional argument: 'signature'
方案:pip install resampy==0.3.1
报错:ModuleNotFoundError: No module named 'cv2'
方案:pip install opencv-python
报错:version `GLIBCXX_3.4.30' not found
ImportError: /home/zy/anaconda3/envs/pixel/lib/python3.6/site-packages/torch/lib/../../../../libstdc++.so.6: version `GLIBCXX_3.4.30' not found (required by /home/zy/anaconda3/envs/pixel/lib/python3.6/site-packages/cv2/cv2.abi3.so)
这个问题之前遇到过,详见下面链接的问题3,若情况相同用如下代码解决使用Faster R-CNN(linux-pytorch)训练自己的数据集过程记录_ZZZZ_Y_的博客-CSDN博客
ls libstdc++.so
ls libstdc++.so -al
ls libstdc++.so.6 -al
ls libstdc++.so.6.0.29 -al
报错:ModuleNotFoundError: No module named 'matplotlib'
方案:pip install matplotlib
可以运行了!
好吧又有报错:FileNotFoundError: [Errno 2] No such file or directory: 'ffmpeg': 'ffmpeg'
本以为可以避免,但是现在看来是必须装ffmpeg了。but直接用pip install ffmpeg之后还是会报这个错,可以尝试先sudo apt-get update,然后sudo apt-get install ffmpeg,这意味着账号需要有管理员权限qaq。(不加sudo会显示 Permission denied 无权限)
参考:FileNotFoundError: [Errno 2] No such file or directory: 'ffmpeg' | 易学教程 (e-learn.cn)FileNotFoundError: [Errno 2] No such file or directory: 'ffmpeg': 'ffmpeg' · Issue #251 · kkroening/ffmpeg-python (github.com)
以下是非管理员账号安装ffmpeg的方法
Linux-Ubuntu 非管理员账号安装ffmpeg_ZZZZ_Y_的博客-CSDN博客
又有报错了(好吧才发现这是个warning):
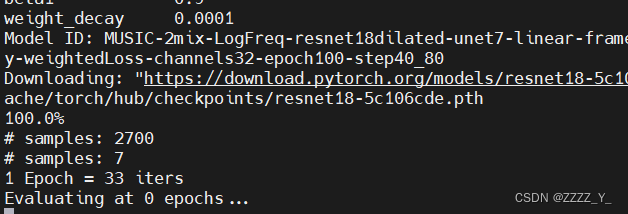
Evaluating at 0 epochs...
/home/zy/anaconda3/envs/pixel/lib/python3.6/site-packages/torch/nn/functional.py:3385: UserWarning: Default grid_sample and affine_grid behavior has changed to align_corners=False since 1.3.0. Please specify align_corners=True if the old behavior is desired. See the documentation of grid_sample for details.
warnings.warn("Default grid_sample and affine_grid behavior has changed "
[Eval] iter 0, loss: 0.0006
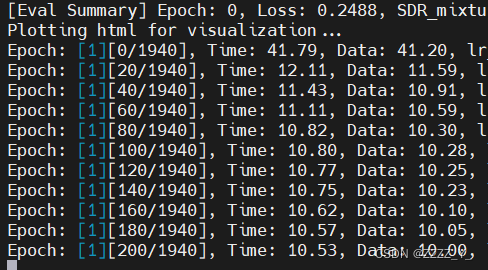
[Eval Summary] Epoch: 0, Loss: 0.0006, SDR_mixture: 0.0000, SDR: 0.0000, SIR: 0.0000, SAR: 0.0000
Plotting html for visualization...
Failed loading frame/audio: could not broadcast input array from shape (0) into shape (12934)
先睡觉,下午再看
可能是这个,看不太懂Suggest to add more tips in F.grid_sample() function - vision - PyTorch Forums
还有这个 no answerSuppressing UserWarning message? · Issue #263 · MouseLand/cellpose (github.com)
报错:Failed loading frame/audio: could not broadcast input array from shape (0) into shape (12934)
Plotting html for visualization...
Failed loading frame/audio: could not broadcast input array from shape (0) into shape (12934)
Failed loading frame/audio: could not broadcast input array from shape (0) into shape (51521)
Failed loading frame/audio: could not broadcast input array from shape (0) into shape (41874)
Failed loading frame/audio: could not broadcast input array from shape (0) into shape (4665)
Failed loading frame/audio: could not broadcast input array from shape (0) into shape (26715)
参考:Failed to loading frames/audio · Issue #9 · hangzhaomit/Sound-of-Pixels (github.com)
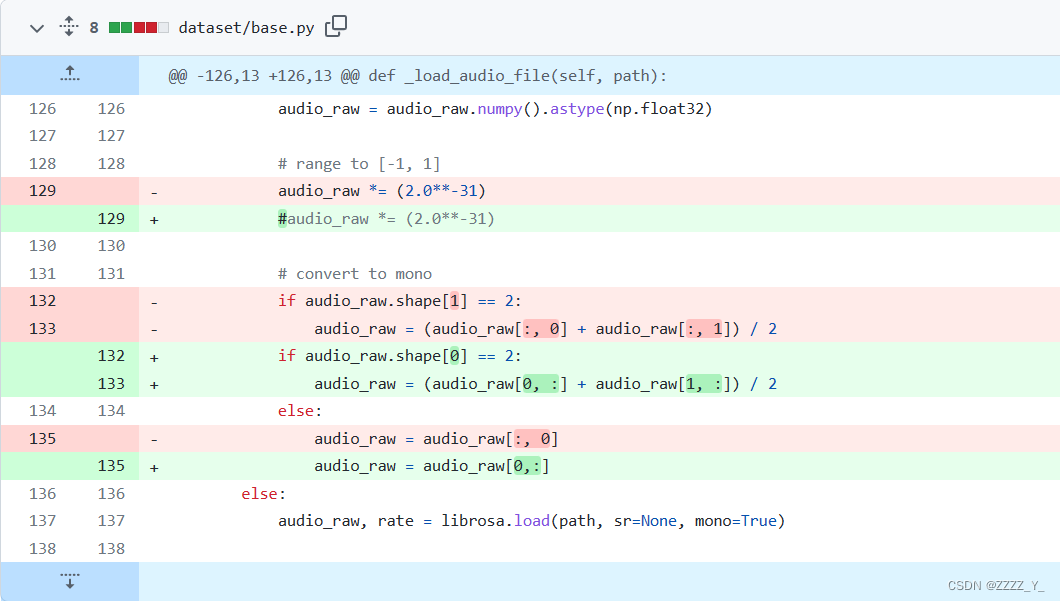
修改dataset/base.py文件_load_audio_file()函数,将shape [1] == 2 改为shape [0] == 2,如下图所示

然而,并没有解决
according to fixed Failed load audio/frames · JusperLee/Sound-of-Pixels@4a71fff (github.com)
做出如下修改:
cuda error out of memory 晚点再看
有人上传了requirement文件,可惜我不知道为啥装不了,好像有版本冲突什么问题来着
gioannides/Sound-of-Pixels at requirements_txt (github.com)
换服务器
scp -r /home/zy/anaconda3/envs/pixel [email protected]:/home/zy/anaconda3/envs/pixelOSError: /lib/x86_64-linux-gnu/libc.so.6: version `GLIBC_2.33' not found (required by /home/zy/anaconda3/envs/pixel/lib/python3.6/site-packages/torch/lib/../../../../libstdc++.so.6)在该链接找到并下载相应版本文件解压到解压到/usr/local/src目录下 The GNU C Library
wget http://mirrors.aliyun.com/gnu/libc/glibc-2.33.tar.gz?spm=a2c6h.25603864.0.0.13e574c7fTQyDc
升级glic: 解决"libc.so.6: version 'GLIBC_2.14' not found"问题 - 散尽浮华 - 博客园 (cnblogs.com)
(7条消息) 【Python】 ImportError: /lib64/libstdc++.so.6: version `GLIBCXX_3.4.21‘ not found_象在舞的博客-CSDN博客
(7条消息) ubuntu18.04上 /lib/x86_64-linux-gnu/libc.so.6: version `GLIBC_2.28‘ not found_陈 洪 伟的博客-CSDN博客
重新配置环境后可以运行了
but速度好慢,时间都花在加载数据上了,做出以下尝试:
首先列出基础原代码
train_loader=torch.utils.data.DataLoader(dataset=train_dataset,batch_size=batch_size,shuffle=True)way1. dataloader函数中增加num_workers参数,该参数表示加载数据的线程数,建议设置为该系统中的CPU核心数,若CPU很强劲,而且内存很大,也可以考虑将该数值设置的更大一些
train_loader=torch.utils.data.DataLoader(dataset=train_dataset,batch_size=batch_size,shuffle=True,num_workers=multiprocessing.cpu_count())way2. 虽然使用dataloader达到了iter(Dataset)的读取并行,但是没有实现在GPU运算时异步读取数据,可以考虑使用non_blocking实现。加上pin_memory = True,num_workers要大于0,只有pin_memory=True并且num_workers>0时non_blocking才会有效。
dataloader = data.Dataloader(dataset, batch_size = batch_size, num_workers = workers, pin_memory = True)参考:pytorch加载训练数据集dataloader操作耗费时间太久,该如何解决?_训练模型 读取数据时间过长_dataat的博客-CSDN博客
有的用dali库,但是看见有的文章说dali的数据处理(数据增强)和torch的处理方式不一样
way3. 使用prefetch_generator库在后台加载下一 batch 的数据
首先安装库
pip install prefetch_generator使用
# 新建DataLoaderX类
from torch.utils.data import DataLoader
import prefetch_generator
from prefetch_generator import BackgroundGenerator

class DataLoaderX(DataLoader):

    def __iter__(self):
        return BackgroundGenerator(super().__iter__())
然后用 DataLoaderX 替换原本的 DataLoader
这方法一用还是快了挺多的(40+ -> 10+),但还是不够,还是很慢,可以同步调调num_workers大小,目前没调(num_workers=4,gpu数量为1)
但是103上好像没那么明显,可能是到极限了?
使用APEXO2,
先安装apex
git clone https://github.com/NVIDIA/apex
cd apex
pip install -v --no-cache-dir --global-option="--cpp_ext" --global-option="--cuda_ext" ./
报错:
  DEPRECATION: A future pip version will change local packages to be built in-place without first copying to a temporary directory. We recommend you use --use-feature=in-tree-build to test your packages with this new behavior before it becomes the default.
   pip 21.3 will remove support for this functionality. You can find discussion regarding this at https://github.com/pypa/pip/issues/7555.
    Running command python setup.py egg_info
    Traceback (most recent call last):
      File "<string>", line 1, in <module>
      File "/tmp/pip-req-build-f36ao4ix/setup.py", line 4, in <module>
        from packaging.version import parse, Version
    ModuleNotFoundError: No module named 'packaging'
WARNING: Discarding file:///home/zy/apex. Command errored out with exit status 1: python setup.py egg_info Check the logs for full command output.
ERROR: Command errored out with exit status 1: python setup.py egg_info Check the logs for full command output.
说我没有packaging那就安装packaging
pip install packaging
继续报错
RuntimeError: Cuda extensions are being compiled with a version of Cuda that does not match the version used to compile Pytorch binaries. Pytorch binaries were compiled with Cuda 11.0.
有文章说使用22.04dev版本的代码就不会有这个报错,我用的是master的,但是这是我后来才看见的,就没有尝试
看见又说是要满足当前环境中cuda版本(可使用nvcc -V命令查看)和Pytorch版本一致(可使用conda list命令查看),当前环境中cuda版本(可使用nvcc -V命令查看)和Pytorch版本一致(可使用conda list命令查看),参考Linux非root用户如何优雅地安装apex加速包-----使用conda命令和cudatoolkit-dev包_linux安装apex_liyiersan123的博客-CSDN博客
去试试,现在的版本是这样的

but服务器的cuda版本是11.0
服务器里面装了很多个版本的cuda.
1.查看/usr/local里面 cuda 版本的软链接——cuda,发现指向的是11.0版本
2. 用 echo $PATH 查看环境变量path

发现原因:是因为/usr/bin(①处)在PATH中相较/usr/local/cuda(②处)靠前,因此优先级高,所以nvcc –V命令会按照PATH顺序,先去①里面找,应该是在这文件夹里的nvcc中找到了9.1版本的cuda,所以就不去别的地方找了,就没有找到②处我们想要的cuda版本;
我用的是下面这种
查看/usr/local下的cuda,发现有11.0版本的,打开.bashrc文件添加环境变量
export PATH="/usr/local/cuda-11.0/bin:$PATH"
export LD_LIBRARY_PATH="/usr/local/cuda-11.0/lib64:$LD_LIBRARY_PATH"
最后记得要用命令 source ~/.bashrc 使修改生效
安装成功

oh no, import apex时报错
AttributeError: module 'torch.distributed' has no attribute '_all_gather_base'
看到如下方案:
way1. 卸载apex使用下面命令重新安装(don't work for me)
pip uninstall apex
python setup.py install --cpp_ext --cuda_ext
way2. 使用如下命令安装(work)
git clone https://github.com/ptrblck/apex.git
cd apex
git checkout apex_no_distributed
pip install -v --no-cache-dir ./做如下修改:
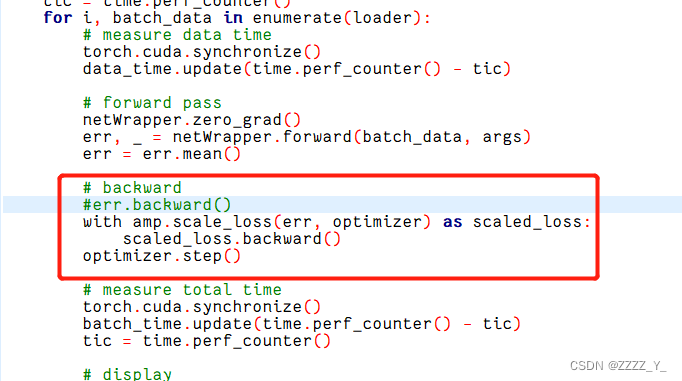

报错:
RuntimeError: Incoming model is an instance of torch.nn.parallel.DataParallel. Parallel wrappers should only be applied to the model(s) AFTER
the model(s) have been returned from amp.initialize.
应该是说DataParallel要放在amp.initialize后面,移动之后报错,查了下,这个是amp版本的问题,后面的版本删掉了backends的使用,因为torch后来删掉了backends模块,又得换版本了
AttributeError: module 'torch.nn' has no attribute 'backends'改用22.04dev版本的了,真的可以用了,但是效果不太行,不知道是不是因为使用方法的问题
103上的记录:
num_gpus=2,bs=20,DataLoaderX,pin_memory = False
num_gpus=2,bs=20,DataLoaderX,pin_memory = True
num_gpus=1,bs=20,DataLoaderX,pin_memory = False
num_gpus=1,bs=20,DataLoaderX,pin_memory = True
pin_memory影响不大
看到这个点,记录一下:(但是我好像用不了)
下载github的资料,可以将github.com替换成githun.com.cnpmjs.org就会很快了
也就是 第一条指令 git clone https://githun.com.cnpmjs.org/NVIDIA/apex.git
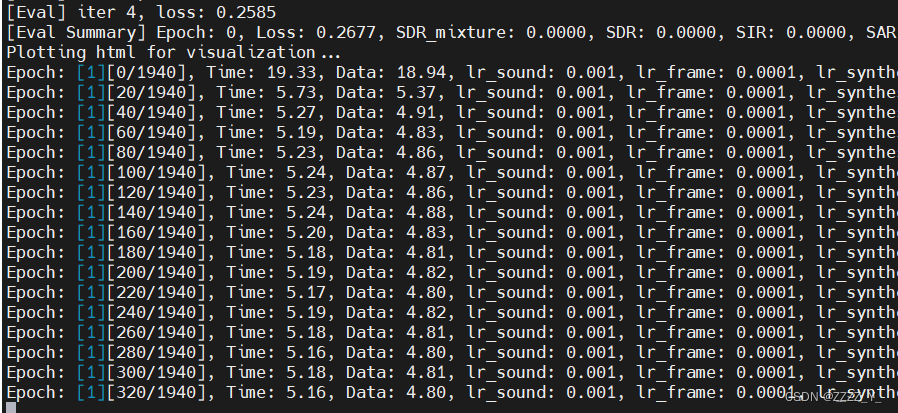
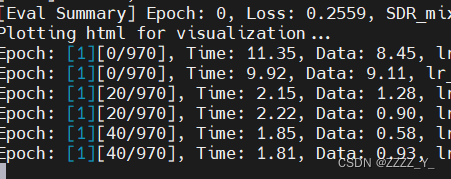
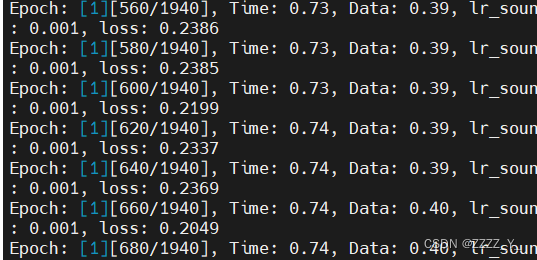
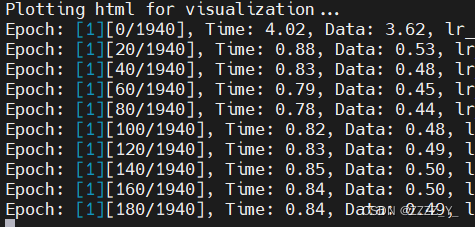
结果就是,这么长的时间其实都是cpu在resample音频数据,将所有音频数据按采样率为11025hz进行采样之后就可以了。。。
新数据以wav后缀命名(记得之前宋老师说wav文件的效果要好一些),所以create_index_files文件里面读取音频文件中的.mp3全部换为wav即可,哦还要改一下读取路径(文件夹,音频文件的文件夹命名为audio_wav)
速度快了很多,但还不够,100个epoch得要2天左右
尝试使用ddp分布式训练
报错:RuntimeError: Address already in use
使用命令ps -aux|grep mosquitto 查询服务器哪个端口被占用
打印
zy 2636164 0.0 0.0 17868 2592 pts/56 S+ 18:52 0:00 grep --color=auto m osquitto
使用命令杀死进程 kill -9 2636164
结果报错 -bash: kill: (2636164) - No such process
再次查询被占用端口,结果发现端口号变了
zy 2640654 0.0 0.0 17868 2540 pts/56 S+ 18:56 0:00 grep --color=auto mosquitto
查到的解释:如果你的mysql在运行,你执行下面命令只会看到mysql的进程
随便指定一个端口号即可: os.environ['MASTER_PORT']='8888'
重新运行程序又报错,不过这次知道端口号就是8888
用 lsof -i:8888 查询端口号对应进程的PID,如下图为2727826

因此,用 kill 2727826即可
报错:AttributeError: 'dict' object has no attribute 'cuda'
报错:AssertionError: Invalid device id
原因:指定nums_gpu为2但是用1个
gpu数目改为2之后卡在init了,发现sh文件最后一行需要修改
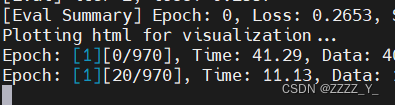
但是反而变慢了,打印也很奇怪
存一下最前面的图

Setting OMP_NUM_THREADS environment variable for each process to be 1 in default, to avoid youror optimal performance in your application as needed.
明天再看吧 今天到此为止 Pytorch翻车记录:单卡改多卡踩坑记!-技术圈 (proginn.com)
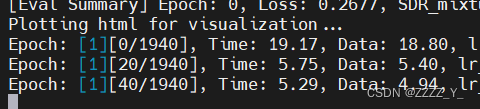
103上训练(dp):gpu*1 batchsize=20
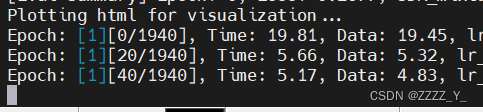
103上训练(ddp):gpu*1 batchsize=20
训练完了
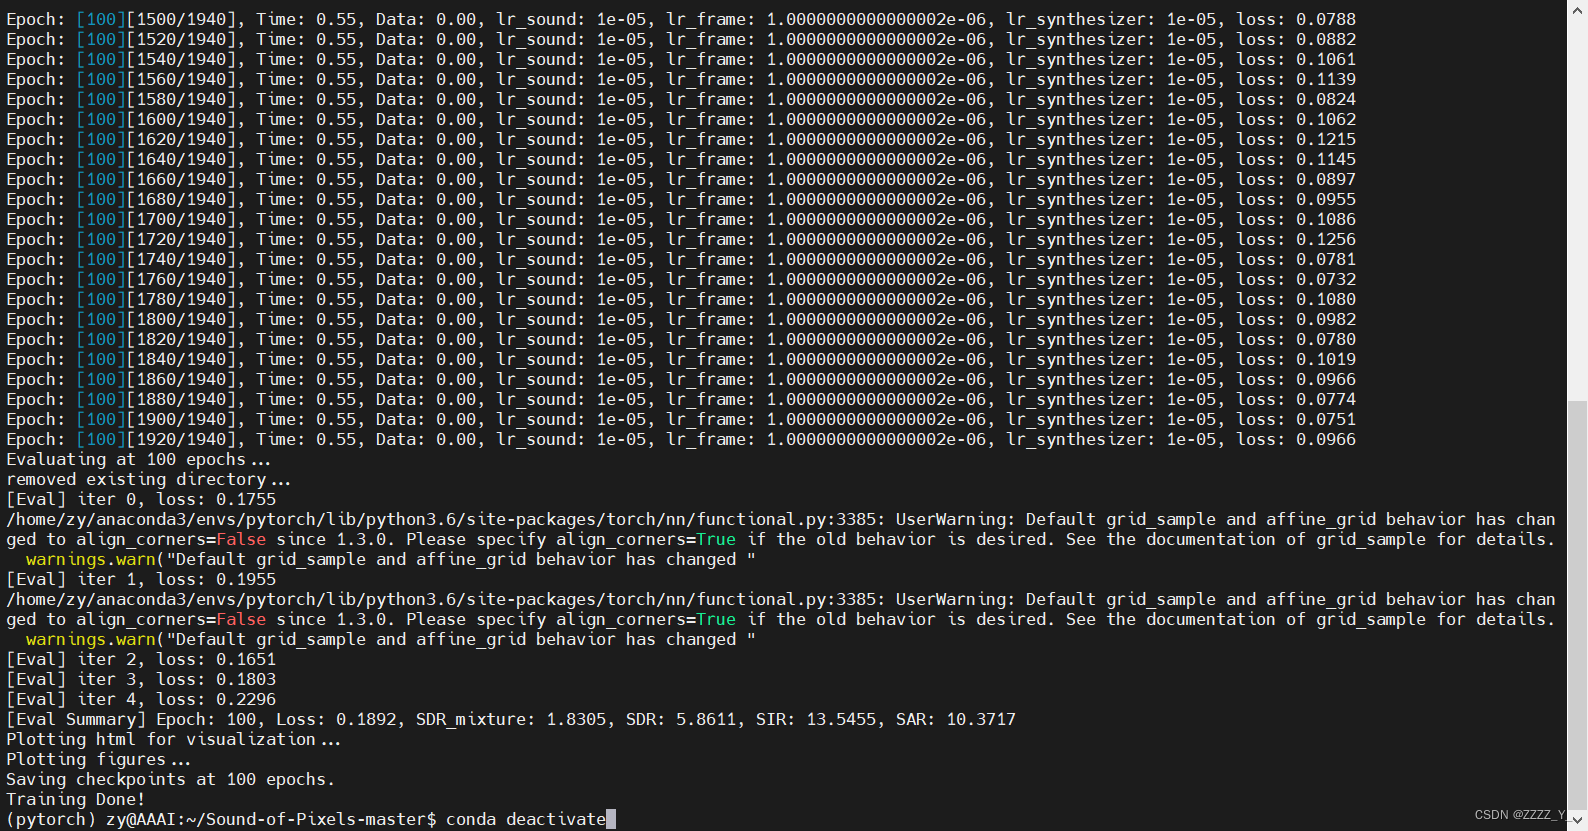
不知道为啥,效果挺差的
开始魔改网络了:
首先是换unet结构,换成了unet3+
报错过程:(一定要记得import相关的文件)
torch.nn.modules.module.ModuleAttributeError: 'unetConv2' object has no attribute 'weight'
在layers. py里面加上from .init_weights import init_weights
AttributeError: 'ModelBuilder' object has no attribute 'init_weights'
在 UNET_3Plus里面加上
from .layers import unetConv2
from .init_weights import init_weights
报错
RuntimeError: Given groups=1, weight of size [64, 32, 3, 3], expected input[5, 1, 256, 256] to have 32 channels, but got 1 channels instead
返回的是【batch,channel,w,h】,表示得到的channel是1,但是期望的channel为32,这里是unet的输出channel为1,改成32即可
接着换resnet,打算换成resnet-rs
参考:
No module named numba.decorators错误解决_no module named 'numba.decorators_smith24122412的博客-CSDN博客