本文介绍了dofaker换脸应用的本地部署教程,dofaker支持windows、linux、cpu/gpu推理,不依赖于任何深度学习框架,是一个非常好用的换脸工具。
本教程的部署系统为windows 11,使用CPU推理。
注意:
1、请确保您的所有路径不要包含中文,否则可能发生奇怪的问题(windows用户名不要是中文)
2、安装好visual studio community(社区版本),勾选C++开发。
一、安装anaconoda
进入anaconda官网:Anaconda | The World’s Most Popular Data Science Platform

点击Free Download进入下载页面,根据自己的系统选择合适的安装包安装:

双击安装包,进行安装,点击next:

点击I Agree:

根据自己的需求选择安装的用户,点击Next:

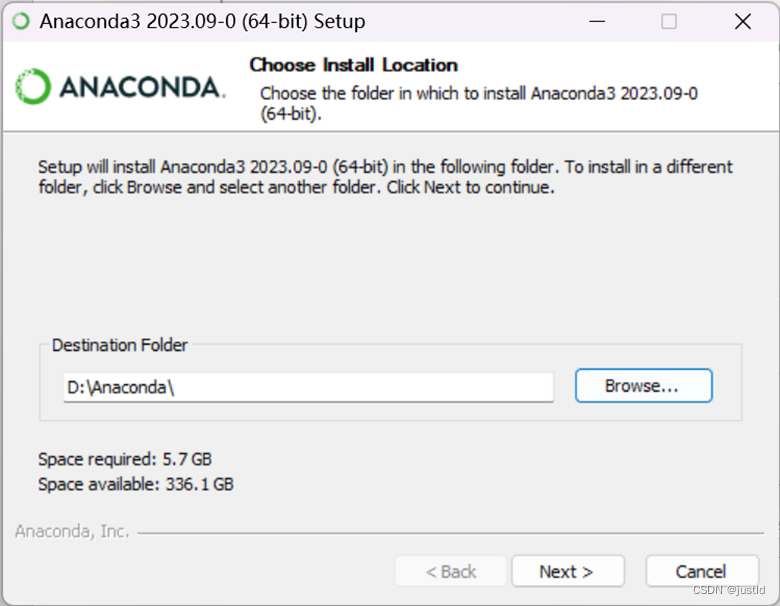
选择安装位置,路径不包含空格,next:
全选,点击Install:

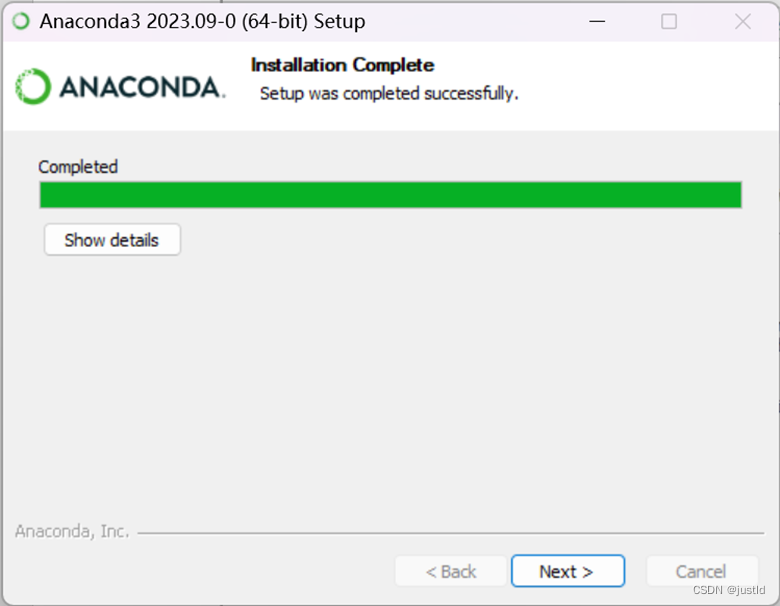
等待安装好了,点击next:
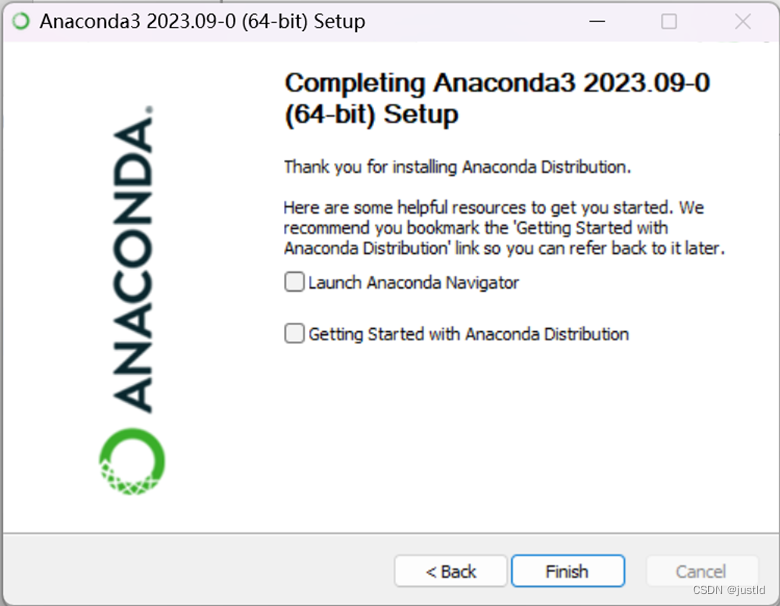
其他的页面都点击next,一直到出现完成的界面,如下点击finish:
安装anaconda后,进入安装路径的condabin目录,如图:

鼠标右键->在终端中打开,输入命令 conda init,关闭终端。

本节结束。
二、下载代码和权重
从github下载代码(如果没有安装git客户端,可以去github页面下载代码,或者从这里下载):
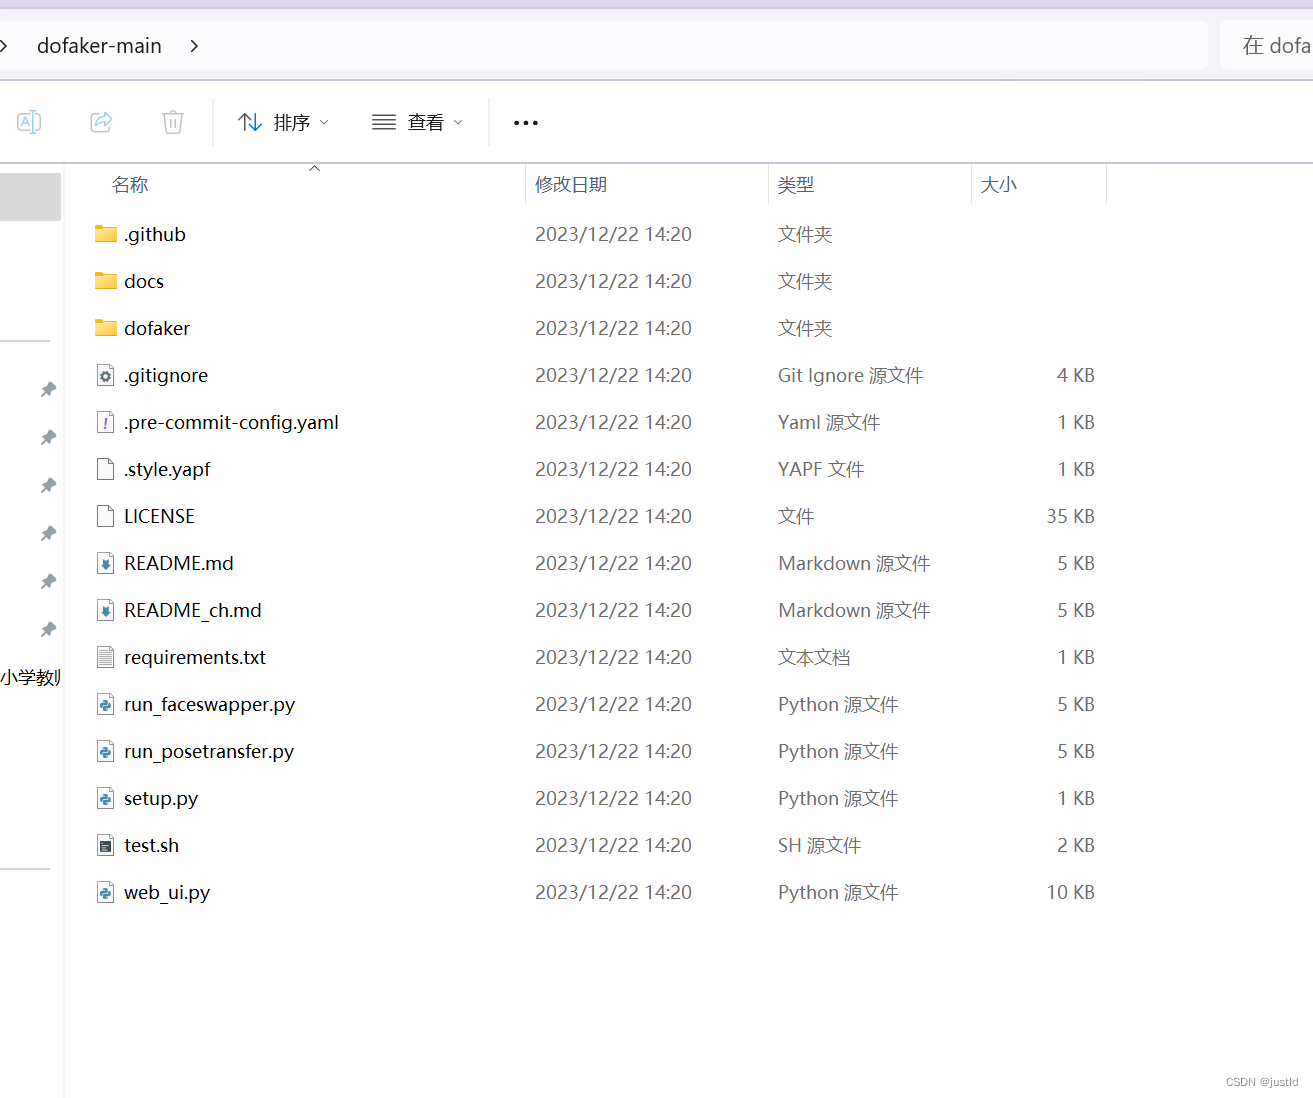
git clone https://github.com/justld/dofaker.git进入dofaker文件夹,如下图:
接下来下载权重文件,权重文件的地址在这里,新建weights/models目录,将解压的权重放进去,如下图:

本节结束。
三、搭建环境
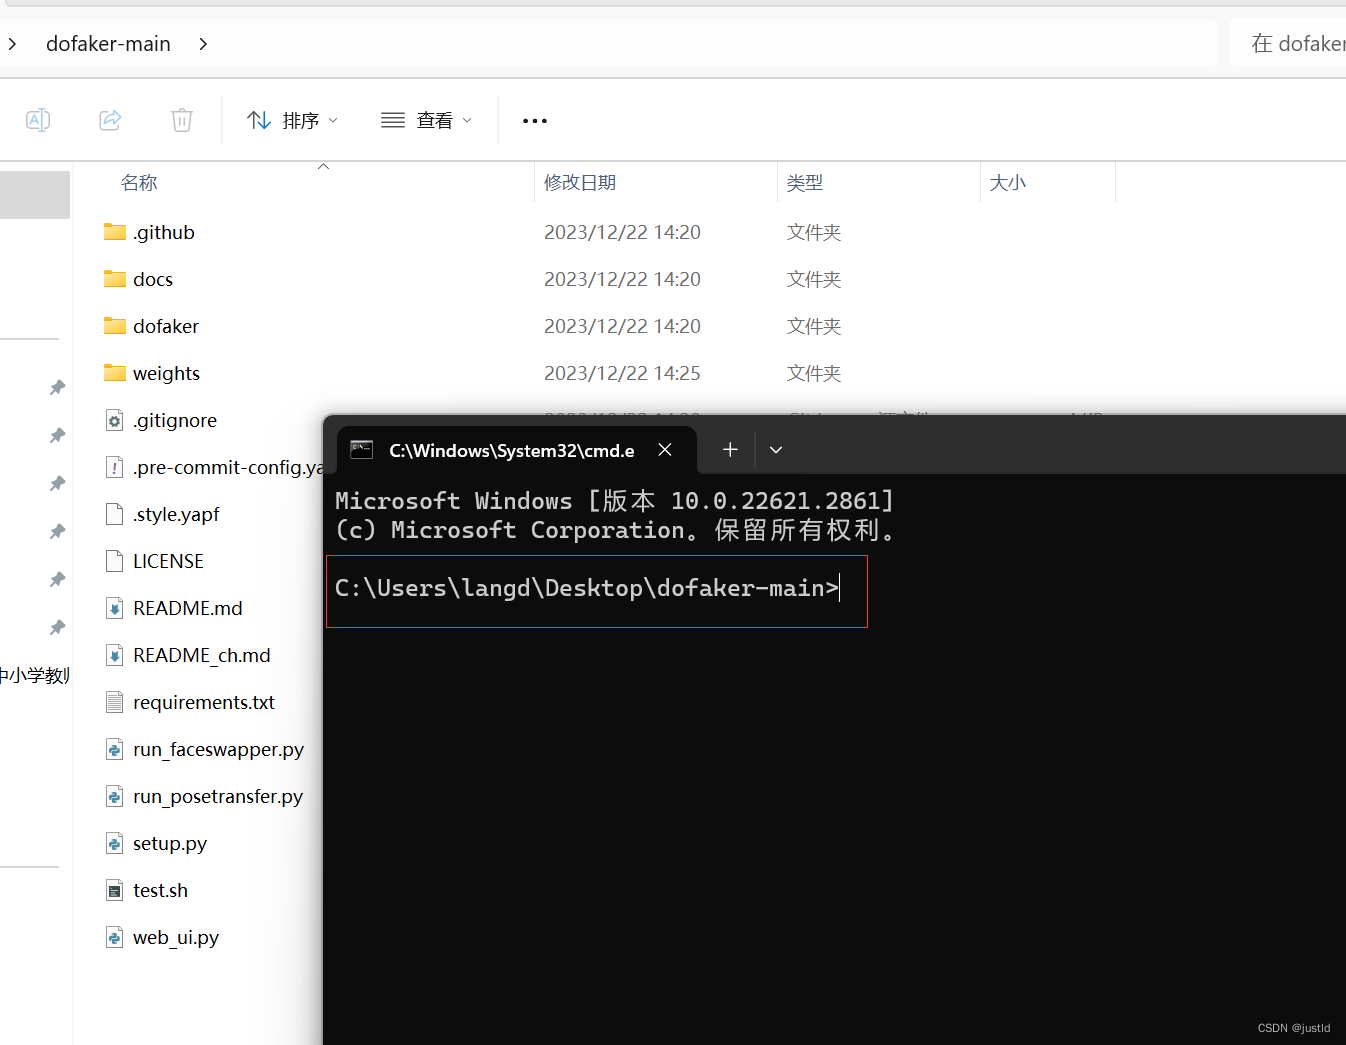
在dofaker目录下,打开cmd终端:
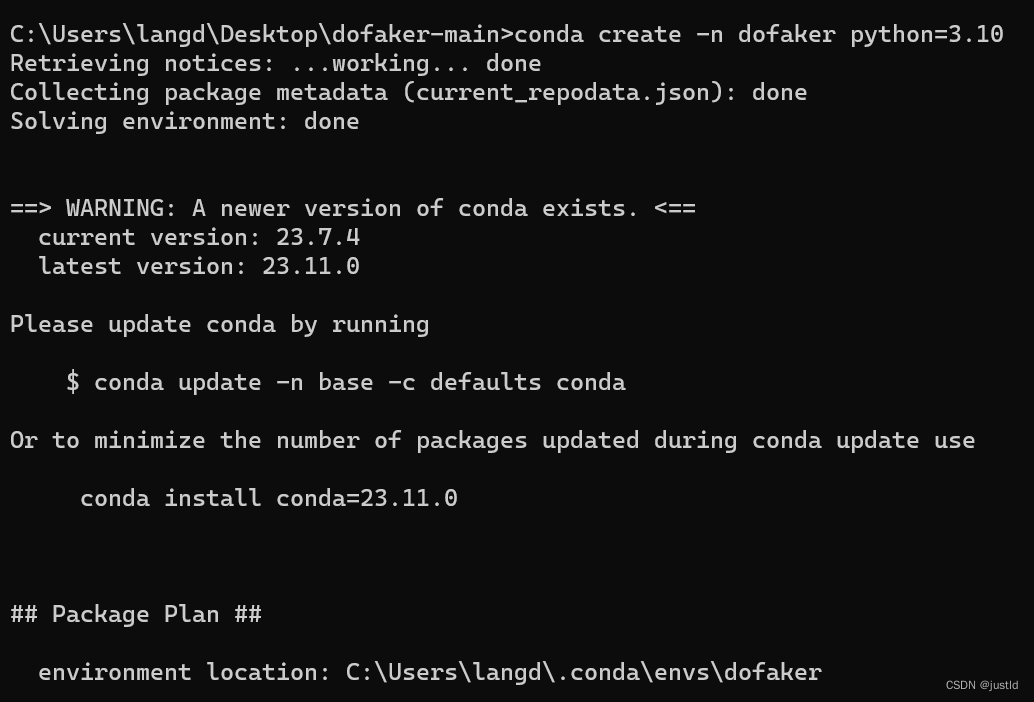
创建虚拟环境dofaker:
conda create -n dofaker python=3.10如下图:
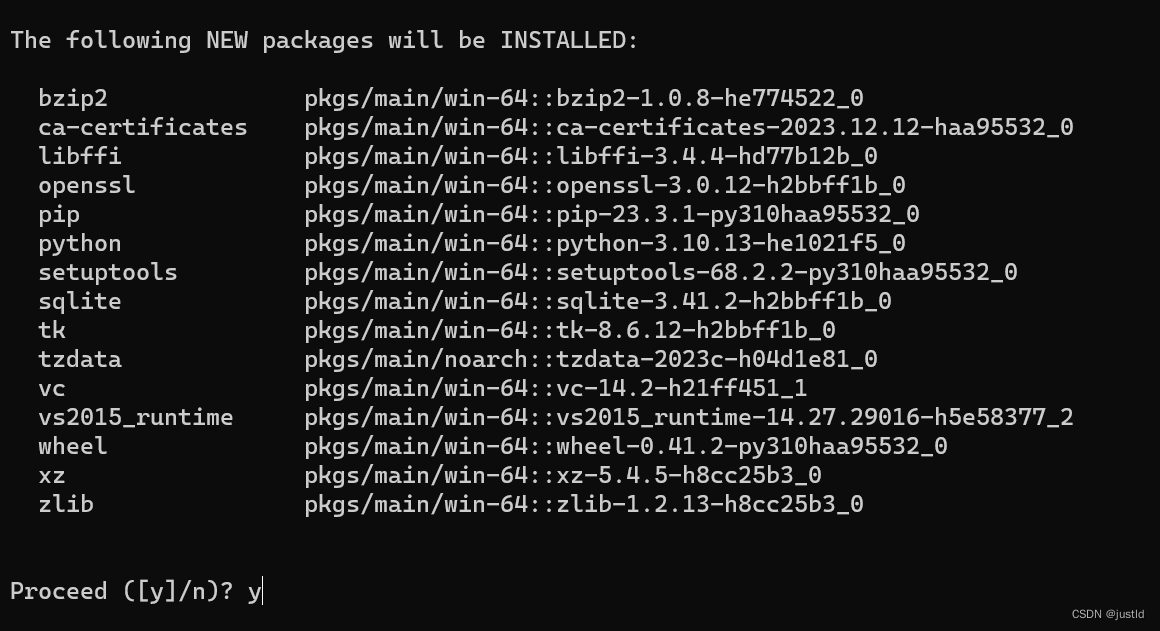
中间提示输入Y/N,输入Y,如下图:
出现如下界面,虚拟环境创建成功:

四、开启服务
激活虚拟环境:
conda activate dofaker如下图(命令路径前出现了dofaker):

安装依赖:
pip install -r requirements.txt -i https://pypi.tuna.tsinghua.edu.cn/simple安装onnxruntime(GPU用户安装onnxruntime-gpu):
pip install onnxruntime -i https://pypi.tuna.tsinghua.edu.cn/simple
# gpu推理安装下面的包
# pip install onnxruntime-gpu -i https://pypi.tuna.tsinghua.edu.cn/simple
安装dofaker:
pip install -e .启动dofaker:
dofaker如下图:

五、报错解决方案
1、Failed to build insightface
报错:error: Microsoft Visual C++ 14.0 or greater is required. Get it with "Microsoft C++ Build Tools": https://visualstudio.microsoft.com/visual-cpp-build-tools/

解决方法:
安装visual studio community,安装时选择C++桌面程序开发。