一、简介
Seafile 是一款开源的企业云盘,注重可靠性和性能。支持 Windows, Mac, Linux, iOS, Android 平台。支持文件同步或者直接挂载到本地访问
二、安装相关依赖包
1.系统环境:centos7.6
2.系统所需的环境依赖包
MariaDB 或者 MySQL 服务器 (MariaDB 是 MySQL 的分支)
python 2.7 (从 Seafile 5.1 开始,python 版本最低要求为2.7)
python-setuptools
python-imaging
python-mysqldb
python-ldap
python-urllib3
python-memcache (或者 python-memcached)
yum -y install epel-release
rpm --import http://li.nux.ro/download/nux/RPM-GPG-KEY-nux.ro
yum -y install python-imaging MySQL-python python-memcached python-ldap python-urllib3 ffmpeg ffmpeg-devel
pip install pillow moviepy
三、安装seafile
1.创建文件目录并下载解压安装包
#seafile会在其安装包同级目录下创建其他多个文件夹,最好是新建一个文件进行存放
mkdir /usr/local/seaflie
cd /usr/local/seaflie
wget http://seafile-downloads.oss-cn-shanghai.aliyuncs.com/seafile-server_7.0.2_x86-64.tar.gz
tar -zxvf seafile-server_7.0.2_x86-64.tar.gz
cd seafile-server-7.0.2
./setup-seafile-mysql.sh
2.填写相关服务器的参数
Checking python on this machine ...
  Checking python module: python-mysqldb ... Done.

-----------------------------------------------------------------
This script will guide you to setup your seafile server using MySQL.
Make sure you have read seafile server manual at

        https://github.com/haiwen/seafile/wiki

Press ENTER to continue
-----------------------------------------------------------------

#填写服务器名字(大小写字母,数字,-,长度3-15位)
What is the name of the server? It will be displayed on the client.
3 - 15 letters or digits
[ server name ] seafile

#填写服务器绑定的域名或者服务器ip地址
What is the ip or domain of the server?
For example: www.mycompany.com, 192.168.1.101
[ This server's ip or domain ] 192.168.2.150

#填写网盘存放文件的目录,由于里面存放的是文件数据比较大,所以需要找个比较大点的盘
Where do you want to put your seafile data?
Please use a volume with enough free space
[ default "/usr/local/seaflie/seafile-data" ]

#ftp传输的端口号,默认是8082,用来上传或者下载文件
Which port do you want to use for the seafile fileserver?
[ default "8082" ]
3.填写数据库参数
-------------------------------------------------------
Please choose a way to initialize seafile databases:
-------------------------------------------------------

#1.创建新的数据库,2.使用现有的数据库
[1] Create new ccnet/seafile/seahub databases
[2] Use existing ccnet/seafile/seahub databases

[ 1 or 2 ] 1

#2.填写数据库服务器的地址
What is the host of mysql server?
[ default "localhost" ] 127.0.0.1

#3.设置哪台主机有权访问这个数据库,默认是都可以访问
From which hosts could the mysql account be used?
[ default "%" ]

#4.mysql的端口号,默认是3306
What is the port of mysql server?
[ default "3306" ]

#5.输入数据库root管理员的密码,用来创建先关的数据库信息
What is the password of the mysql root user?
[ root password ]

verifying password of user root ...  done

#6.新建seafile数据库的普通用户,并给新建的数据库用户设置密码
Enter the name for mysql user of seafile. It would be created if not exists.
[ default "seafile" ] seafile

Enter the password for mysql user "seafile":
[ password for seafile ]

#7.创建相关的3个数据库
Enter the database name for ccnet-server:
[ default "ccnet-db" ] ccnet-server

Enter the database name for seafile-server:
[ default "seafile-db" ] seafile-server

Enter the database name for seahub:
[ default "seahub-db" ] seahub

---------------------------------
This is your configuration
---------------------------------

    server name:            seafile
    server ip/domain:       192.168.2.150

    seafile data dir:       /usr/local/seaflie/seafile-data
    fileserver port:        8082

    database:               create new
    ccnet database:         ccnet-server
    seafile database:       seafile-server
    seahub database:        seahub
    database user:          seafile


8.他会让你确认下安装信息,同意按enter,要修改则按ctrl+c
---------------------------------
Press ENTER to continue, or Ctrl-C to abort
---------------------------------

Generating ccnet configuration ...

done
Successly create configuration dir /usr/local/seaflie/ccnet.
Generating seafile configuration ...

Done.
done
Generating seahub configuration ...

----------------------------------------
Now creating ccnet database tables ...

----------------------------------------
----------------------------------------
Now creating seafile database tables ...

----------------------------------------
----------------------------------------
Now creating seahub database tables ...

----------------------------------------

creating seafile-server-latest symbolic link ...  done

-----------------------------------------------------------------
Your seafile server configuration has been finished successfully.
-----------------------------------------------------------------

run seafile server:     ./seafile.sh { start | stop | restart }
run seahub  server:     ./seahub.sh  { start <port> | stop | restart <port> }

-----------------------------------------------------------------
If you are behind a firewall, remember to allow input/output of these tcp ports:
-----------------------------------------------------------------

port of seafile fileserver:   8082
port of seahub:               8000

When problems occur, Refer to

        https://github.com/haiwen/seafile/wiki

for information.
4.启动和关闭seafile
[root@localhost localhost seafile-server-7.0.2]# ./seafile.sh start

[03/22/23 10:46:02] ../common/session.c(132): using config file /usr/local/seaflie/conf/ccnet.conf
Starting seafile server, please wait ...
** Message: seafile-controller.c(718): No seafevents.

Seafile server started

Done.
[root@localhost localhost seafile-server-7.0.2]# ./seahub.sh start
LC_ALL is not set in ENV, set to en_US.UTF-8
Starting seahub at port 8000 ...
----------------------------------------
It's the first time you start the seafile server. Now let's create the admin account
----------------------------------------
#输入管理员邮箱
What is the email for the admin account?
[ admin email ] [email protected]
#输入密码
What is the password for the admin account?
[ admin password ]
Enter the password again:
[ admin password again ]
----------------------------------------
Successfully created seafile admin
----------------------------------------
Seahub is started
Done.
./seahub.sh start|stop
./seafile.sh start|stop
注意:
[root@localhost localhost seafile-server-7.0.2]# cd /usr/local/seaflie/conf
[root@localhost localhost conf]# vi gunicorn.conf
5.开启防火墙的相关端口(如果用nginx等反向代理则不用)
firewall-cmd --zone=public --add-port=8082/tcp --permanent
firewall-cmd --zone=public --add-port=8000/tcp --permanent
四:用nginx做反向代理
server {
    listen 80;
    server_name seafile.example.com;
    proxy_set_header X-Forwarded-For $remote_addr;
    location / {
         proxy_pass         http://127.0.0.1:8000;
         proxy_set_header   Host $host;
         proxy_set_header   X-Real-IP $remote_addr;
         proxy_set_header   X-Forwarded-For $proxy_add_x_forwarded_for;
         proxy_set_header   X-Forwarded-Host $server_name;
         proxy_read_timeout  1200s;
         client_max_body_size 0;
        access_log      /var/log/nginx/seahub.access.log;
         error_log       /var/log/nginx/seahub.error.log;
    }
    location /seafhttp {
        rewrite ^/seafhttp(.*)$ $1 break;
#注意,这个地址最好用netstat -nlpt确认下,填错可能会导致文件无法正常上传或者下载
        proxy_pass http://127.0.0.1:8082;
#Nginx 默认设置 "client_max_body_size" 为 1M。如果上传文件大于这个值的话,会报错,相关 HTTP 状态码为 423 ("Request Entity Too Large"). 你可以将值设为 0 以禁用此功能.
        client_max_body_size 0;
        proxy_set_header   X-Forwarded-For $proxy_add_x_forwarded_for;
        proxy_connect_timeout  36000s;
        proxy_read_timeout  36000s;
        proxy_send_timeout  36000s;
        send_timeout  36000s;
#如果要上传大于 4GB 的文件,默认情况下 Nginx 会把整个文件存在一个临时文件中,然后发给上游服务器 (seaf-server),这样容易出错。使用 1.8.0 以上版本同时在 Nginx 配置文件中设置以下内容能解决这个问题:
        proxy_request_buffering off;
    }
    location /media {
#seafile的安装目录
        root /home/user/haiwen/seafile-server-latest/seahub;
    }
}
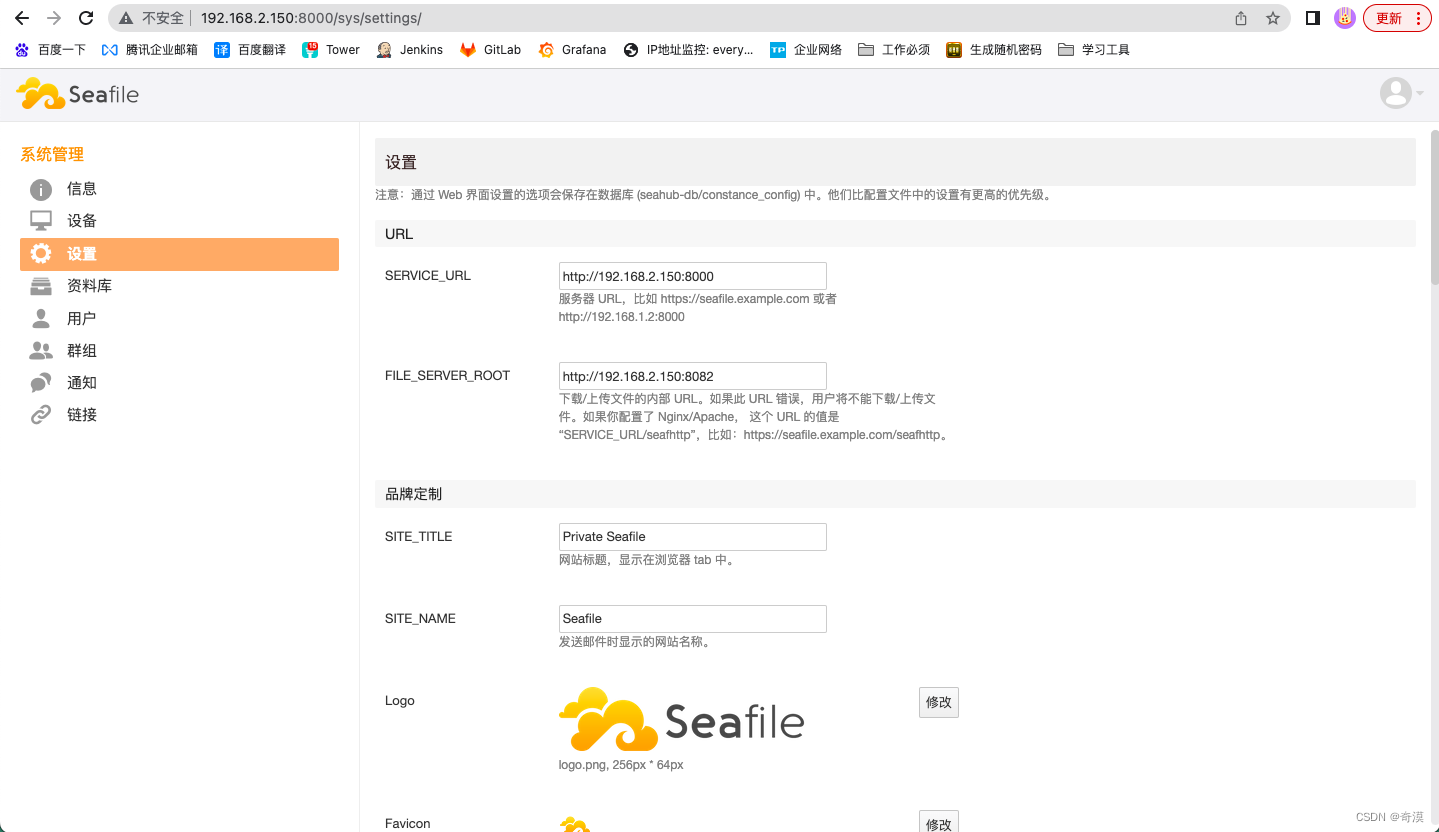
五:seafile系统配置
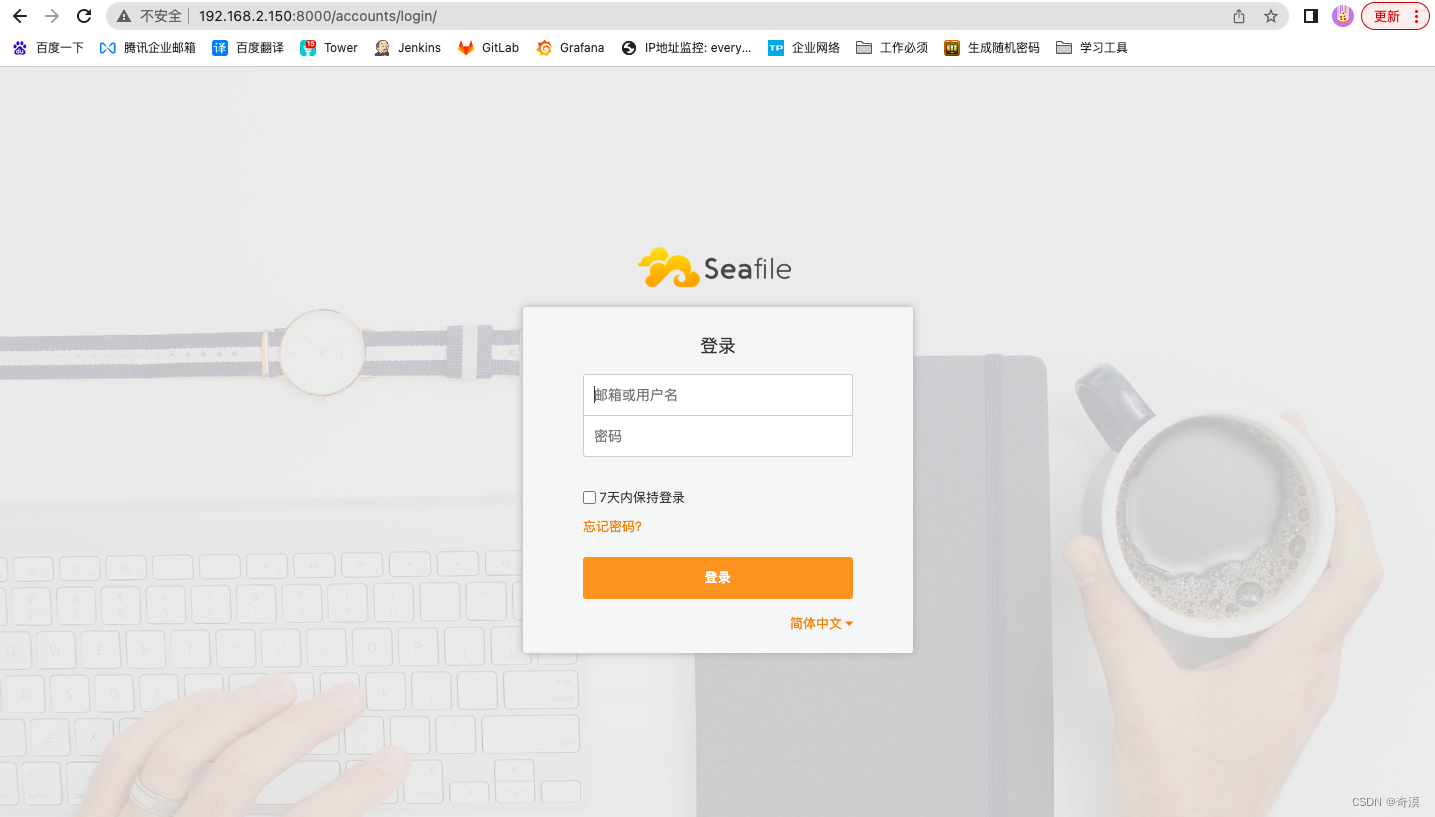
浏览器访问:ip+8000
 这里面根据实际情况进行配置,不然可能会导致文件无法上传或者下载
六:游览器后自动结束cookie
默认情况下,关闭游览器是不会自动借宿会话请求的,此时可以更改seahub_settings.py的参数,添加SESSION_EXPIRE_AT_BROWSER_CLOSE = True
注意:可能需要清理缓存seahub_settings.pyc,并重启服务才会生效
七:onlyoffice集成
# Enable Only Office
ENABLE_ONLYOFFICE = True
VERIFY_ONLYOFFICE_CERTIFICATE = False
ONLYOFFICE_APIJS_URL = 'http{s}://{your OnlyOffice server's domain or IP}/web-apps/apps/api/documents/api.js'
ONLYOFFICE_FILE_EXTENSION = ('doc', 'docx', 'ppt', 'pptx', 'xls', 'xlsx', 'odt', 'fodt', 'odp', 'fodp', 'ods', 'fods')
ONLYOFFICE_EDIT_FILE_EXTENSION = ('docx', 'pptx', 'xlsx')