AR大富翁游戏
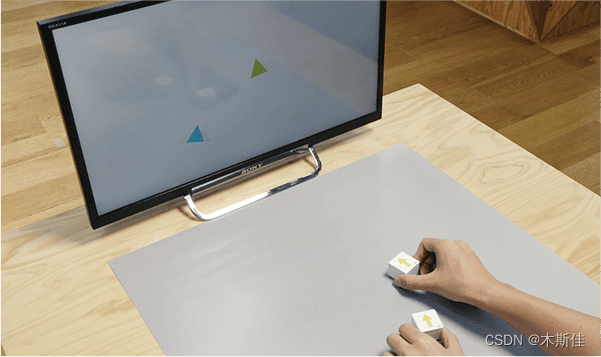
索尼toio核心Q宝机器人的特点让它很适合用来制作桌面互动小游戏。大富翁是桌面游戏中经久不衰的类型,那么我们能不能用toio来制作一个有趣的大富翁游戏呢?下面我们就来尝试利用toio机器人,结合AR功能来开发一个AR大富翁游戏。
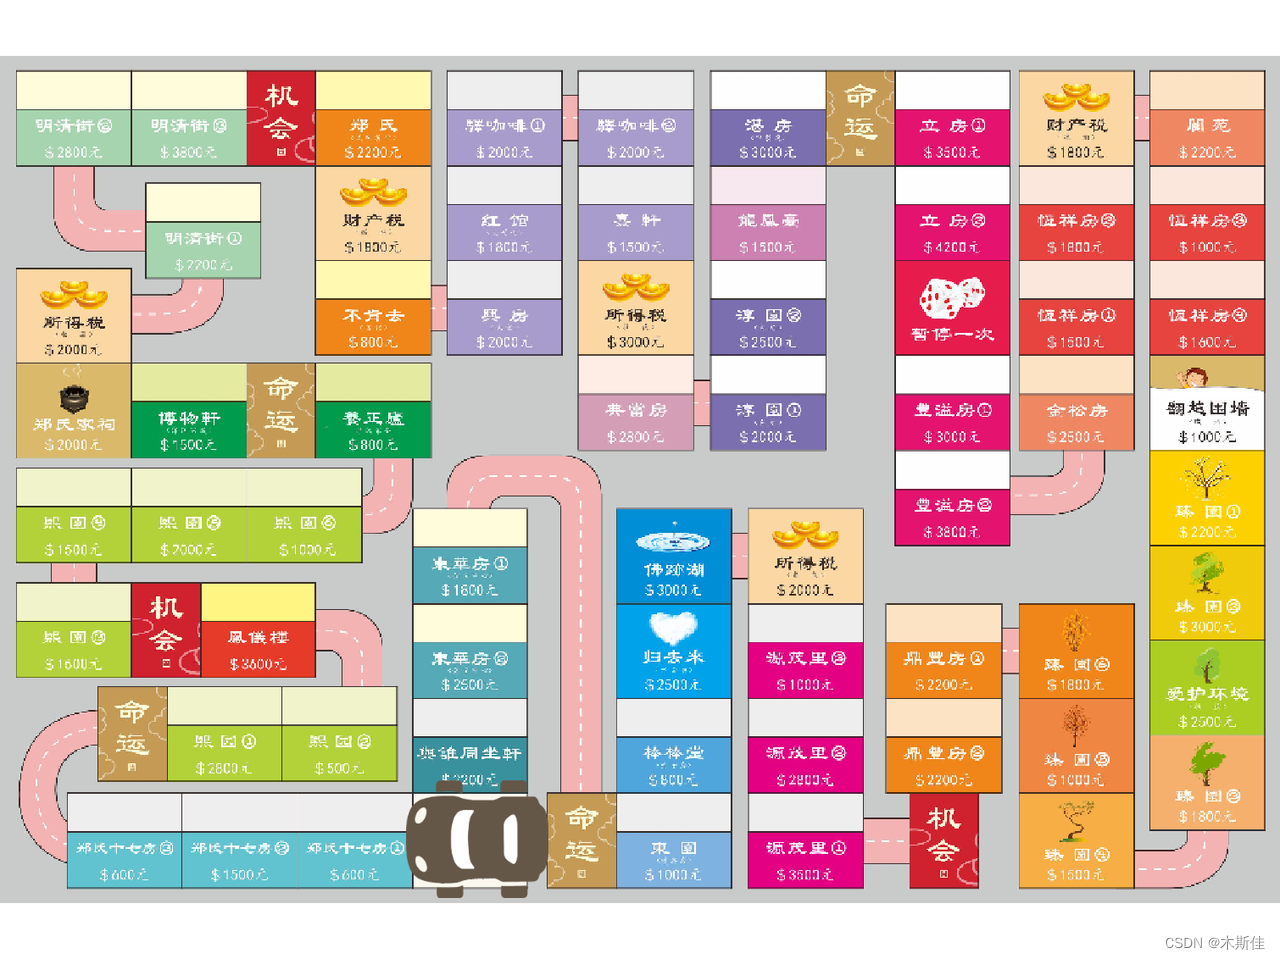
游戏规则
大富翁可谓是一个很经典的游戏了,下面我们先简单回顾一下他的玩法:
1、首先,每位玩家在游戏开始前获得相同的金钱,金钱是玩家进行游戏的资本,资金全部用完的玩家就会出局。
2、游戏主要靠掷骰子前进,玩家在到达的位置会有事件或者房产,如果是事件则玩家要按说明严格执行。
3、如果是房产,玩家可以选择是否购买,买下之后其他玩家在这里停留就会给你相对的路费。
5、在任何时间,玩家可与对手交易没有建筑物的地皮,先商谈的交易先处理。
6、入狱时仍可以收租、盖房子或是交易,但是不能移动。
7、如在卖出或抵押所有资产后仍无足够的现金以支付债务,则玩家宣告破产,所有资产直接转让给债主,最后一位没有破产的玩家得胜,总资产最高者得胜。
角色绑定
每个玩家对应一个核心Q宝,每个Q宝的ID信息有PositionId, StandardId, PositionIdMissed, StandardIdMissed通过这几个API可以进行起始点的矫正。
这里在使用JS连接Q宝开发的时候遇到了一些坑,win10下使用bluetooth-hci-socket库会抛出异常:No compatible USB Bluetooth 4.0 device found!
解决方案有以下几种,如果有win7设备的话可以使用win7环境开发。或者检查蓝牙驱动,如果台式机、DIY能力强可以按照蓝牙开发的思路去改驱动。或者对于bluetooth-hci-socket的版本进行升级,使用^0.5.2版本。如果上述都不好用的话,那么换种语言开发也是个不错的选择。

Q宝连接与断开:
    cube = ToioCoreCube(dev_list[0].interface)
    await cube.connect()
    print("Connected")
    await asyncio.sleep(1)
    await cube.disconnect()
移动控制
移动控制有两类,一类是基于位置信息,一类是基于网格信息。如果在卡片操作垫上,建议使用网格信息去获取对应位置。移动控制的整个思路,应该是:
1.用户1点击空格键,0-6随机生成数字。然后获取目前的坐标信息。匹配卡片数组,拿到对应的结果坐标位置,进行移动。这里我们略过生成随机数环节,重点讲解Q宝的使用。
读取坐标和位置信息
代码如下(示例):
def notification_handler(payload: bytearray):
    id_info = IdInformation.is_my_data(payload)
    if isinstance(id_info, PositionId):
        point = id_info.center.point
        for mat in ToioMat.mats:
            if point in mat:
                print(str(mat))
    print(str(id_info))

LOOP = True

def ctrl_c_handler(_signum, _frame):
    global LOOP
    print("Ctrl-C")
    LOOP = False

# Add signal handler
signal.signal(signal.SIGINT, ctrl_c_handler)

async def read_id():
    # connect to a cube
    dev_list = await BLEScanner.scan(1)
    assert len(dev_list)
    cube = ToioCoreCube(dev_list[0].interface)
    await cube.connect()

    # add notification handler
    await cube.api.id_information.register_notification_handler(notification_handler)
    try:
        # Loop until Ctrl-C is pressed
        while LOOP:
            await asyncio.sleep(0.1)
    finally:
        # remove notification handler
        await cube.api.id_information.unregister_notification_handler(
            notification_handler
        )
        await cube.disconnect()
    return 0
这里使用“ToioCoreCube.api.id_information.read()”可以获取Q宝在活动用操作垫上的实时数据。
但是要注意,在使用“read()”获得的数据是Q宝在执行时的实时数据,“read()”只提供最新的数据, 所以多次尝试“read()”并不能获得每次调用之间的信息变化。
Q宝自身拥有一个通知功能,可以主动发送检测ID信息。通过设置通知处理函数register_notification_handler(),可以使Q宝检测到的信息在Python端无遗漏地被接收。取消注册通知处理函数使用unregister_notification_handler()
位置移动
移动类方法有很多,比如基于电机的相对位置移动,也有基于网格的绝对位置移动。
move_to_the_grid_cell(speed: int, cell_x: int, cell_y: int) -> bool:
比如,骰子后应该运动到100,100位置,我们可以指定目标位置参数。目标位置参数由“cube_location”和“rotation_option”组成。移动的结果是通过通知处理函数获得的。这个操作只能放在操作垫执行。
def notification_handler(payload: bytearray):
   motor_info = Motor.is_my_data(payload)
   print(type(motor_info), str(motor_info))

dev_list = await BLEScanner.scan(1)
assert len(dev_list)
cube = ToioCoreCube(dev_list[0].interface)
await cube.connect()
await cube.api.motor.register_notification_handler(notification_handler)
await cube.api.motor.motor_control_target(
   timeout=5,
   movement_type=MovementType.Linear,
   speed=Speed(
       max=100, speed_change_type=SpeedChangeType.AccelerationAndDeceleration
   ),
   target=TargetPosition(
       cube_location=CubeLocation(point=Point(x=100, y=100), angle=0),
       rotation_option=RotationOption.AbsoluteOptimal,
   ),
)

await asyncio.sleep(5)
await cube.api.motor.unregister_notification_handler(notification_handler)
await cube.disconnect()
这里可以使用SpeedChangeType.AccelerationAndDeceleration去优化速度变化,这样可以使逐渐加速到目标点一半,然后逐渐减速到目标点。不会导致由于惯性超出目标区域太多。下面就是一个优化后的实现。
加速后减速到达指定地点
事件触发
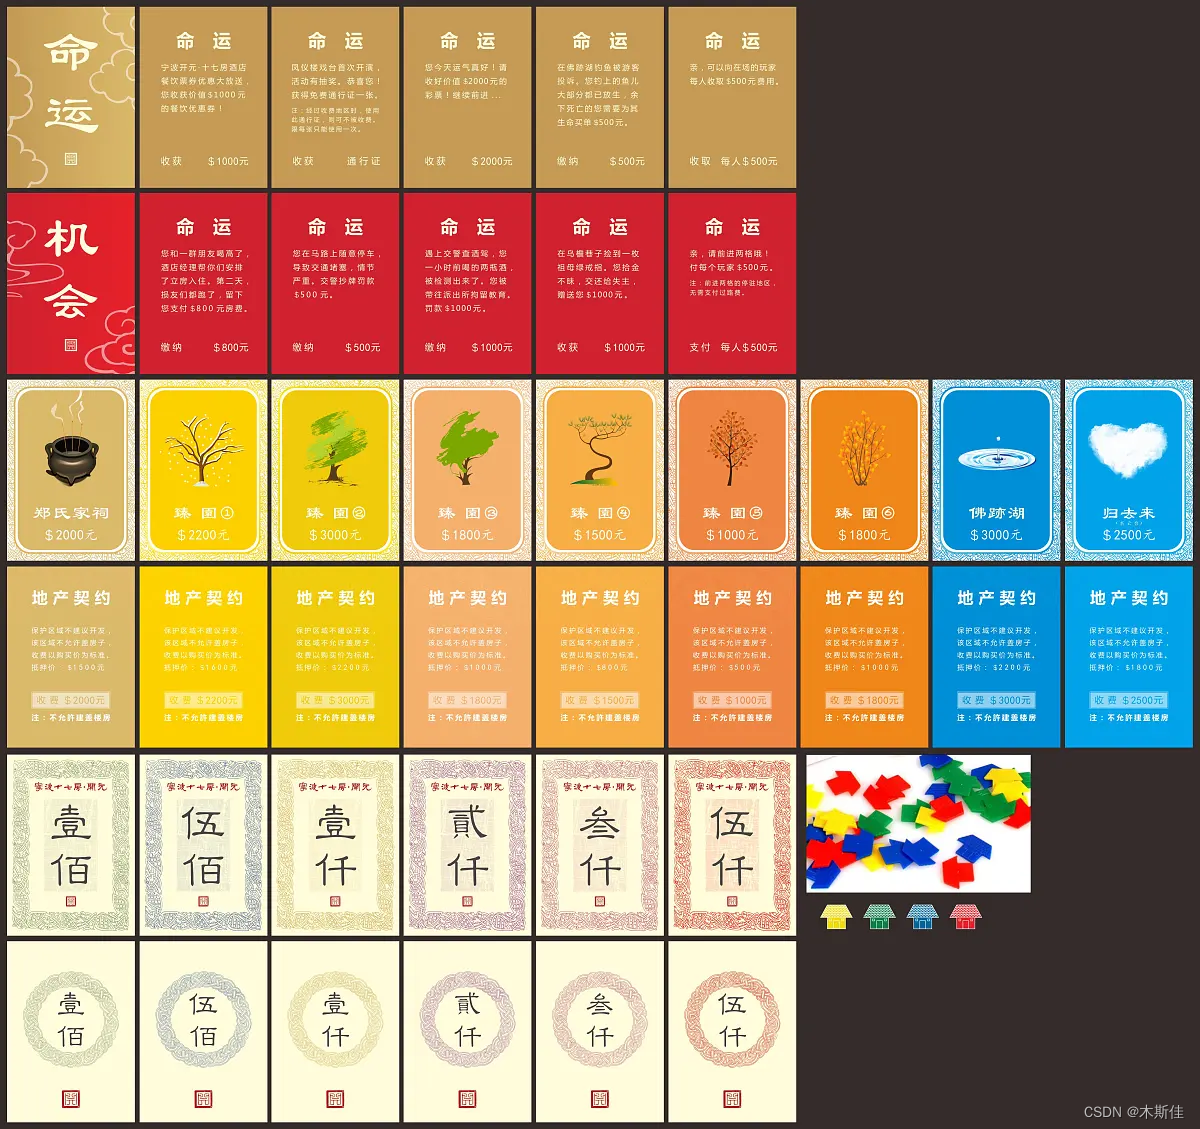
大富翁里除了地块还有命运、机会等事件卡片出现。这个时候我们需要运行控制多个Q宝的程序时,会出现依次连接和断开Q宝的情况,为了可以更好的解决这个问题,我们可以使用“asyncio.gather()”。
通过 “asyncio.gather()”,可以同时等待多个异步操作(可以让多个Q宝同时连接和断开)。
green_cube_location = None
red_cube_arrived = True

def id_notification_handler(payload: bytearray):
    global green_cube_location
    id_info = IdInformation.is_my_data(payload)
    if isinstance(id_info, PositionId):
        green_cube_location = id_info.center

def motor_notification_handler(payload: bytearray):
    global red_cube_arrived
    motor_response = Motor.is_my_data(payload)
    if isinstance(motor_response, ResponseMotorControlTarget):
        print(motor_response)
        red_cube_arrived = True

dev_list = await BLEScanner.scan(2)
assert len(dev_list) == 2
cube_1 = ToioCoreCube(dev_list[0].interface)
cube_2 = ToioCoreCube(dev_list[1].interface)

print("connect cubes")
await asyncio.gather(cube_1.connect(), cube_2.connect())

red = IndicatorParam(
    duration_ms = 0,
    color = Color(r = 255, g = 0, b = 0)
)

green = IndicatorParam(
    duration_ms = 0,
    color = Color(r = 0, g = 255, b = 0)
)

await asyncio.gather(cube_1.api.indicator.turn_on(green), cube_2.api.indicator.turn_on(red))

print("start")
await cube_1.api.id_information.register_notification_handler(id_notification_handler)
await cube_2.api.motor.register_notification_handler(motor_notification_handler)

for _ in range(30):
    if green_cube_location is not None and red_cube_arrived:
        red_cube_arrived = False
        print("cube_2: move to", str(green_cube_location))
        await cube_2.api.motor.motor_control_target(
            timeout=5,
            movement_type=MovementType.Linear,
            speed=Speed(
                max=100, speed_change_type=SpeedChangeType.AccelerationAndDeceleration
            ),
            target=TargetPosition(
                cube_location=green_cube_location,
                rotation_option=RotationOption.AbsoluteOptimal,
            ),
        )

    await asyncio.sleep(1)

await cube_2.api.motor.unregister_notification_handler(
    id_notification_handler
)
await cube_1.api.id_information.unregister_notification_handler(
    id_notification_handler
)
print("end")
await asyncio.gather(cube_1.disconnect(), cube_2.disconnect())
在编写异步处理程序时,需要注意以下几点:
- 不使用代码单元功能的异步处理,例如 toio.py。
- “await”只能在异步函数中使用。(可以直接用代码单元格函数来调用)
- 当使用像toio.py这样的异步处理时,首先要创建一个异步函数,然后用“asyncio.run()”执行该异步函数。
灯光、音乐、振动效果
这部分比较简单,因为我们不过多涉及底层的MINI制作,下面是音效、灯光播放的案例。
    async def play_midi(
        self, repeat: int, midi_notes: Union[list[MidiNote], tuple[MidiNote, ...]]
    ):

        midi = PlayMidi(repeat, midi_notes)
        await self._write(bytes(midi))
class IndicatorParam:
    """
    Indicator color and lighting period
    """

    duration_ms: int

    color: Color
    """
    |    RGB value
    """

    def flatten(self):
        duration = clip(int(self.duration_ms / 10), 0, 255)
        return duration, 0x01, 0x01, *self.color.flatten()
AR效果
仅仅实现了角色绑定、移动控制并没有达到我们预期的效果,增加了顺序执行器,以及规则玩法代码实现后,接下来是本次demo的一个重头戏。
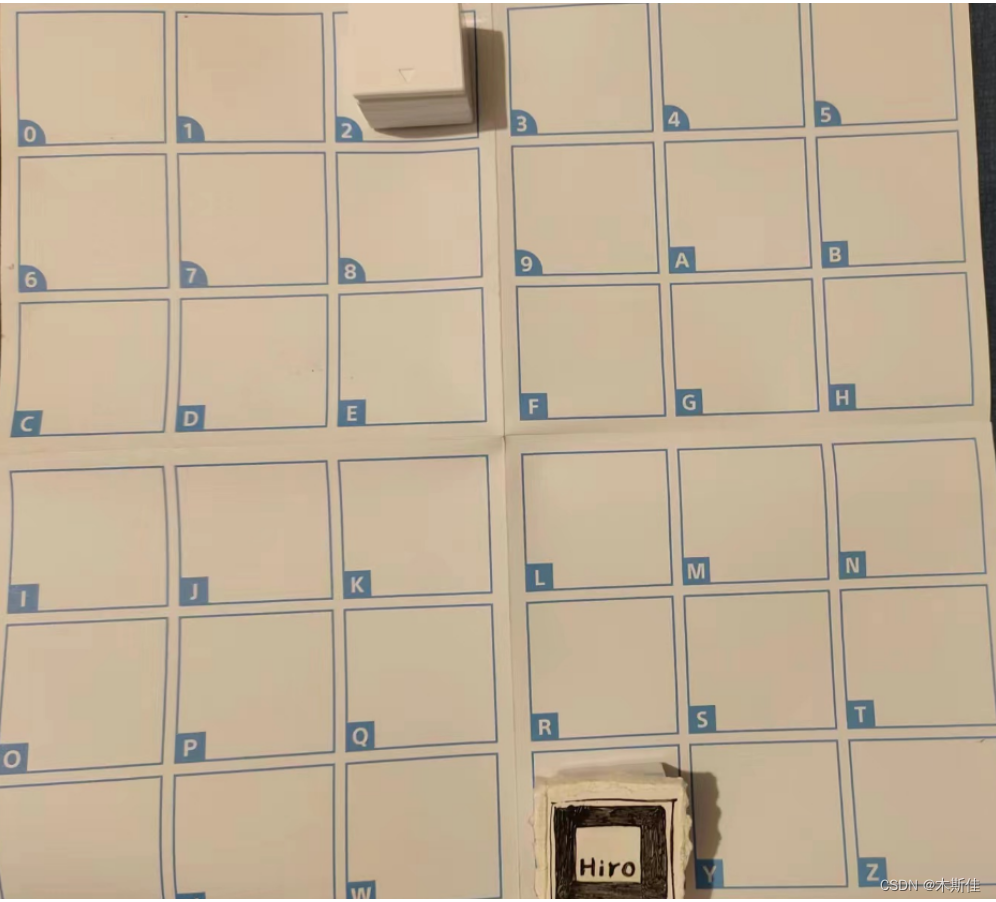
对于AR效果的实现,我们采用的是卡片标记法。也就是地图中心需要一个标记位,对于两个不同的角色、触发的事件卡片进行单独的标记位处理。
由于篇幅和时间原因,我们只实现一个AR标记的识别,后续其他标记的识别会逐渐完善。
我们先手绘一个标记卡,如上图。然后使用AR.js实现AR卡片的识别。
因为打开手机摄像头需要https协议(必须),这里我们使用ngrok可以很简单的做一个内网穿透,只要去ngrok官网下载ngrok客户端就好啦
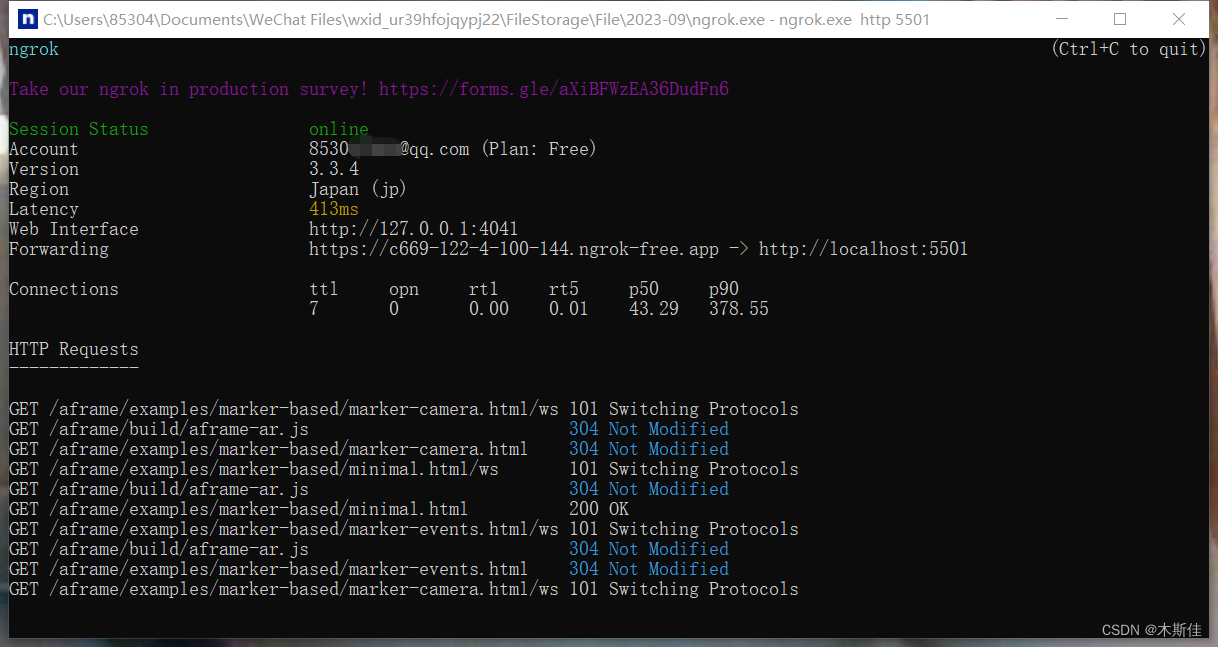
可在手机浏览器中打开摄像头,识别特定的图片。
识别成功后显示对应的标记,模型位置会跟踪图片所在的位置,可对模型进行旋转或缩放
Ar 效果
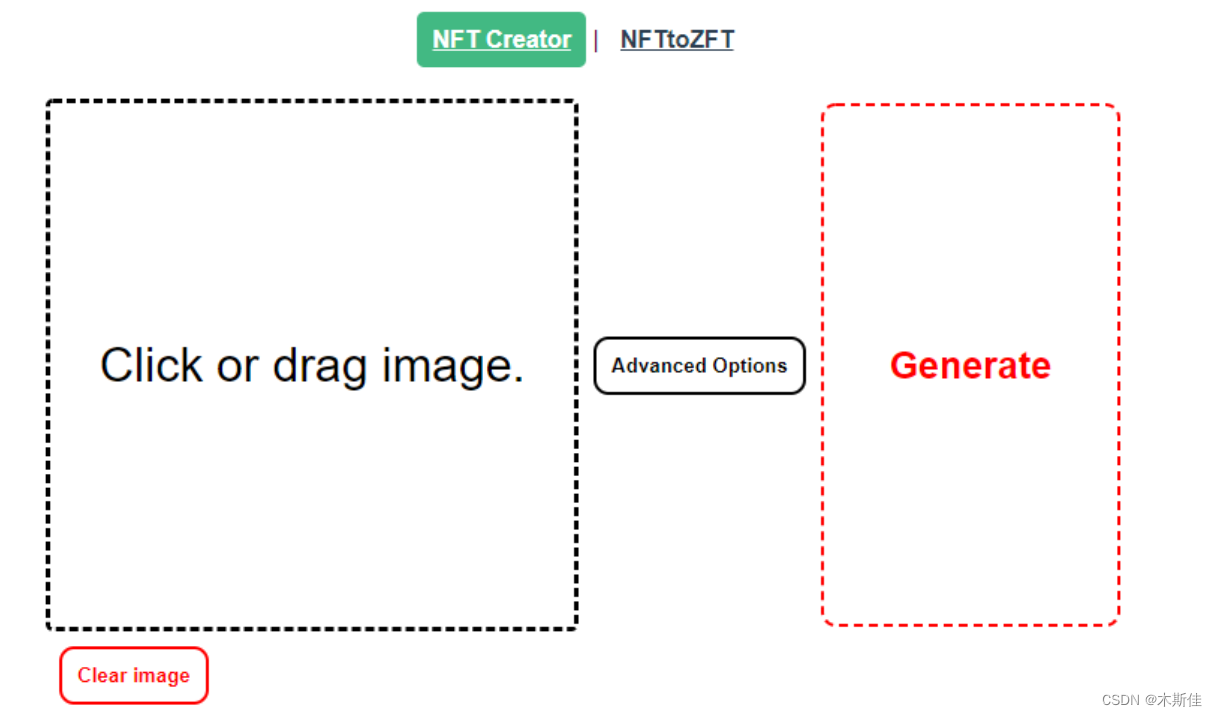
对于后续的标记及素材可以使用NFT-Marker-Creator去不断补充需要追踪的图片:
链接: https://carnaux.github.io/NFT-Marker-Creator/#/
至此一个AR大富翁游戏的雏形就完成啦。但是索尼 toio™的能力还不止于此,他的检测器除了可以识别灯光、位置以外,还支持磁性感应。触碰到任意磁铁的时候可以加入随机的彩蛋事件。搭配颜色识别,可以对于监狱、银行等特殊事件进行更炫酷的联动。大家也可以开拓思维,快快上手实现自己感兴趣的应用吧。