银河麒麟v10 rpm安装包 安装mysql 8.35
1、卸载mariadb
由于银河麒麟v10系统默认安装了mariadb 会与Mysql相冲突,因此首先需要卸载系统自带的mariadb
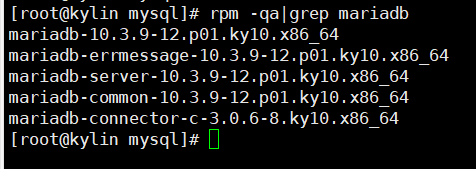
查看系统上默认安装的Mariadb软件包
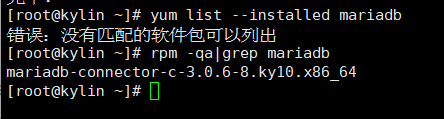
使用yum查看已经安装的mariadb软件包
yum list --installed mariadb

rpm -qa|grep mariadb
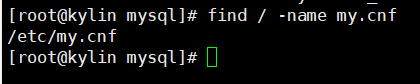
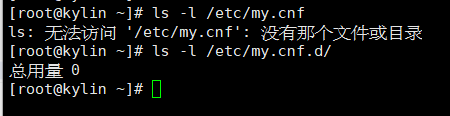
查看默认的mariadb配置文件
在这里插入代码片
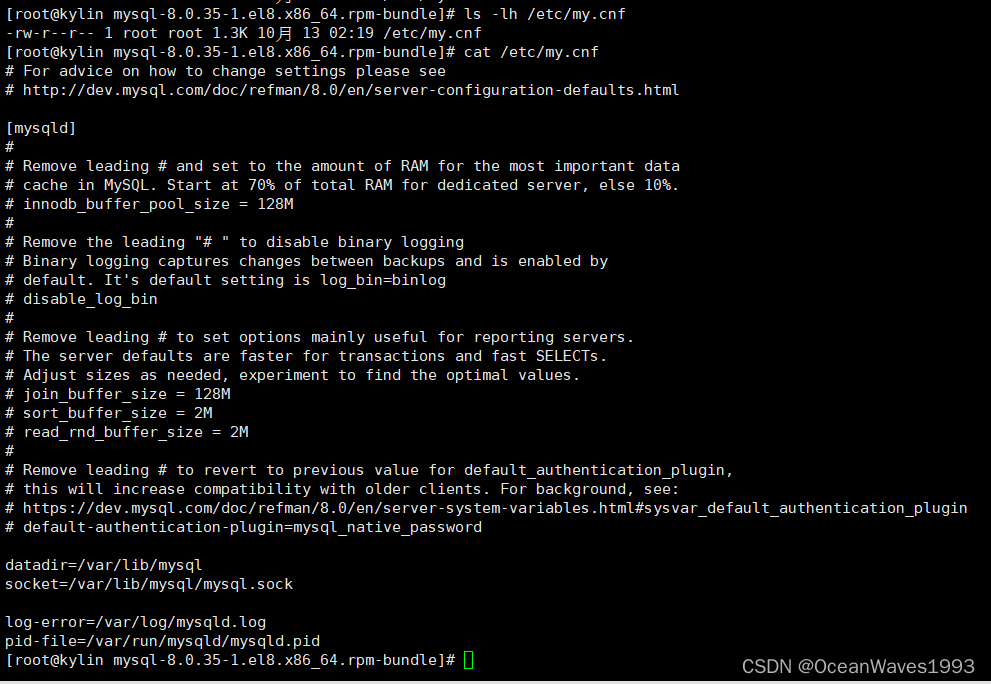
默认的配置文件是 /etc/my.cnf
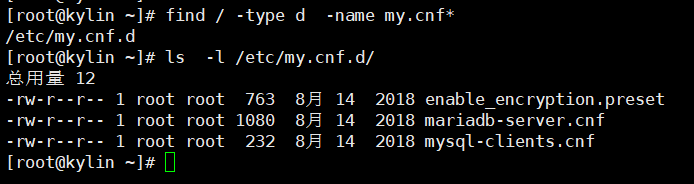
查看默认的mariadb配置目录
find / -type d -name my.cnf*
使用yum卸载 mariadb
yum remove mariadb.x86_64

验证卸载Mariadb成功
查看Mariadb配置文件和目录是否还存在 已经不存在了
至此mariadb卸载完成
2、下载Mysql安装包
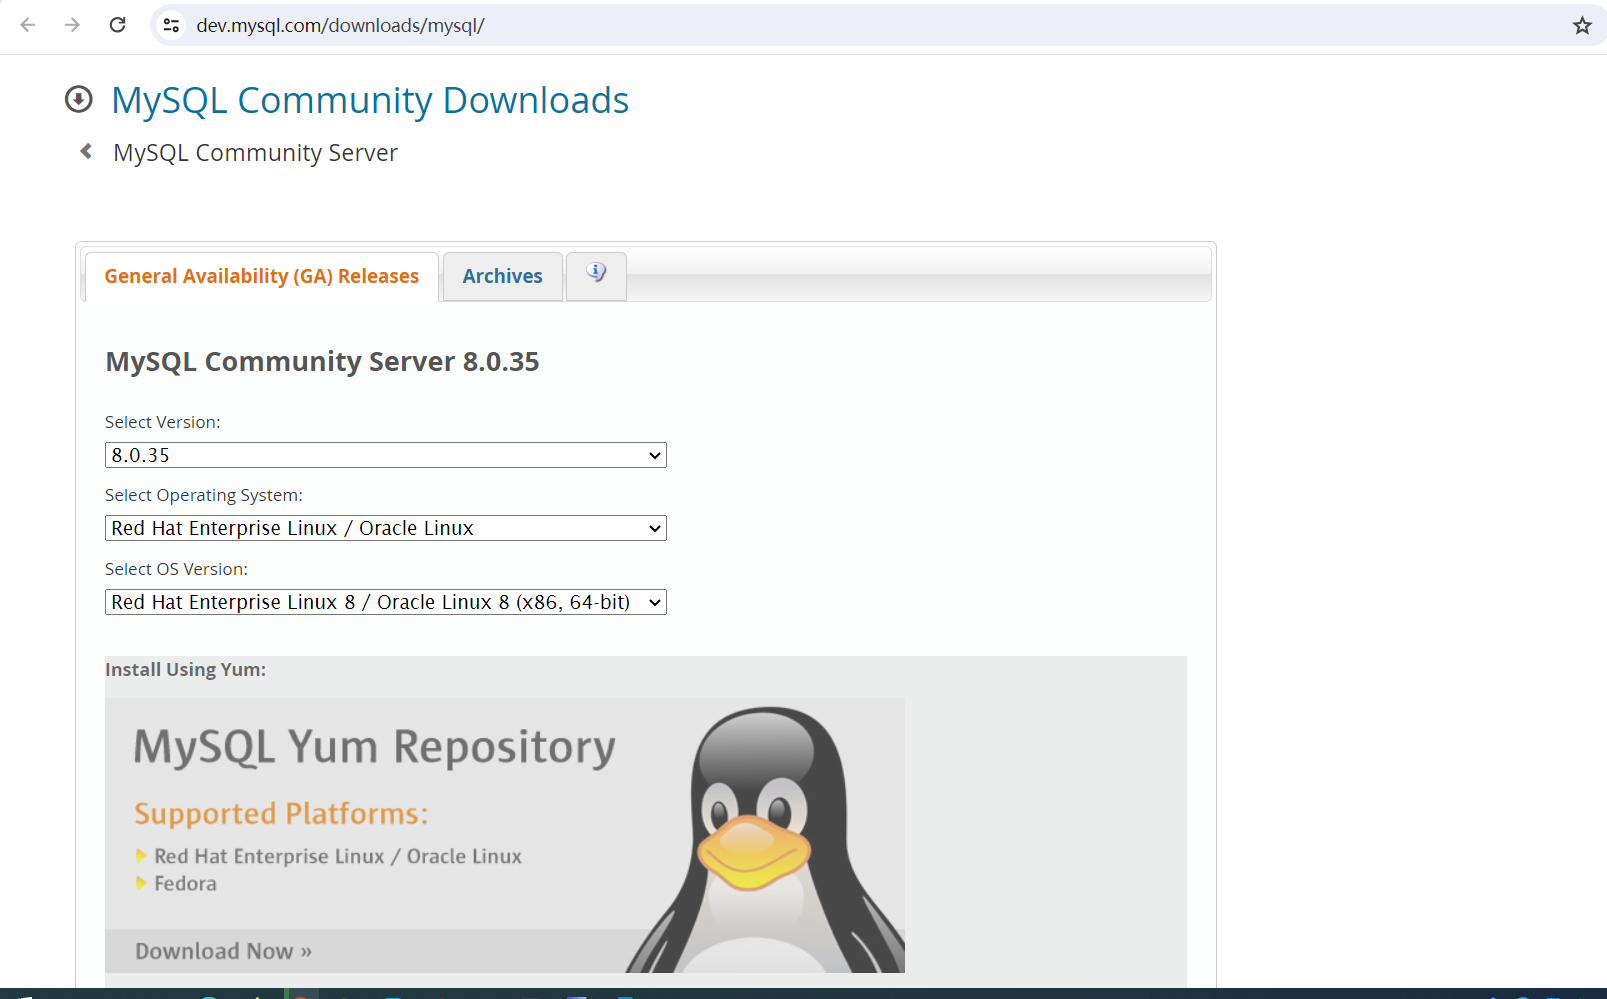
访问官网下载链接 链接: https://dev.mysql.com/downloads/mysql/
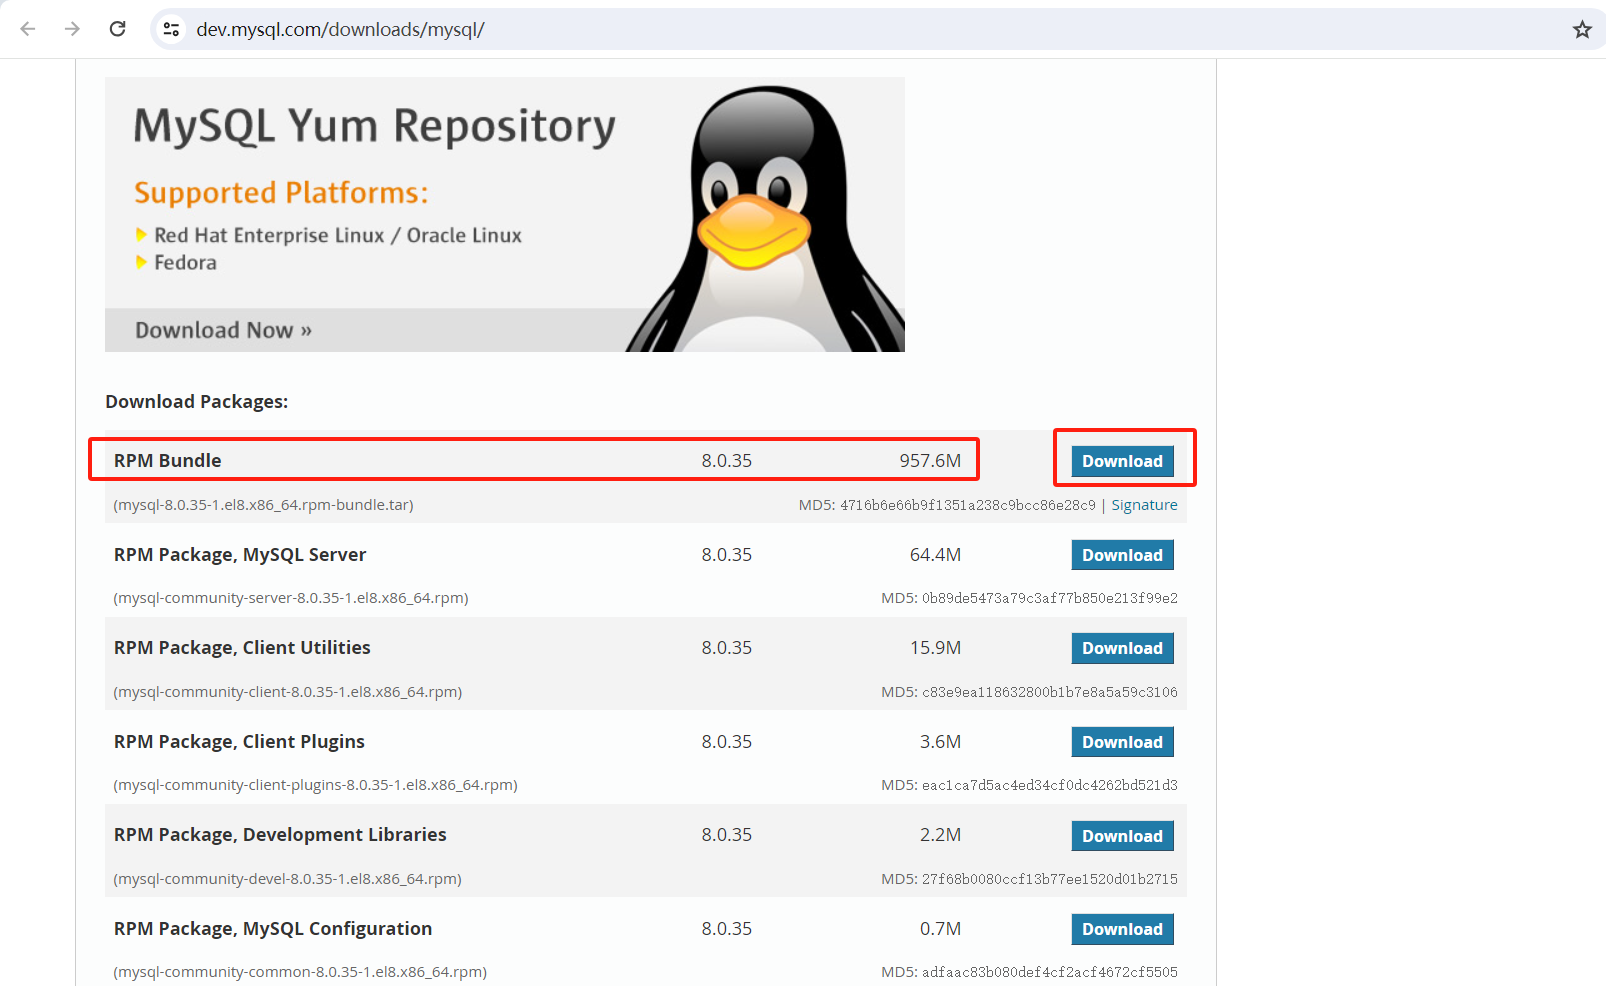
选择如下 点击下载按钮 下载安装包
选择 mysql-8.0.35-1.el8.x86_64.rpm-bundle.tar 点击下载
为什么选择redhat 8的操作系统版本呢?
https://www.kylinos.cn/about/news/814.html
通过查询麒麟官网得知,银河麒麟高级服务器操作系统是兼容centos8的,centos8和redhat8兼容。
3、安装Mysql 8.35
官方安装文档
链接: https://dev.mysql.com/doc/mysql-installation-excerpt/8.0/en/linux-installation-rpm.html
RPM Packages for MySQL Community Edition
| Package Name | Summary |
|---|---|
| mysql-community-client | MySQL client applications and tools |
| mysql-community-client-plugins | Shared plugins for MySQL client applications |
| mysql-community-common | Common files for server and client libraries |
| mysql-community-devel | Development header files and libraries for MySQL database client applications |
| mysql-community-embedded-compat | MySQL server as an embedded library with compatibility for applications using version 18 of the library |
| mysql-community-icu-data-files | MySQL packaging of ICU data files needed by MySQL regular expressions |
| mysql-community-libs | Shared libraries for MySQL database client applications |
| mysql-community-libs-compat | Shared compatibility libraries for previous MySQL installations; only present if previous MySQL versions are supported by the platform |
| mysql-community-server | Database server and related tools |
| mysql-community-server-debug | Debug server and plugin binaries |
| mysql-community-test | Test suite for the MySQL server |
| mysql-community | The source code RPM looks similar to mysql-community-8.0.35-1.el7.src.rpm, depending on selected OS |
| Additional debuginfo RPMs | There are several debuginfo packages: mysql-community-client-debuginfo, mysql-community-libs-debuginfo mysql-community-server-debug-debuginfo mysql-community-server-debuginfo, and mysql-community-test-debuginfo. |
rpm包的名称格式:packagename-version-distribution-arch.rpm
3.1、安装Mysql 8.35
创建Mysql安装包目录
mkdir -p /root/package/mysql
上传Mysql安装包mysql-8.0.35-1.el8.x86_64.rpm-bundle.tar 到/root/package/mysql 目录下
cd /root/package/mysql
mkdir mysql-8.0.35-1.el8.x86_64.rpm-bundle
安装过程如下
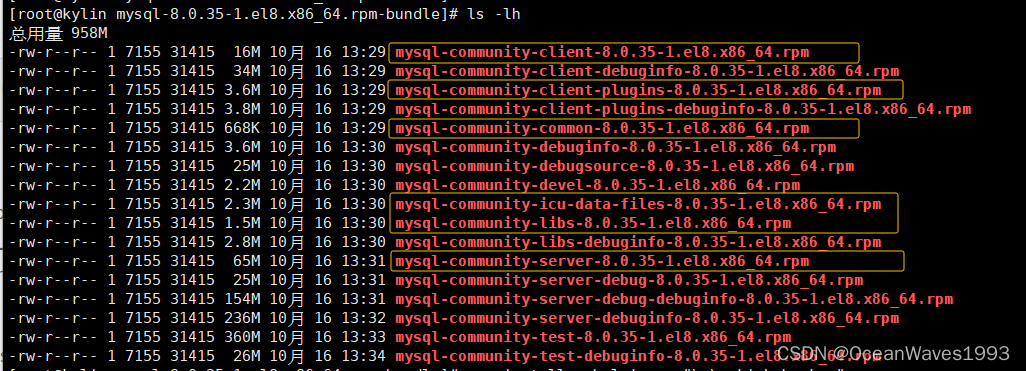
tar -xvf mysql-8.0.35-1.el8.x86_64.rpm-bundle.tar -C mysql-8.0.35-1.el8.x86_64.rpm-bundle/
cd mysql-8.0.35-1.el8.x86_64.rpm-bundle/
只需要安装以下软件包即可
In most cases, you need to install the mysql-community-server, mysql-community-client, mysql-community-client-plugins, mysql-community-libs, mysql-community-icu-data-files, mysql-community-common, and mysql-community-libs-compat packages to get a functional, standard MySQL installation. To perform such a standard, basic installation, go to the folder that contains all those packages (and, preferably, no other RPM packages with similar names), and issue the following command:
意思是说这个软件包目录下只包含有上面提到的这几个包即可,不能有其他的包,因此把其他的包删除掉。只保留
mysql-community-server, mysql-community-client, mysql-community-client-plugins, mysql-community-libs, mysql-community-icu-data-files, mysql-community-common, and mysql-community-libs-compat
rm -f mysql-community-server-debug*
rm -f mysql-community-debug*
rm -f mysql-community-client-debuginfo-8.0.35-1.el8.x86_64.rpm
rm -f mysql-community-test-*
rm -f mysql-community-client-plugins-debuginfo-8.0.35-1.el8.x86_64.rpm
rm -f mysql-community-devel-8.0.35-1.el8.x86_64.rpm
rm -f mysql-community-libs-debuginfo-8.0.35-1.el8.x86_64.rpm

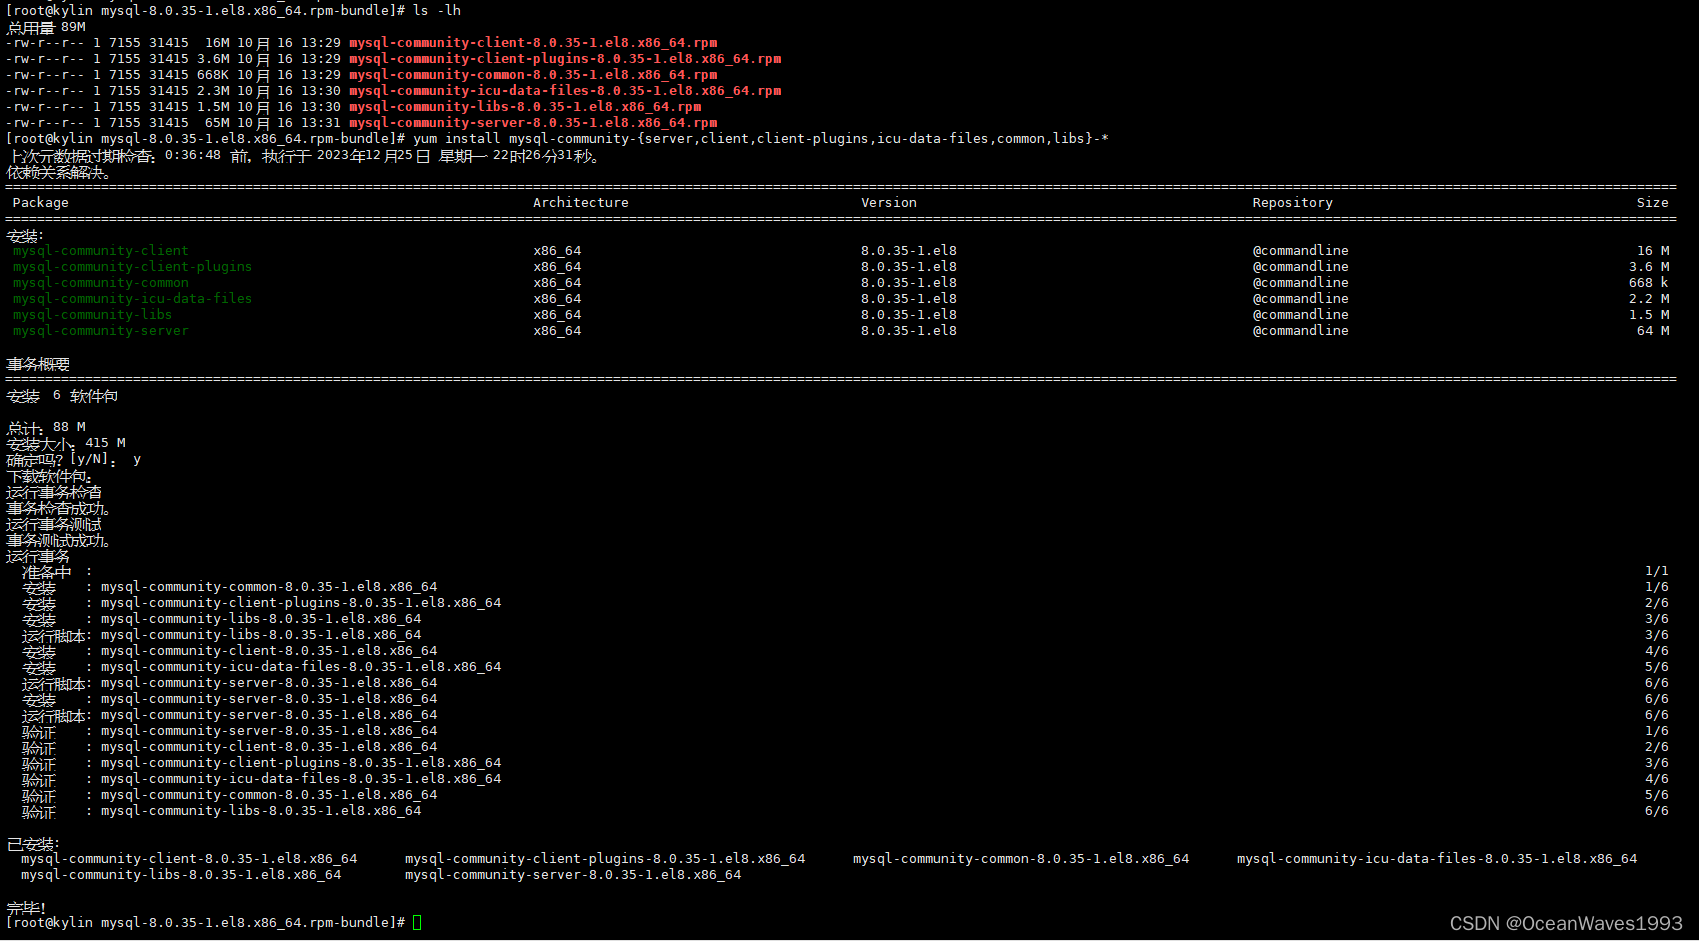
yum install mysql-community-{

    server,client,client-plugins,icu-data-files,common,libs}-*
安装完成如图所示
安装完成后 会形成以下文件和目录
| Files or Resources | Location |
|---|---|
| Files or Resources | Location |
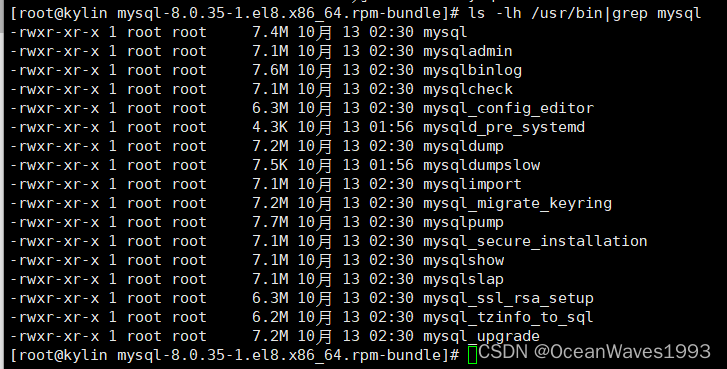
| Client programs and scripts | /usr/bin |
| mysqld server | /usr/sbin |
| Configuration file | /etc/my.cnf |
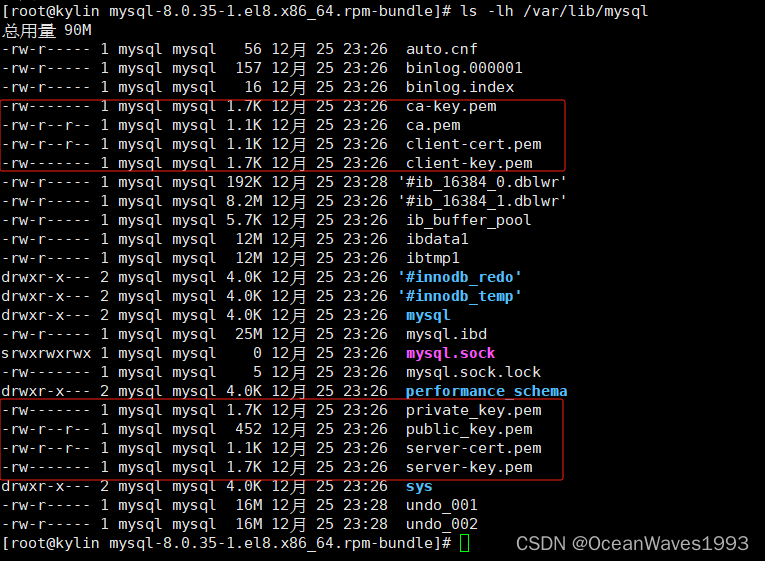
| Data directory | /var/lib/mysql |
| Error log file | For RHEL, Oracle Linux, CentOS or Fedora platforms: /var/log/mysqld.log |
| Value of secure_file_priv | /var/lib/mysql-files |
| System V init script | For RHEL, Oracle Linux, CentOS or Fedora platforms: /etc/init.d/mysqld |
| Systemd service | For RHEL, Oracle Linux, CentOS or Fedora platforms: mysqld |
| Pid file | /var/run/mysqld/mysqld.pid |
| Socket | /var/lib/mysql/mysql.sock |
| Keyring directory | /var/lib/mysql-keyring |
| Unix manual pages | /usr/share/man |
| Include (header) files | /usr/include/mysql |
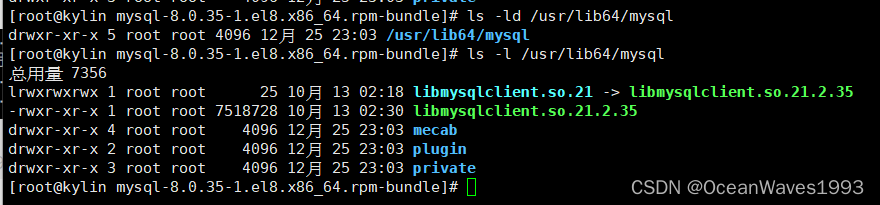
| Libraries | /usr/lib64/mysql |
| Miscellaneous support files (for example, error messages, and character set files) | /usr/share/mysql |
安装完后 也会产生一个名为mysql 的系统用户,和一个名为mysql 的系统用户组。

至此安装Mysql 8.35完成。
如果在安装过程中出现问题,您可能会在错误日志文件/var/log/mysqld.log中找到日志信息。
安装成功的情况下 /var/log/mysqld.log是空的
如果需要切换到Mysql用户 使用如下命令
su - mysql --shell=/bin/bash
下面这项是可选的 看调试信息才需要这样启动Mysql,一般不需要。
Debug Package. A special variant of MySQL Server compiled with the debug package has been included in the server RPM packages. It performs debugging and memory allocation checks and produces a trace file when the server is running. To use that debug version, start MySQL with /usr/sbin/mysqld-debug, instead of starting it as a service or with /usr/sbin/mysqld. See The DBUG Package for the debug options you can use.
查看安装后形成的目录和文件以及默认的配置文件
1、Client programs and scripts
2、mysqld server

3、Configuration file
4、Data directory


5、Error log file

6、Value of secure_file_priv

7、System V init script

8、Systemd service

9、Pid file

10、Socket

11、Keyring directory

12、Unix manual pages
/usr/share/man
13、Include (header) files

14、Libraries
15、Miscellaneous support files (for example, error messages, and character set files)、

3.2、启动mysql 8.0.35
安装后默认不会启动Mysql服务

启动mysql命令
systemctl start mysqld.service
此启动mysql命令做下面这些事情
- 初始化mysql服务
- 产生ssl证书和密钥在Mysql数据目录下
- validate_password默认安装。validate_password实现的默认密码策略要求密码至少包含一个大写字母、一个小写字母、一位数字和一个特殊字符,并且密码总长度至少为8个字符。
- 已创建超级用户帐户“root”@“localhost”。超级用户的密码已设置并存储在错误日志文件中。查看mysql的root账户默认密码
grep 'temporary password' /var/log/mysqld.log
1、查看数据目录
此数据目录在没有启动mysql前是空的

2、证书在数据目录下
3、查看 超级用户帐户“root”@“localhost” 的默认密码 Is#:wl:q5>oy

4、启动Mysql后 会形成sock文件和pid文件

安装mysql后默认是监听在“:::3306”上的,这个表示ipv4监听,同时也包含了ipv4,也就说,ipv6和ipv4都支持访问mysql。

停止mysql服务后 sock文件和pid文件都消失了

开启mysql服务后 sock文件和pid文件重新生成了 只不过pid文件的数值不同了。

5、查看启动日志

3.3、安装后配置
链接: https://dev.mysql.com/doc/mysql-installation-excerpt/8.0/en/postinstallation.html
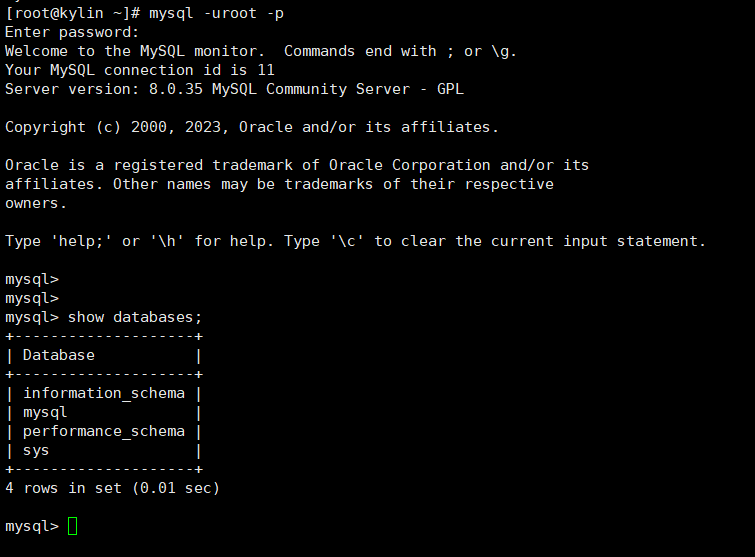
使用安装Mysql数据库 时生成的默认密码登录mysql数据库
mysql -uroot -p
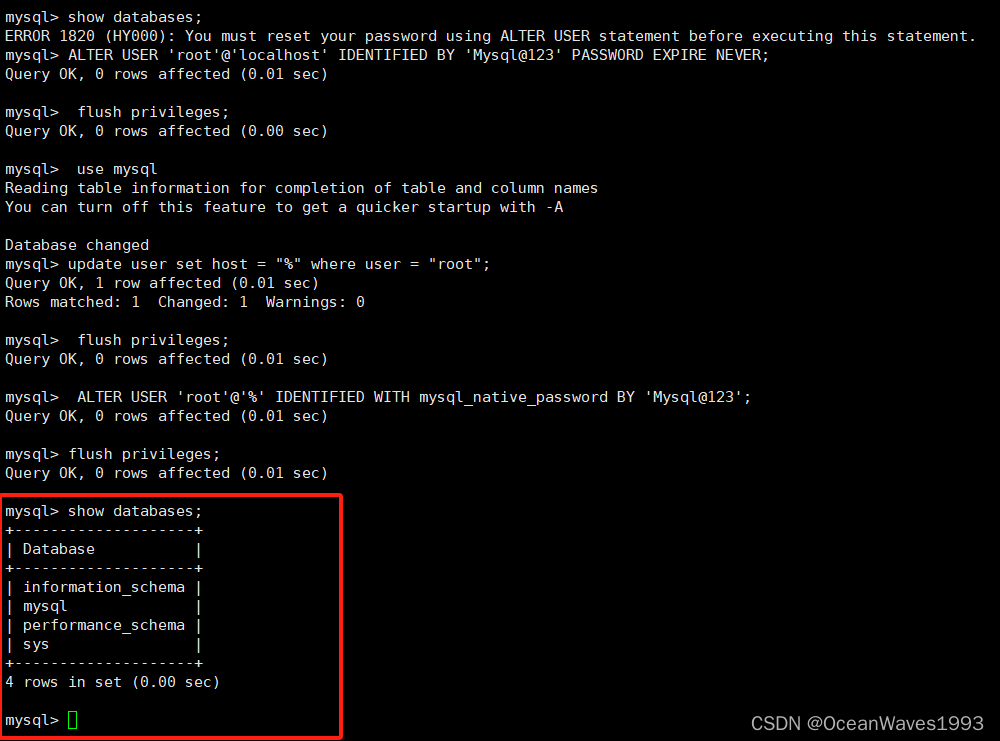
没修改默认密码前不能进行数据库sql操作

修改Mysql默认密码为Mysql@123
mysql> ALTER USER 'root'@'localhost' IDENTIFIED BY 'Mysql@123' PASSWORD EXPIRE NEVER;
Query OK, 0 rows affected (0.01 sec)

mysql>
mysql> flush privileges;
Query OK, 0 rows affected (0.00 sec)

mysql>
mysql> use mysql
Database changed
mysql>
mysql> update user set host = "%" where user = "root";
Query OK, 0 rows affected (0.00 sec)
Rows matched: 1  Changed: 0  Warnings: 0

mysql>
mysql> flush privileges;
Query OK, 0 rows affected (0.00 sec)

mysql>
mysql> ALTER USER 'root'@'%' IDENTIFIED WITH mysql_native_password BY 'Mysql@123';
Query OK, 0 rows affected (0.01 sec)

mysql>
mysql> flush privileges;
Query OK, 0 rows affected (0.01 sec)

mysql>
修改密码后即可成功执行数据库sql命令
使用新密码登录mysql数据库