本文改编自:<HarmonyOS第一课>从简单的页面开始
https://developer.huawei.com/consumer/cn/training/course/slightMooc/C101667360160710997
所有组件
在 macOS 上,组件文件位于 ~/Library/Huawei/Sdk/openharmony/9/ets/component ,你可以在这里看到类及其属性和方法。有人告诉我这个文件夹下未必都是 组件。
更官方盖章的组件及其使用,可见这个文件:https://gitee.com/openharmony/docs/blob/master/zh-cn/application-dev/reference/arkui-ts/Readme-CN.md
开发 tips
在抽象的总结之前,咱们根据之前的 UI 经验,将 HarmonyOS 上的 UI 绘制一遍,相信能更直观实际的了解 HarmonyOS 的 UI 开发。
tips :
- 你需要先到 Your Devices 启动模拟器,再 run;
- 和Xcode一样,点击 Command + 属性,可以进入类文件
- 重启、重装、再建项目、删除大法好!
- 有时候安装模拟器,第一次运行,可能桌面图片显示有问题,项目运行也失败。
可以尝试,删除模拟器,重新安装,重启程序。不只是 修改 兼容的API版本。 - 有时候修改了代码,但运行没有效果;可以看看你运行的是哪个 Module;IDE 默认会选择最新建的 Module;
重启IDE也不行的话,可以新建个项目。
- 有时候安装模拟器,第一次运行,可能桌面图片显示有问题,项目运行也失败。
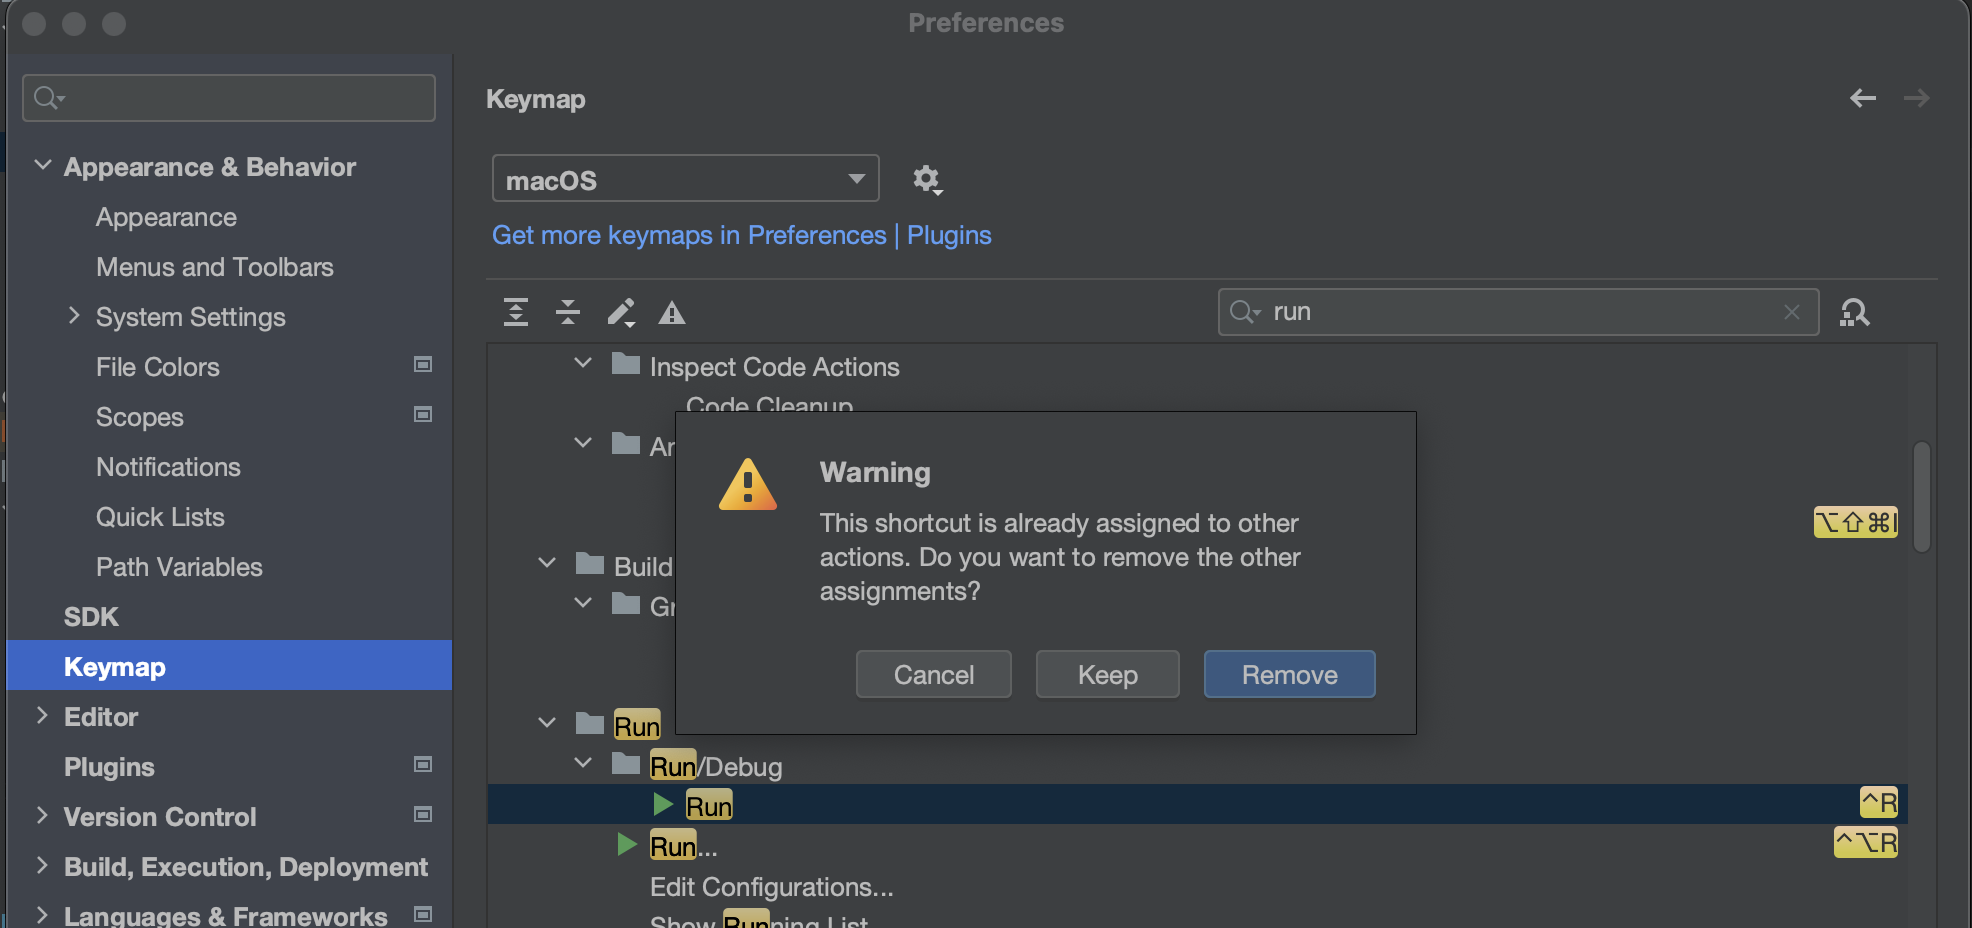
- 设置 Command + R 快捷键
为了调试方便,Apple 开发的同学,可以在设置中把 shortcut 改为 Command + R。
有重复的,在设置后会提示移除 已有的健(替换)。可以看到 EcoDev 和 PyCharm 是最接近的。
Blank
Blank()
  .backgroundColor(Color.Yellow)
  .width(100)
  .height(100)
Blank()
  .backgroundColor(Color.Blue)
  .width(100)
  .height(100)
Blank()
  .backgroundColor(Color.Red)
  .width(100)
  .height(100)

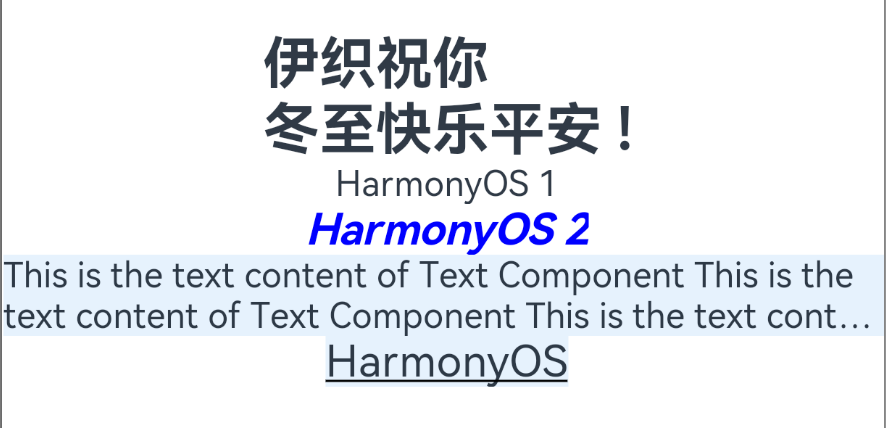
Text
也就是 iOS 上的 UILabel
@Entry
@Component
struct Index {


  @State message: string = '伊织祝你\n冬至快乐平安 !'

  build() {


    Row() {


      Column() {


        Text(this.message)
          .fontSize(26)
          .fontWeight(FontWeight.Bold)

        Text('HarmonyOS 1')
        Text('HarmonyOS 2')
          .fontColor(Color.Blue)
          .fontSize(20)
          .fontStyle(FontStyle.Italic)
          .fontWeight(FontWeight.Bold)
          .fontFamily('Arial')
        Text('This is the text content of Text Component This is the text content of Text Component This is the text content of Text Component This is the text content of Text Component This is the text content of Text Component This is the text content of Text Component')
          .fontSize(16)
          .maxLines(2) // 显示的最大行数
          .textOverflow({

    overflow:TextOverflow.Ellipsis})  // 显示不下的文本用 “...” 表示
          .backgroundColor(0xE6F2FD)
        Text('HarmonyOS')
          .fontSize(20)
          .decoration({

     type: TextDecorationType.Underline, color: Color.Black }) // 黑色修饰线
          .backgroundColor(0xE6F2FD)
      }
      .width('100%')
    }
    .height('100%')
  }
}
效果如下:
Text 属性方法
- fontColor : 设置文本颜色。
- fontSize : 设置文本尺寸,Length为number类型时,使用fp单位。
- minFontSize
- maxFontSize
- fontStyle : 设置文本的字体样式。默认值:FontStyle.Normal。
- Normal
- Italic
- fontWeight : 设置文本的字体粗细.
number类型取值[100, 900],取值间隔为100,默认为400,取值越大,字体越粗。
string类型仅支持number类型取值的字符串形式,例如“400”,以及“bold”、“bolder”、“lighter”、“regular”、“medium”,分别对应FontWeight中相应的枚举值。默认值:FontWeight.Normal。 - textAlign
- TextAlign.Center
- TextAlign.Start
- TextAlign.End
- lineHeight
- textOverflow
- Clip
- Ellipsis
- None
- fontFamily : 设置文本的字体列表。使用多个字体,使用“,”进行分割,优先级按顺序生效。例如:“Arial,sans-serif”。
- maxLines
- decoration
- None : 不使用文本装饰线。
- Underline : 文字下划线修饰。
- Overline : 文字上划线修饰。
- LineThrough : 穿过文本的修饰线。
- letterSpacing
- textCase
- baselineOffset
- copyOption
- None
- InApp
- LocalDevice
Image
拖拽文件到 工程
将文件放到 Project Name – AppScope – resource – base – media 下
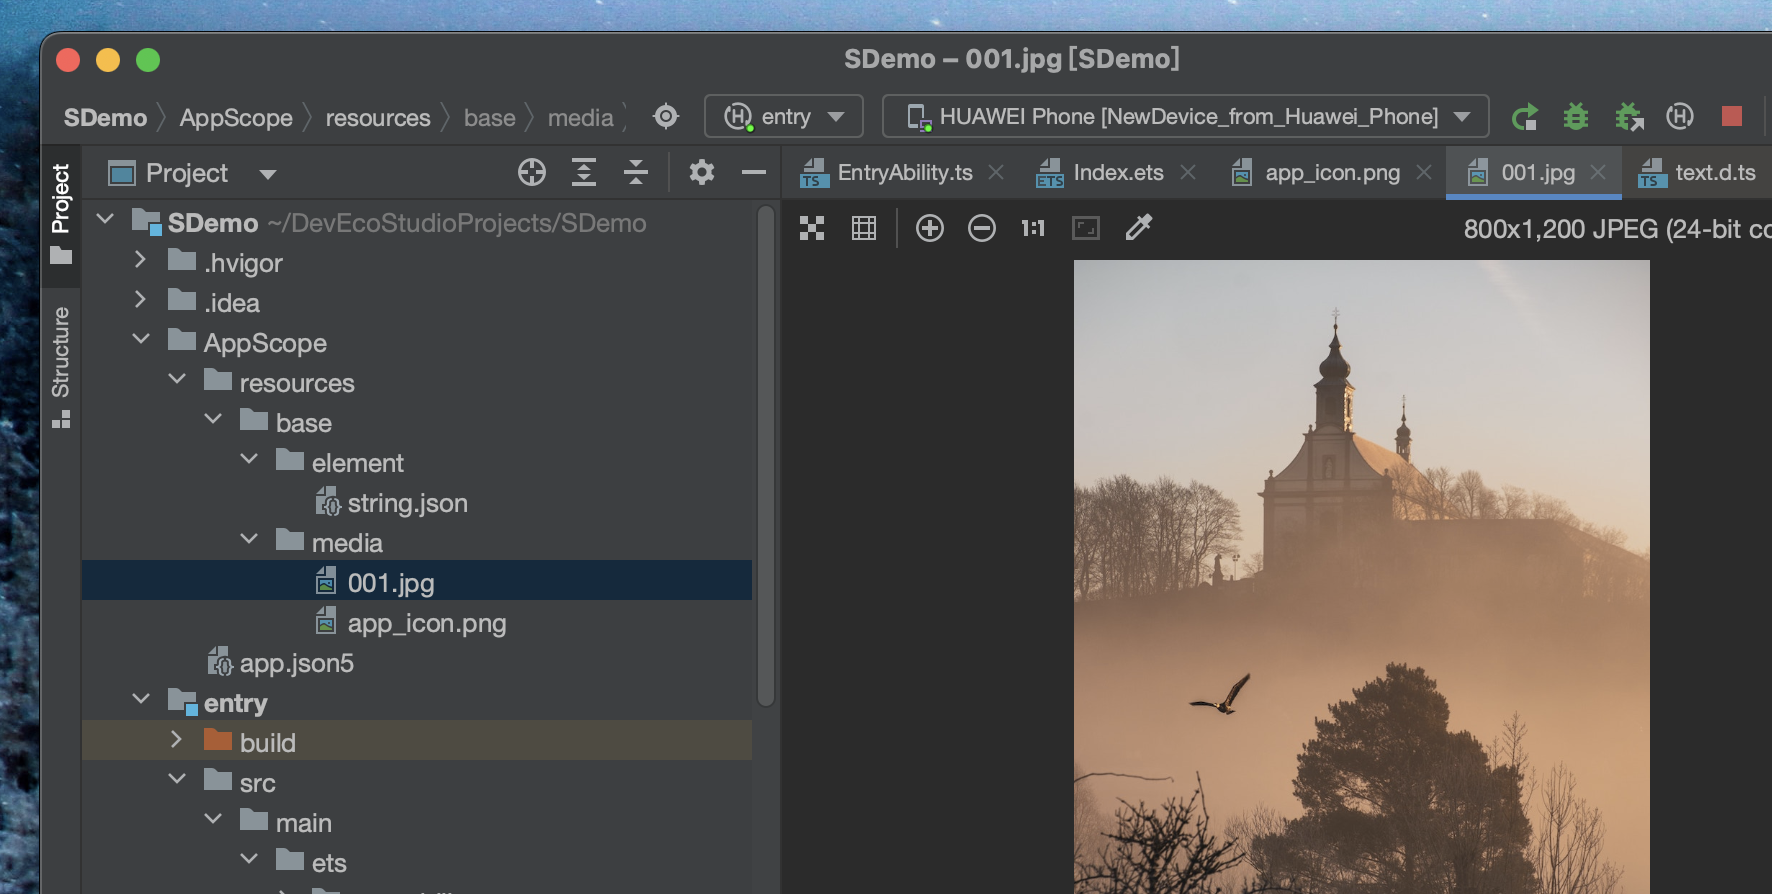
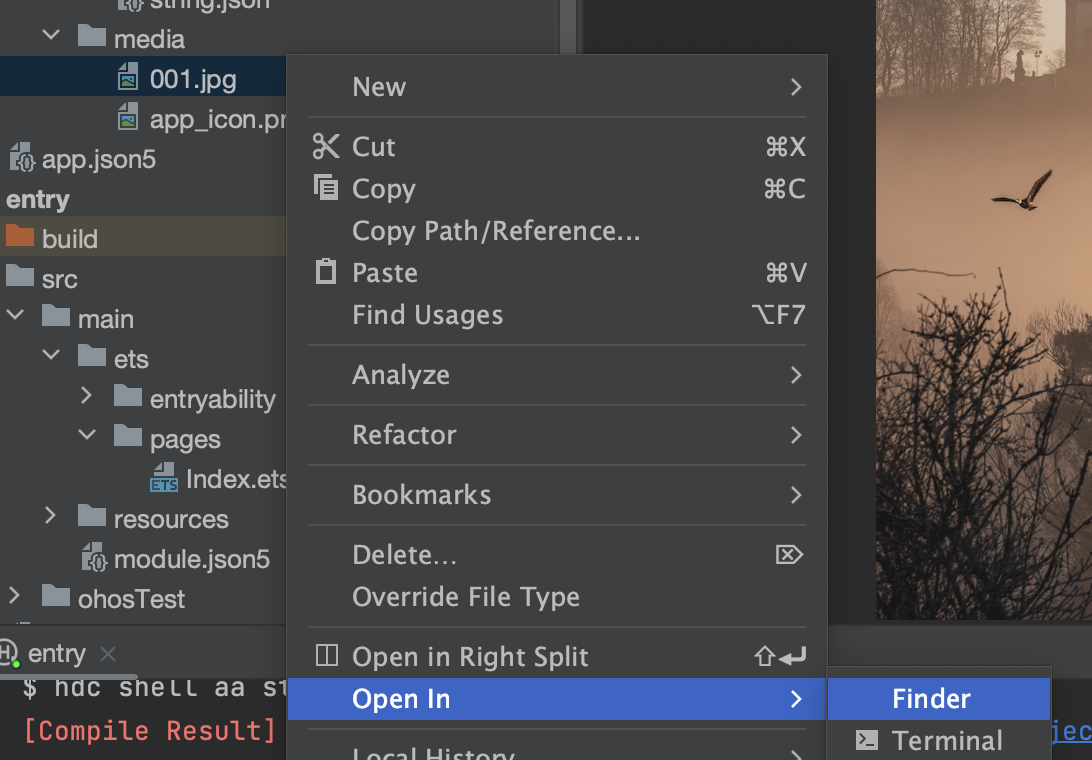
tips : 目前无法在工程文件列表,修改文件名;
在文件夹中修改文件名,工程中会同步修改
一个暂未解决的问题:如何创建多级图片目录?
为了方便管理不同模块的图片,想新建文件夹,要如何创建模块和调用呢?
创建文件夹是无法在代码中调用的
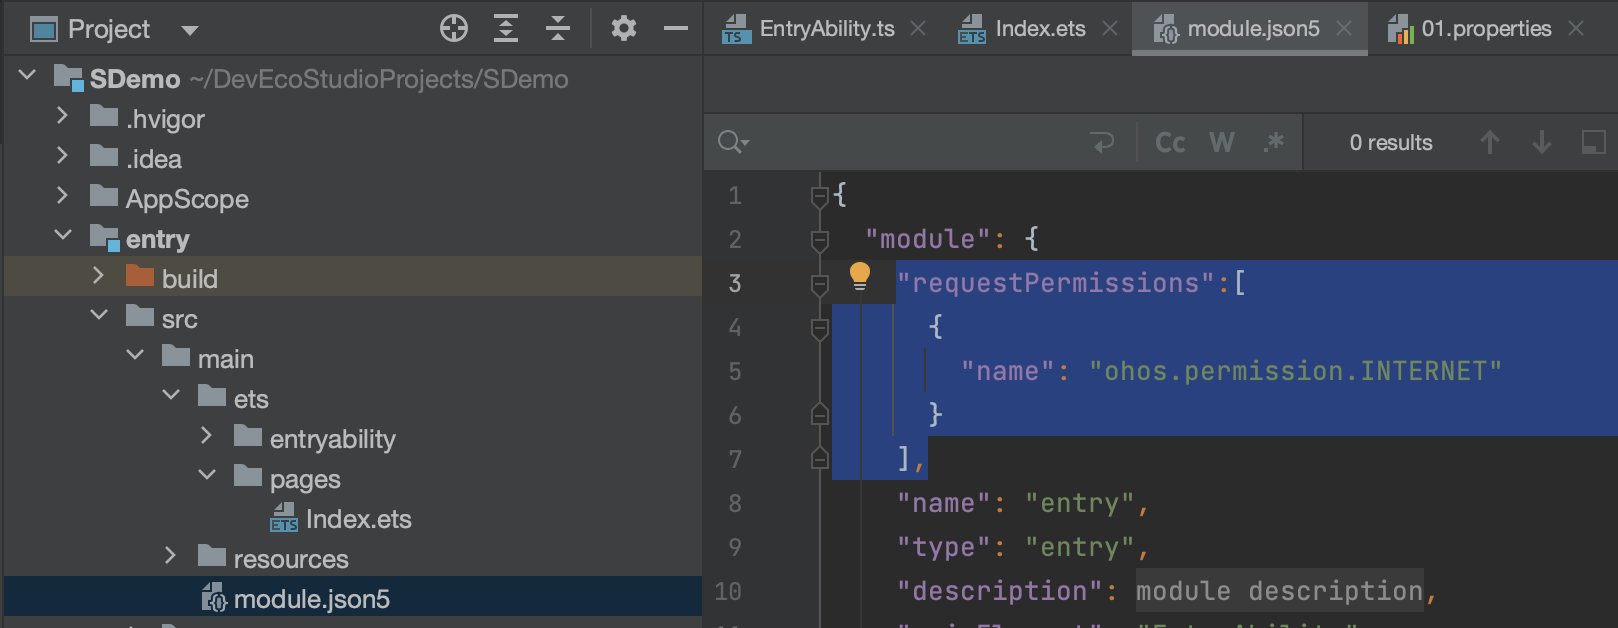
加载网络图片,需要在 module.json5 文件添加 网络访问权限请求
"requestPermissions":[
           {


             "name": "ohos.permission.INTERNET"
           }
        ],
Column() {


        Image($r("app.media.icon"))
          .width(100)
          .height(100)
        Image($r("app.media.001"))  // jpg 后缀,没有写 也可以正常显示
          .objectFit(ImageFit.Cover)
          .backgroundColor(0xCCCCCC)
          .width(100)
          .height(200)
        Image($r("app.media.002"))
          .objectFit(ImageFit.Auto) // 长款保持原比例、自适应
          .backgroundColor(0xCCCCCC)
          .width(200)
        // 加载网络图片
        Image('https://profile-avatar.csdnimg.cn/550af74bfcbd45a49d377d2ac3b13a01_lovechris00.jpg')
          .width(100)
      }
效果如下

Image 属性和方法
- alt
- matchTextDirection
- fitOriginalSize
- fillColor
- objectFit
- ImageFit.Contain
- ImageFit.Cover
- ImageFit.Auto
- ImageFit.Fill
- ImageFit.ScaleDown
- ImageFit.None
- objectRepeat
- autoResize
- renderMode
- interpolation
- sourceSize
- width
- height
- syncLoad
- colorFilter
- copyOption
- CopyOptions.None
- CopyOptions.InApp
- CopyOptions.LocalDevice
- draggable
- onComplete
- onError
- onFinish
TextInput

@Entry
@Component
struct Index {


  @State text1: string = ''

  build() {


    Row() {


      Column() {


        TextInput()
          .fontColor(Color.Blue)
          .fontSize(20)
          .fontStyle(FontStyle.Italic)
          .fontWeight(FontWeight.Bold)
          .padding(12)
          .backgroundColor(0xE6F2FD)
          .fontFamily('Arial')

        TextInput({

     placeholder: '请输入帐号' })
          .placeholderColor(0x999999)  //  设置 placeholder 属性
          .placeholderFont({

     size: 20, weight: FontWeight.Medium, family: 'cursive', style: FontStyle.Italic })
          .caretColor(Color.Blue)
          .onChange((value: string) => {


            this.text1 = value
          })
        Text(this.text1) // 监听上面输入内容
          .height(44)
          .width(200)
          .backgroundColor(Color.Pink)

        TextInput({

     placeholder: '请输入密码' })
          .type(InputType.Password) // 设置输入框类型 - 这里是密码输入框
      }
      .width('100%')
    }
    .height('100%')
  }
}
属性和方法
- type
- InputType.Normal
- InputType.Number
- InputType.PhoneNumber
- InputType.Email
- InputType.Password
- style
- TextInputStyle.Default
- TextInputStyle.Inline
- fontColor
- fontFamily
- fontSize
- fontStyle
- fontWeight
- caretColor
- placeholderColor
- placeholderFont
- textAlign
- TextAlign.Center
- TextAlign.Start
- TextAlign.End
- enterKeyType
- EnterKeyType.Go
- EnterKeyType.Search
- EnterKeyType.Send
- EnterKeyType.Next
- EnterKeyType.Done
- inputFilter
- maxLength
- showPasswordIcon
- copyOption
- CopyOptions.None
- CopyOptions.InApp
- CopyOptions.LocalDevice
- onChange
- onCopy
- onCut
- onEditChange
- onEditChanged
- onPaste
- onSubmit
Button
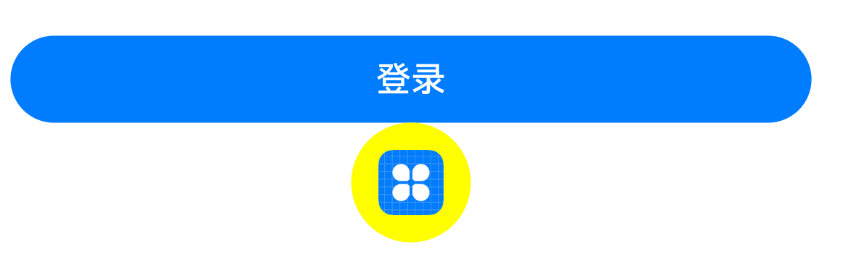
		Button('登录', {

     type: ButtonType.Capsule, stateEffect: true })
          .width('90%')
          .height(40)
          .fontSize(16)
          .fontWeight(FontWeight.Medium)
          .backgroundColor('#007DFF')
          .onClick(() => {


            // 处理点击事件逻辑
          })

        Button({

     type: ButtonType.Circle, stateEffect: true }) {


          Image($r('app.media.app_icon'))
            .width(30)
            .height(30)
        }
        .width(55)
        .height(55)
        .backgroundColor(Color.Yellow)
      }
Button 属性和方法
- type
- ButtonType.Capsule
- ButtonType.Circle
- ButtonType.Normal
- stateEffect
- fontColor
- fontSize
- fontWeight
- fontStyle
- FontStyle.Normal
- FontStyle.Italic
- fontFamily
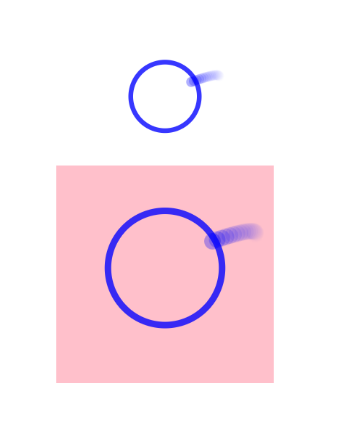
LoadingProgress
        LoadingProgress()
          .color(Color.Blue)
          .height(60)
          .width(60)
        LoadingProgress()
          .color(Color.Blue)
          .height(100)
          .width(100)
          .backgroundColor(Color.Pink)
https://music.163.com/#/song?id=21231338
伊织 2023-12-23