好长时间没输出了,最近工作上也是太多事,领导动不动就拍脑门,那叫一个酸爽~
工作能力的提现不但是技术或解决问题的能力上,还体现在要能立刻满足领导的各种需求,不管是哪方面的需求,这样才能够拍上马屁,步步高升。
言归正传,作为技术从业者,还是要多深耕技术。有小伙伴问,在springboot工程中,持久层采用的mybatis框架,如何能够自动建表,一个团队中各个小伙伴针对新增需求会添加或修改表,但各自调试时,数据库表更新又不及时,造成很大不便。下面记录一下springboot+mybatis-plus实现自动建表。
1、环境
springboot2.x
mybatis-plus3.5.0
mybatis-enhance-actable1.1.1.RELEASE
mysql5.7.x
idea开发工具
2、新建springboot工程
2.1、pom依赖如下
	<dependencies>
        <dependency>
            <groupId>org.springframework.boot</groupId>
            <artifactId>spring-boot-starter-web</artifactId>
        </dependency>
        <dependency>
            <groupId>com.baomidou</groupId>
            <artifactId>mybatis-plus-boot-starter</artifactId>
            <version>3.5.0</version>
        </dependency>
        <dependency>
            <groupId>com.gitee.sunchenbin.mybatis.actable</groupId>
            <artifactId>mybatis-enhance-actable</artifactId>
            <version>1.1.1.RELEASE</version>
        </dependency>
        <dependency>
            <groupId>mysql</groupId>
            <artifactId>mysql-connector-java</artifactId>
        </dependency>

        <dependency>
            <groupId>org.projectlombok</groupId>
            <artifactId>lombok</artifactId>
            <optional>true</optional>
        </dependency>
        <dependency>
            <groupId>org.springframework.boot</groupId>
            <artifactId>spring-boot-starter-test</artifactId>
            <scope>test</scope>
        </dependency>
    </dependencies>
2.2、application配置
server:
  port: 9001

spring:
  #数据库配置
  datasource:
    url: jdbc:mysql://localhost:3306/test?serverTimezone=UTC&useUnicode=true&characterEncoding=utf-8&useSSL=false
    driver-class-name: com.mysql.cj.jdbc.Driver
    username: root
    password: root

#自动建表设置
mybatis:
  table:
    #create系统启动后,会将所有的表删除掉,然后根据model中配置的结构重新建表,该操作会破坏原有数据;
    #update系统会自动判断哪些表是新建的.哪些字段要修改类型等,哪些字段要删除,哪些字段要新增,该操作不会破坏原有数据;
    #add新增表/新增字段/新增索引新增唯一约束的功能,不做做修改和删除(只在版本1.0.9.RELEASE及以上支持);
    #none系统不做任何处理;
    auto: update
  model:
    #扫描用于创建表的对象的包名
    pack: com.*.*.model
  database:
    #数据库类型目前只支持mysql
    type: mysql

#mybatis-plus
mybatis-plus:
  #固定的
  mapper-locations: classpath*:com/gitee/sunchenbin/mybatis/actable/mapping/*/*.xml
注意,mybatis-plus是固定的,采用的是mybatis-enhance-actable插件。
3、集成mybatis-plus
启动类配置如下
@SpringBootApplication
@MapperScan("com.*.*.mapper")
@ComponentScan("com.*.*.*")
@MapperScan({"com.gitee.sunchenbin.mybatis.actable.dao.*"})//固定的
@ComponentScan("com.gitee.sunchenbin.mybatis.actable.manager.*")//固定的
public class SpringbootMybatisPlus2Application {

    public static void main(String[] args) {
        SpringApplication.run(SpringbootMybatisPlus2Application.class, args);
    }

}
注意,固定的是采用的是mybatis-enhance-actable插件。
实体类配置如下
@Data
@Table(name = "t_test")
@TableName(value = "t_test")
public class Test {

    @TableId(value = "id",type = IdType.AUTO)
    @IsKey
    @IsAutoIncrement
    @Column(name = "id",comment = "主键")
    private Long id;

    @TableField(value = "name")
    @Column(name = "",comment = "名称",isNull = false)
    private String name;

    @TableField(value = "create_time")
    @Column(name = "create_time",comment = "创建时间")
    private String creatTime;

    @Column(name = "update_time",comment = "修改时间")
    private String updateTime;

}
注解分别为mybatisplus提供的、mybatis-enhance-actable提供的,前者的注解是用来进行持久层操作的(增删改查),后者的注解是用来进行自动建表的。
4、业务操作
mapper类如下
@Mapper
public interface TestMapper extends BaseMapper<Test> {
}
service类如下
public interface TestService extends IService<Test> {
}
@Service
public class TestServiceImpl extends ServiceImpl<TestMapper, Test> implements TestService {
}
controller类如下
@RestController
@RequiredArgsConstructor
public class TestController {
private final TestServiceImpl testService;
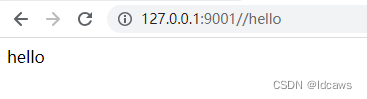
@GetMapping("/hello")
public Object hello() {
return "hello";
}
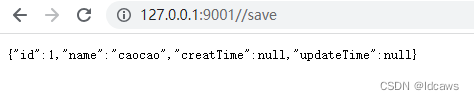
@GetMapping("/save")
public Object save() {
Test test = new Test();
test.setName("caocao");
testService.save(test);
return test;
}
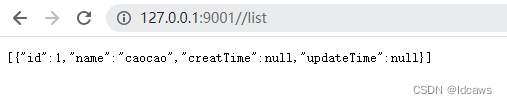
@GetMapping("/list")
public Object list() {
List<Test> list = testService.list();
return list;
}
}
5、测试结果
启动服务,结果类似如下
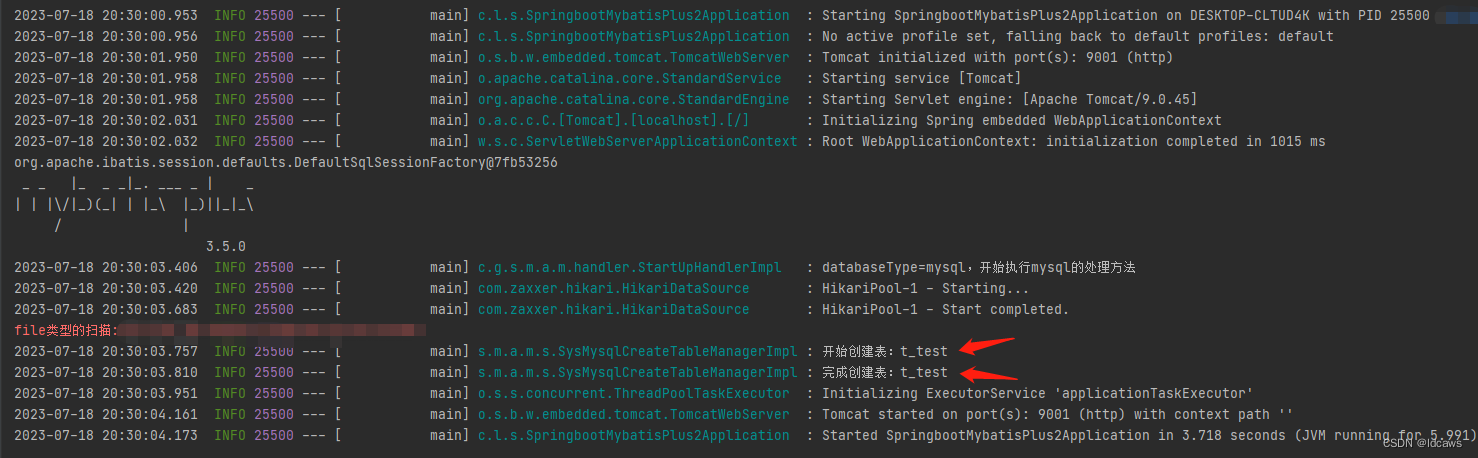

访问结果如下