运行结果

2D导航概述
Godot为2D和3D游戏提供了多个对象、类和服务器,以便于基于网格或基于网格的导航和路径查找。
说到导航,就得说一下导航网格,导航网格定义了角色可以站立和移动的区域,以其中心为基准。
本文章内容主要以官方文档为主,链接如下:官方文档导航部分
开始前的准备
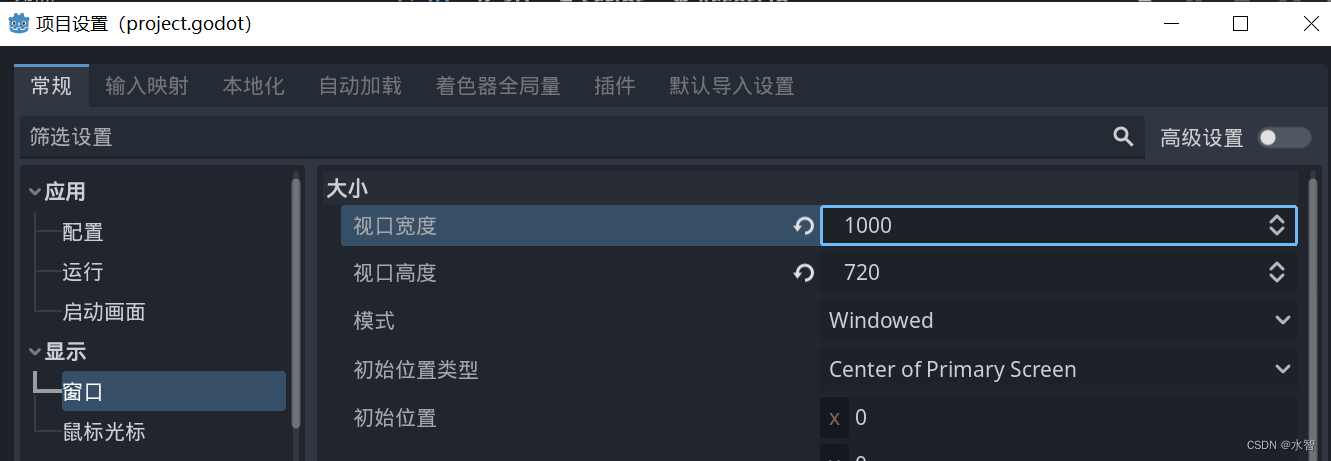
为你的项目设置合适的窗口大小,如下图所示,宽度和高度自定义。
2D导航
创建导航网格
接下来,我们就创建一个导航网格。
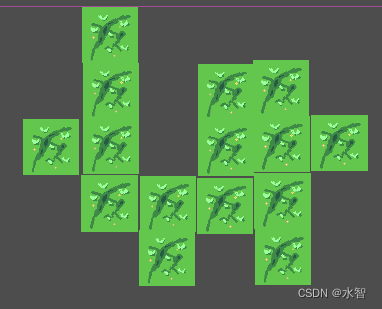
首先为你的场景添加一个地图,也就是玩家可以走的路,这里随便弄,如下图所示。
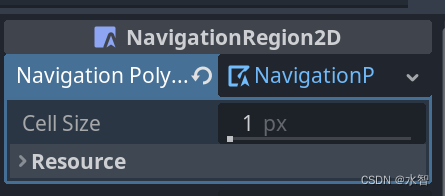
接下来添加一个NavigationRegion2D组件。

单击该组件,在检查器窗口中,新建一个Navigation Polygon。
接着,点击该属性,在场景中绘制你的导航网格,如下图所致。连接第一个点和最后一个点可以完成导航网格的绘制。
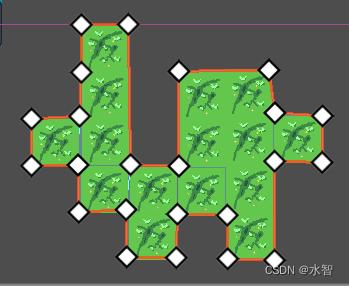
注意在导航多边形的边缘和碰撞对象之间留出足够的间距,以避免路径跟随的角色在碰撞中反复被卡住。
创建角色
创建一个CharacterBody2D节点。为其添加Sprite2D子节点,为Sprite2D的Texture属性赋值,给他弄一个角色图片,任意即可。为CharacterBody2D添加CollisionShape2D子节点,为其Shape属性添加一个形状。调整大小以契合Sprite2D。
然后为CharacterBody2D添加NavigationAgent2D节点,最后结果如下图所示:

为CharacterBody2D节点添加一个MyCharacterBody2D脚本,并为其编写如下内容:
using Godot;

public partial class MyCharacterBody2D : CharacterBody2D
{


	private NavigationAgent2D _navigationAgent;

	private float _movementSpeed = 200.0f;

	public Vector2 MovementTarget
	{


		get {

     return _navigationAgent.TargetPosition; }
		set {

     _navigationAgent.TargetPosition = value; }
	}

	public override void _Ready()
	{


		base._Ready();
		_navigationAgent = GetNode<NavigationAgent2D>("NavigationAgent2D");

		// These values need to be adjusted for the actor's speed
		// and the navigation layout.
		_navigationAgent.PathDesiredDistance = 4.0f;
		_navigationAgent.TargetDesiredDistance = 4.0f;
	}
    public override void _Process(double delta)
    {


        base._Process(delta);
		MovementTarget =GetMouseClickPosition();
    }

    public override void _PhysicsProcess(double delta)
	{


		base._PhysicsProcess(delta);

		if (_navigationAgent.IsNavigationFinished())
		{


			return;
		}

		Vector2 currentAgentPosition = GlobalTransform.Origin;
		Vector2 nextPathPosition = _navigationAgent.GetNextPathPosition();

		Velocity = currentAgentPosition.DirectionTo(nextPathPosition) * _movementSpeed;
		MoveAndSlide();
	}
	public Vector2 GetMouseClickPosition()
	{


		Vector2 mousePosition = GetGlobalMousePosition();
		return mousePosition;
	}
}
最终运行结果如下图所示:

接下来我们在详细讲解一下代码,文章连接如下:
设置目标位置
扫描二维码关注公众号,回复:
17157092 查看本文章
